
Build a newsletter form subscription using React and the ConvertKit API


Photo by Andrew Neel / Unsplash
ConverKit is a marketing platform that helps content creators build an audience, engage with it and earn money from that newsletters by selling products or paid membership. A content creator can be a musician, an author, a coach, or even a blogger like me. I use ConvertKit to manage my newsletter because it is easier to use, thanks to the great features it provides.
The first step of building an audience is to get people to subscribe to your newsletter. ConvertKit provides a ready-to-use form you can embed on your website, blog page, etc...
It might happen that your want to build your custom form to integrate into a custom workflow; for example: after a user signed up to your website, you want to add him to your newsletter.
ConvertKit provides a public API to integrate with this kind of workflow.
In this post, we will see how to interact with the ConvertKit API to build a custom newsletter form subscription with React.
Prerequisites
You will need an account on ConvertKit to follow this tutorial. Create one with the link below:

Set up the project
Since we will be focusing on the interaction with the ConvertKit API, I prepared a React project with the newsletter form already built located at this GitHub repository; run the commands below to set it up locally:
git clone https://github.com/tericcabrel/blog-app-ui -b react-newsletter react-newsletter
cd react-newsletter
yarn install
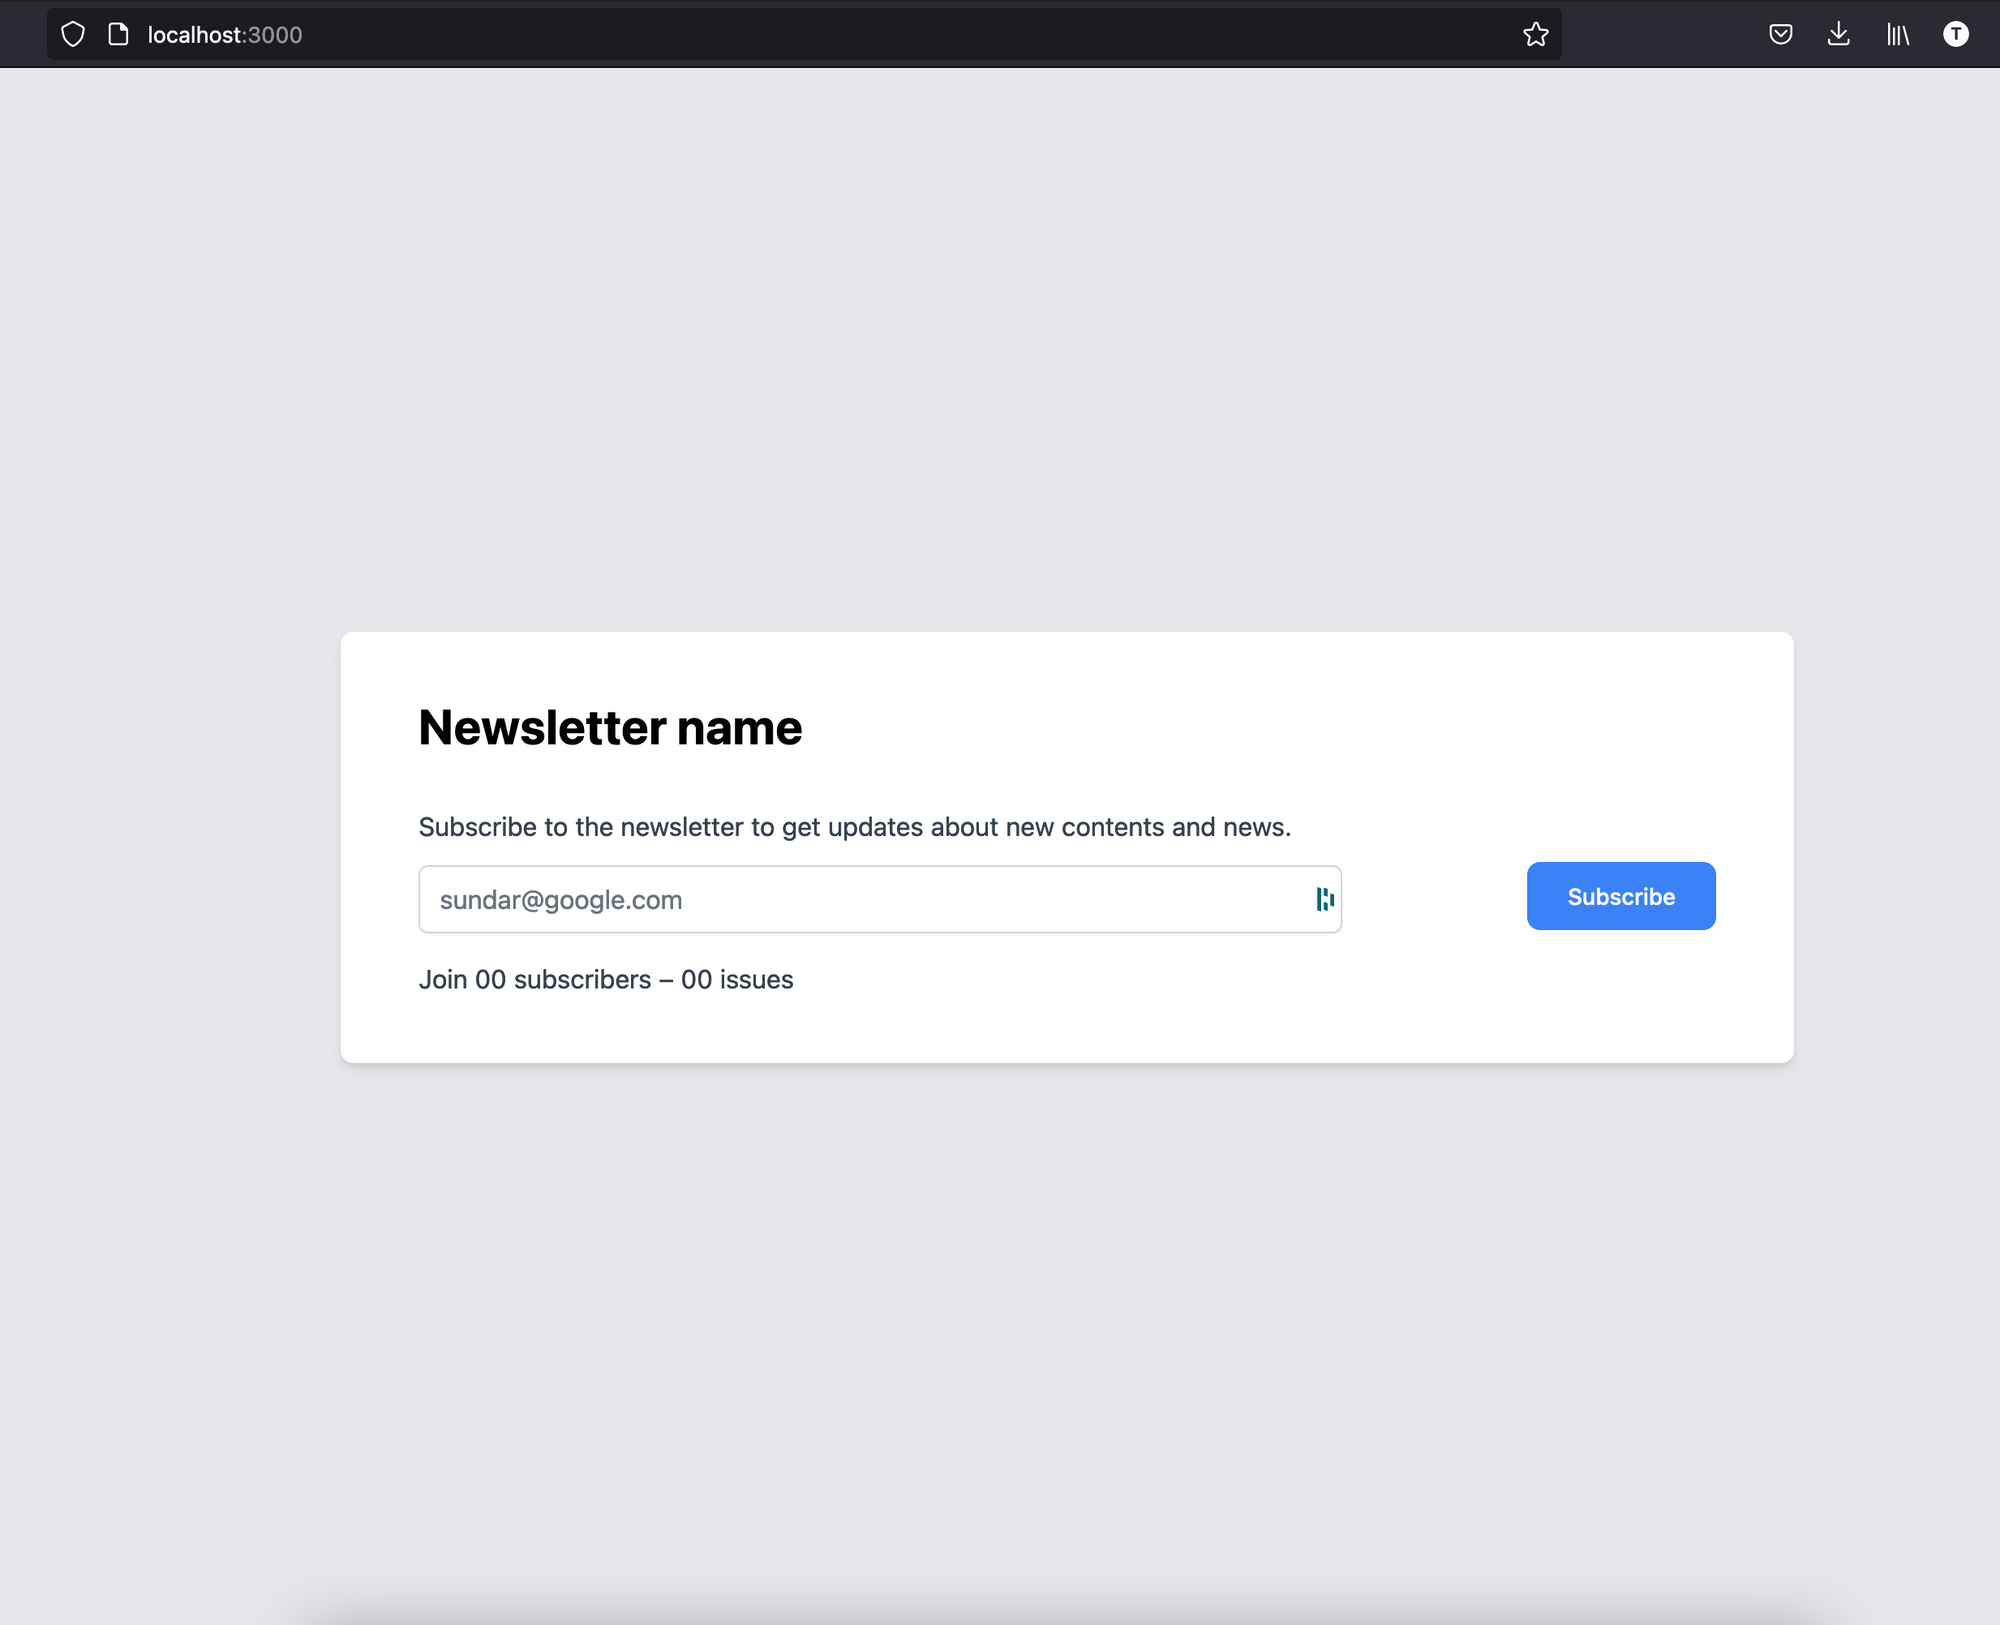
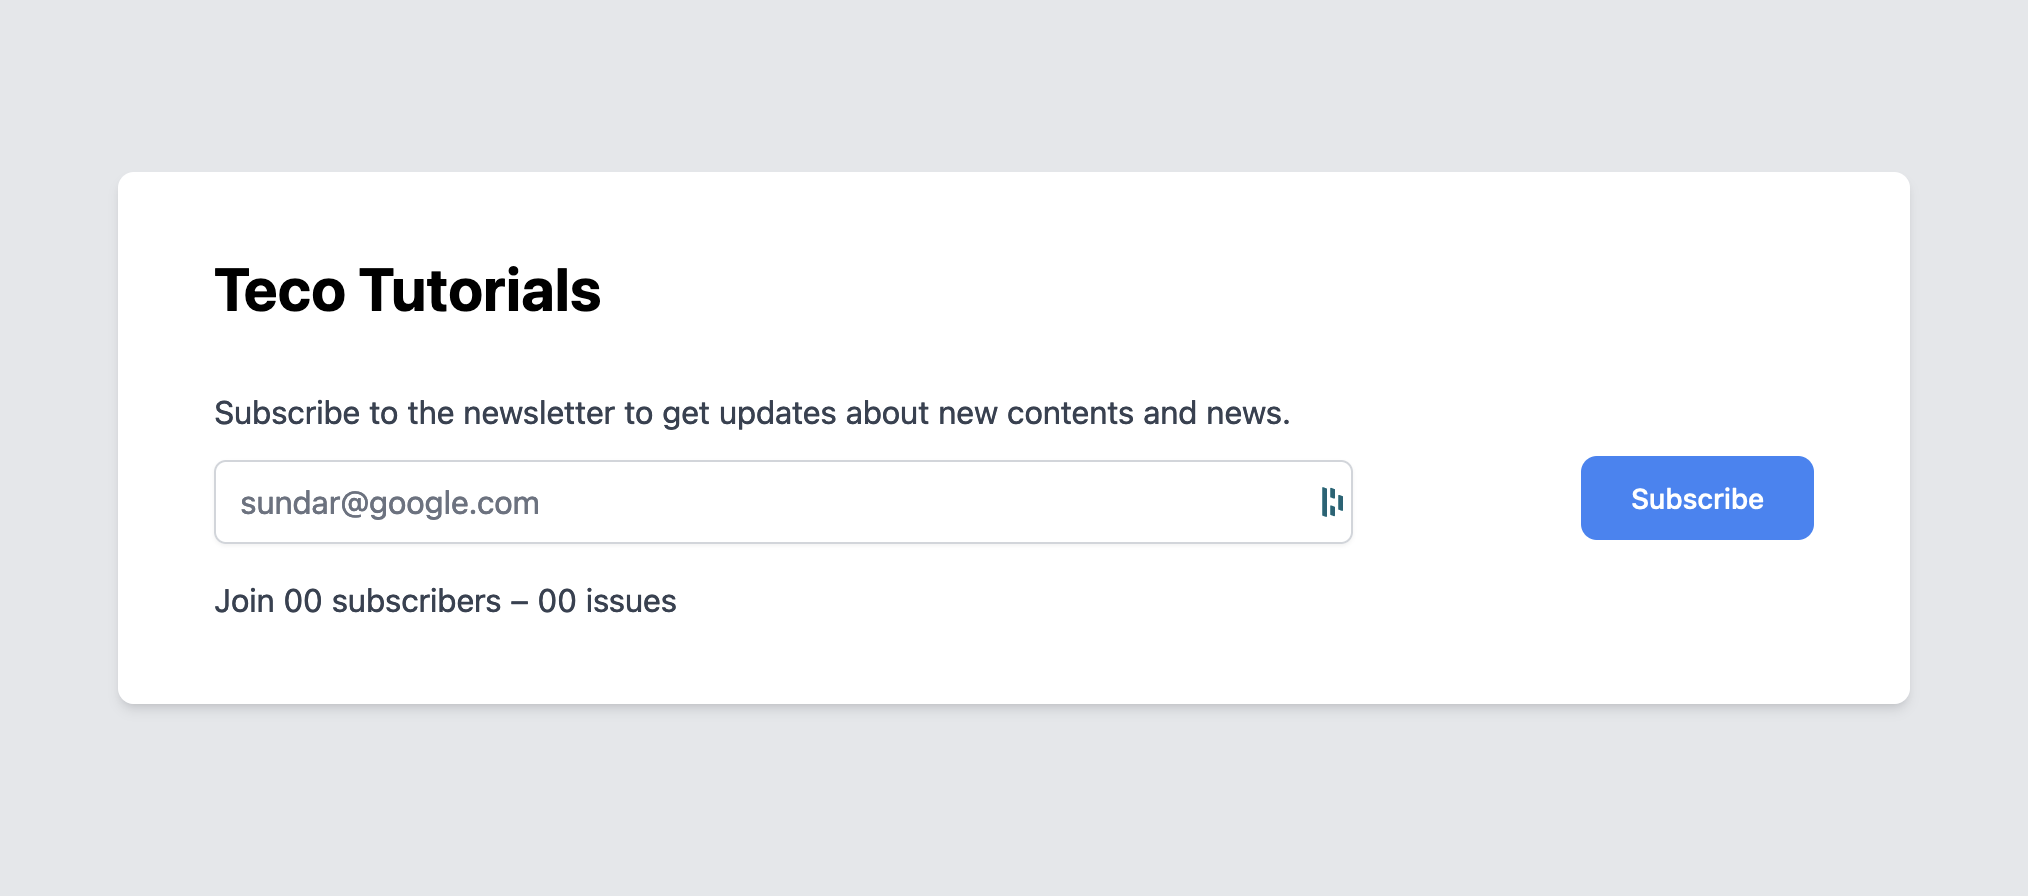
yarn startNavigate to the URL http://localhost:3000. You will get the output below:
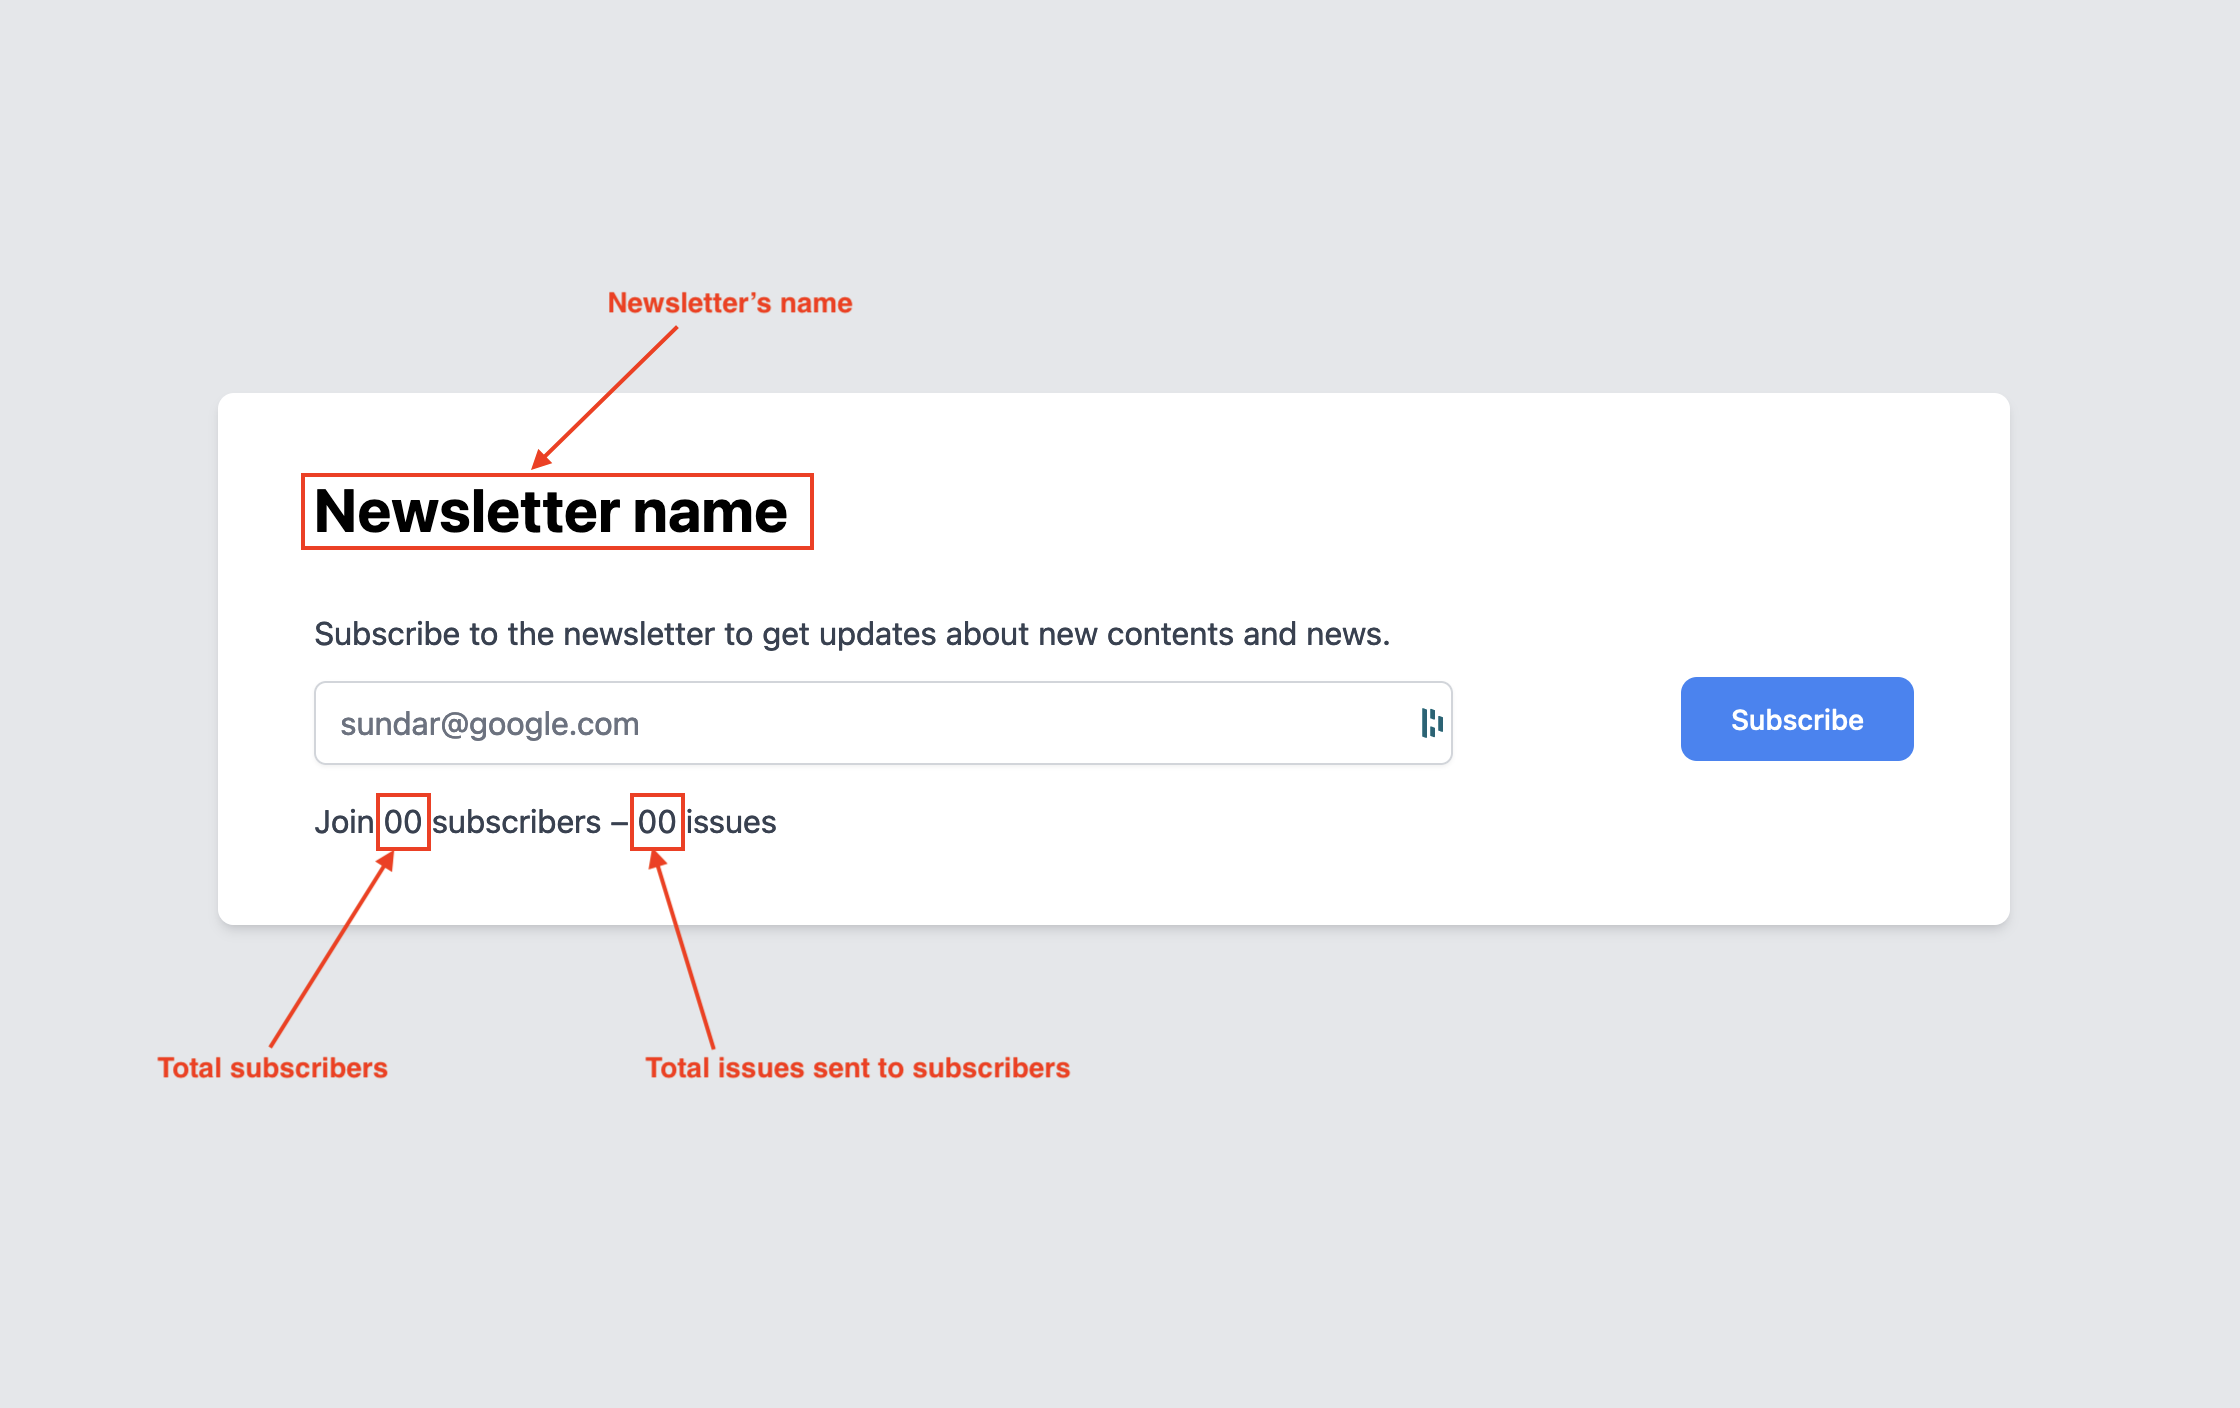
We will use the ConvertKit API to dynamically display information about the newsletter and effectively subscribe the user to the newsletter. In the picture below, the texts framed with a red box will be provided by the API.
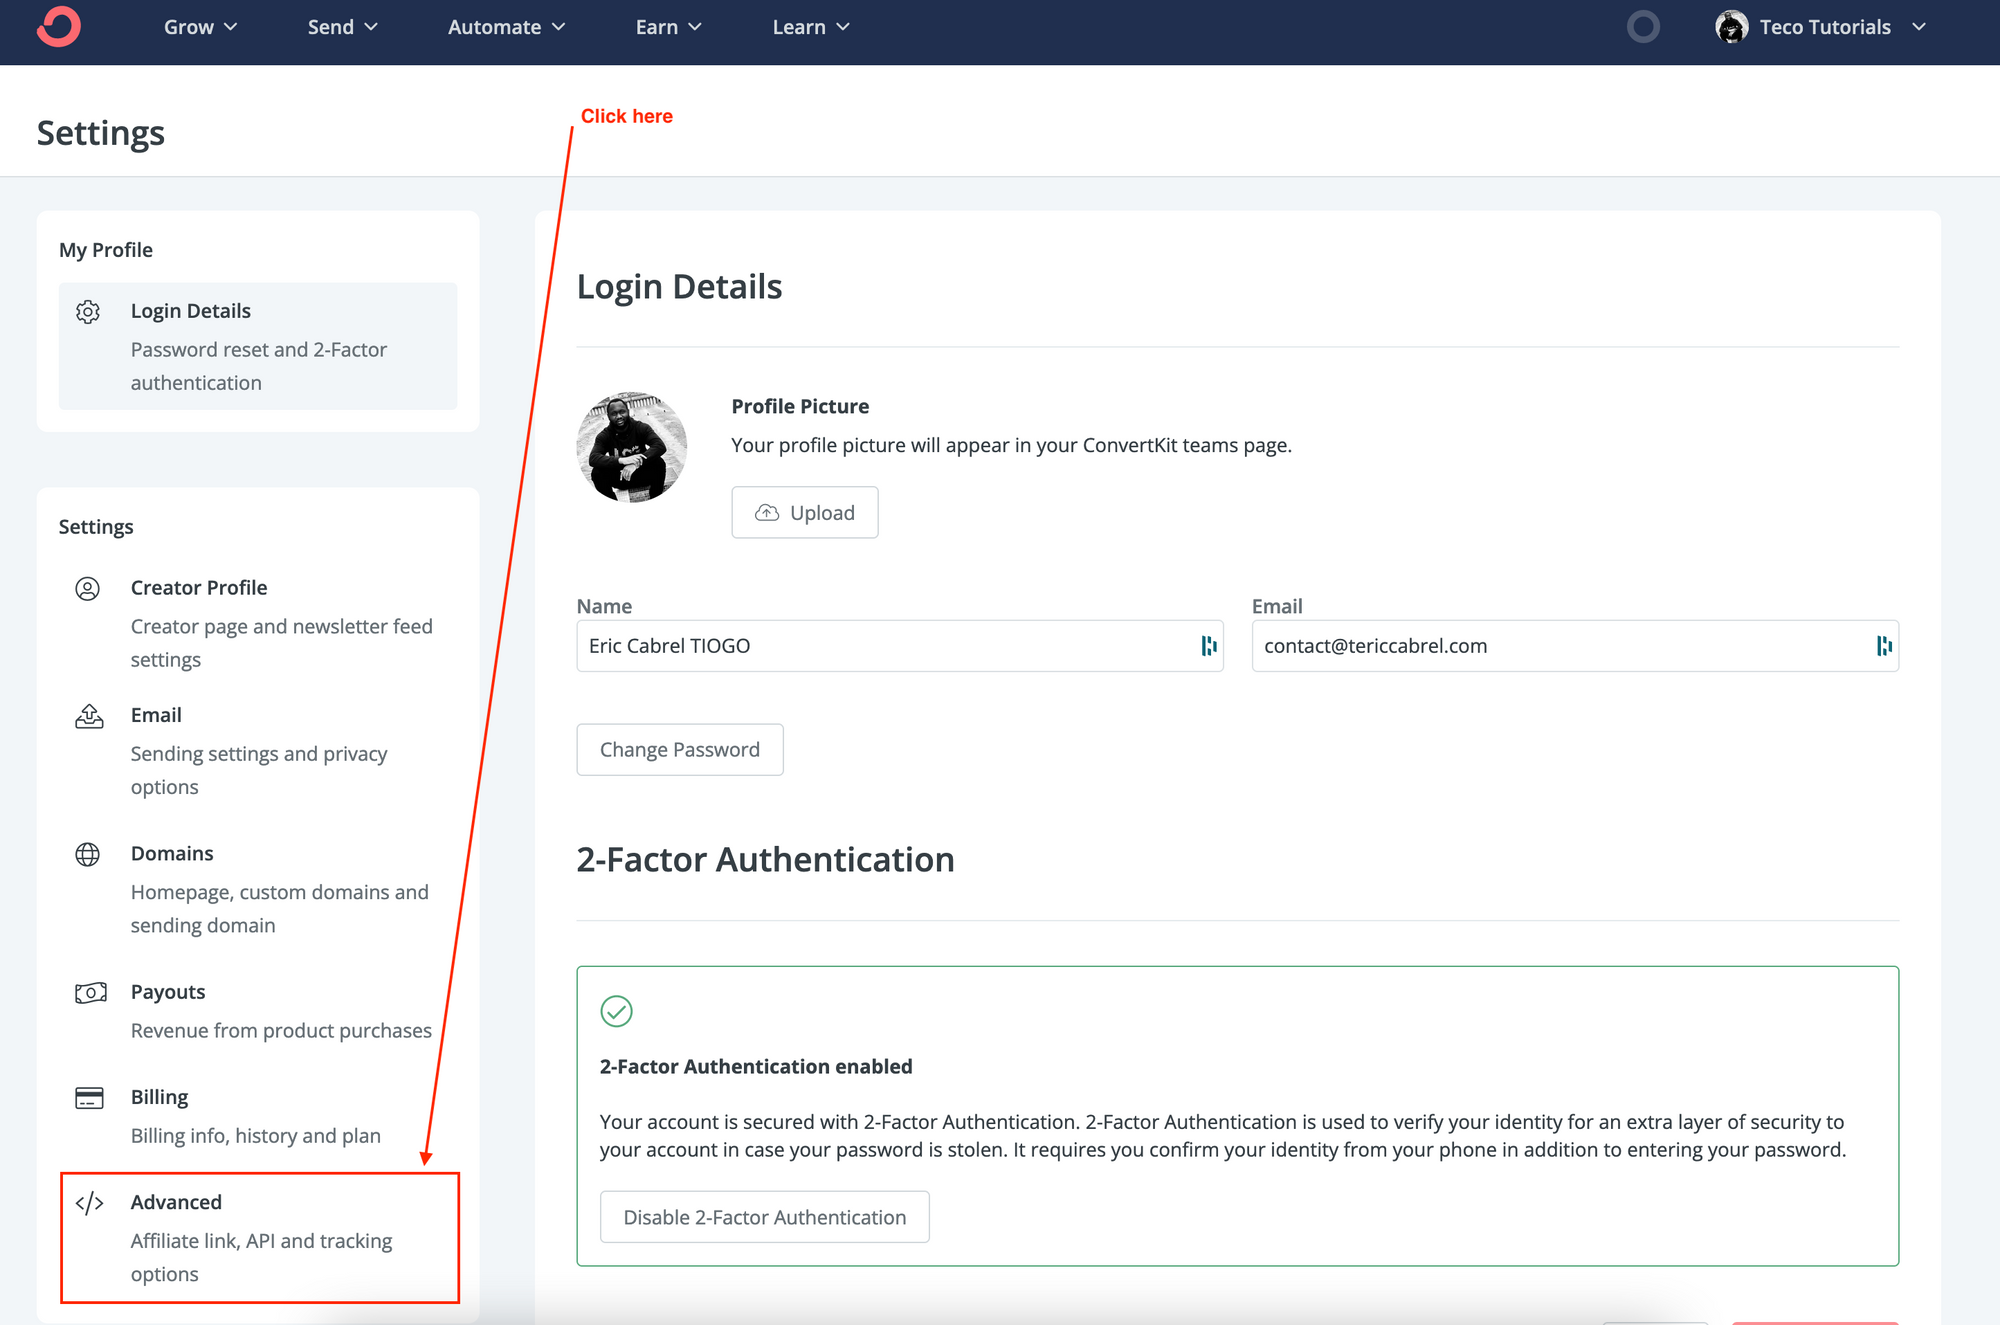
Get the API secret from ConvertKit
Log into your account, then go to the Settings. Click on the "Advanced" menu item in the left sidebar menu.
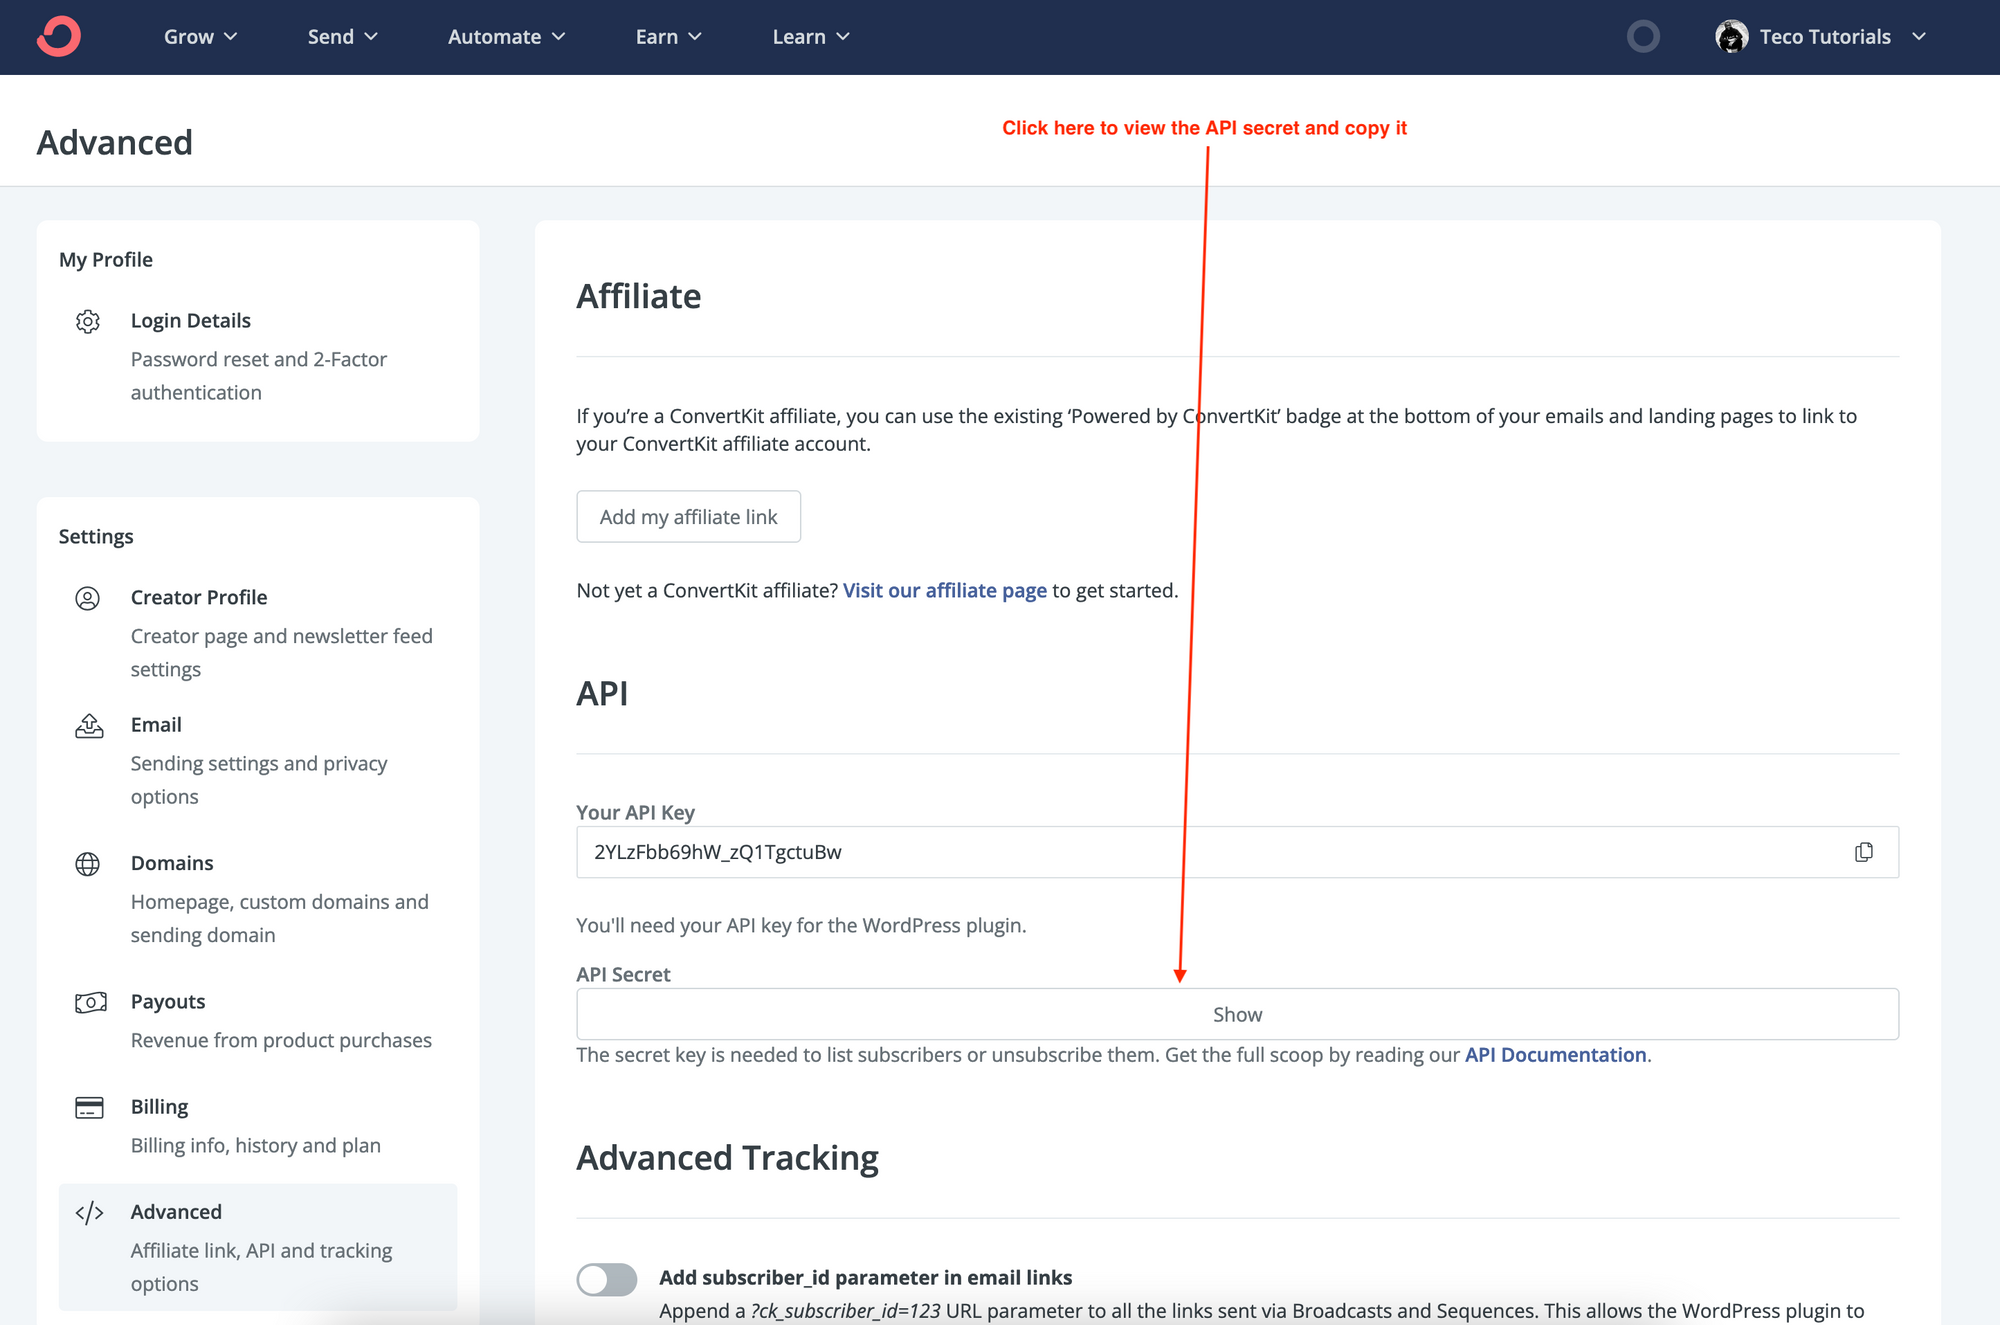
Some requests require a public API key, while others require the API secret. On the page displayed, find the button labeled "Show" and click on it. The API secret will be revealed, copy it and save it somewhere for further usage. Do the same with the public API key.
Initialize the HTTP client
To send requests to ConvertKit API, we need an HTTP client. Axios is already installed in the project we cloned before. Create a file called http-client.ts inside the folder src/utils and add the code below:
import axios from 'axios';

const httpClient = axios.create({
  baseURL: `${process.env.REACT_APP_CONVERTKIT_API_URL}`,
});

httpClient.defaults.headers.common['Accept'] = 'application/json';
httpClient.defaults.headers.common['Content-Type'] = 'application/json';
httpClient.defaults.timeout = 5000;

export { httpClient };
The variable REACT_APP_CONVERTKIT_API_URL is the base URL of the ConvertKit API, so we don't have to add it every time we send a request. It is read from the environment variables injected during the build time. To provide this information, as well as the API key and the API secret, create a file called .env.local in the root project directory and add the code below:
REACT_APP_CONVERTKIT_API_URL=https://api.convertkit.com/v3
REACT_APP_CONVERTKIT_API_KEY=<your_convertkit_api_key_here>
REACT_APP_CONVERTKIT_API_SECRET=<your_convertkit_api_secret_here>
Save and exit. It's time to make calls to the API.
Get Account info
Getting the account information provides the newsletter's name. Create a folder src/hooks then, add a file called account-info.ts; add the code below:
import { useQuery } from "react-query";
import { httpClient } from "../utils/http-client";

type AccountInfoData= {
  name: string;
  plan_type: string;
  primary_email_address: string;
};

export const useAccountInfo = () => {
  const queryString = [
    `api_secret=${process.env.REACT_APP_CONVERTKIT_API_SECRET}`,
  ];

  return useQuery(
      `accountInfo-${queryString}`,
      async () => {
        const response = await httpClient.get<AccountInfoData>(`account?${queryString}`);

        return response.data;
      }
  );
};
Update the file src/App.tsx to use this React hook:
import React from 'react';
import NewsletterForm from "./form/newsletter";
import { useAccountInfo } from "./hooks/account-info";

const App = () => {
  const { data } = useAccountInfo();

  const handleSubscribe = async (email: string) => {
    console.log(email);
  };

  return (
    <NewsletterForm
      isSubmitting={false}
      isSubmitError={false}
      isSubmitSuccess={false}
      handleSubscribe={handleSubscribe}
      newsletterName={data?.name || "Newsletter name"}
      totalIssues={0}
      totalSubscribers={0}
    />
  );
}

export default App;
Run the application with yarn start, you will get the output below:
Instead of "Newsletter name", we have "Teco Tutorials"
Display total subscribers
Create a file src/hooks/subscribers.ts and add the code below:
import { useQuery } from "react-query";
import { httpClient } from "../utils/http-client";

type SubscribersData= {
  total_subscribers: number;
  page: number;
  total_pages: number;
  subscribers: Array<{
    id: number;
    first_name: string | null;
    email_address: string;
    state: string;
    created_at: string;
    fields: {
      last_name?: string;
    };
  }>;
};

export const useSubscribers = () => {
  const queryString = [
    `api_secret=${process.env.REACT_APP_CONVERTKIT_API_SECRET}`,
  ];

  return useQuery(
      `subscribers-${queryString}`,
      async () => {
        const response = await httpClient.get<SubscribersData>(`subscribers?${queryString}`);

        return response.data;
      }
  );
};Update the file src/App.tsx to use this React hook:
import React from 'react';
import NewsletterForm from "./form/newsletter";
import { useAccountInfo } from "./hooks/account-info";
import { useSubscribers } from "./hooks/subscribers";

const App = () => {
  const { data } = useAccountInfo();
  const { data: subscribersData } = useSubscribers();

  const handleSubscribe = async (email: string) => {
    console.log(email);
  };

  return (
    <NewsletterForm
      isSubmitting={false}
      isSubmitError={false}
      isSubmitSuccess={false}
      handleSubscribe={handleSubscribe}
      newsletterName={data?.name || "Newsletter name"}
      totalIssues={0}
      totalSubscribers={subscribersData?.total_subscribers ?? 0}
    />
  );
}

export default App;
Display total issues
Create a file src/hooks/broadcasts.ts and add the code below:
import { useQuery } from "react-query";
import { httpClient } from "../utils/http-client";

type BroadcastsData= {
  broadcasts: Array<{
    "id": number;
    "created_at": string;
    "subject": string;
  }>;
};

export const useBroadcasts = () => {
  const queryString = [
    `api_secret=${process.env.REACT_APP_CONVERTKIT_API_SECRET}`,
  ];

  return useQuery(
      `broadcasts-${queryString}`,
      async () => {
        const response = await httpClient.get<BroadcastsData>(`broadcasts?${queryString}`);

        return response.data;
      }
  );
};Update the file src/App.tsx to use this React hook:
import React from 'react';
import NewsletterForm from "./form/newsletter";
import { useAccountInfo } from "./hooks/account-info";
import { useSubscribers } from "./hooks/subscribers";
import { useBroadcasts } from "./hooks/broadcasts";

const App = () => {
  const { data } = useAccountInfo();
  const { data: subscribersData } = useSubscribers();
  const { data: broadcastsData } = useBroadcasts();

  const handleSubscribe = async (email: string) => {
    console.log(email);
  };

  return (
    <NewsletterForm
      isSubmitting={false}
      isSubmitError={false}
      isSubmitSuccess={false}
      handleSubscribe={handleSubscribe}
      newsletterName={data?.name || "Newsletter name"}
      totalIssues={broadcastsData?.broadcasts.length ?? 0}
      totalSubscribers={subscribersData?.total_subscribers ?? 0}
    />
  );
}

export default App;The form looks like this now ?

Subscribe a user to an account
To subscribe a user to the newsletter, ConvertKit requires a form ID. This represents the form from which the user subscribed. You can create and view forms from the ConvertKit dashboard. Unfortunately, you can get the form ID, and only to get it is to use the API.
Retrieve the forms list
We will use a GUI HTTP client like Postman or Insomnia to perform the call and get the form ID. This call needs the public API key.
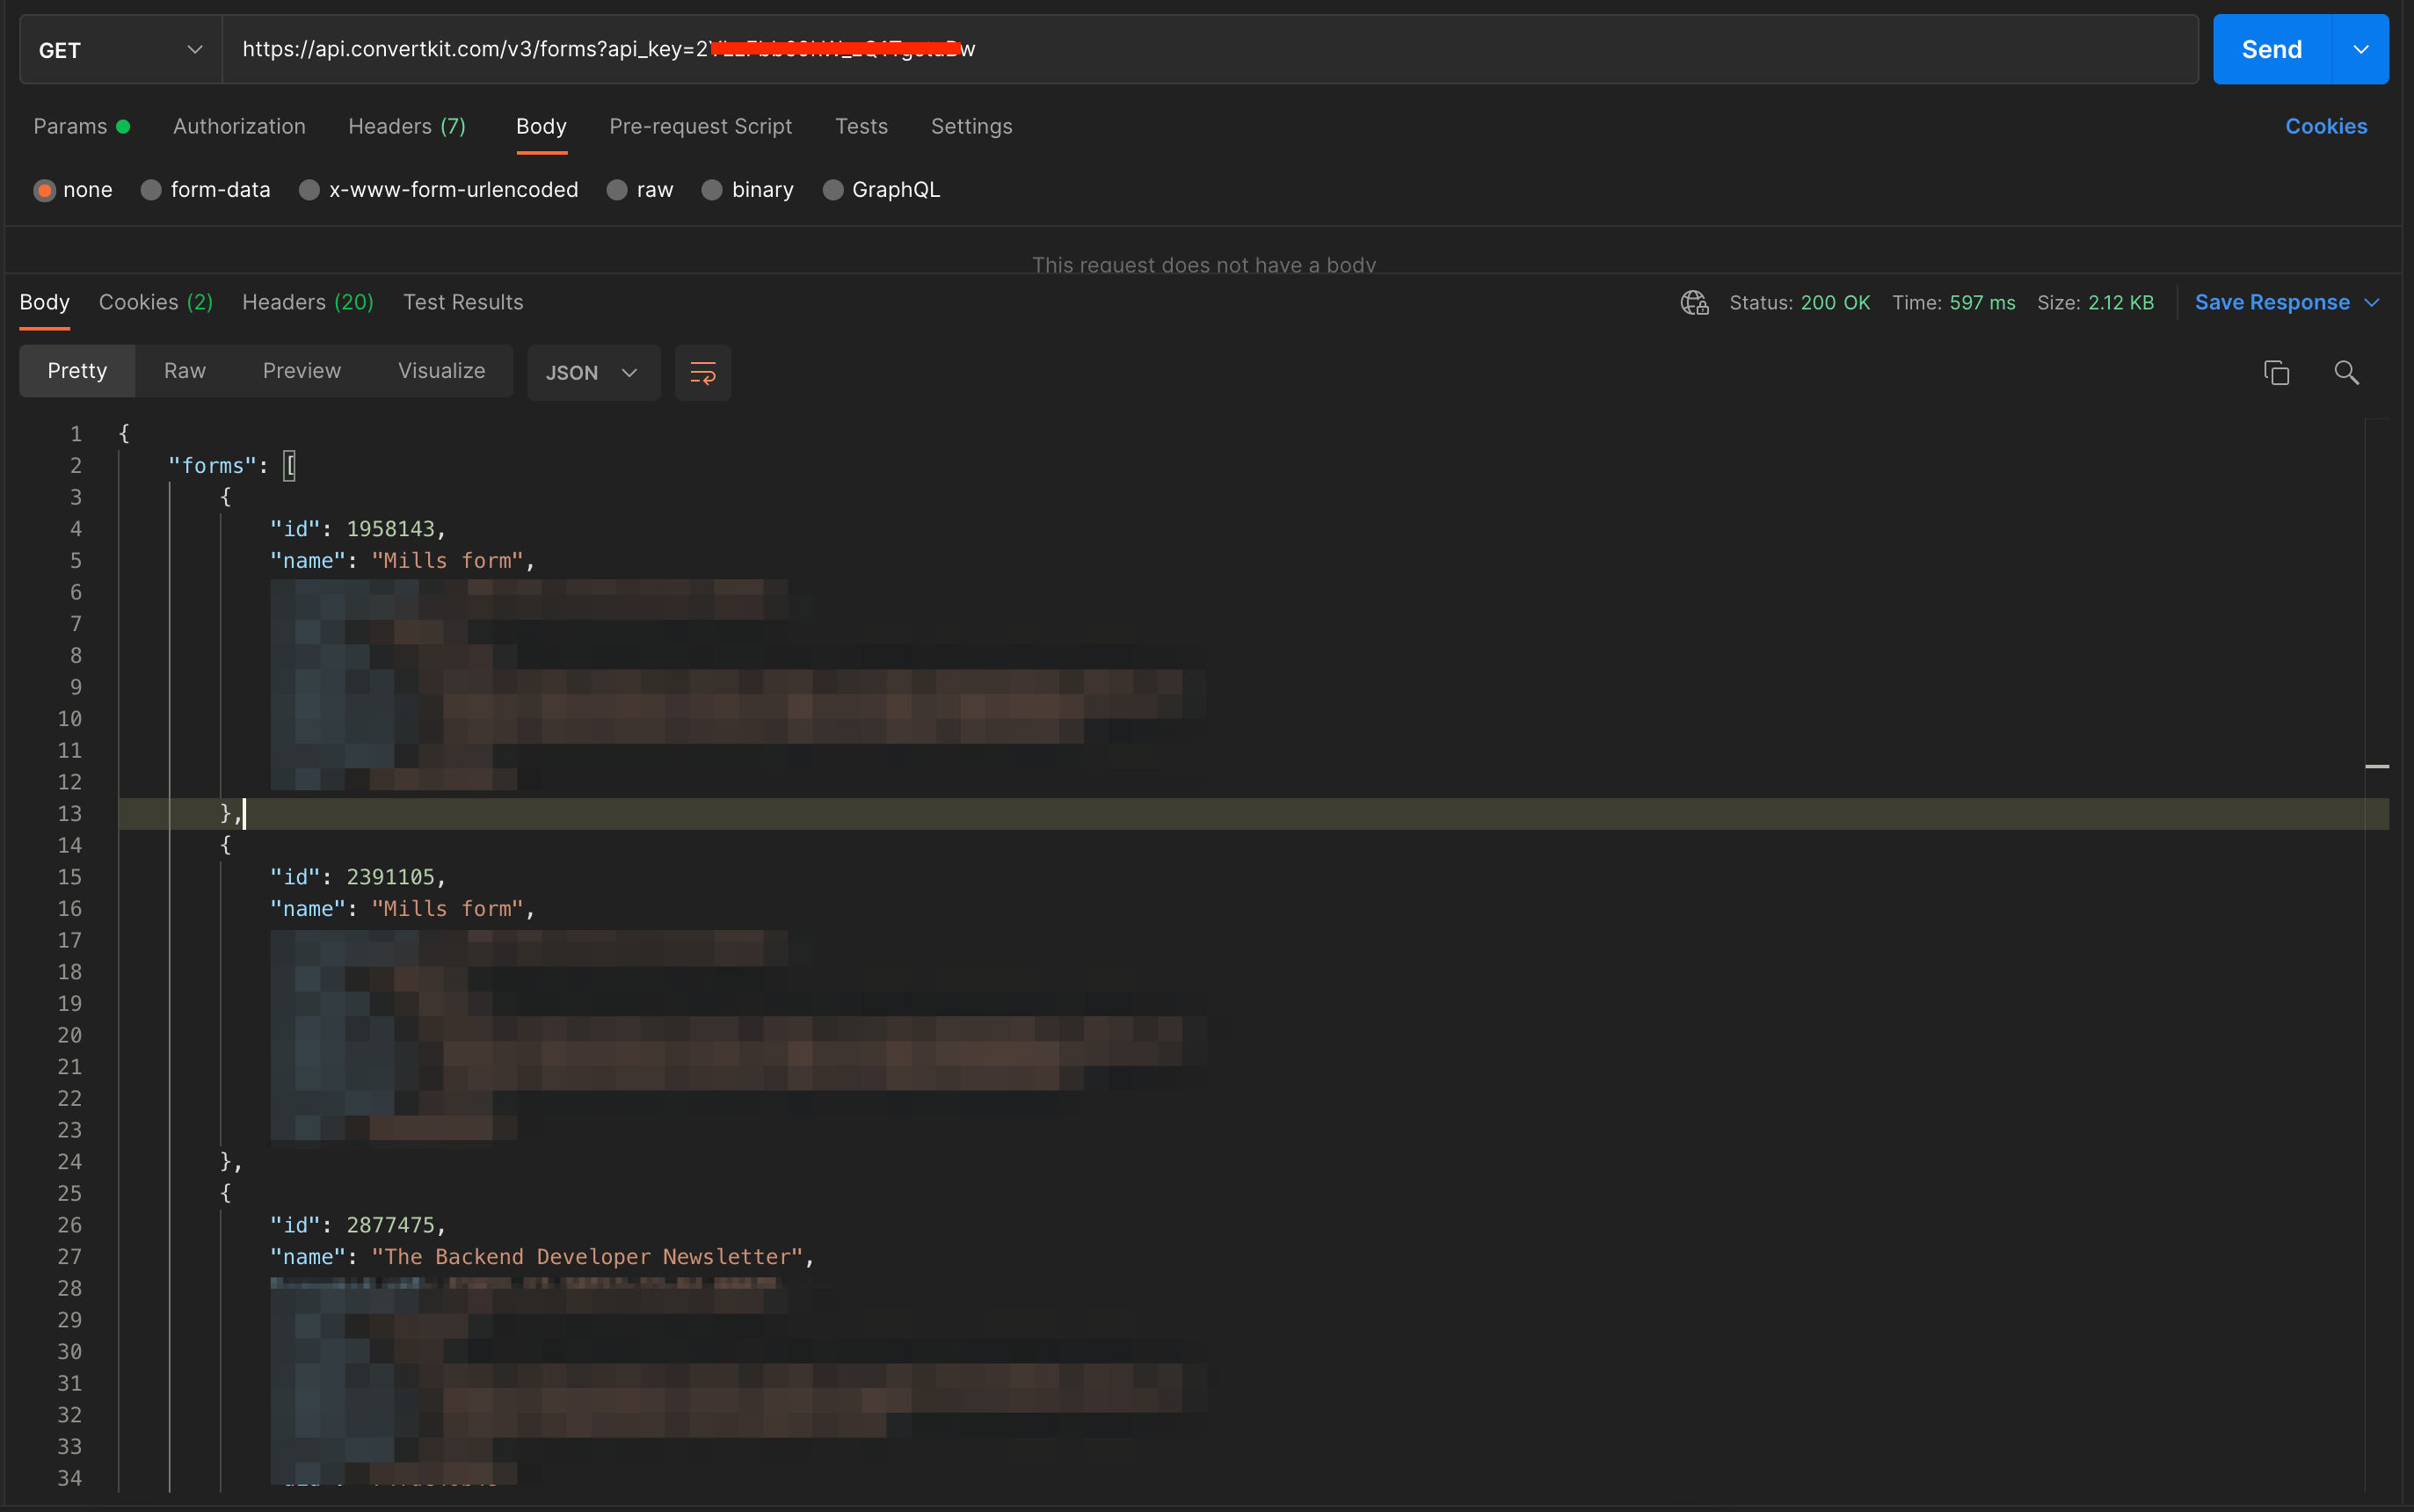
Copy the form ID you want and set this as a value of a variable in the file src/App.tsx.
const FORM_ID = "2877475";Now, create a file src/hooks/subscribe.ts and add the code below:
import { useMutation } from 'react-query';
import { httpClient } from "../utils/http-client";

type SubscribeInput = {
  email: string;
};

type SubscribeData = {
  subscription: {
    id: number;
    state: string;
    created_at: string;
    source: string | null;
    referrer: string | null;
    subscribable_id: number;
    subscribable_type: string;
    subscriber: {
      id: number;
    };
  };
};

export const useSubscribe = (formId: string) => {
  return useMutation((input: SubscribeInput) => {
    const inputBody = {
      ...input,
      api_key: process.env.REACT_APP_CONVERTKIT_API_KEY,
    };

    return httpClient.post<SubscribeData>(`forms/${formId}/subscribe`, inputBody);
  });
};Update the file src/App.tsx to use this React hook:
import React from 'react';
import NewsletterForm from "./form/newsletter";
import { useAccountInfo } from "./hooks/account-info";
import { useSubscribers } from "./hooks/subscribers";
import { useBroadcasts } from "./hooks/broadcasts";
import { useSubscribe } from "./hooks/subscribe";

const FORM_ID = "2877475";

const App = () => {
  const { data } = useAccountInfo();
  const { data: subscribersData } = useSubscribers();
  const { data: broadcastsData } = useBroadcasts();
  const { mutate, isLoading, isSuccess, isError } = useSubscribe(FORM_ID);

  const handleSubscribe = async (email: string) => {
    await mutate({ email });
  };

  return (
    <NewsletterForm
      isSubmitting={isLoading}
      isSubmitError={isError}
      isSubmitSuccess={isSuccess}
      handleSubscribe={handleSubscribe}
      newsletterName={data?.name || "Newsletter name"}
      totalIssues={broadcastsData?.broadcasts.length ?? 0}
      totalSubscribers={subscribersData?.total_subscribers ?? 0}
    />
  );
}
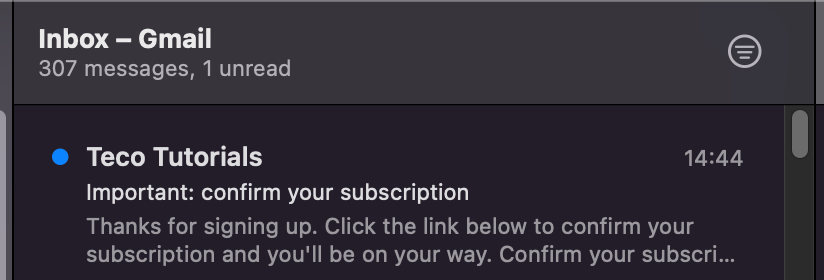
export default App;Run the application and subscribe with a valid email address.
Yay ? It works! Check your inbox; you will find a mail to confirm the subscription. Once done, the user will be approved as a subscriber.
Wrap up
The ConvertKit API can help build a custom newsletter subscription workflow according to your needs. To learn more about the capability of the API, check out the API documentation.
You can find the final source code on the GitHub repository.
Follow me on Twitter or subscribe to my newsletter to not miss the upcoming posts and the tips and tricks I share every week.
Happy to see you soon ?