Implement Server-Sent Events in Node.js and React

Photo by Brendan Church / Unsplash
Server-Sent Events (SSE) is a Web standard that allows a server application to send data to the client. Concretely, a browser can subscribe to a stream of events generated by a server, receiving updates whenever a new event occurs. This feature makes it possible to build a more reactive application. There are many applications of the SSE like:
- Update the price/stock or exchange rates
- Build a real-time time dashboard
- Status health to display the maintenance page when not available
- Send a notification when a background task completed
- A so many more...
Server-Sent Events technically
The browser can stream data from the server due to the EventSource opening a persistent connection to an HTTP server, which sends events in text/event-stream format. The connection remains open until closed by calling or interrupted unexpectedly.
Periodically or when an event occurs, the server sends an event stream containing data the frontend will parse. This event stream holds these four fields formatted one per line and encoded to UTF-8:
- event: This is a name to describe your event; this is for the case where the server sends a different kind of message to the client.
- id: It's the ID of the event stream. It must be unique for each event.
- data: This is where you put the data to be parsed by the client. If the EventSource instance receives multiple consecutive lines that begin with, it will concatenate them.
- retry: Indicate the time in milliseconds to wait before retrying the call to the server.
Every field in the event stream must end with the new line character end \n. Here is an example of the format:
event: userdeleted
id: 1234343439
data: { "userCount": 10 }
retry: 5000
The use case
To see SSE in practice, we will build a minimalist real-time dashboard with a page that displays the total donation collected. Every time a new user makes a donation, the total of users and the donation amount will be updated without the page reload.
The backend will have two endpoints:
- [POST] /donate: Make a donation
- [STREAM] /dashboard: Receive updates about the donation collected
The frontend application will connect the endpoint /dashboard to receive updates.
Prerequisites
For this project, we will build a backend using
- Node.js 12+ and the framework Express
- Knowledge in React (hooks)
- A REST client like Postman, Insomnia, Hoppscotch, etc.
No need to have a database since we will build store the data in memory.
Build the backend
Create a folder that will hold the backend and the frontend code then, initialize a new Node.js project:
mkdir -p node-react-sse/backend
cd node-react-sse/backend
yarn init -y
Let's install and initialize in the Typescript:
yarn add -D typescript ts-node
yarn tsc --init
Install Express framework and the package to configure CORS
yarn add express cors
yarn add -D @types/express @types/cors
Create a file src/app.ts add the code below:
import express, { Request, Response } from 'express';
import cors from 'cors';

const donation = {
  user: 0,
  amount: 0
};

const app = express();

app.use(express.json());
app.use(cors());

app.post('/donate', (req, res) => {
  const amount = req.body.amount || 0;

  if (amount > 0) {
    donation.amount += amount;
    donation.user += 1;
  }

  return res.json({ message: 'Thank you ?'});
});

app.listen(4650, () => {
  console.log(`Application started on URL ?`);
});
Here, we create the webserver and one route to make a donation. Run the app with the code below:
yarn ts-node src/app.tsImplement Server-Sent Events
We want to send an update to the client about the donation information every 2 seconds. Update the file src/app.ts by adding the code below:
const SEND_INTERVAL = 2000;

const writeEvent = (res: Response, sseId: string, data: string) => {
  res.write(`id: ${sseId}\n`);
  res.write(`data: ${data}\n\n`);
};

const sendEvent = (_req: Request, res: Response) => {
  res.writeHead(200, {
    'Cache-Control': 'no-cache',
    Connection: 'keep-alive',
    'Content-Type': 'text/event-stream',
  });

  const sseId = new Date().toDateString();

  setInterval(() => {
    writeEvent(res, sseId, JSON.stringify(donation));
  }, SEND_INTERVAL);

  writeEvent(res, sseId, JSON.stringify(donation));
};

app.get('/dashboard', (req: Request, res: Response) => {
  if (req.headers.accept === 'text/event-stream') {
    sendEvent(req, res);
  } else {
    res.json({ message: 'Ok' });
  }
});
Run the application to make sure it works. But to test the SSE, we need to build the client application.
Build the Frontend application
We will use the Create-React-App to quickly bootstrap the project with React. Let's do that with the following command:
npx create-react-app frontend --template typescript
cd frontend
yarn start
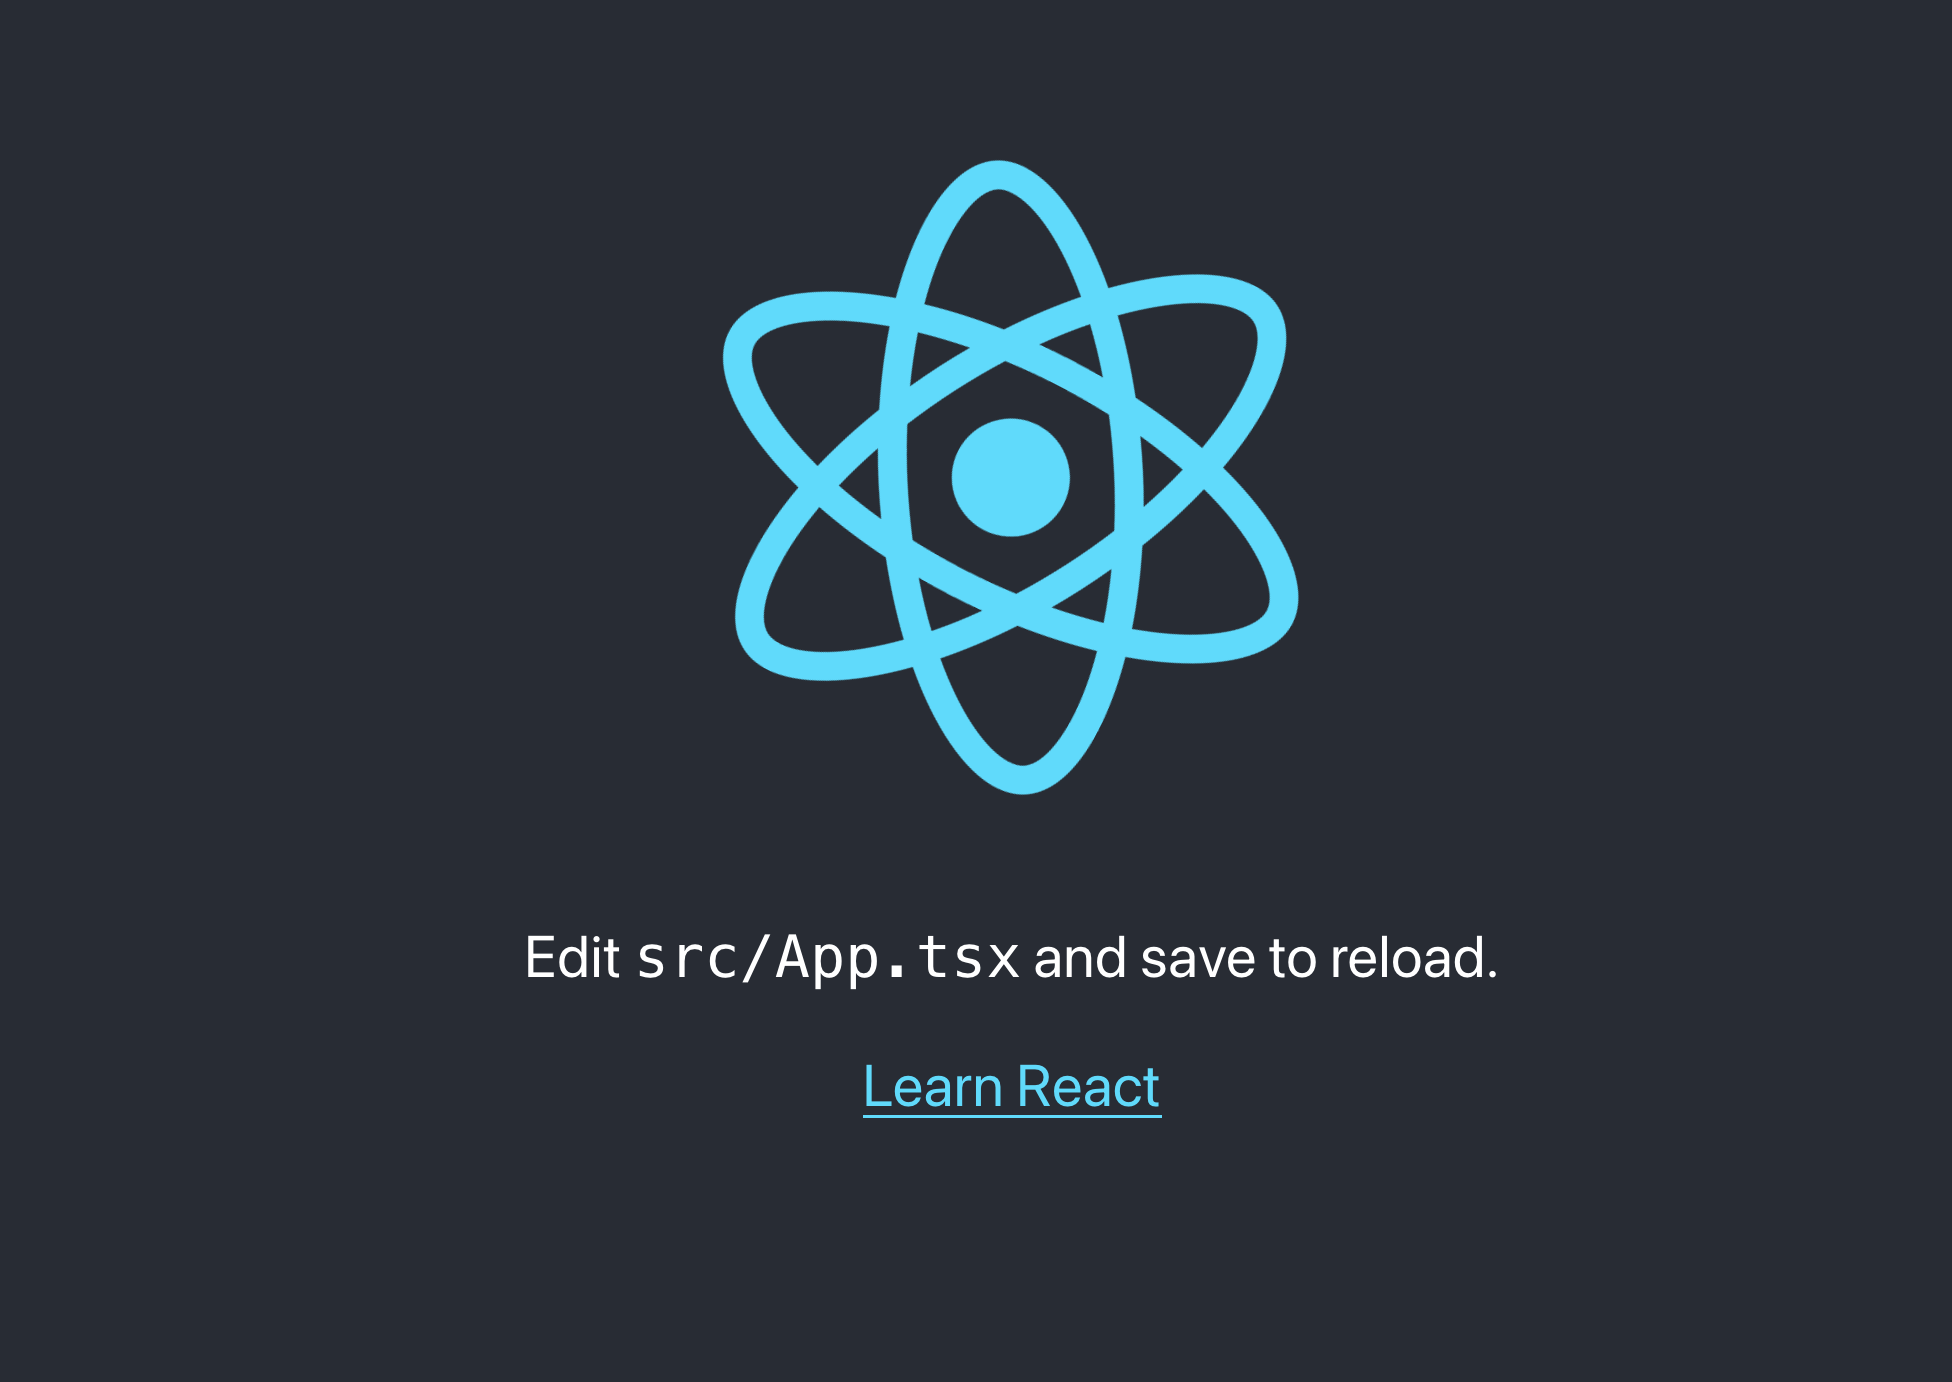
Browse http://localhost:3000, and you will have the page below:

Replace the content of the file App.tsx with the code below:
import React, { useEffect, useState } from 'react';

type Donation = {
  user: number;
  amount: number;
};

const App = () => {
  const [donation, setDonation] = useState<Donation>({ user: 0, amount: 0 });

  useEffect(() => {
    const source = new EventSource(`http://localhost:4650/dashboard`);

    source.addEventListener('open', () => {
      console.log('SSE opened!');
    });

    source.addEventListener('message', (e) => {
      console.log(e.data);
      const data: Donation = JSON.parse(e.data);

      setDonation(data);
    });

    source.addEventListener('error', (e) => {
      console.error('Error: ',  e);
    });

    return () => {
      source.close();
    };
  }, []);

  return (
    <div>
      <h1>Donation status</h1>
      <hr/>
      <h3>Total amount: {donation.amount}</h3>
      <h3>Total user: {donation.user}</h3>
    </div>
  );
}

export default App;
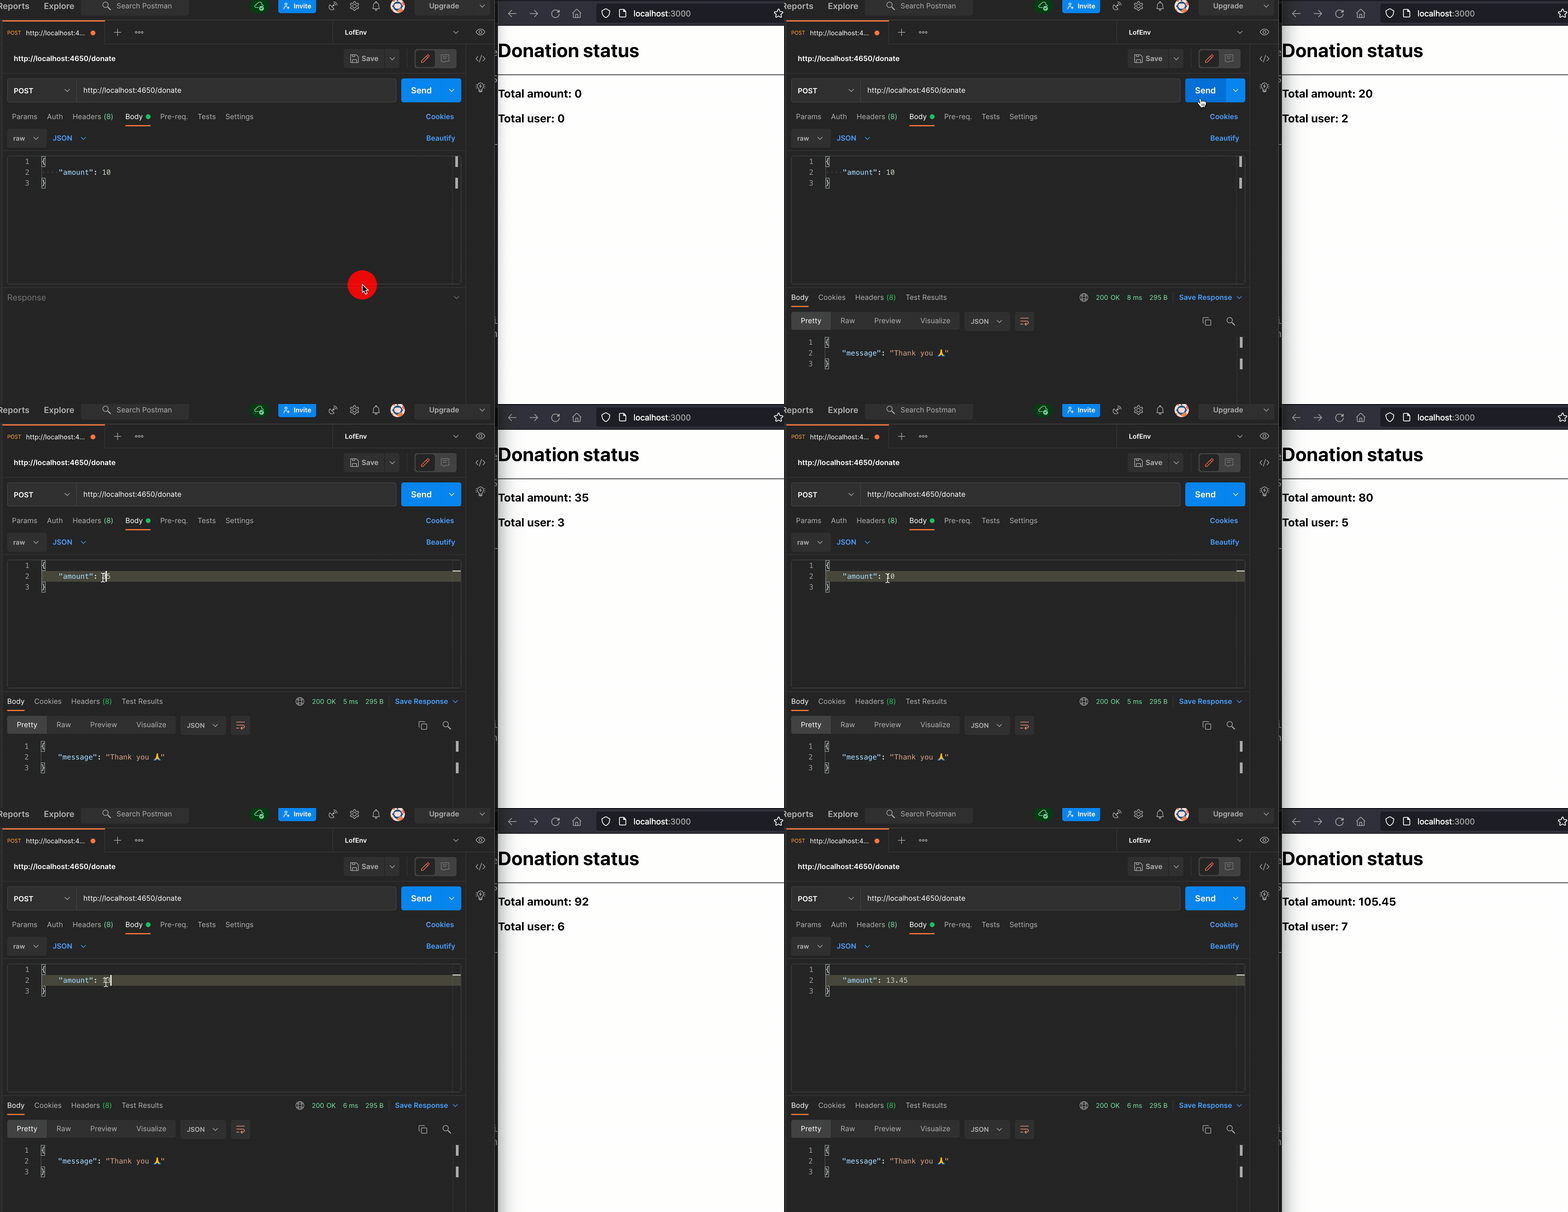
Start the backend first, then reload the frontend. Here is the result we got:

That is it!!!
Wrap Up
We saw how to take advantage of the SSE to implement real-time data updates. SSE is wildly supported by the major browsers. Check out this page to see browser compatibility. s
You can find the code source on the GitHub repository.
Follow me on Twitter or subscribe to my newsletter to not miss the upcoming posts and the tips and tricks I share every week.
Happy to see you soon ?

