Install Node.js using NVM

Node.js is an open-source, cross-platform JavaScript runtime environment that executes JavaScript code outside a Web browser. It allows developers to run JavaScript on the server side, enabling them to create dynamic web pages and build scalable network applications.
Node.js opened the next generation of tools for building web applications using JavaScript, such as Bundlers, Node.js Web and server-side Frameworks, Test runners, etc.
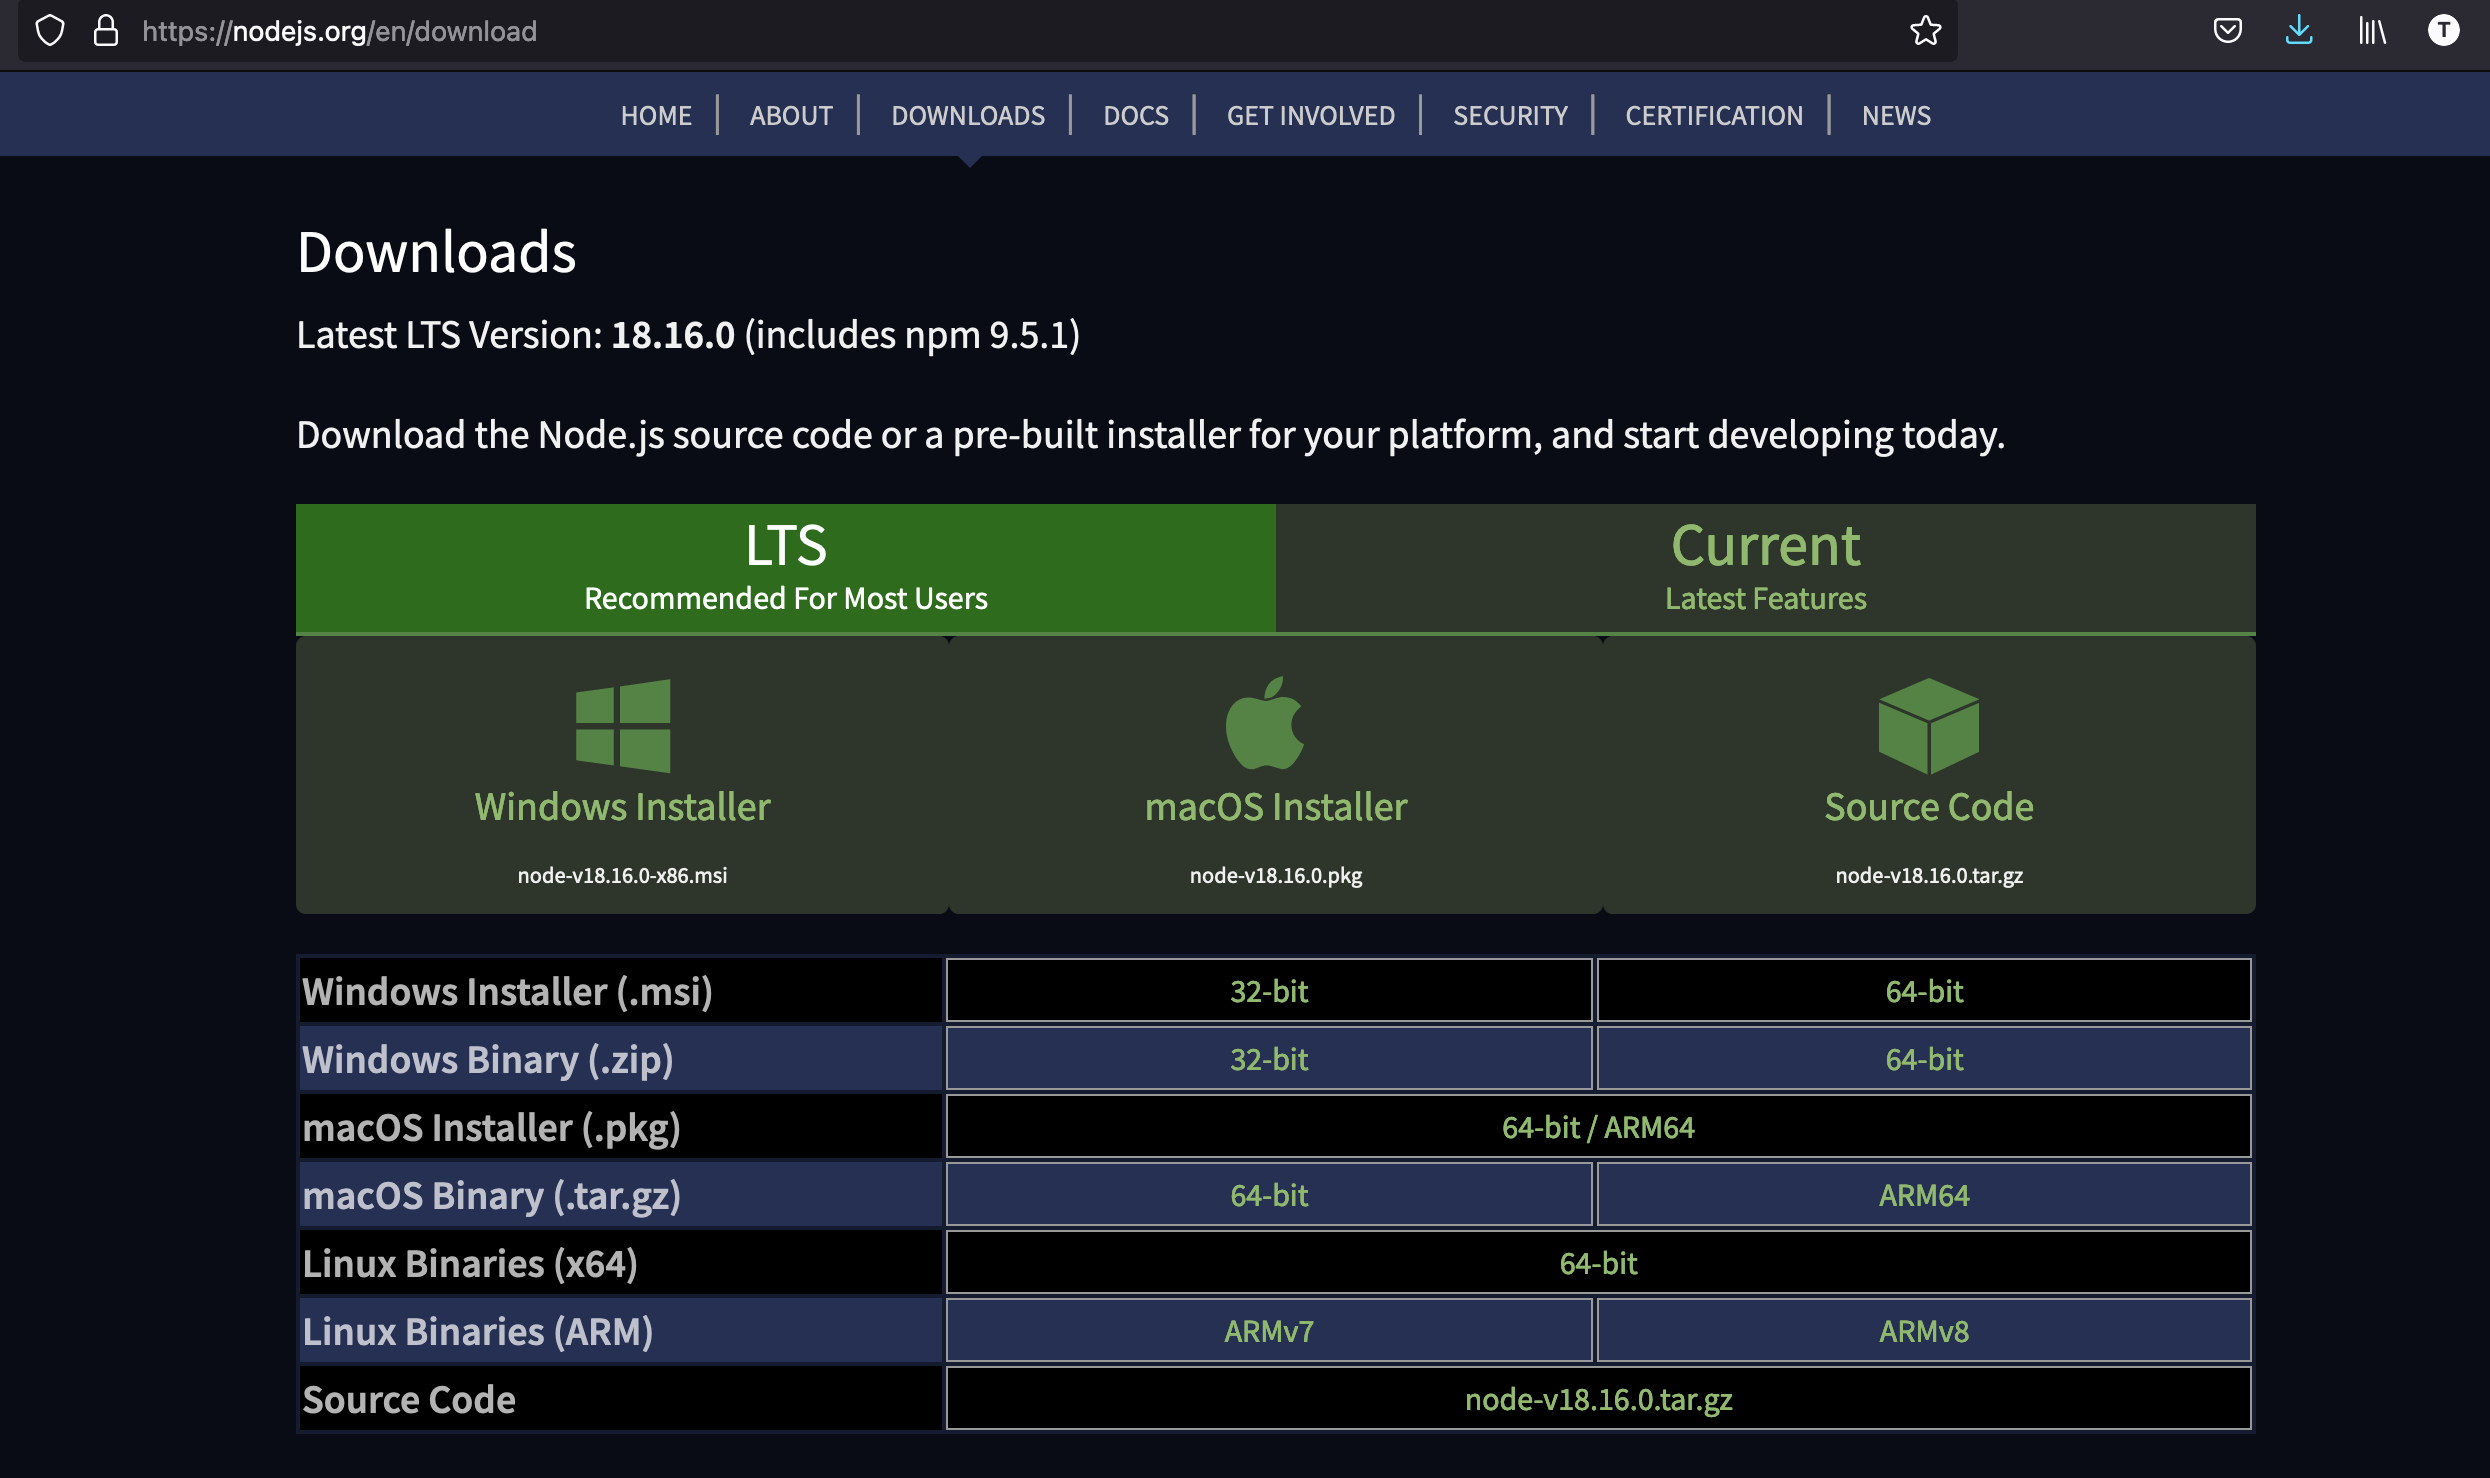
To install Node.js, you can download the binary from the official page for your operating system and install it.

Once installed, you have a specific Node.js version on your computer and the Node Package Manager (NPM). You must frequently update this version to have new features and bug fixes.
The problem with using a single Node.js version
Since 2009 Node.js was created, the ecosystem has grown fast, and there are many libraries, frameworks, bundlers, etc... Many developers build their products with these tools, and this creates many issues, such as:
- Node package testing: when building a Node.js library, you need to test on many versions to ensure it works as expected. You will go to a round of uninstall/install versions of Node.js. It is cumbersome.
- Version compatibility: developers building projects with libraries now depends on libraries version they use and can find themselves stuck on this version.
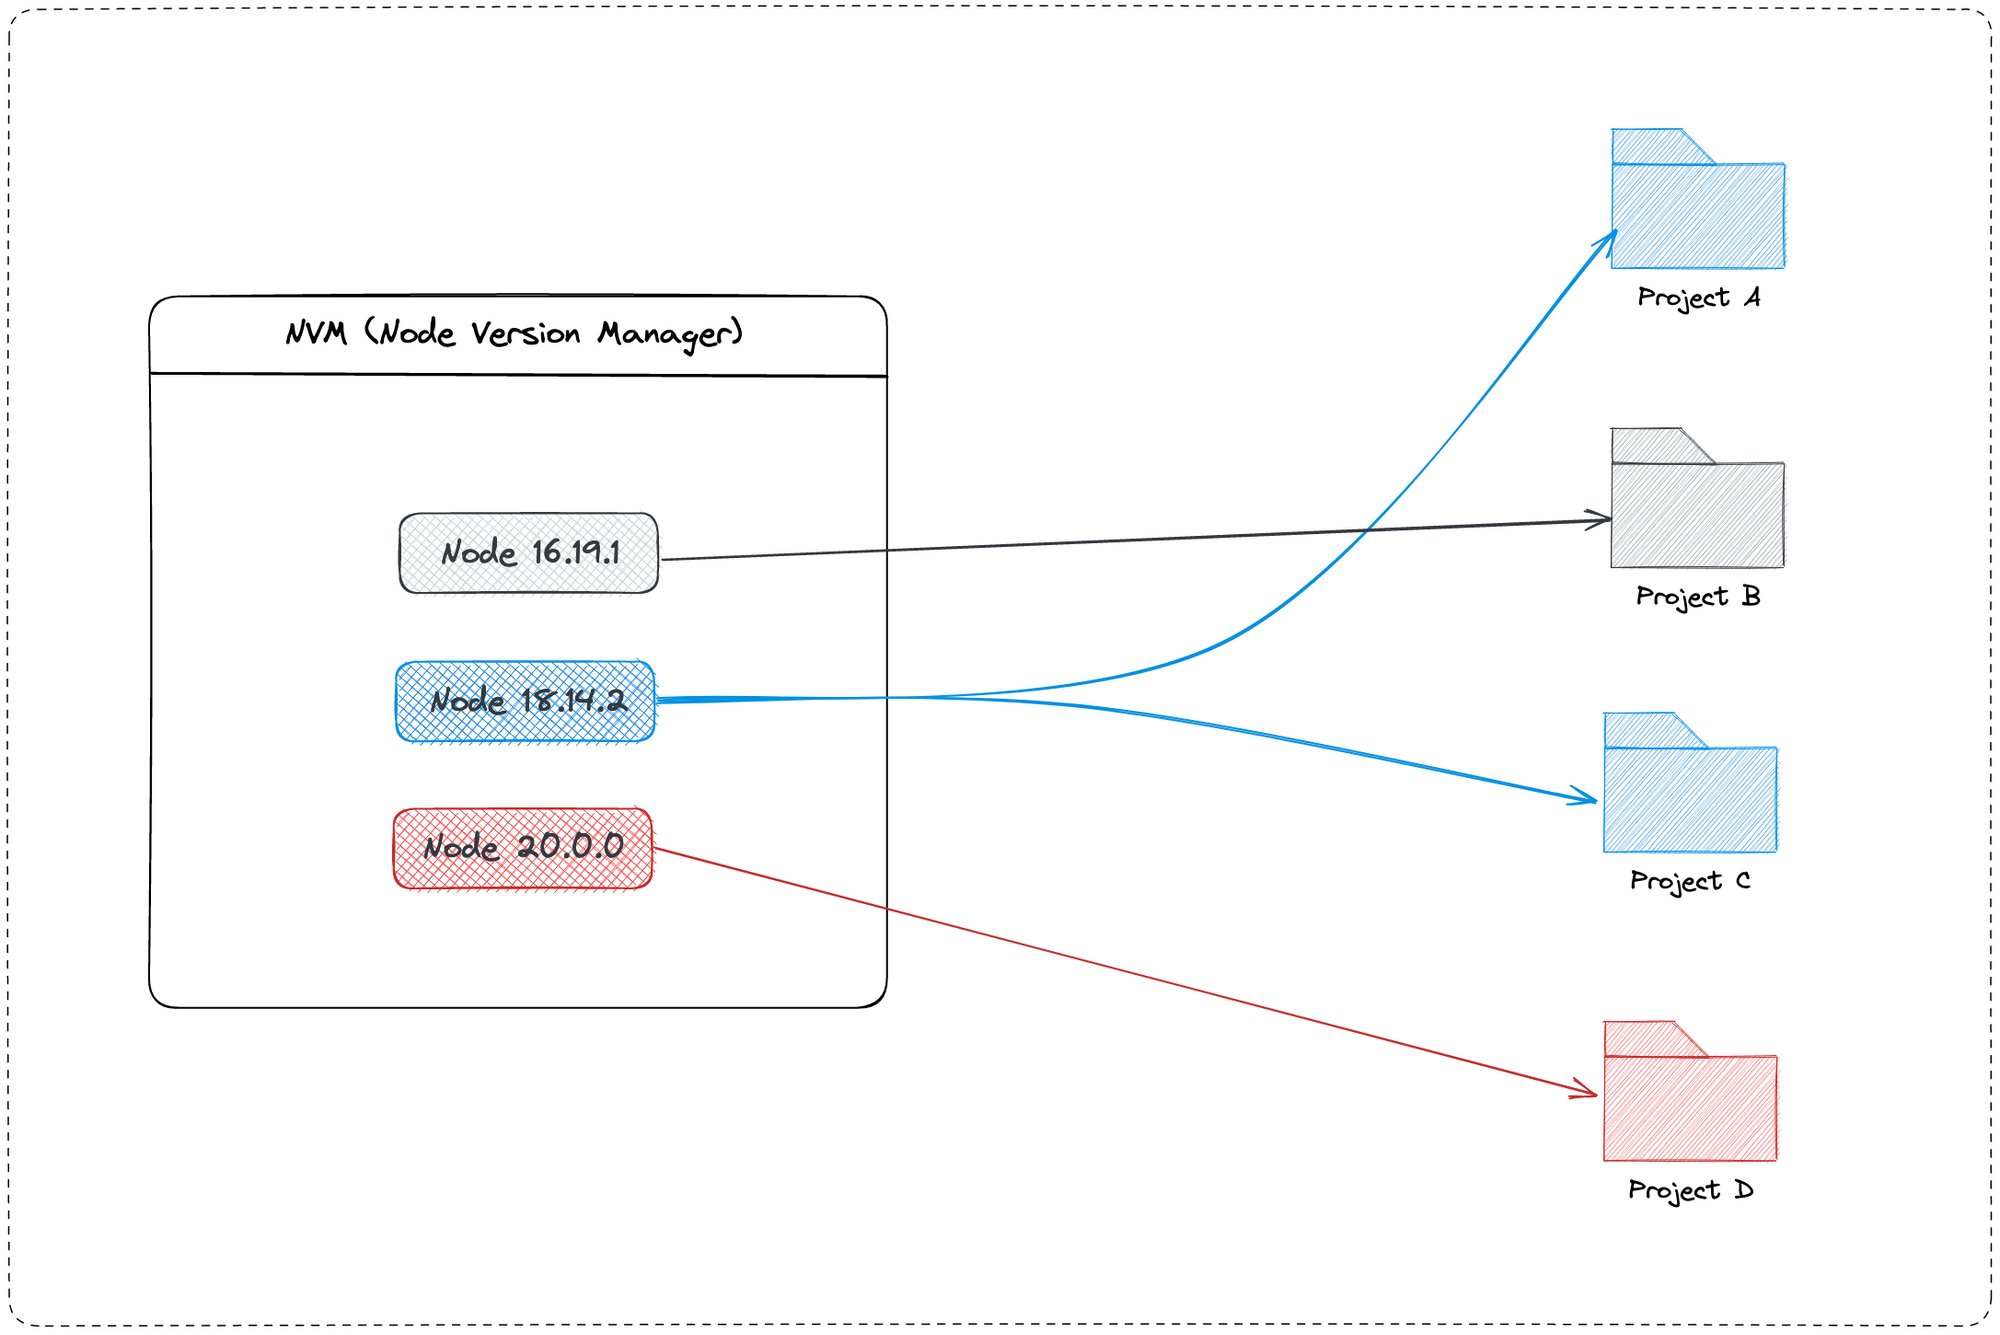
- Monorepo projects: it is common to have the frontend and backend as two Node.js projects that evolve in their own way. Having a single version of Node.js made it hard to work on these projects.
- Quick prototyping: you want to build a prototype on a specific version to use a Node feature.
There are other issues I didn't list, but being able to install many versions of Node.js and then enable a specific version when needed will solve these issues.
Discover Node Version Manager
NVM (Node Version Manager) is a command-line tool that allows you to install and manage multiple versions of Node.js on your system. You can set a global Node version on the system and then use a specific version in a project requiring it.

Prerequisites for installing NVM
To install NVM, make sure you have the following prerequisites installed on your system:
- Git
- Curl
The latest version, the moment I'm writing, is 0.39.3. You can find the newest version on the GitHub repository. Make sure to update the command below before running it.
Run the command below to install NVM:
curl -o- <https://raw.githubusercontent.com/nvm-sh/nvm/v0.39.3/install.sh> | bash
This command will download the bash script that will install the NVM and execute it. Check that it is installed by running nvm --version.
Install the latest Node.js version with NVM
To install the latest version of Node.js and enable it as the default version of the system, run the command below:
nvm install node
You will get the following output:

Install a specific version of Node.js with NVM
To install a particular version of Node.js, the syntax pattern is as follows:
nvm install vx.x.x
Replace x.x.x with the version number you want to install.
To browse the available Node.js versions for installation, use the following command:
nvm ls-remote
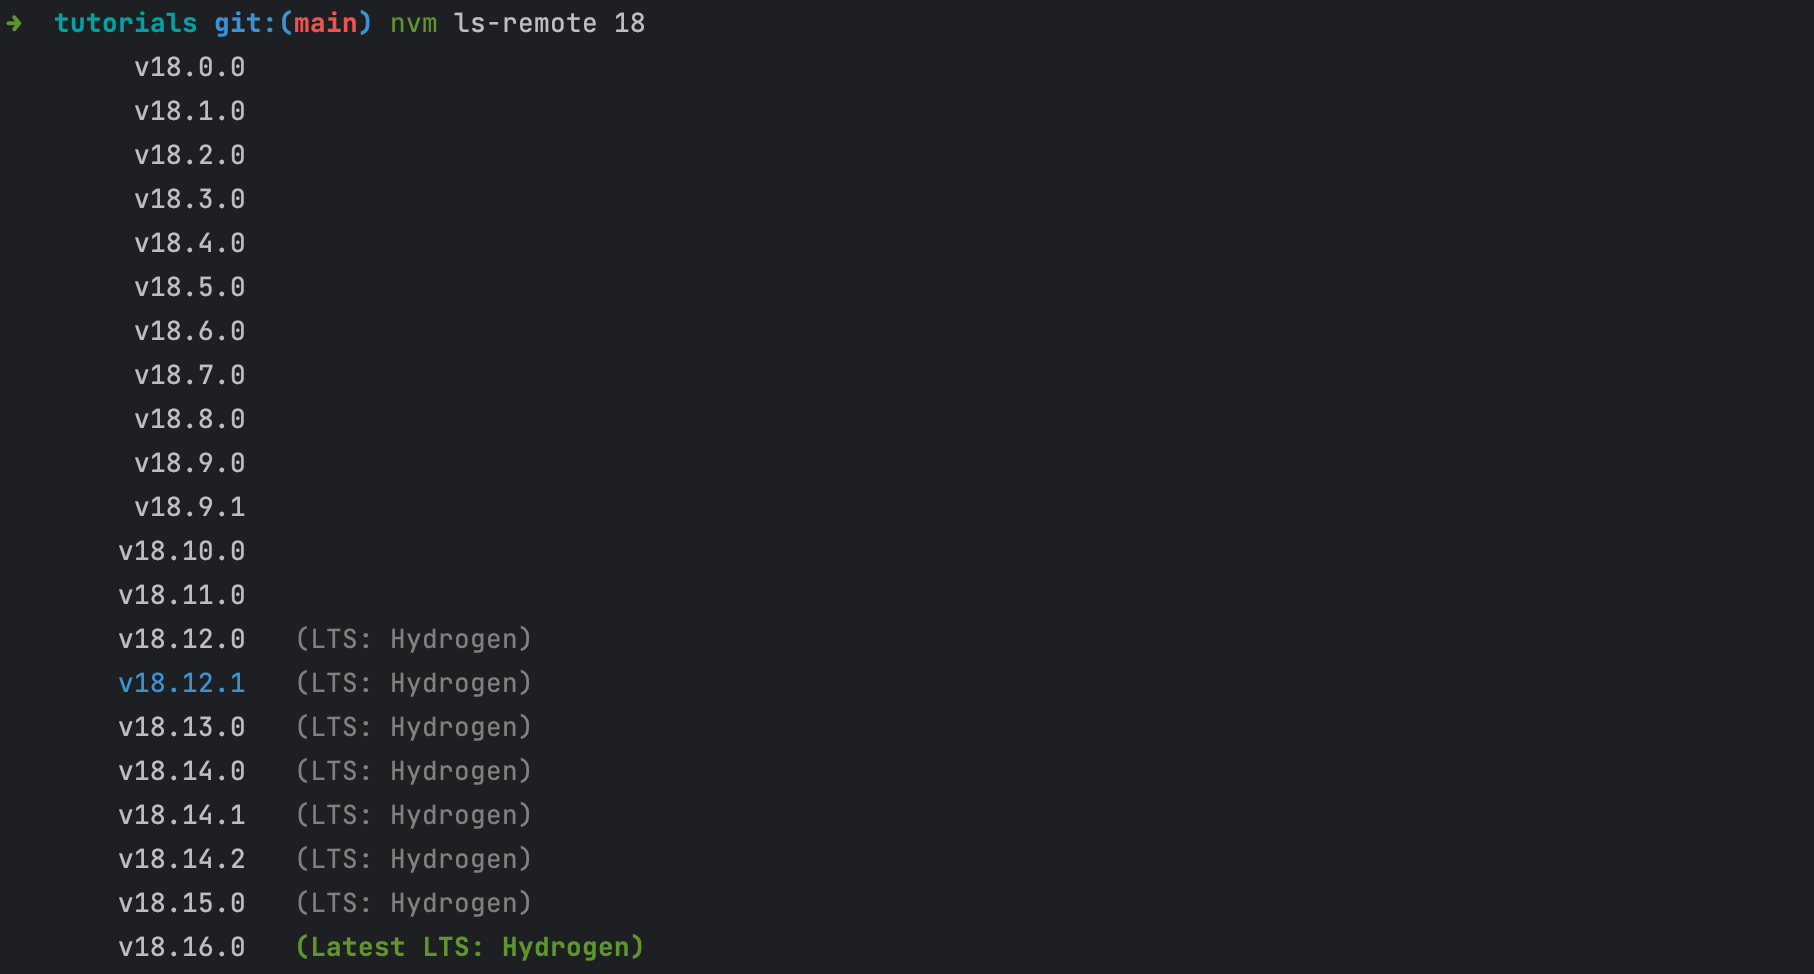
This command will list all the Node.js versions since the first one, which is quite long. You can filter on a specific version by adding it next to the command nvm ls-remote <version>.
This is the list of all Node.js 18 versions.

You can now install version 18.14.2 by running the following:
nvm install v18.14.2
Switch between Node.js versions
To switch between installed versions of Node.js, the syntax command is:
nvm use vx.x.x
To use the version 18.14.2 we installed earlier, the command is:
nvm use v18.14.2
To see all the Node.js versions installed with NVM, run the command nvm ls.
Using the .nvmrc file
Create a file named .nvmrc and the version you want to install inside; you can now run nvm use without specifying a version, NVM will read the Node version in the file, install t if needed, and finally enable it as the current version.
One of the use cases is to version control this file on your project so any developers setting up the project can set the correct Node.js version for the project.
touch .nvmrc
echo "18.14.2" >> .nvmrc
git add .nvmrc
Change the default Node.js version
Using nvm use set the Node.js version only for the folder you run the command inside. Outside of the folder, the Node.js version remains the global one. The syntax command that wants to change the default versions is:
nvm alias default vx.x.x
To set version 18.14.2 as the default version, the command is:
nvm alias default v18.14.2
Changing the Node.js version can impact the Node.js global packages installed on your computer; I wrote this post to explain the issue and how to fix it.

Uninstall NVM
To remove NVM, run the following command:
rm -rf $NVM_DIR
Then, edit the user profile file ~/.bashrc (or other shell resource config) and remove the lines below:
export NVM_DIR="$HOME/.nvm"[ -s "$NVM_DIR/nvm.sh" ] && \. "$NVM_DIR/nvm.sh" # This loads nvm[[ -r $NVM_DIR/bash_completion ]] && \. $NVM_DIR/bash_completion
Wrap up
NVM makes it easy to manage multiple versions of Node.js on your computer. You can install, enable, disable, and uninstall a specific version. This gives more flexibility in working on projects requiring different versions of Node.js.
Use the .nvmrc file to share the Node.js version to use across the developers' team.
Follow me on Twitter or subscribe to my newsletter to avoid missing the upcoming posts and the tips and tricks I occasionally share.


