Build a One-time Password in Node.js using Twilio SMS API and Redis

A one-time password is a password that is valid for only one login session or transaction, on a computer system or other digital device. The implementation varies depending on the target. SMS is one of the most common implementations. To showcase the usage of Twilio API SMS, we will build one.
Prerequisites
To follow this tutorial, make sure you have these tools
- A Twilio account (I will guide you on how to create one)
- Node.js and NPM or Yarn
- Docker to run a container for Redis
Create an account
You need a Twilio account to access all their services. To create one, you can use my referral link below, so we will earn $10 once you sign up and upgrade your account.

Fill the inputs with your information and click on the button "Start your free trial".
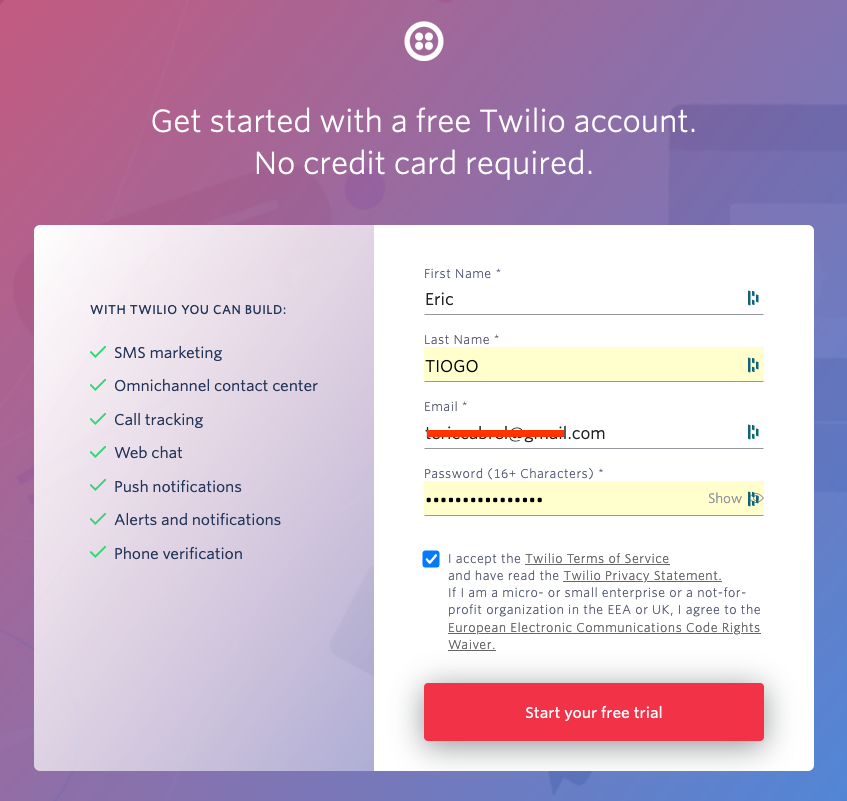
You will receive an email in your inbox to verify your account.
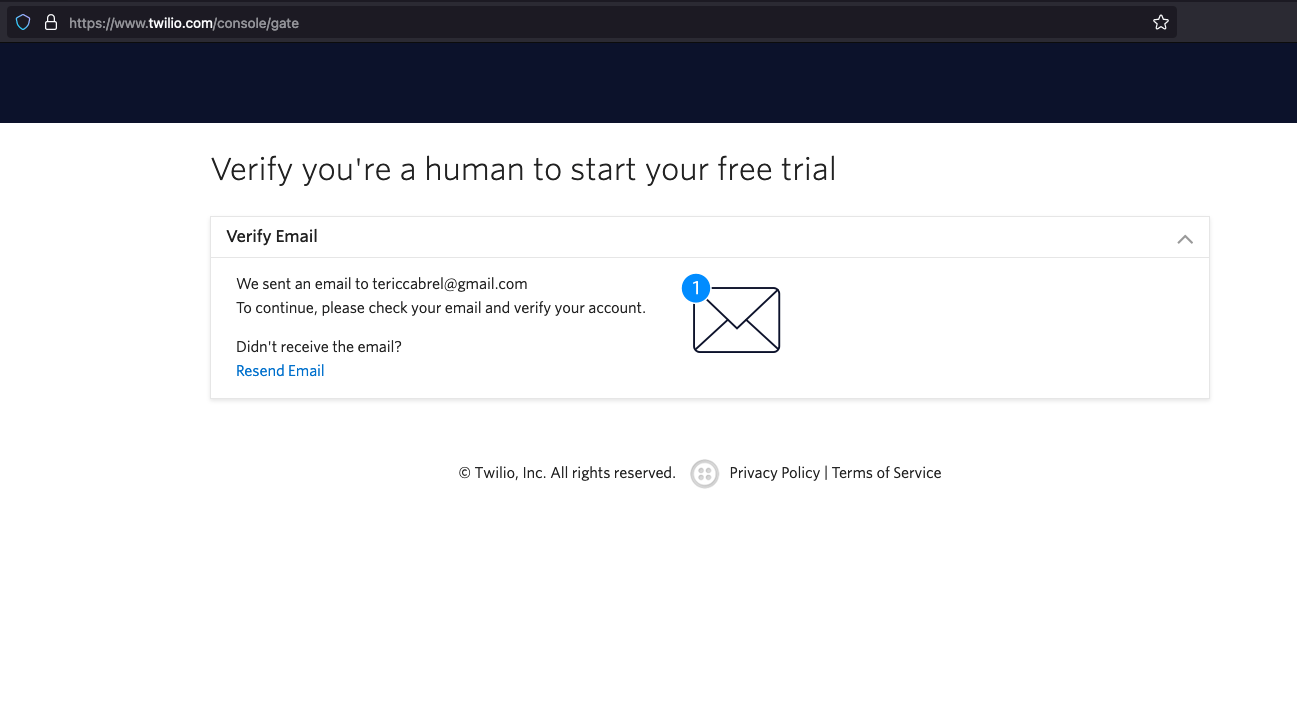
Once your email is confirmed, you will need to provide a phone number for verification.
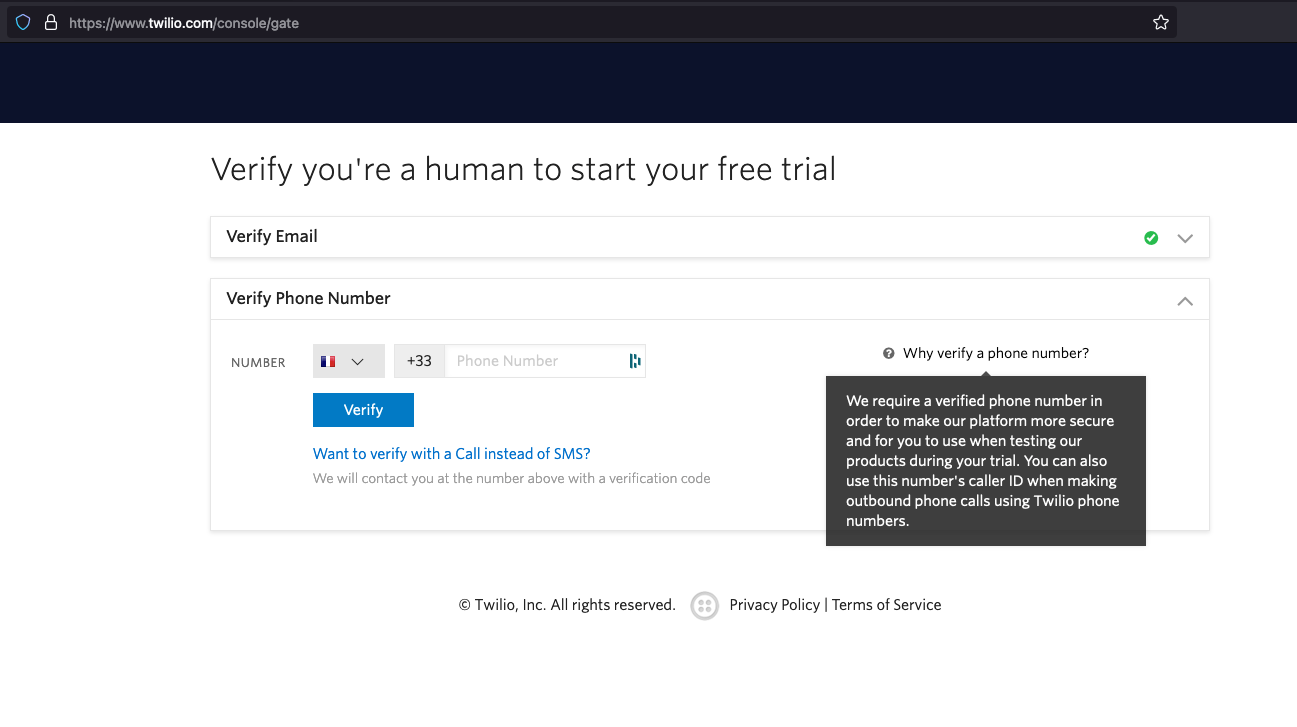
When you enter your phone number and click on the button "Verify", you will receive an SMS with a code to enter on the next page.
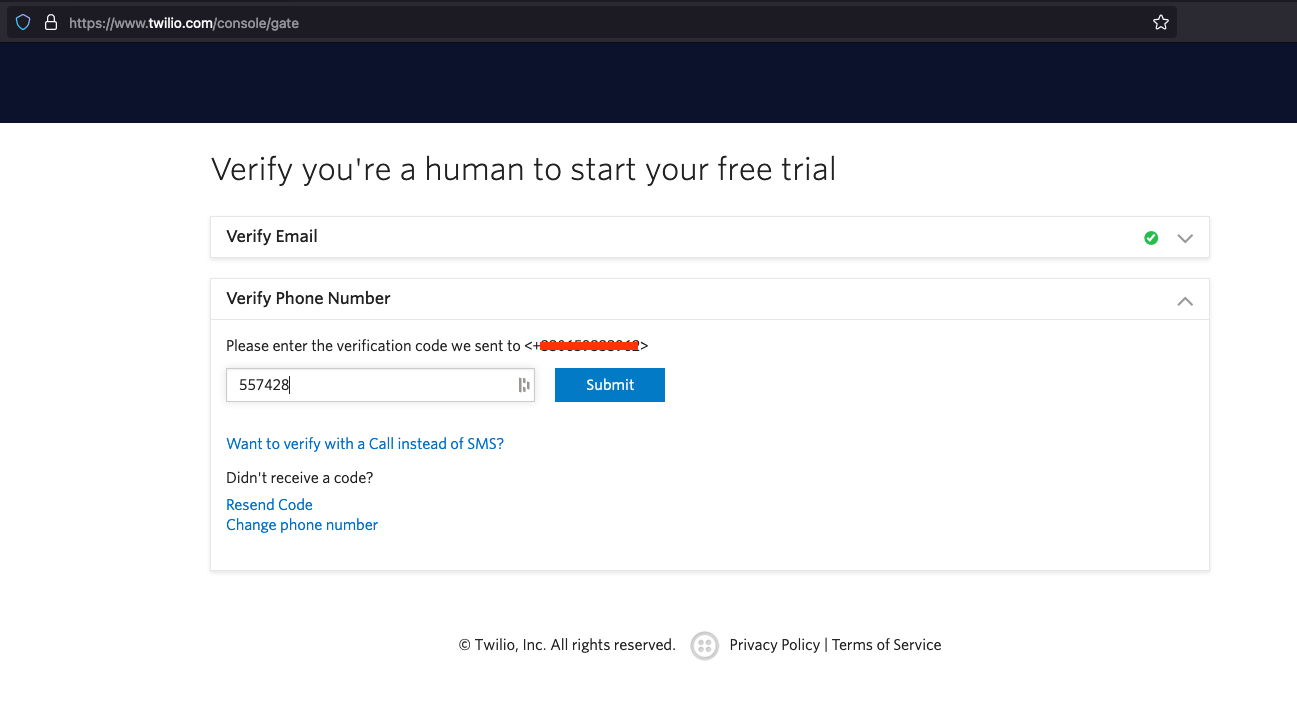
Once your phone number is verified, the last step is to provide some information about your goal for using Twilio. Choose the same answer as in the picture below.
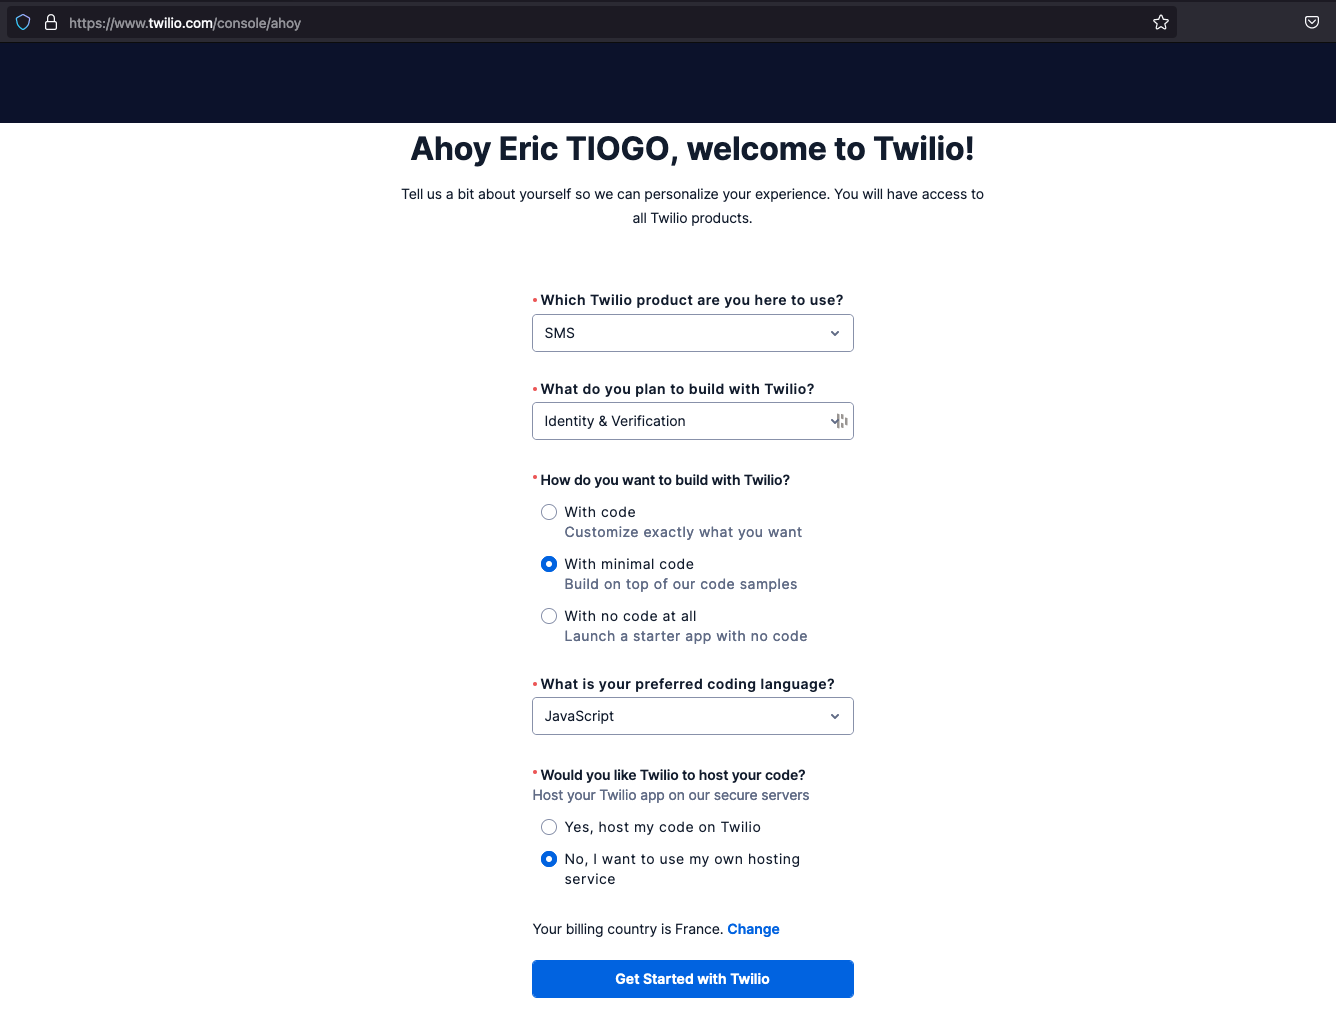
You will reach the dashboard, which is the end of this part. There is no need to follow the steps shown on the page since we will see them in this tutorial.
Set up programmable SMS
On the dashboard, go to the left sidebar and click on the menu "Messaging" => "Overview".
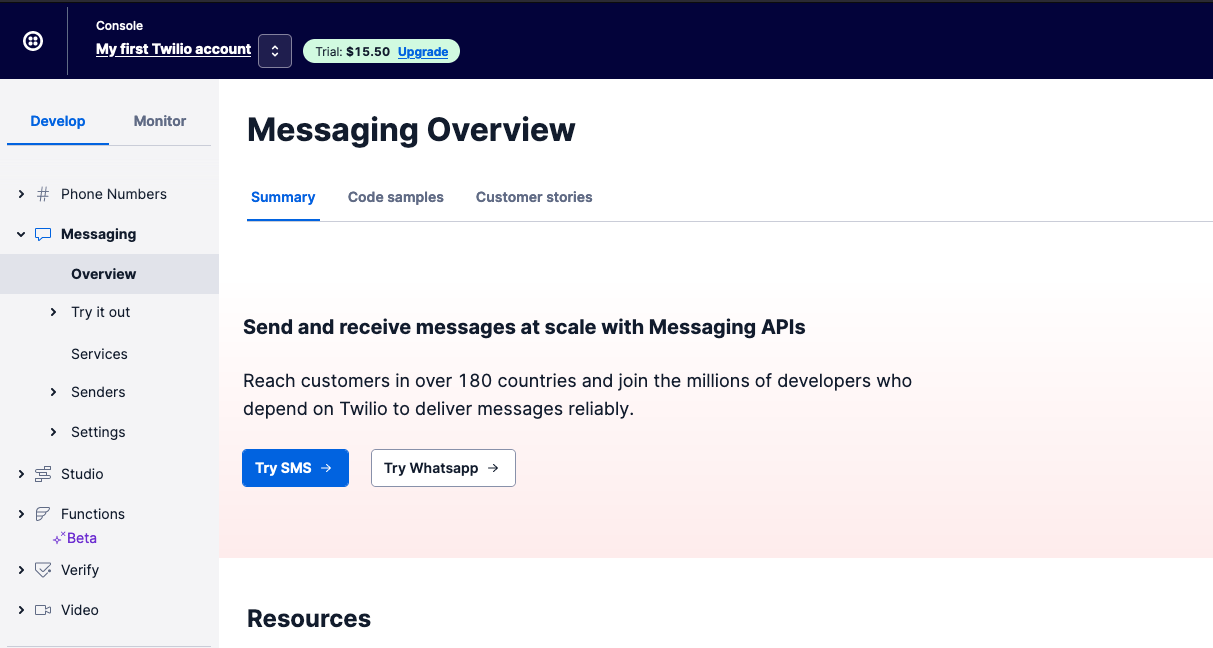
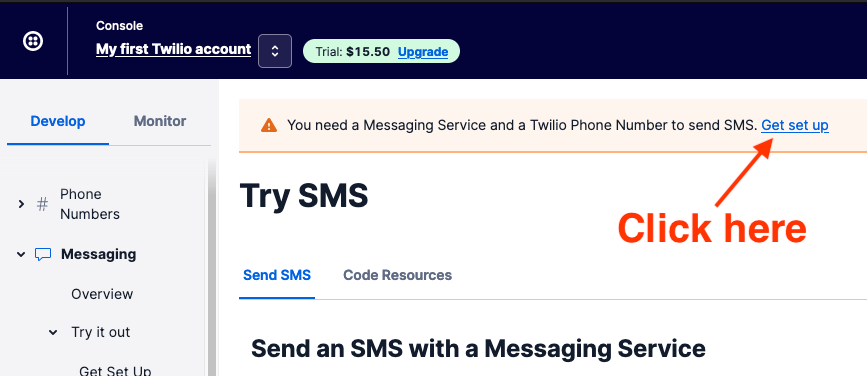
Next, click on the link labeled "Get set up".
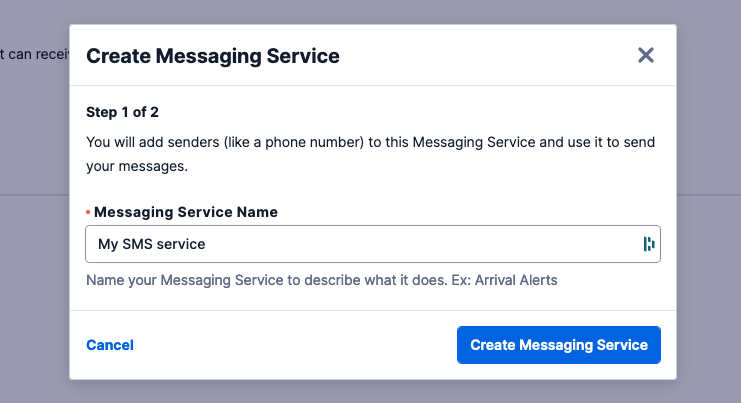
Enter the Messaging service name and click on the button "Create Messaging Service"
A phone number will be generated for you and displayed in the next step. Click on the button "Provision and add this number".
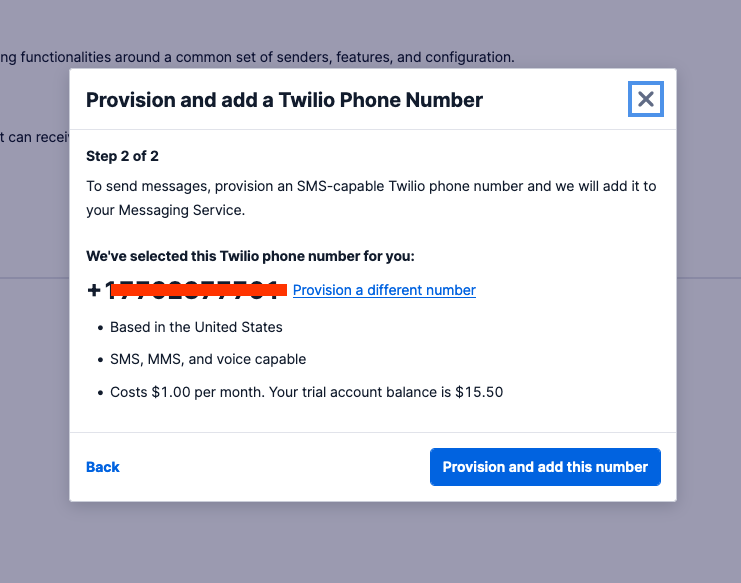
Copy this number and keep it somewhere because we will need it later; alternatively, you can go to the menu "Phone Numbers" in the left sidebar to find it.
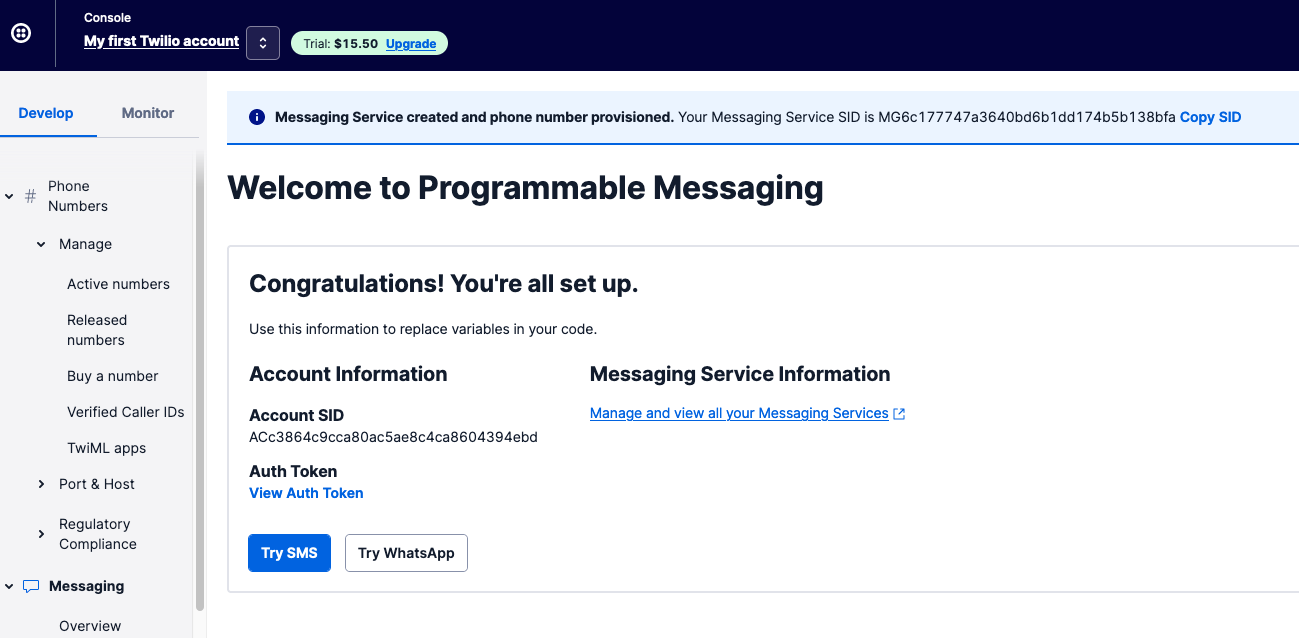
We are all set!
From this page, copy the account SID and the Auth Token. We will need it in our Node.js application.
Create the Node.js project
I created a boilerplate to quickly start a Node.js project with Express Framework. The application will expose two endpoints to respectively send a unique code by SMS and verify the code received by SMS. Let's clone it and launch it locally:
git clone https://github.com/tericcabrel/node-ts-starter.git -b express node-otp-twilio

cd node-otp-twilio

yarn install

yarn start
Navigate to the URL http://localhost:4500/ to verify it works as expected.
The project comes with the support of environment variables, thanks to dotenv. When you launch your application, all the variables located in the file '.env' are injected into the node process.
This file is excluded from the Git version, but there is a template called .env.example you can duplicate to create your local .env file. Run the command below to do that:
cp .env.example .envInstall the Twilio SDK for Node.js
There is an SDK for each language supported by Twillio services, to interact with their API from your own source. To interact with the SMS, let's install the package for Node.js:
yarn add twilioCreate a client SDK
A client SDK is an instance of the SDK with the credentials configured, so the API will know who is performing the request. The credentials we need here are the ACCOUNT_SID and the AUTH_TOKEN.
Let's update the .env file to add this value; your file will look like this:
HOST=http://localhost
PORT=4500
TWILIO_ACCOUNT_SID=<your_account_sid_here>
TWILIO_AUTH_TOKEN=<your_auth_token_here>
Save and exit.
Inside the folder src, create a file called client.ts and add the code below:
import twilio from 'twilio';

const accountSid = process.env.TWILIO_ACCOUNT_SID;
const authToken = process.env.TWILIO_AUTH_TOKEN;

const twilioClient = twilio(accountSid, authToken);

export { twilioClient };
We can now use the client to interact with the API
Send an SMS with the code
Sending the code to a phone number required many steps:
- Extra the phone number from the request's body
- Generate a random 6-digits number
- Store the random code generated with the phone number for a further verification
- Send an SMS with the random number to the user's phone number
Since the validation must be done in a limited time (10 minutes, for example), we will use Redis, an in-memory key-value store database that makes it possible to store ephemeral data. Basically, we will store the phone number and the random digit with a Time To Live (TTL) of 10 minutes.
Set up Redis locally
To quickest way to have Redis installed on your computer is to run a Docker container or use a Redis cloud provider like Upstash or RedisLabs. I will use Docker here, so run the command below to start a container:
docker run --name node-otp-redis -d redisBy default, Redis runs on port 6379, and Docker maps it to the same port on your computer.
We now need to install a Redis client for Node.js that help to interact with Redis from our Node.js code. We will use ioredis:
yarn add ioredisCreate the Redis client
Inside the src folder, create a file called redis-client.ts and add the code below:
import Redis from 'ioredis';

const redisUrl = process.env.REDIS_URL || 'redis://127.0.0.1:6379';

const redisClient = new Redis(redisUrl);

export { redisClient };
Update the environment variables
To send an SMS, you need a sender and a recipient; in our case, the receiving number will be retrieved from the request body, and the sending number is the one we generated earlier while creating the Messaging Service. We will create an environment variable
While making the Redis client, we read the URL from the environment variable called REDIS_URL; we also need to add this in our .env file
Now the .env file looks like this:
HOST=http://localhost
PORT=4500
TWILIO_ACCOUNT_SID=<your_account_sid_here>
TWILIO_AUTH_TOKEN=<your_auth_token_here>
TWILIO_PHONE_NUMBER=<your_twilio_phone_number_here>
REDIS_URL=redis://127.0.0.1:6379
Create the endpoint for sending the verification code
Using the Express framework, we will create an endpoint called /send-code that supports the POST method. Update the content of the file src/index.ts with the code below:
import { generateRandomSixDigitsNumber } from './randon-number';
import { redisClient } from './redis-client';
import { twilioClient } from './twillio-client';

app.post('/send-code', async (req, res) => {
  const recipientPhoneNumber = req.body.phoneNumber;
  const randomNumber = generateRandomSixDigitsNumber();

  const message = `Hello from Teco Blog! Your verification code is: ${randomNumber}`;

  await redisClient.set(recipientPhoneNumber, `${randomNumber}`, 'EX', 600);

  const response = await twilioClient.messages.create({
    from: process.env.TWILIO_PHONE_NUMBER,
    to: recipientPhoneNumber,
    body: message,
  });

  return res.json({ message: `Message sent with id: ${response.sid}` });
});
Note: the source code of the file random-number.ts can be found in the final source code repository on GitHub.
Verify the code
Now, we want to create an endpoint called /verify-code that supports a POST method and has in the body two pieces of information:
- The recipient's phone number
- The code received by SMS
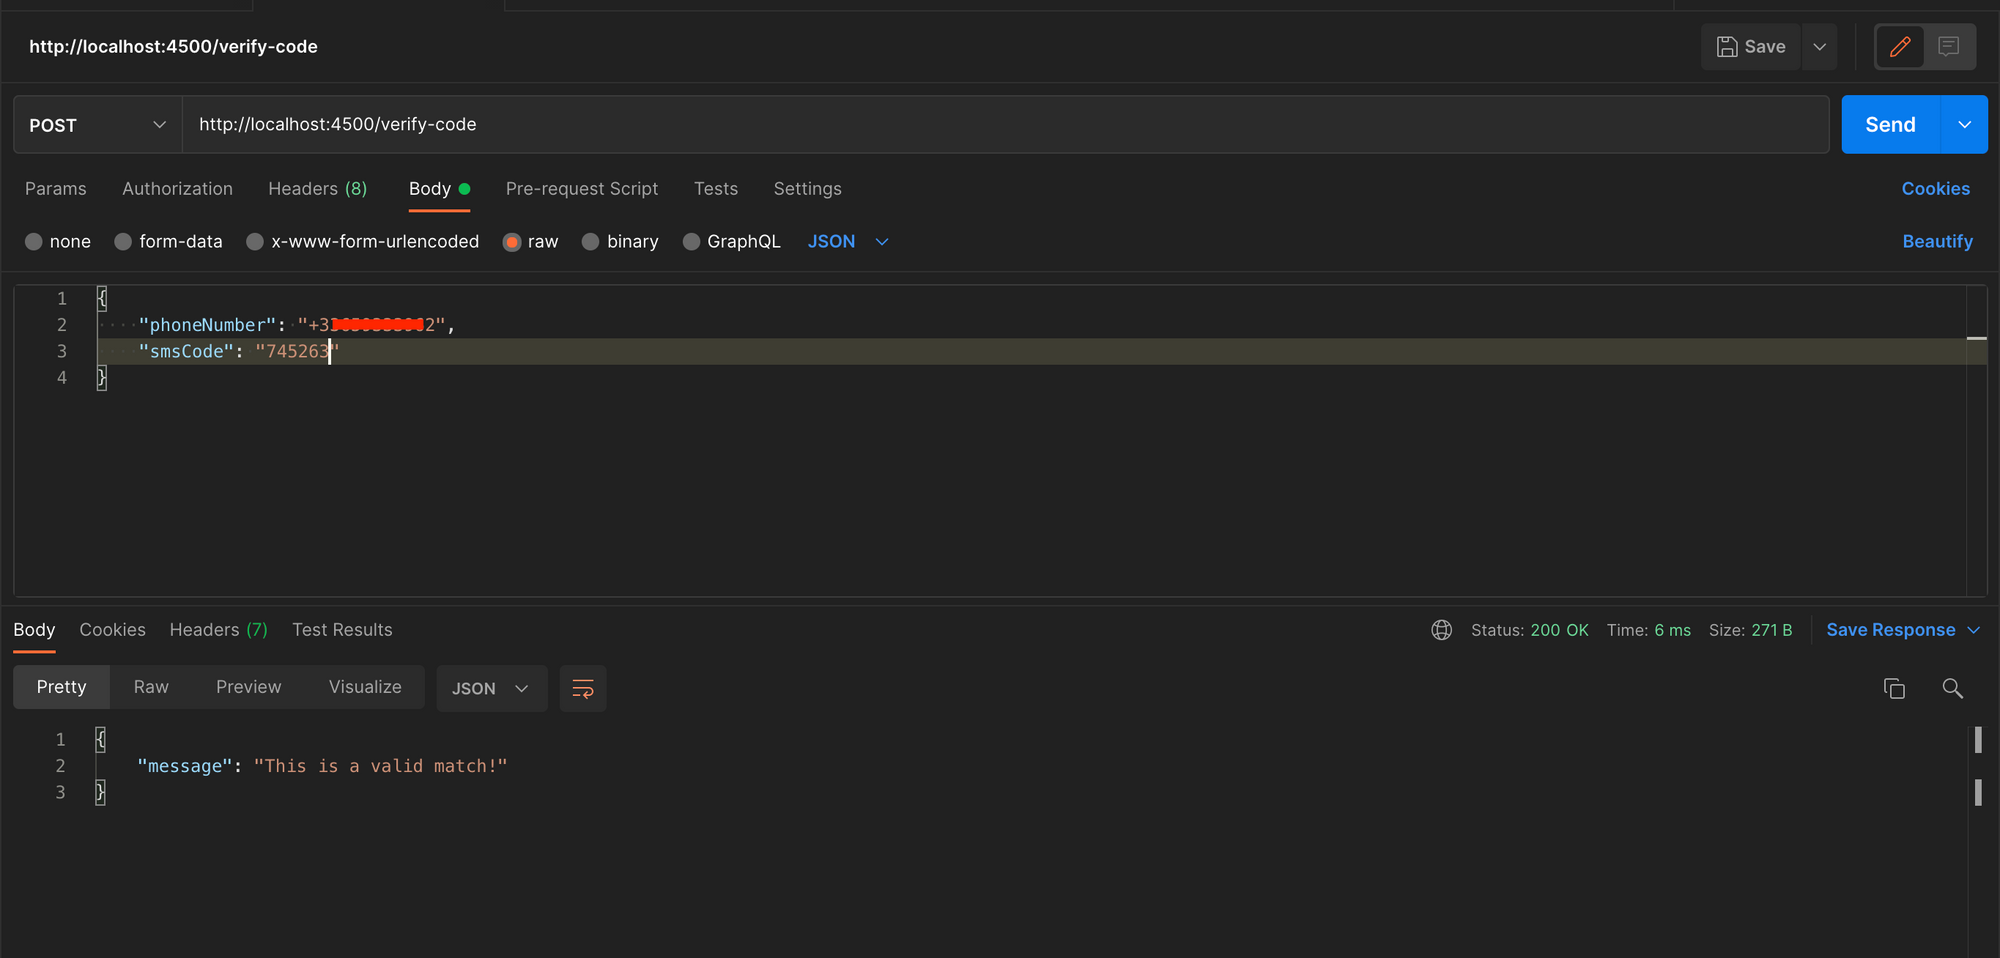
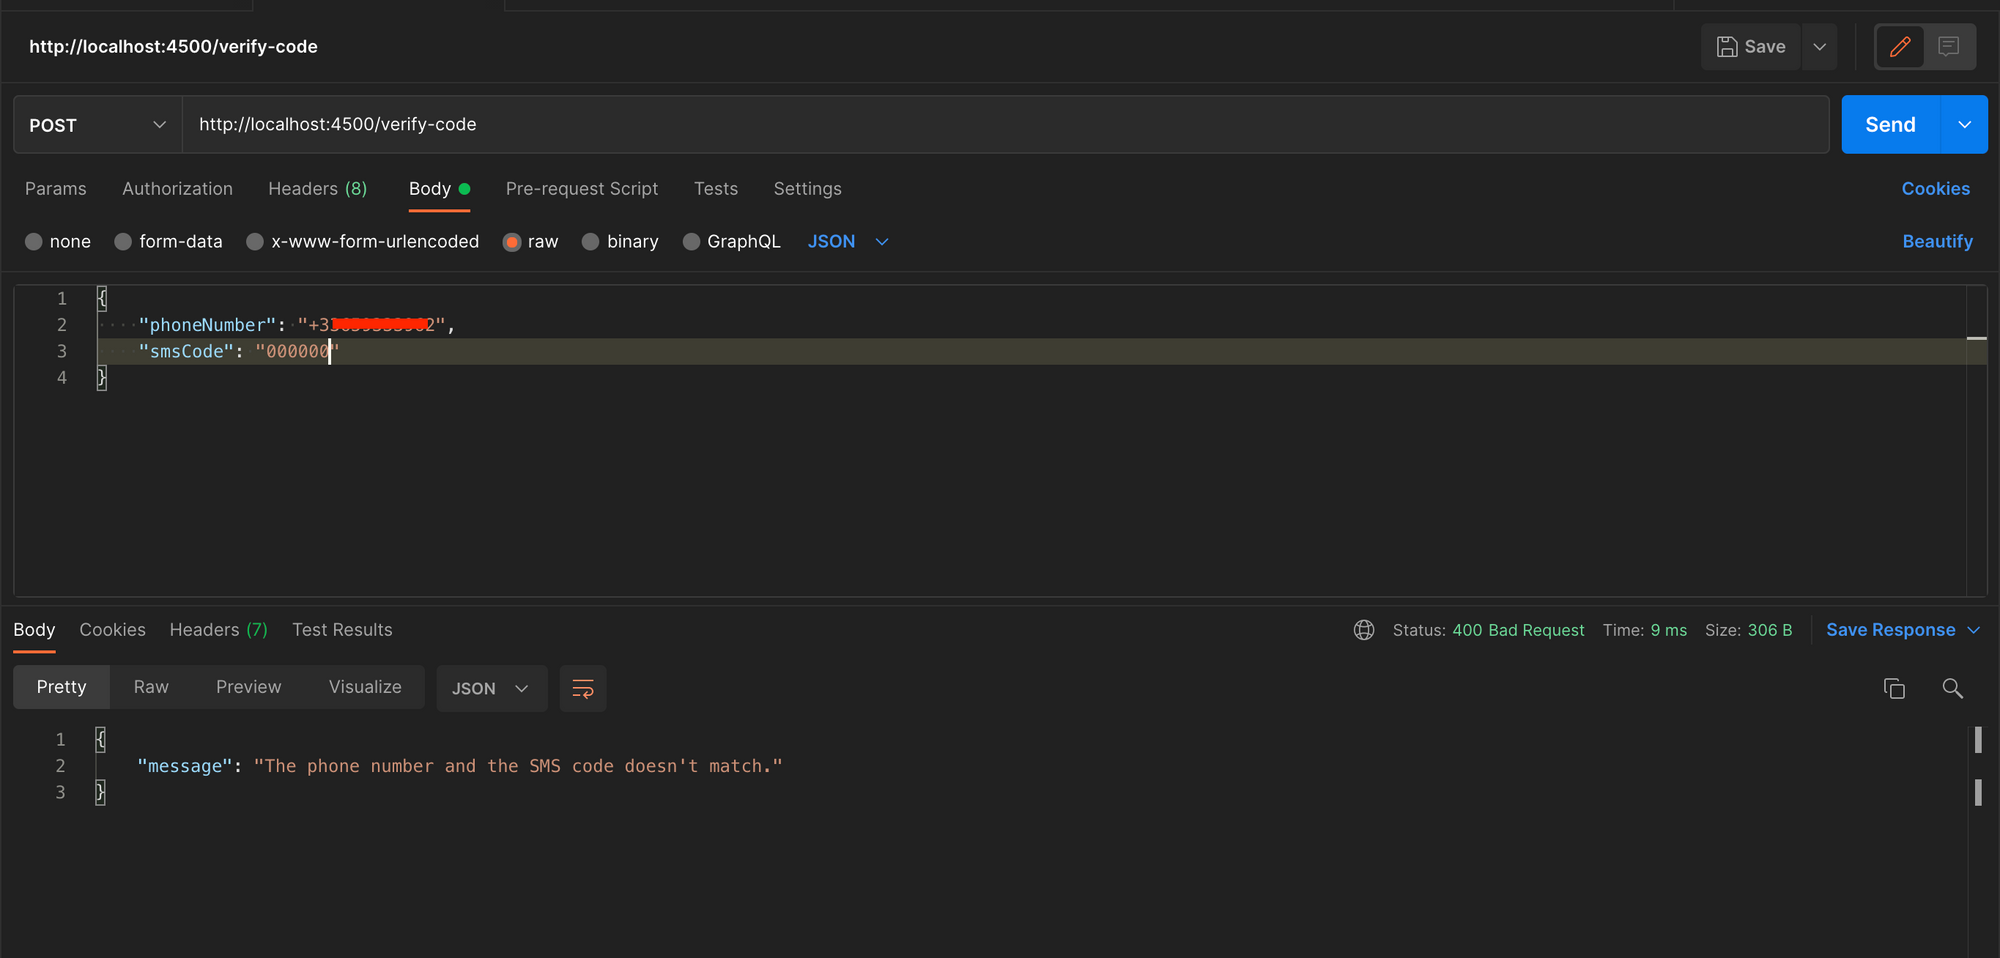
We will check in Redis if there is a key <recipientPhoneNumber> that has a value of the SMS code. If found, we send a success message; otherwise, a failure message. Update the content of the file src/index.ts with the code below:
app.post('/verify-code', async (req, res) => {
  const recipientPhoneNumber = req.body.phoneNumber;
  const smsCodeReceived = req.body.smsCode;

  const value = await redisClient.get(recipientPhoneNumber);

  if (value === `${smsCodeReceived}`) {
    await redisClient.del(recipientPhoneNumber);

    return res.json({ message: 'This is a valid match!' });
  }

  return res.status(400).json({ message: `The phone number and the SMS code doesn't match.` });
});
Test the application
We will use an HTTP client like Postman to test the application; here is the process:
- Start the application:
yarn start - Send a POST request to
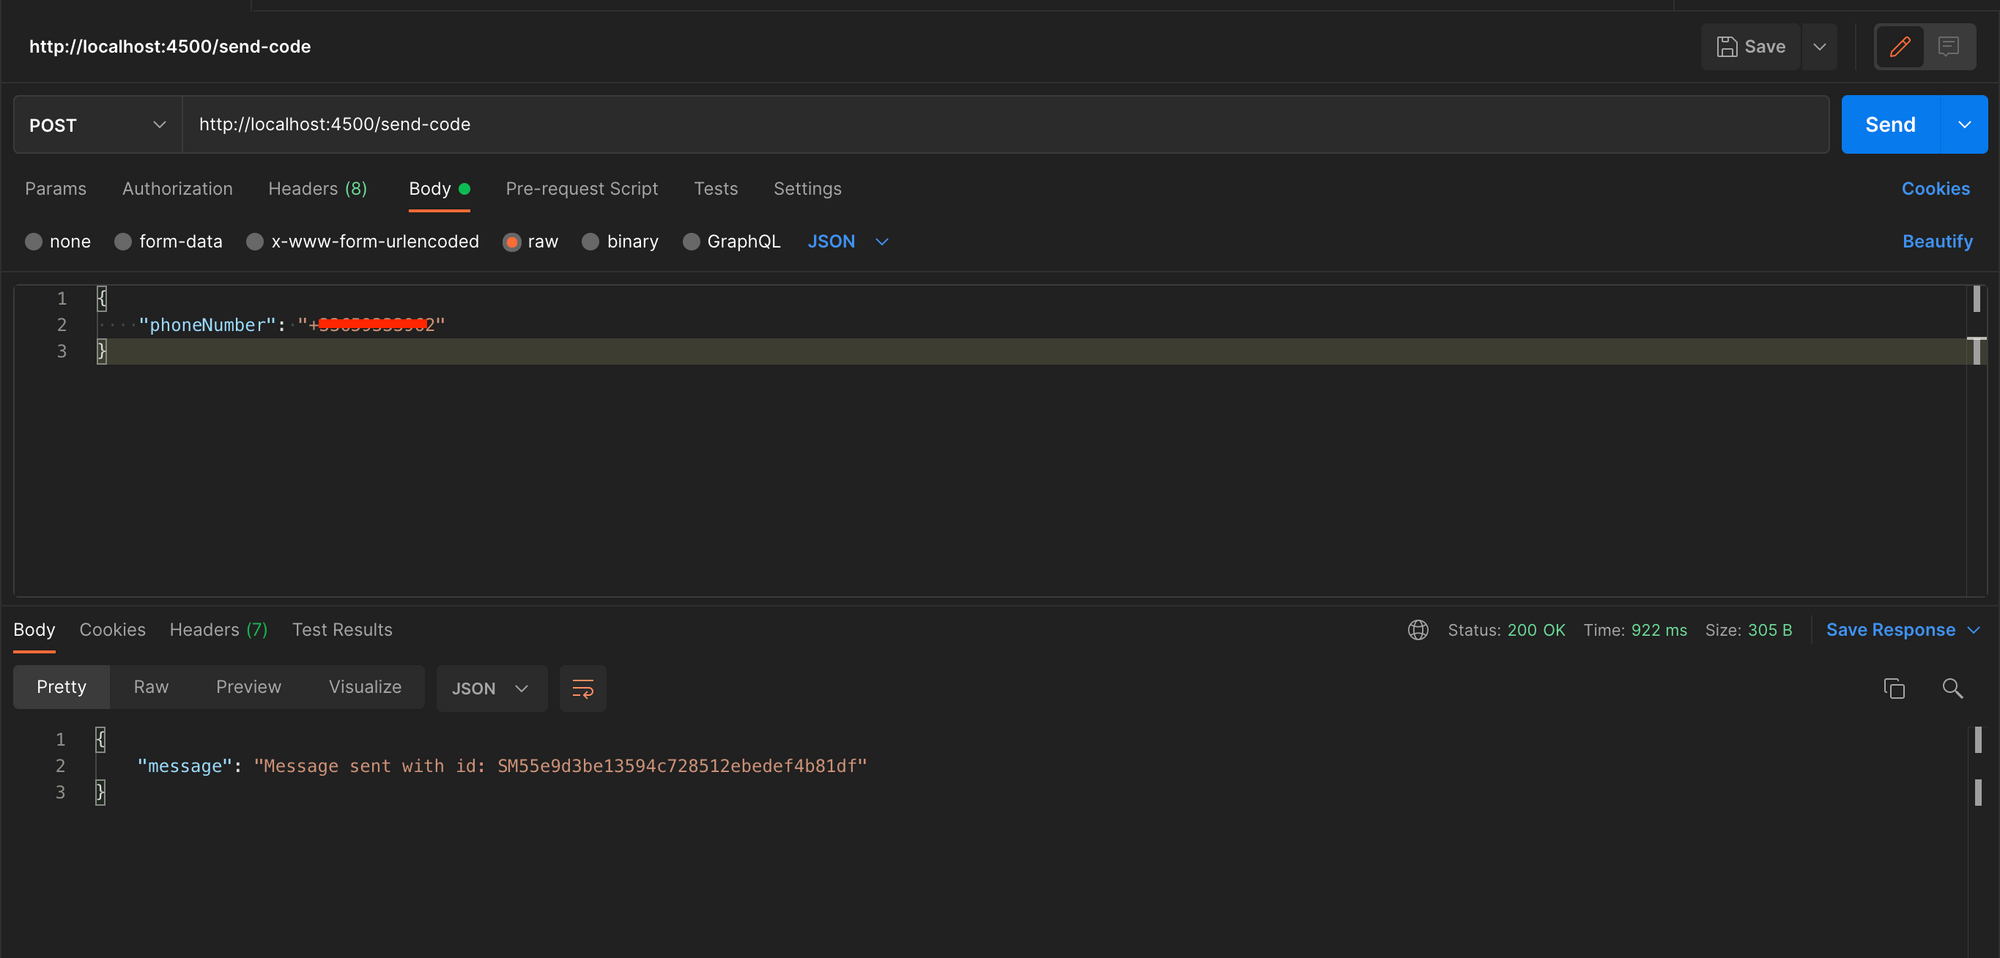
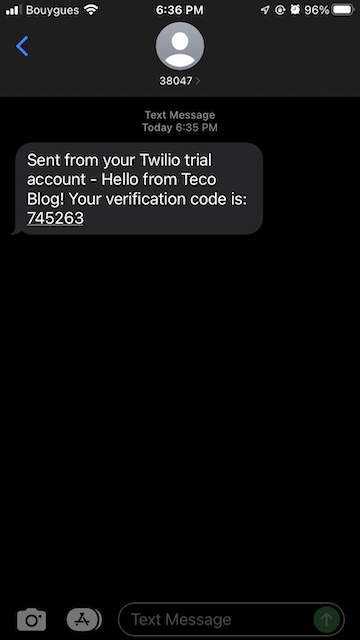
/send-codewith a REAL PHONE NUMBER inside the request body - Wait until you receive the SMS on the phone
- Send a POST request to
/verify-codewith the previous REAL PHONE NUMBER and the code you received in the SMS
Step 1: Send the code
Step 2: Receive SMS code
Step 3: Valid match
Step 4: Invalid match
Wrap up
We saw how to send an SMS using the Twilio API by building an OTP system. To learn more about what you can do with this API, check out this link.
Although this implementation works, I would recommend using the Twilio service called Verify. If you have a very complex OTP use case, you can go for your own implementation.

You can find the code source on the GitHub repository.
Follow me on Twitter or subscribe to my newsletter to not miss the upcoming posts and the tips and tricks I share every week.
Happy to see you soon ?


