
Set up a React project with Typescript, Hot reload and Webpack


Photo by Daniel McCullough / Unsplash
React is one of the most popular libraries to build Single Page Applications. It has a huge community and many libraries built around it to solve a specific problem. One of those libraries is a boilerplate to quickly bootstrap a React application. Create-React-App is the most popular and comes out of the box with
- Hot reload to promptly see the changes on the browser
- Typescript supports
- Set of tools to test your component
- An optimized build for production
- etc.…
Provides all these features implied the installation of many node packages, which can be a problem when you just want to start a project with the minimal configuration possible.
In this tutorial, we will see how to set up a React project from scratch using Webpack and Babel. We will also include the support of Typescript and the hot reload.
Prerequisites
To follow this tutorial, you need to have this software installed on your computer:
- Node.js 12+
- NPM or Yarn (I will use Yarn)
- Your favorite IDE
Initialize the project directory
Let's create a project directory and initialize a Node.js project
mkdir react-webpack
cd react-webpack
yarn init -y
A package.json has been created with minimal information.
Configure and use Webpack
Let's install packages we will use to bundle our application:
yarn add -D webpack webpack-cliLet's create an "src" folder then add a file named index.js with the content below:
console.log("Hello from Teco Tutorials")We need to create the Webpack configuration file that will give the instructions on building the application.
Create a file webpack.config.js then add the code below:
const path = require("path");

module.exports = {
    entry: "./src/index.js",
    mode: "development",
    output: {
        path: path.resolve(__dirname, "dist"),
        filename: "bundle.js"
    }
}
Update the package.json to add a script to build the application
"scripts": {
    "build": "webpack"
}
Once done, run the command: yarn build.
Add index.html file
Our bundled file runs only on the node, and we want it to run in the browser. To do that, we will create an HTML file then tell Webpack to include the bundle in that file.
Create a "public" folder, then add a file named index.html with the content below:
<!DOCTYPE html>
<html lang="en">
<head>
    <meta charset="UTF-8" />
    <meta name="viewport" content="width=device-width, initial-scale=1.0" />
    <title>React Webpack</title>
</head>
<body>
<div id="root"></div>
</body>
</html>
Now let's install the plugin that will inject the bundled file into the HTML file.
yarn add -D html-webpack-pluginUpdate our Webpack config so that it looks like this:
const HtmlWebpackPlugin = require('html-webpack-plugin');
const path = require("path");

module.exports = {
  entry: "./src/index.js",
  mode: "development",
  output: {
    path: path.resolve(__dirname, "dist"),
    filename: "bundle.js"
  },
  plugins: [new HtmlWebpackPlugin({
    template: "public/index.html",
    hash: true, // Cache busting
    filename: '../dist/index.html'
  })]
}
Run yarn build and verify that the Javascript bundle has been included in the HTML file.
Add Typescript to the project
Let's install Typescript and the loader for Webpack then, initialize Typescript in the project by generating the tsconfig.json file:
yarn add -D ts-loader typescript
tsc --init
The default tsconfig.json generated is good enough; we just need to replace the value of the property "jsx" with "react". Save the file, and it will look like this:
{
  "compilerOptions": {
    "target": "es5",
    "jsx": "react",
    "module": "commonjs",
    "esModuleInterop": true,
    "forceConsistentCasingInFileNames": true,
    "strict": true,
  }
}
Rename index.js to index.tsx. For this moment, the build command will not work because we didn't configure Webpack to parse .ts files.
Add React to the project
Let's add packages for React library:
yarn add react react-dom
yarn add -D @types/react @types/react-dom
Replace the content of the file src/index.tsx with this one:
import React from "react";
import { render } from "react-dom";
import App from "./App";

const root = document.getElementById("root");
render(<App />, root);
Create the file src/App.tsx then add the code below:
import React from "react";

const App = () => {
    const [count, setCount] = React.useState<number>(0);

    const increment = () => {
        setCount((count) => count + 1);
    }

    const decrement = () => {
        setCount((count) => count - 1);
    }

    return (
        <div>
            <h2>Number: <b>{count}</b></h2>
            <br /><br />
            <button onClick={() => increment()}>Increment</button>{' '}
            <button onClick={() => decrement()}>Decrement</button>{' '}
        </div>
    );
};

export default App;
We need to install Babel to make Webpack able to build the project.
Install Babel
Run the command below to install the necessary packages:
yarn add -D @babel/core @babel/preset-env @babel/preset-react babel-loaderCreate a babel config file named .babelrc.js, then add the content below:
module.exports = {
  presets: ["@babel/preset-react", "@babel/preset-env"]
}
Update the Webpack configuration file to add the content below:
module: {
  rules: [
    {
      test: /\.js$/,
      exclude: /node_modules/,
      use: {
        loader: "babel-loader"
      }
    },
    {
      test: /\.(ts|tsx)?$/,
      loader: "ts-loader",
      exclude: /node_modules/
    },
  ]
},
resolve: {
  extensions: ['.ts', '.js', '.json', ".tsx"]
}
Save and run yarn build to build the project; It will succeed if everything has been done correctly.
Set up the Hot Reload
The last part is to update the website in the browser when we make a change on a React file. We will install two packages for that:
yarn add react-hot-loader
yarn add -D webpack-dev-server
The final webpack.config.js will look like this:
const HtmlWebpackPlugin = require('html-webpack-plugin');
const path = require("path");

module.exports = {
  entry: "./src/index.tsx",
  devtool: "source-map",
  mode: "development",
  output: {
    path: path.resolve(__dirname, "dist"),
    filename: "bundle.js"
  },
  module: {
    rules: [
      {
        test: /\.js$/,
        exclude: /node_modules/,
        use: {
          loader: "babel-loader"
        }
      },
      {
        test: /\.(ts|tsx)?$/,
        loader: "ts-loader",
        exclude: /node_modules/
      },
    ]
  },
  resolve: {
    extensions: ['.ts', '.js', '.json', ".tsx"]
  },
  devServer: {
    port: 3000,
    open: true,
    hot: true
  },
  plugins: [new HtmlWebpackPlugin({
    template: "public/index.html",
    hash: true, // cache busting
    filename: '../dist/index.html'
  })]
}
Now we need to wrap the App component with the hot loader. Update the file to make it looks like this:
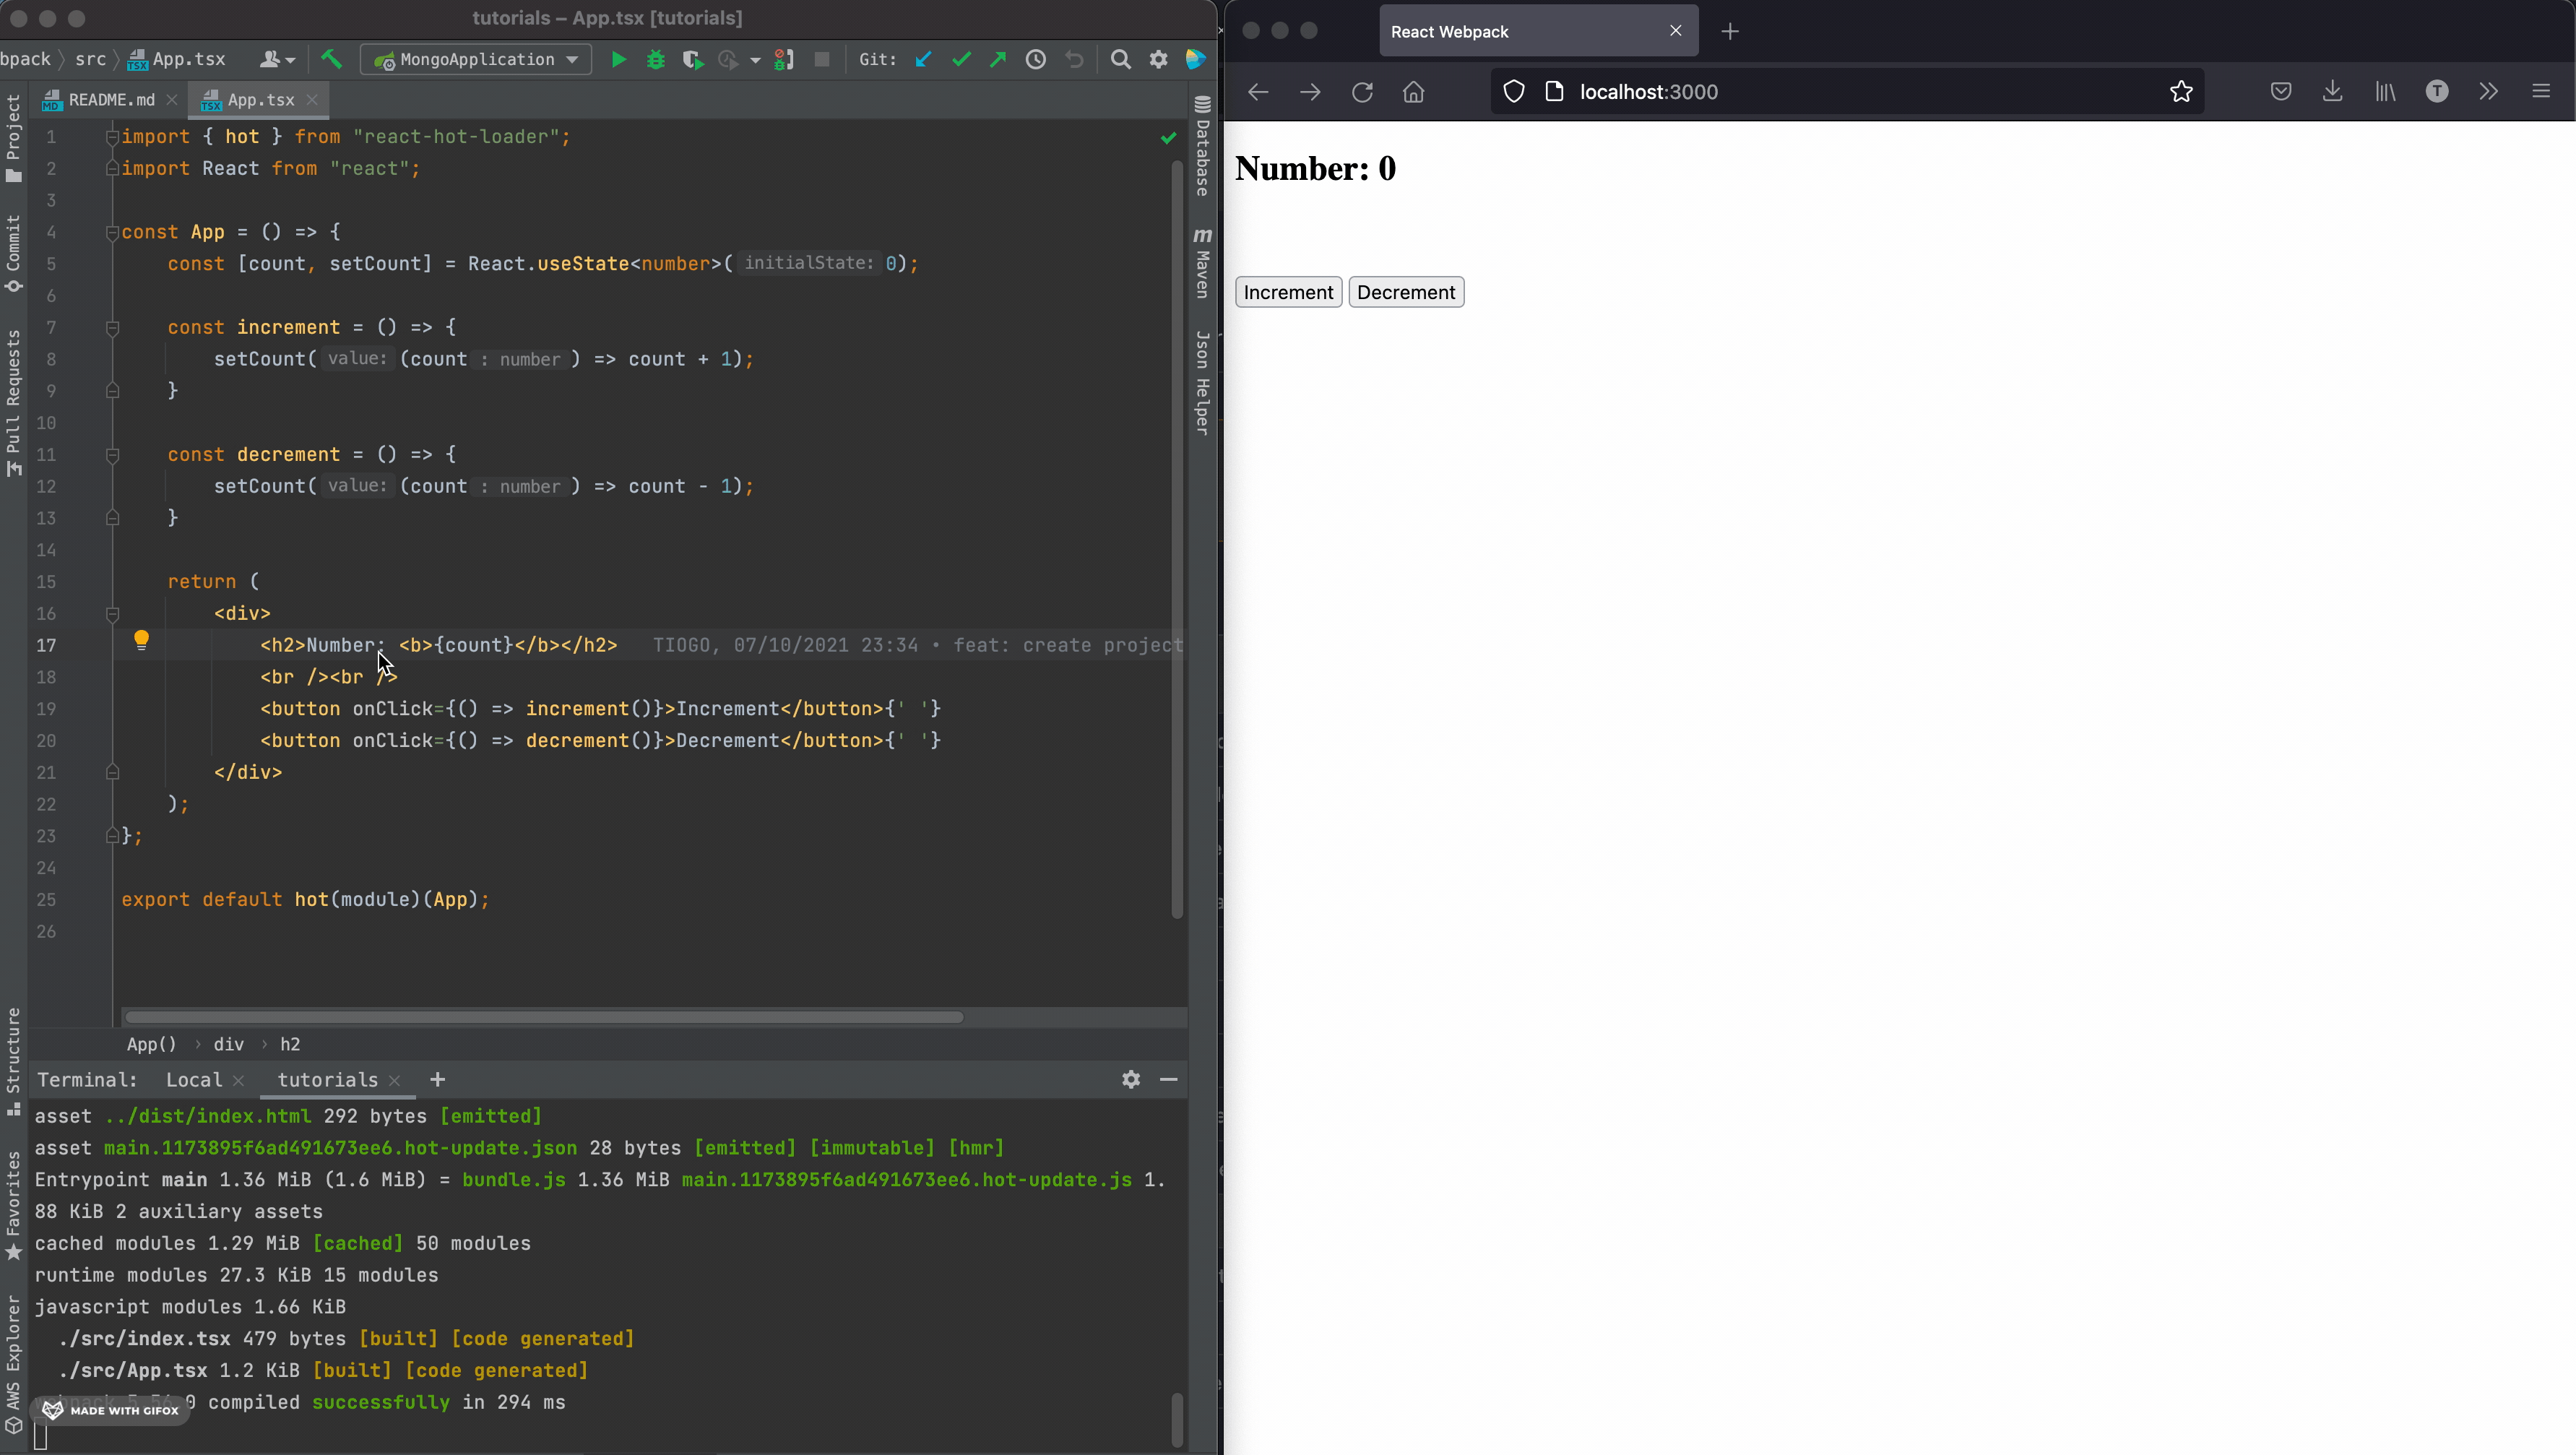
import { hot } from "react-hot-loader",
import React from "react";

const App = () => {
    const [count, setCount] = React.useState<number>(0);

    const increment = () => {
        setCount((count) => count + 1);
    }

    const decrement = () => {
        setCount((count) => count - 1);
    }

    return (
        <div>
            <h2>Number: <b>{count}</b></h2>
            <br /><br />
            <button onClick={() => increment()}>Increment</button>{' '}
            <button onClick={() => decrement()}>Decrement</button>{' '}
        </div>
    );
};

export default hot(module)(App);
Add a script in the package.json to start the project with the Webpack dev server:
"scripts": {
  "build": "webpack",
  "start": "webpack-dev-server"
},
Run the command yarn start then, navigate to http://localhost:3000. Edit something in the App.tsx to see the hot reload in action.
About Cache Busting
When you browse a website, the files are stored in the browser cache to avoid re-downloading again when switching between pages. These files are stored for a given amount of time which increases the speed of the page and reduces the bandwidth.
The problem with this is when the website is updated, the user continues to access the stored files in the cache.
Cache busting is the process of renaming the file in a way that forces the browser to re-download the files.
E.g.: src="dist/main.chunk.js" => src="dist/main.chunk.js?v=2"
Bonus: Create a .gitignore
If you use this project under a version control system like Git, there are some files we need to exclude. Create a file .gitgnore and add the content below:
dist
node_modules
You now have a lightweight boilerplate to start your React application and add additional dependencies only when required.
You can find the code source on the GitHub repository.
Follow me on Twitter or subscribe to my newsletter to not miss the upcoming posts and the tips and tricks I share every week.
Happy to see you soon ?