
Set up ZSH, autosuggestion, and syntax highlight on a Ubuntu Server


Photo by Marc-Olivier Jodoin / Unsplash
As developers, we are always looking for a way to increase our productivity to complete our daily tasks faster while keeping some comfort during the execution.
Configuring a server can be challenging at the beginning. When you are already comfortable with it, you can feel bored because some things can make you a bit slower:
- If a task takes a long time, you must wait for it to finish or open another terminal.
- Since you don't have a GUI, navigating a folder is hard since even when you know you will be a comeback in a folder because you need to perform some task in another folder, you will retype the command later
- You don't have an autosuggestion that can improve your speed.
- Because of the terminal UI, sometimes, I don't even remember in which folder I'm inside, and I have to type
pwdand sayAhh! I'm here. - Do you type slowly? Yes, like me, I wish I could type fast like guys in hacker movies.
In this post, We will see how to improve the user experience when working in the terminal.
Prerequisites
Before we start, here are the requirements to follow this tutorial:
- A VPS running on a Linux distribution; in my case, you can use Ubuntu 20.04 or higher.
- An SSH client to connect to the server. I use Termius and find it very good.
You can buy a VPS on Hetzner, which provides affordable servers with good performance. The server running this blog and all my side projects are hosted here. Use my referral link to get €20 after you sign up.
After buying the server, you must do some basic configuration; I wrote the blog post below to help you with that.

Install ZSH
ZSH stands for Z Shell, a shell program for Unix-like operating systems. ZSH is an extended version of Bourne Shell, which incorporates some features of BASH, KSH, TSH. To see all to features provided by ZSH, check out this link.
The installation is pretty simple with the APT package manager:
sudo apt update

sudo apt install zsh
Make sure the installation succeeded by checking the version installed:
teco@server:~$ zsh --version

zsh 5.8 (x86_64-ubuntu-linux-gnu)
Set ZSH as the default shell
The default shell is Bash; we can check by running the command below:
teco@server:~$ echo $SHELL

/bin/bash
The chsh allows switching from one shell to another. You need to provide the location of the target shell. To get the location of ZSH, do which zsh and you will get the output /usr/bin/zsh . Here is the final command to change the shell:
teco@server:~$ chsh -s /usr/bin/zsh
Now log out from the server and log in again.
Since it is the first time we start a session with ZSH, some configurations are needed.
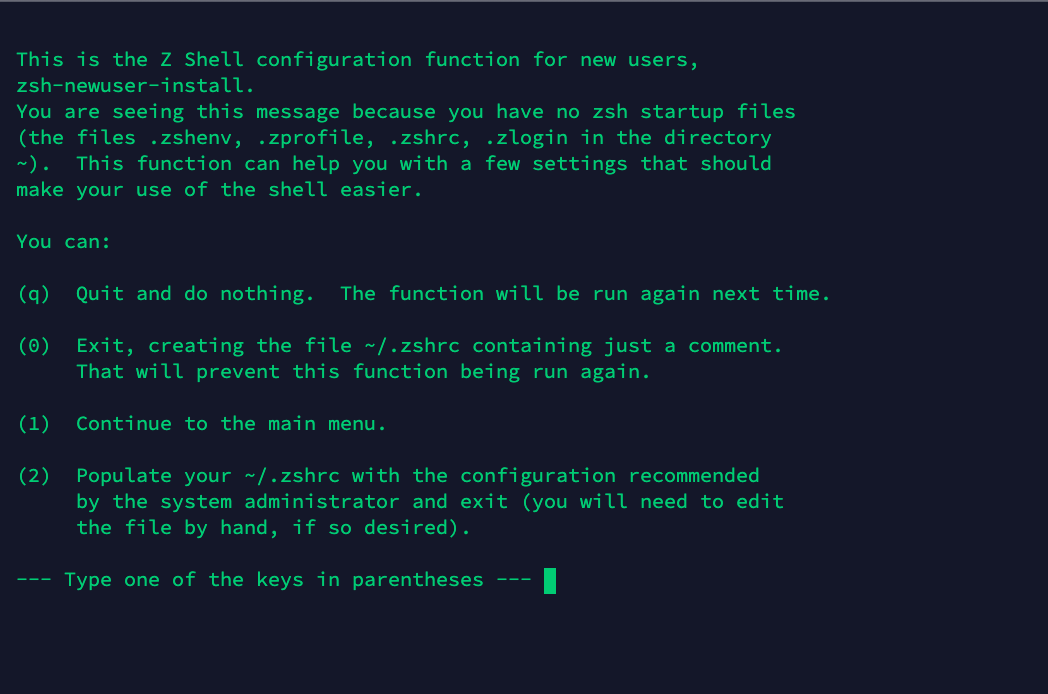
Type 0 to create the .zshrc file with just a comment. Now, open the file .zshrc created and add the content below:
# Keep 1000 lines of history within the shell and save it to ~/.zsh_history:
HISTSIZE=1000
SAVEHIST=1000
HISTFILE=~/.zsh_history
Save the file and exit. The ZSh first-time configuration is completed.
Install Oh My ZSH
Oh My Zsh is an open-source, community-driven framework for managing your Zsh configuration. It provides more than 275 plugins and 150 themes to give a good look to your terminal. As we can read on the website:
Oh My Zsh will not make you a 10x developer...but you may feel like one!
Let's clone the GitHub repository and browse the plugins list:
git clone https://github.com/ohmyzsh/ohmyzsh.git

ls ohmyzsh/plugins
Oh My Zsh is installed; now let's update our .zshrc to set a theme and add plugins. Open the .zshrc file and append the code below:
export ZSH=$HOME/ohmyzsh
ZSH_THEME="agnoster"
plugins=(git z)
source $ZSH/oh-my-zsh.sh
- We set a variable ZSH with a value equal to the path of the Oh My Zsh folder. You can give the name you want; just keep it in mind when you need that.
- We set the Zsh theme to "agnoster". The default is "robbyrussell".
- We load two plugins: git and z. git will improve the experience when working with version control, and z make it easy to navigate between folders. We will see it in action later.
- Finally, we will reload the
oh-my-zsh.shfile to update the config. Every time we open a terminal, this configuration will be applied. Nice!
Save and exit the file; log out from the server and log in again. Here is what it will look like:
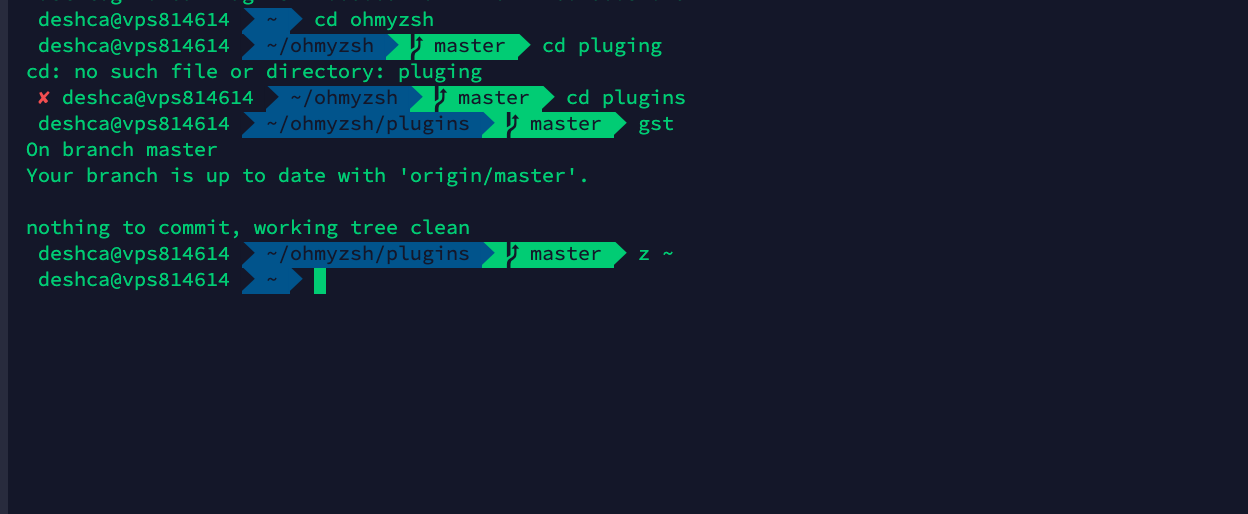
- git plugin in action: I type
gstto saygit status - z plugin in action: inside the folder
~/ohmyzsh/pluginsI want to go back to the home directory; instead of doingcd ../..orcd ~I typez ~and I am there.
I don't know for you, but I start feeling like I'm a 6x developer!
Autosuggestion and syntax highlight
The plugins required are not included in Oh My Zsh plugins. We will add them manually:
git clone https://github.com/zsh-users/zsh-autosuggestions.git $ZSH/plugins/zsh-autosuggestions
git clone https://github.com/zsh-users/zsh-syntax-highlighting.git $ZSH/plugins/zsh-syntax-highlighting
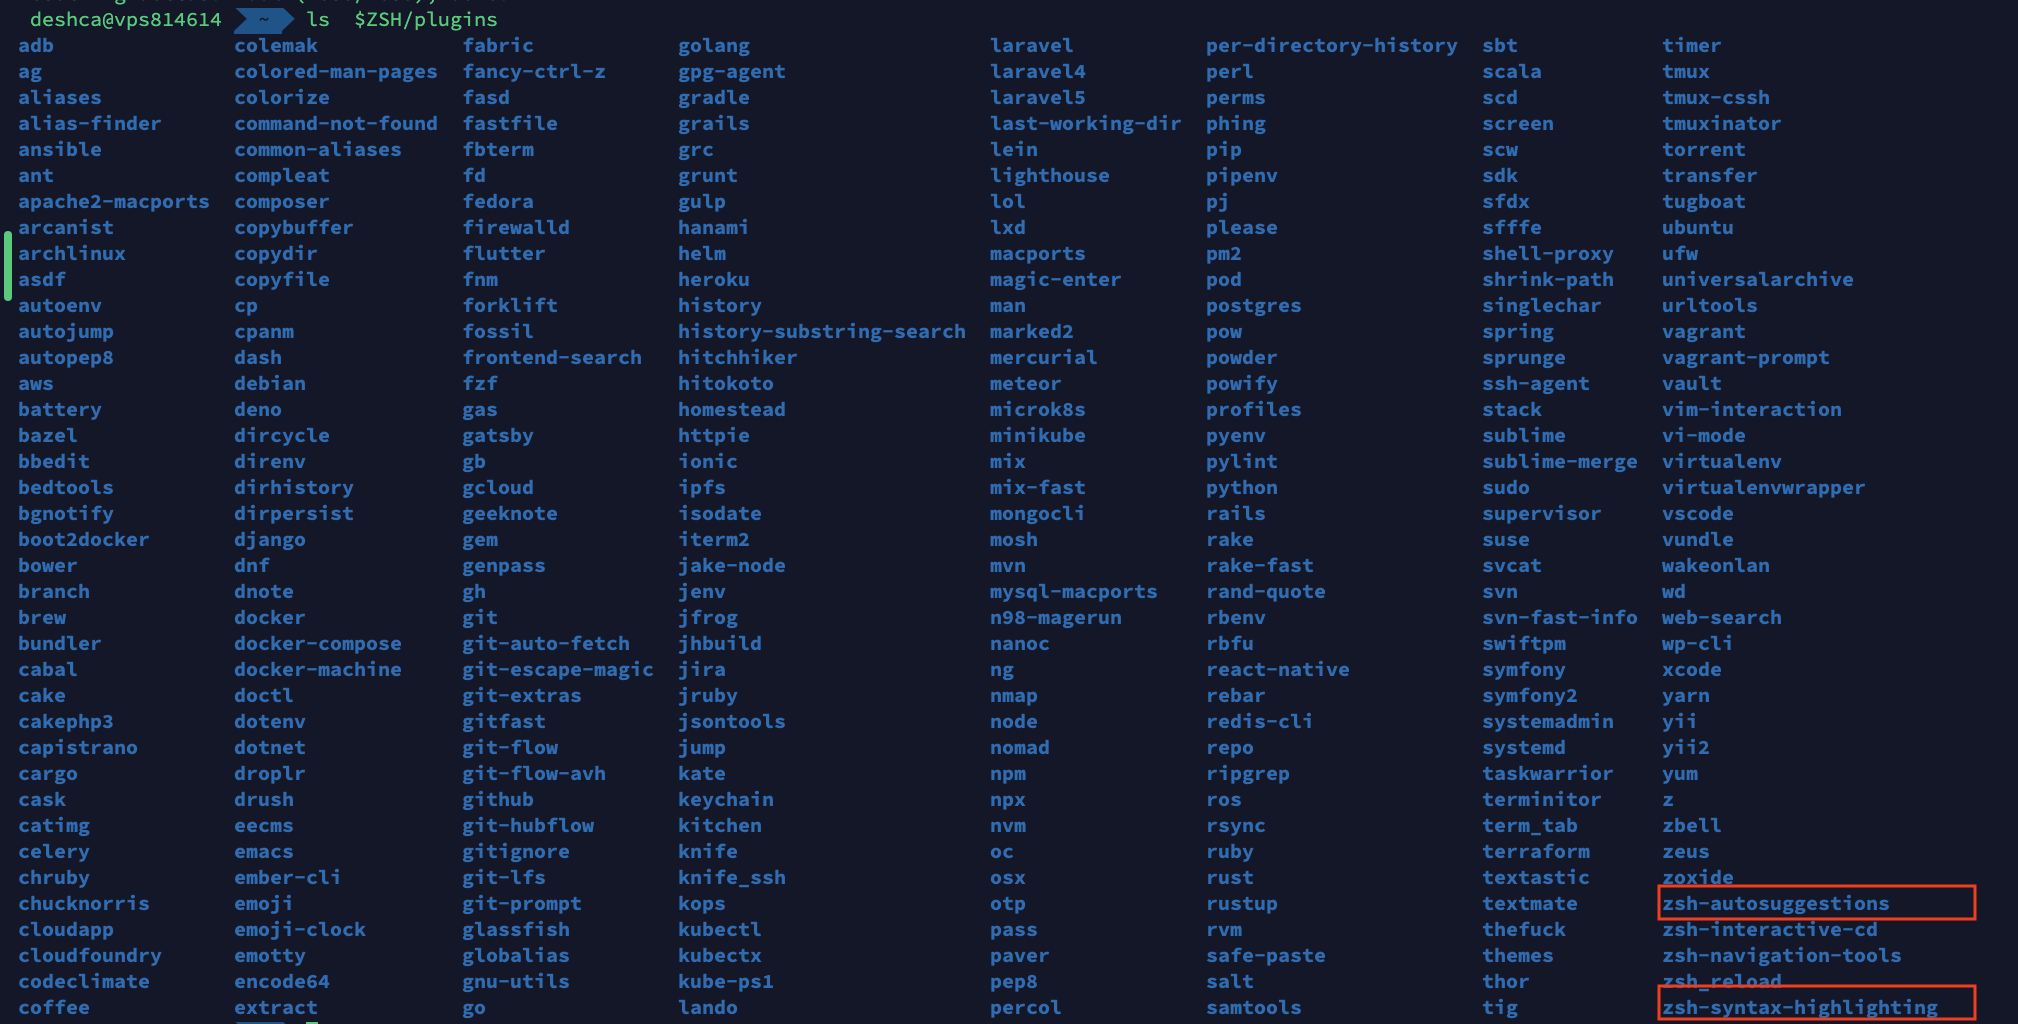
ls $ZSH/plugins
Make sure they are inside the plugins folder as expected:
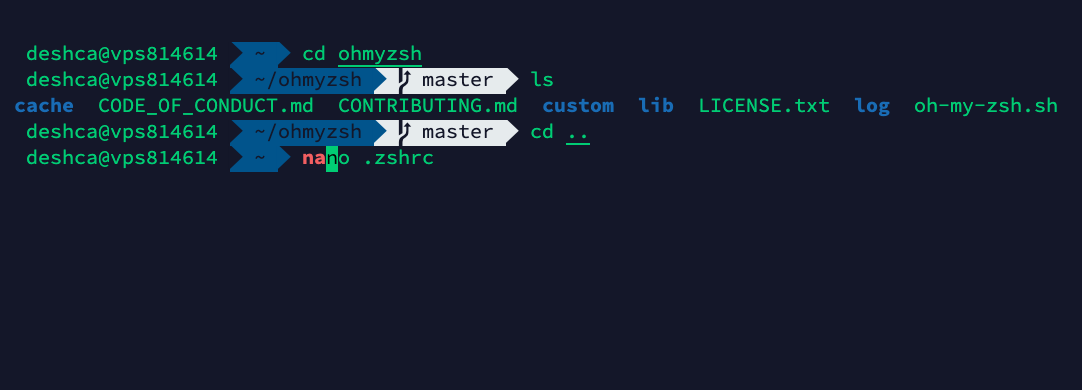
Now update our plugins list inside the file .zshrc to add these to plugins.
Open the .zshrc file with nano .zshrc
Replace the line plugins=(git z) by plugins=(git z zsh-autosuggestions zsh-syntax-highlighting)
Save and exit the file; log out from the server and log in again. We can see autosuggestion and syntax highlight in action.
Revert to the previous shell
You may want to switch back to the previous shell, aka Bash. Here are the commands to achieve that:
sudo apt --purge remove zsh

rm -rf ~/ohmyzsh
rm ~/.zshrc

$ chsh -s $(which bash)

exit
Conclusion
It is the end of the tutorial where we saw how to enhance our terminal for better productivity using Zsh and Oh My Zsh. You can explore the themes and plugins to add more customization to your terminal.
Here is the link for a cheat sheet about Oh My Zsh. It will give a sneak peek of some plugins and remain to you to go further.
Here are other plugins I use:
Yarn - Pm2 - Maven - Docker - Docker-Compose - Systemd
Follow me on Twitter or subscribe to my newsletter to avoid missing the upcoming posts and the tips and tricks I occasionally share.