
Upload a file to a server with Spring Boot


Photo by Anton Nazaretian / Unsplash
Upload files to an application are one of the most common features for a Web application. It wants we do when we change our profile picture, load a CSV file to perform bulk actions, etc. When building a Backend with SpringBoot, implementing it can be daunting so we will see how to do it in this tutorial.
What we will do
We want to build a Backend Web application where and user can upload his National ID as a PDF file or a picture in PNG and JPG. Additionally, he should provide his full name and the date of birth for further verification.
We have a SpringBoot application on a server, and we want to upload PDF files and Picture files and store them in a directory on the server. Once the file is uploaded, we need to access it through an URL.
Prerequisites
To follow this tutorial, it is required to have the following tool installed on your computer:
Setup the project
We will use the SpringBoot initializer to create the project. The only dependency we need for this project is Spring Web.
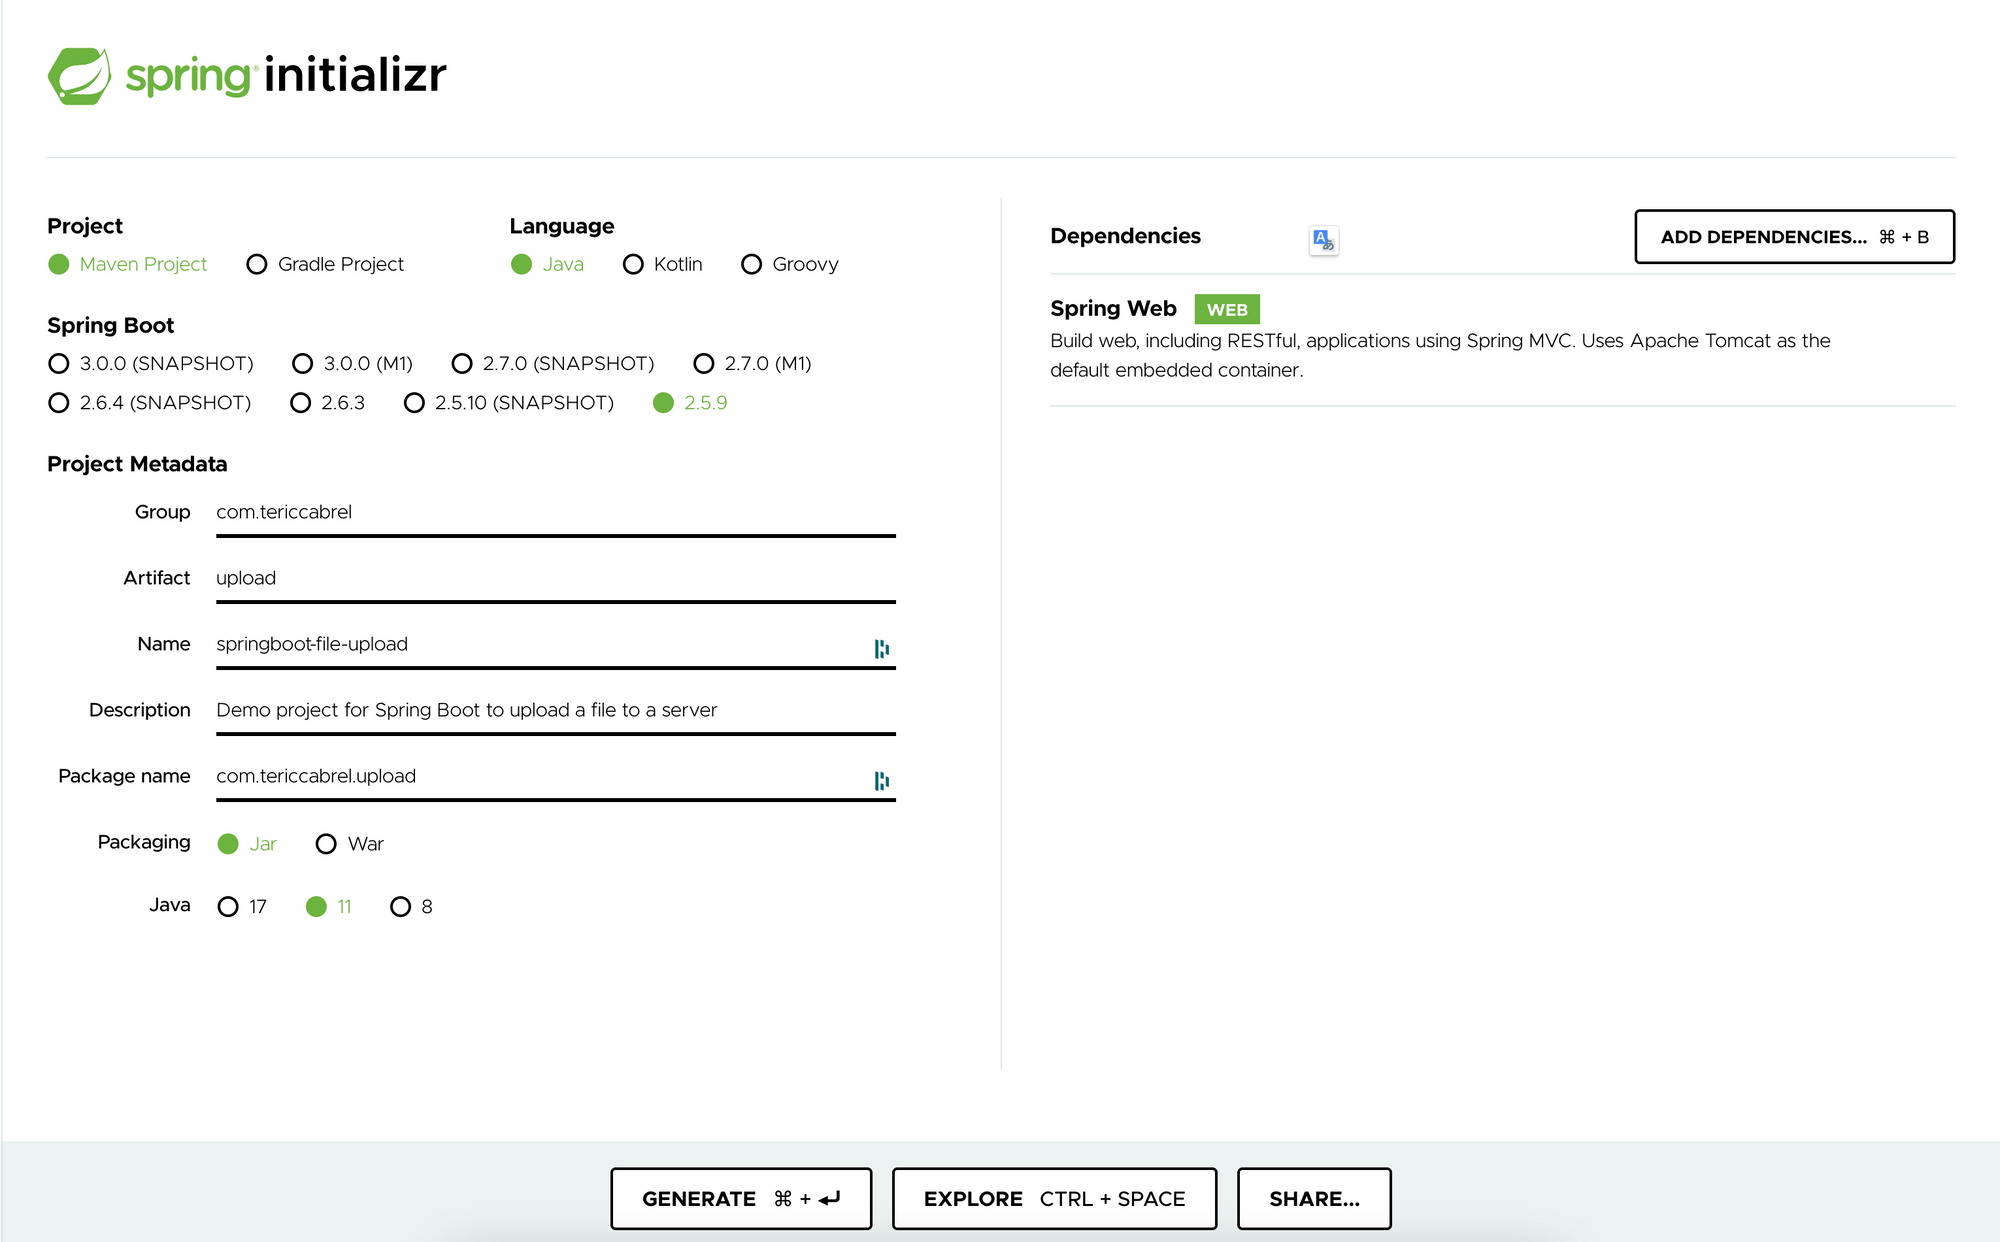
Click on the button "Generate" to download the project, and open it in your favorite Java IDE; I use IntelliJ from Jetbrains.
If you don't have an IDE you can run the command below to install maven dependencies and run the application:
mvn install
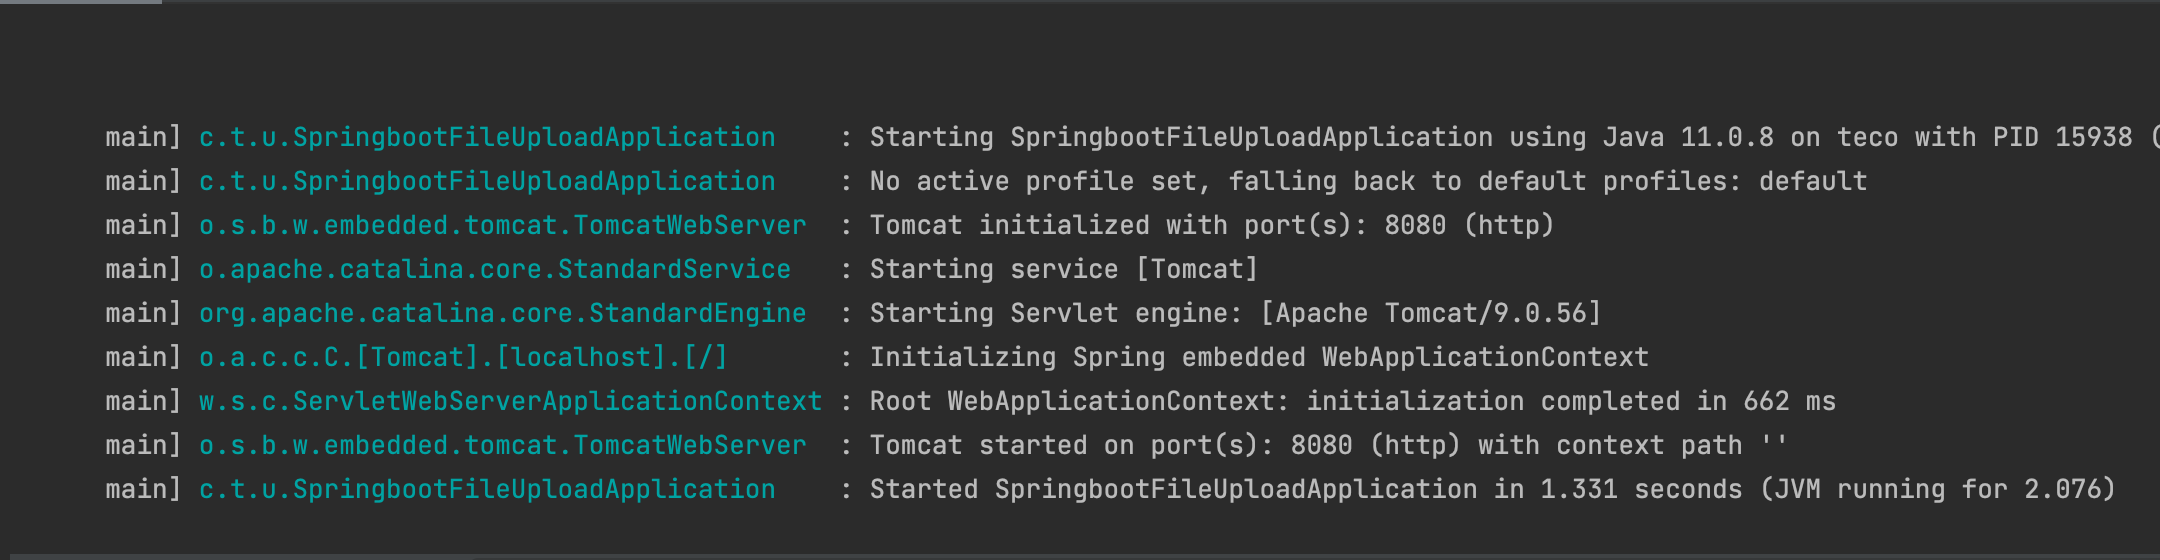
mvn spring-boot:runVerify the application started on port 8080.
Create the service to write the file on the server
Let's create a package called "services" then, create a file called FileStorageService.java and finally add the code below:
package com.tericcabrel.upload.services;

import java.io.IOException;
import java.nio.file.Files;
import java.nio.file.Path;
import java.nio.file.Paths;
import java.nio.file.StandardCopyOption;
import java.util.Date;
import org.springframework.beans.factory.annotation.Autowired;
import org.springframework.core.env.Environment;
import org.springframework.stereotype.Service;
import org.springframework.web.multipart.MultipartFile;

@Service
public class FileStorageService {

  private final Path fileStorageLocation;

  @Autowired
  public FileStorageService(Environment env) {
    this.fileStorageLocation = Paths.get(env.getProperty("app.file.upload-dir", "./uploads/files"))
        .toAbsolutePath().normalize();

    try {
      Files.createDirectories(this.fileStorageLocation);
    } catch (Exception ex) {
      throw new RuntimeException(
          "Could not create the directory where the uploaded files will be stored.", ex);
    }
  }

  private String getFileExtension(String fileName) {
    if (fileName == null) {
      return null;
    }
    String[] fileNameParts = fileName.split("\\.");

    return fileNameParts[fileNameParts.length - 1];
  }

  public String storeFile(MultipartFile file) {
    // Normalize file name
    String fileName =
        new Date().getTime() + "-file." + getFileExtension(file.getOriginalFilename());

    try {
      // Check if the filename contains invalid characters
      if (fileName.contains("..")) {
        throw new RuntimeException(
            "Sorry! Filename contains invalid path sequence " + fileName);
      }

      Path targetLocation = this.fileStorageLocation.resolve(fileName);
      Files.copy(file.getInputStream(), targetLocation, StandardCopyOption.REPLACE_EXISTING);

      return fileName;
    } catch (IOException ex) {
      throw new RuntimeException("Could not store file " + fileName + ". Please try again!", ex);
    }
  }
}
In the constructor, we get the upload directory from the configuration file application.properties and if it is not defined, the value is set to ./uploads/files The directory is created on the server it doesn't exist yet.
The method public String storeFile(MultipartFile file) takes the file uploaded, verify it is valid and finally write it inside the upload directory on the server
Let's update the configuration files to set the upload directory. You can define the value you want:
app.file.upload-dir=./uploads/files
Create the route to upload the file
Now we will create an endpoint we will use to upload the file. Let's create a new package called controllers then, create the file called FileUploadController.java; add the code below:
package com.tericcabrel.upload.controllers;

import com.tericcabrel.upload.responses.UploadResponse;
import com.tericcabrel.upload.services.FileStorageService;
import org.springframework.http.ResponseEntity;
import org.springframework.web.bind.annotation.PostMapping;
import org.springframework.web.bind.annotation.RequestParam;
import org.springframework.web.bind.annotation.RestController;
import org.springframework.web.multipart.MultipartFile;

@RestController
public class FileUploadController {

  private final FileStorageService fileStorageService;

  public FileUploadController(FileStorageService fileStorageService) {
    this.fileStorageService = fileStorageService;
  }

  @PostMapping("/upload")
  public ResponseEntity<UploadResponse> uploadFile(
      @RequestParam(name = "file", required = false) MultipartFile file,
      @RequestParam("fullName") String fullName,
      @RequestParam("dateOfBirth") String dateOfBirth
  ) {
      String fileName = fileStorageService.storeFile(file);

      UploadResponse uploadResponse = new UploadResponse(fileName, fullName, dateOfBirth);

      return ResponseEntity.ok().body(uploadResponse);
  }
}
The route /upload return a response of type UploadResponse located in the package "responses". Below is the content of that class.
package com.tericcabrel.upload.responses;

public class UploadResponse {
  private final String fileName;
  private final String fullName;
  private final String dateOfBirth;

  public UploadResponse(String fileName, String fullName, String dateOfBirth) {
    this.fileName = fileName;
    this.fullName = fullName;
    this.dateOfBirth = dateOfBirth;
  }

  public String getDateOfBirth() {
    return dateOfBirth;
  }

  public String getFileName() {
    return fileName;
  }

  public String getFullName() {
    return fullName;
  }
}
Test the application
Let's run the application and test it using Postman:
Yay, it works ?
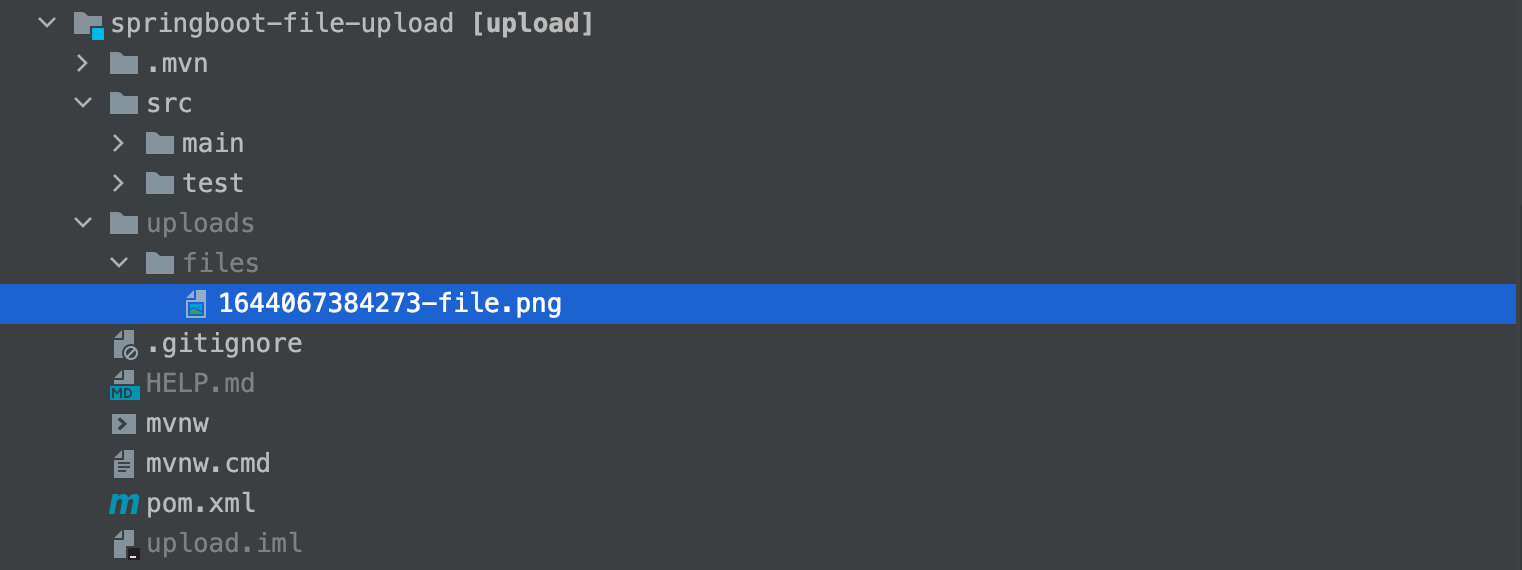
If you check the project directory, you will find the file uploaded.
Access to the file through an URL
Now we want to make the file accessible through the browser; for example, if you browse http//:localhost:8080/uploads/files/1644067384273-file.png we cannot view the file:
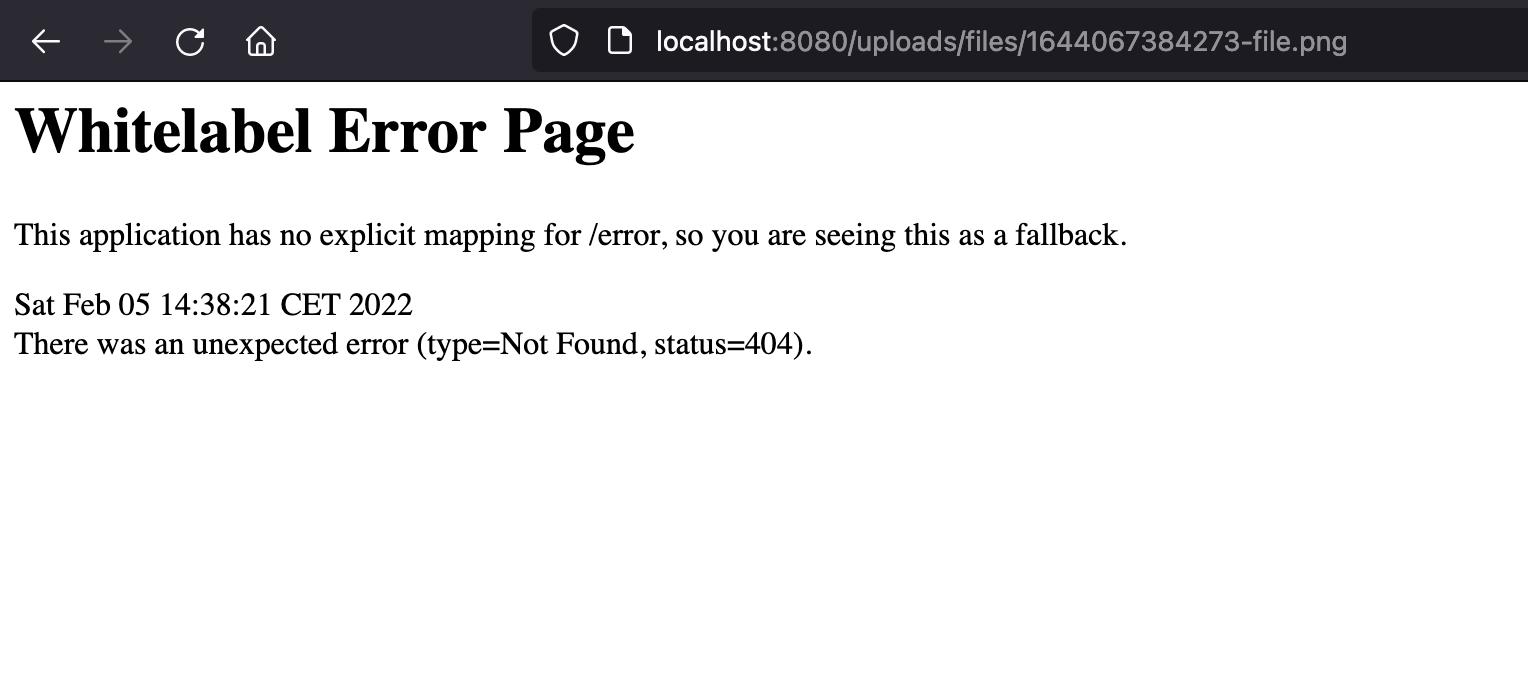
We got a 404 Not found because the server try to find the endpoint uploads/files inside our routes definition and don't see it.
To make it works, we need to tell the server to map the path uploads/files to the upload directory instead usually called a static asset. Once done, all the content inside will be served as raw.
Create a package configs then, add a new file called ResourceWebConfig.java; add the code below:
package com.tericcabrel.upload.configs;

import org.springframework.context.annotation.Configuration;
import org.springframework.core.env.Environment;
import org.springframework.web.servlet.config.annotation.ResourceHandlerRegistry;
import org.springframework.web.servlet.config.annotation.WebMvcConfigurer;

@Configuration
public class ResourceWebConfig implements WebMvcConfigurer {
  final Environment environment;

  public ResourceWebConfig(Environment environment) {
    this.environment = environment;
  }

  @Override
  public void addResourceHandlers(final ResourceHandlerRegistry registry) {
    String location = environment.getProperty("app.file.storage.mapping");

    registry.addResourceHandler("/uploads/**").addResourceLocations(location);
  }
}
We get the location of the upload directory on the server from the configuration file and map all the routes starting with "/uploads" to that directory. The remaining thing to do is define the property in the configuration file.
The value is different depending on the operating system:
- For Linux and MacOS users: If the project is located at
$HOME/Desktop/springboot-file-upload, the value to set is:
app.file.storage.mapping=file:~/Desktop/springboot-file-upload/uploads- For Windows Users: if the project is located on the local disk D at
D:/projects/springboot-file-upload, the value to set is:
app.file.storage.mapping=file:///D:/projects/springboot-file-upload/uploadsNote: The text file:/// is not a typo; it will not work if you don't write like that.
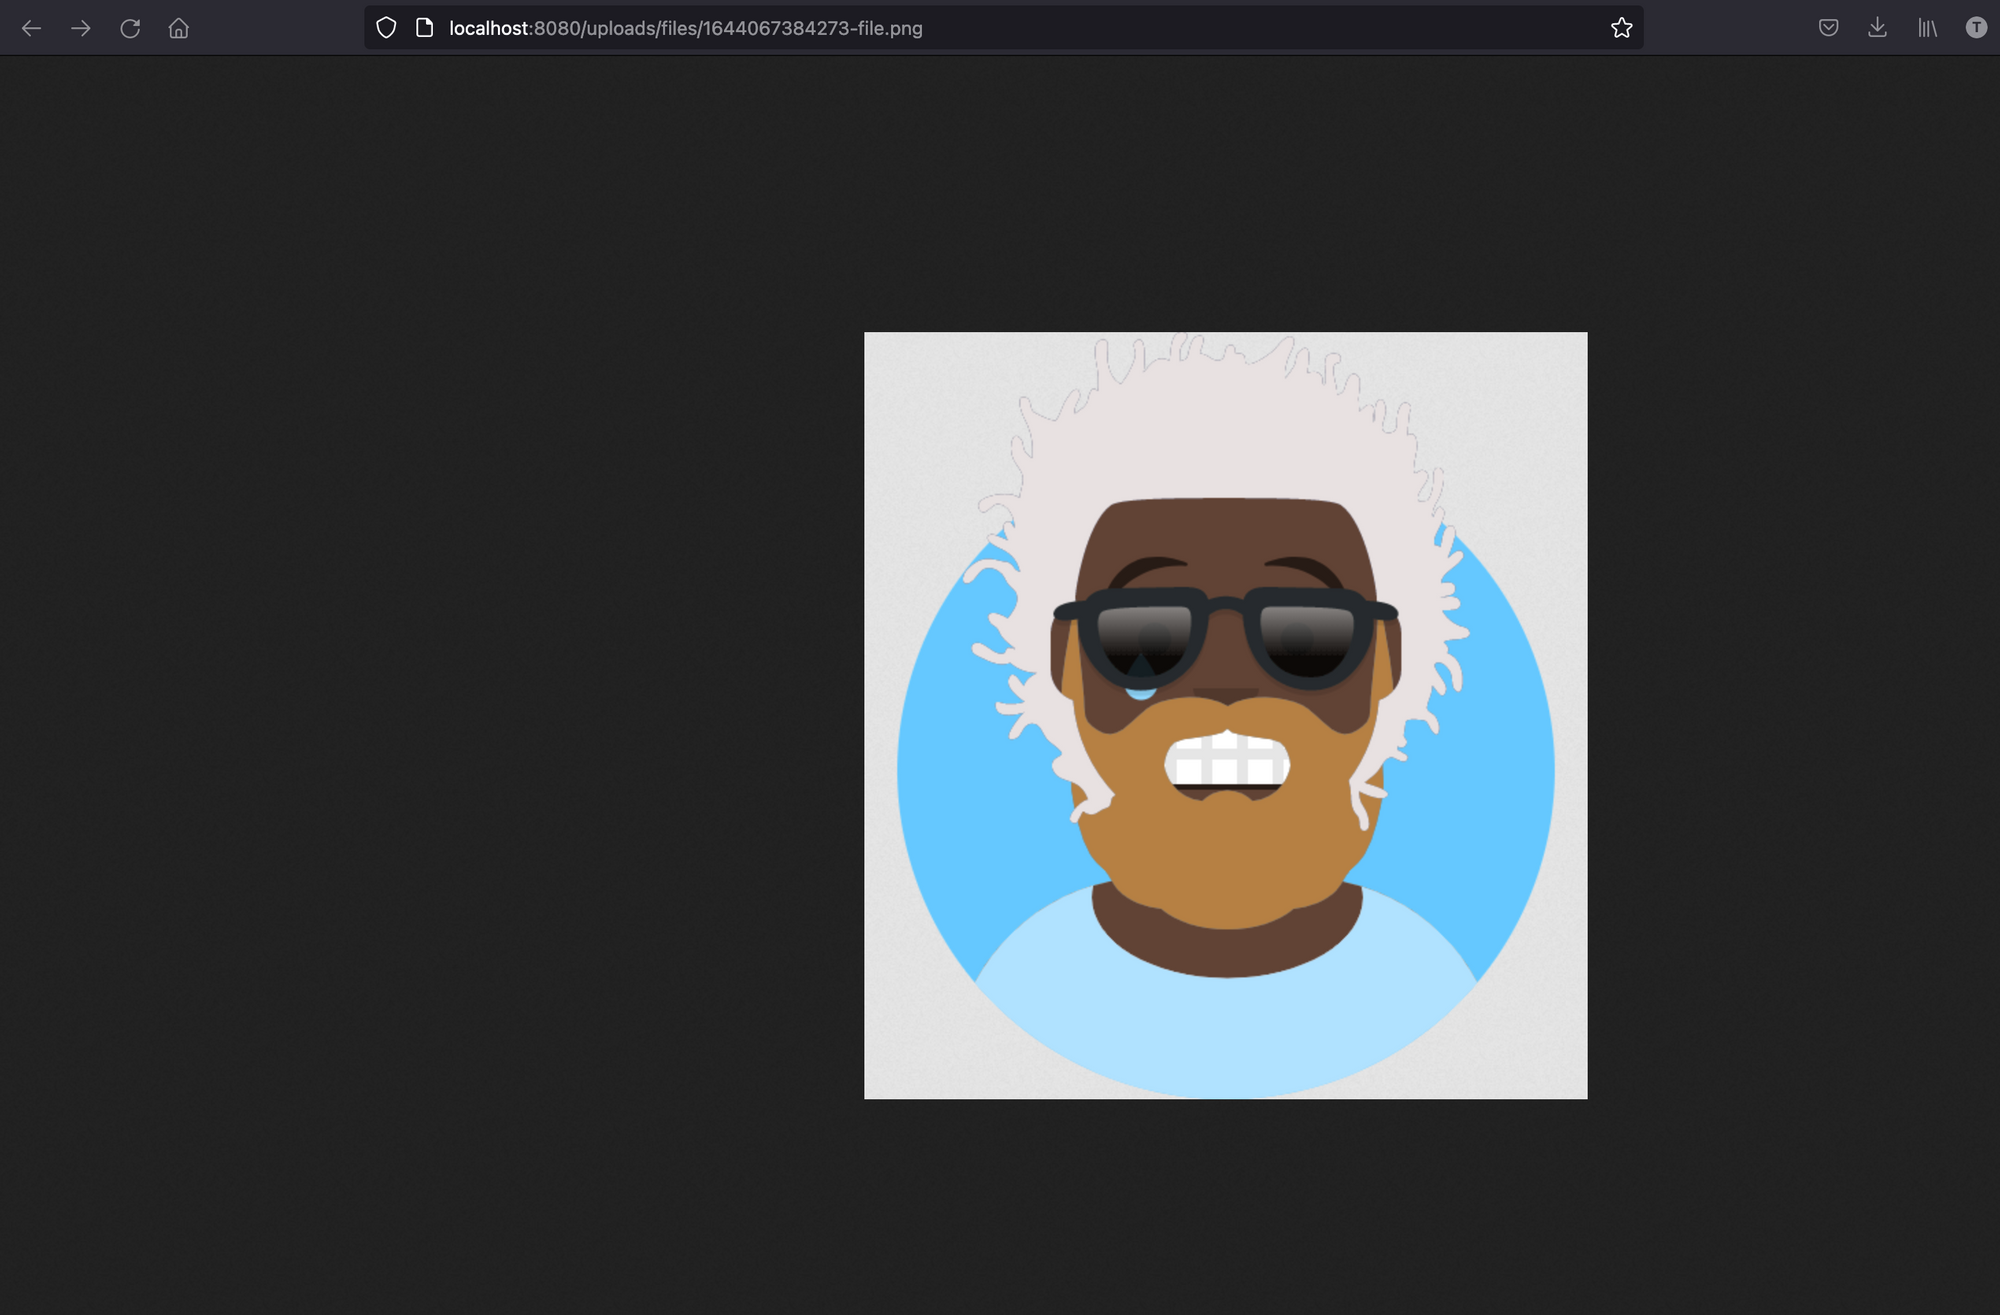
Rerun the application and try to access the file from the browser now:
Wrap up
We saw how to upload a file on the server and then access it through the browser. It is important to note that it is not recommended to access your data this way. You should consider Cloud storage like Google Drive and AWS S3.
You can find the code source on the GitHub repository.
Follow me on Twitter or subscribe to my newsletter to not miss the upcoming posts and the tips and tricks I share every week.
Happy to see you soon ?