
Create a Java project using an external dependency with Maven


Photo by Jed Dela Cruz / Unsplash
Maven is a build automation tool used for Java projects. Typically, it manages project dependencies and application configuration. It provides predefined steps where specific tasks can be executed like run unit and integration tests, package the application for product, generate the project documentation, etc...
In this post, we will see how to set up a Java project with Maven.
Prerequisites
To follow this tutorial, you need to have the JDK greater or equal to version 8. I use the JDK 11. Check out this link to see how the install it on your operating system.
Install Maven
Maven can be used on Linux, MacOS, Windows. I will show the installation process for MacOS.
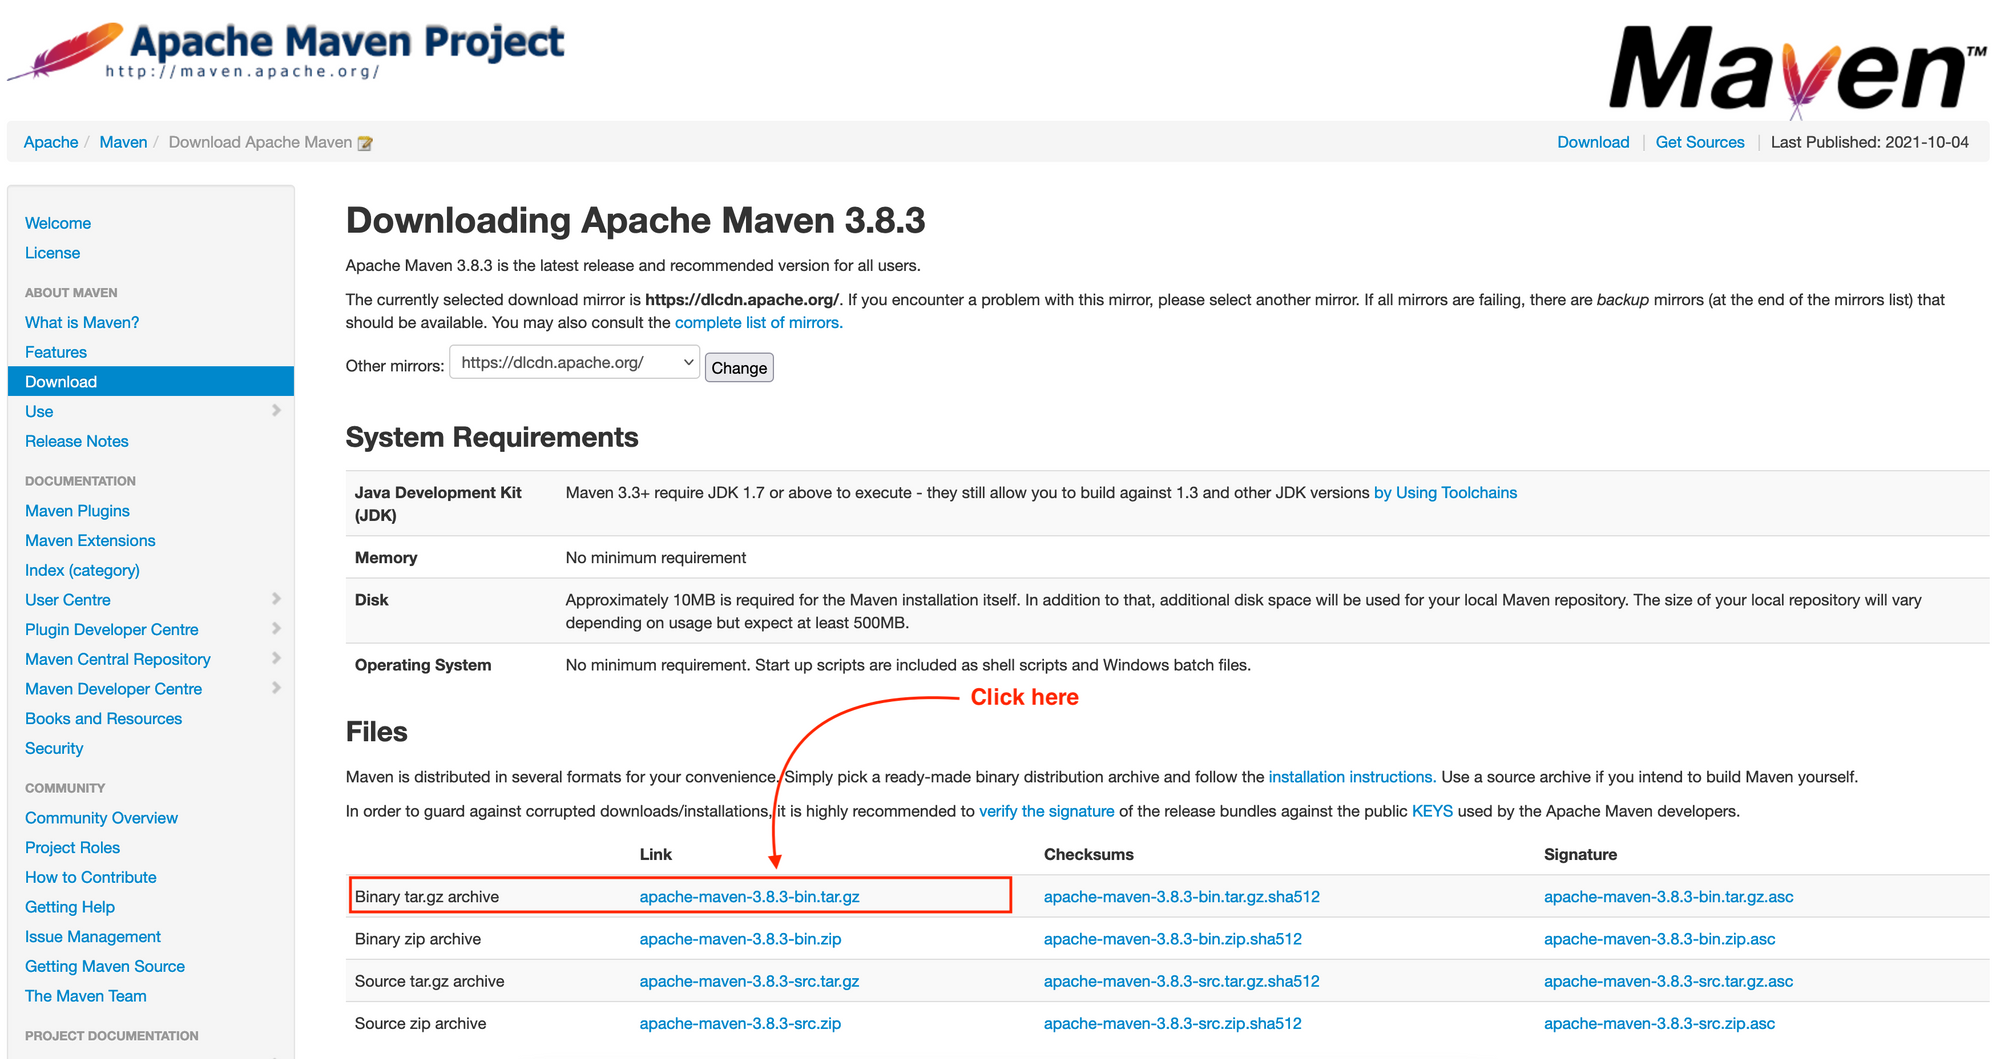
Go to the download section of the Maven website and click on the link to download the compressed version of Maven.
Once the download is completed, let's unpack the file in the home directory:
# we are inside the download directory

tar -xvf apache-maven-3.8.3-bin.tar.gz -C $HOME
You will find a folder called apache-maven-3.8.3 in your home directory.
The next step is to register Maven in the environment variables path. The file containing these variables can be .bash_profile, .profile or .zshrc if you use Oh My Zsh as the custom shell. Identify yours and open it:
nano .bash_profileAppend the following lines at the end of the file :
export M2_HOME=$HOME/apache-maven-3.8.3
export PATH=$PATH:$M2_HOME/bin
Save and exit, then reload your profile file:
source .bash_profileNow verify that your system recognizes the Maven command by running. mvn -v

Maven CLI successfully installed! We also see the JDK version installed.
Create a Java project from Maven Template
The Maven Template is also known as Archetype, is a project with a predefined structure. It is helpful in quickly bootstrap a project in an organization where many teams are working on a project and need a standard structure to stay consistent in all the projects.
This page list some Maven archetypes; for a simple project, the Archetype maven-archetype-quickstart is enough. The command signature to create a project is:
mvn archetype:generate
	-DgroupId={project-packaging}
	-DartifactId={project-name}
	-DarchetypeArtifactId={maven-template}
	-DinteractiveMode=false
The interactive mode set to false prevents Maven from asking questions about project configuration properties like the application version.
Let's create the project with the command below; you can replace the groupId and the artifactId on your own.
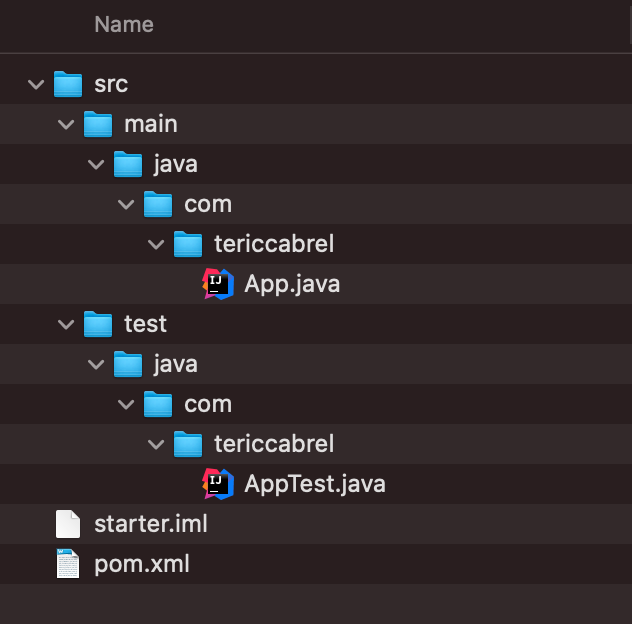
mvn archetype:generate -DgroupId=com.tericcabrel -DartifactId=starter -DarchetypeArtifactId=maven-archetype-quickstart -DinteractiveMode=falseThe project was created successfully, and here is the structure.
If we open the file pom.xml , we will see that it contains one dependency called Junit used to run unit tests. Let's update it to the latest version and also set the JDK version to operate. The Maven will now look like this:
<project xmlns="http://maven.apache.org/POM/4.0.0" xmlns:xsi="http://www.w3.org/2001/XMLSchema-instance"
  xsi:schemaLocation="http://maven.apache.org/POM/4.0.0 http://maven.apache.org/maven-v4_0_0.xsd">
  <modelVersion>4.0.0</modelVersion>
  <groupId>com.tericcabrel</groupId>
  <artifactId>starter</artifactId>
  <packaging>jar</packaging>
  <version>1.0-SNAPSHOT</version>
  <name>starter</name>
  <url>http://maven.apache.org</url>
  <properties>
    <project.build.sourceEncoding>UTF-8</project.build.sourceEncoding>
    <maven.compiler.source>11</maven.compiler.source>
    <maven.compiler.target>11</maven.compiler.target>
  </properties>
  <dependencies>
    <dependency>
      <groupId>org.junit.jupiter</groupId>
      <artifactId>junit-jupiter-engine</artifactId>
      <version>5.4.0</version>
      <scope>test</scope>
    </dependency>
  </dependencies>
</project>
Run the command below to update the dependency:
mvn dependency:resolveSince the Junit version has been updated, the imports in the file AppTests.java are broken. Replace the content of the file with the code below:
package com.tericcabrel;

import static org.junit.jupiter.api.Assertions.assertTrue;
import org.junit.jupiter.api.Test;

/**
 * Unit test for simple App.
 */
public class AppTest {
    @Test
    public void testApp()
    {
        System.out.println("Hello world from test!");
        assertTrue( true );
    }
}
Run mvn install to make sure there are no errors.
Build and run the project
After writing the code in your project, you need to package and distribute it. Run the command below to do that:
mvn packageMaven will run the tests, and if all pass, it will package the application as a JAR and make it available in the folder called target. The file has the name starter-1.0-SNAPSHOT.jar
To execute the generated file, run the command below:
java -cp target/starter-1.0-SNAPSHOT.jar com.tericcabrel.App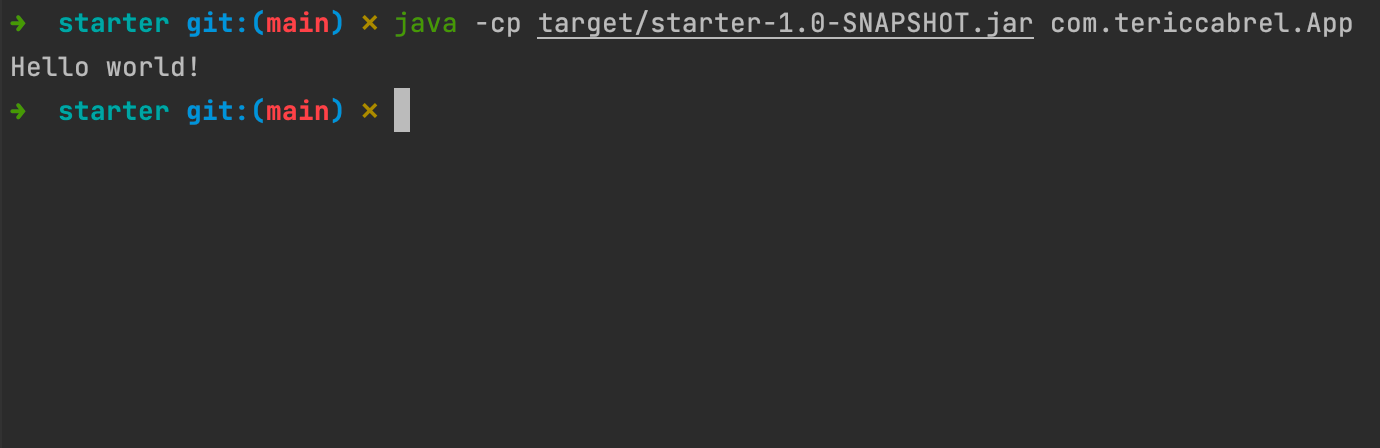
Work with external dependency
Let's say we want to add a library to improve logging into the application. We will install SLF4J who is one of the most popular libraries.
Update the pom.xml to add these two dependencies required for SLF4J:
<dependencies>
    ......
    <dependency>
        <groupId>org.slf4j</groupId>
        <artifactId>slf4j-api</artifactId>
        <version>1.7.32</version>
    </dependency>
    <dependency>
        <groupId>org.slf4j</groupId>
        <artifactId>slf4j-simple</artifactId>
        <version>1.7.32</version>
    </dependency>
</dependencies>
Run mvn dependency:resolve to install the dependency.
Update the App.java to make it look like this:
package com.tericcabrel;

import org.slf4j.LoggerFactory;
import org.slf4j.Logger;


public class App
{
    static Logger logger = LoggerFactory.getLogger(App.class);

    public static void main( String[] args )
    {
        logger.info("Hello world!");
    }
}
Package the application and run the launch the generated .jar file; we got the output below:
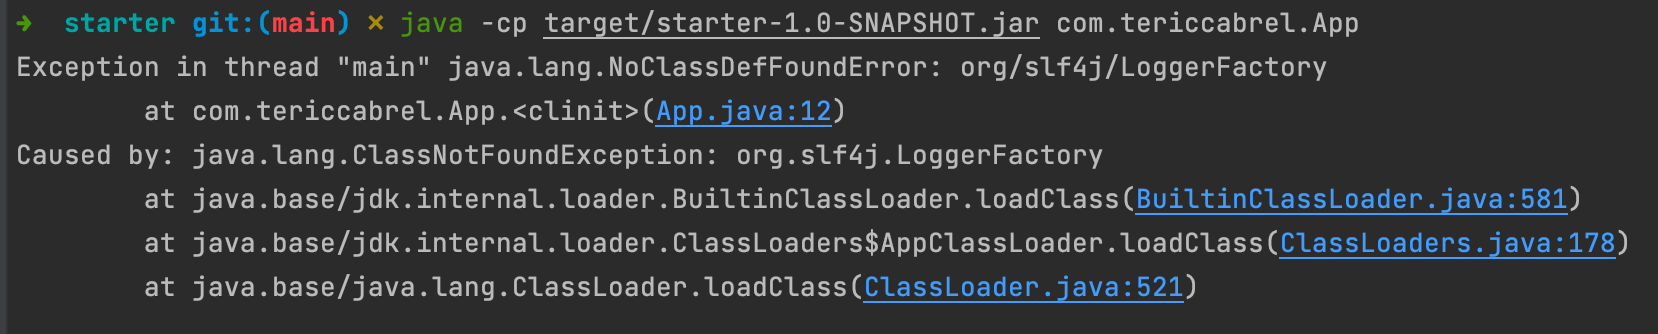
We got this error because Maven, by default, doesn't package external dependencies. We need to add a plugin that will achieve this task.
Apache Maven Shade Plugin
This plugin provides the capability to package the artifact in an uber-jar, including its dependencies, and shade - i.e., rename - the packages of some of the dependencies. The goals for the Shade Plugin are bound to the package phase in the build lifecycle.
Update the pom.xml by adding the code below inside the project section:
<build>
    <plugins>
      <plugin>
        <groupId>org.apache.maven.plugins</groupId>
        <artifactId>maven-shade-plugin</artifactId>
        <version>3.2.4</version>
        <executions>
          <execution>
            <phase>package</phase>
            <goals>
              <goal>shade</goal>
            </goals>
            <configuration>
              <transformers>
                <transformer implementation="org.apache.maven.plugins.shade.resource.ManifestResourceTransformer">
                  <mainClass>com.tericcabrel.App</mainClass>
                </transformer>
              </transformers>
            </configuration>
          </execution>
        </executions>
      </plugin>
    </plugins>
  </build>
We define the phase to package, then in the goal, we indicate we want to "shade" i.e., include all the external dependencies used in the project.
Finally, we define the transformer to use and also the main class of the application.
Package the application and run the launch the generated .jar file; we got the output below:

Yesss! It works as expected ?.
You have a simple starter for your Java project with Maven. Can't wait to see what you will build with Java.
You can find the code source on the GitHub repository.
Follow me on Twitter or subscribe to my newsletter to not miss the upcoming posts and the tips and tricks I share every week.