
PlanetScale: The performant database platform for MySQL and PostgreSQL


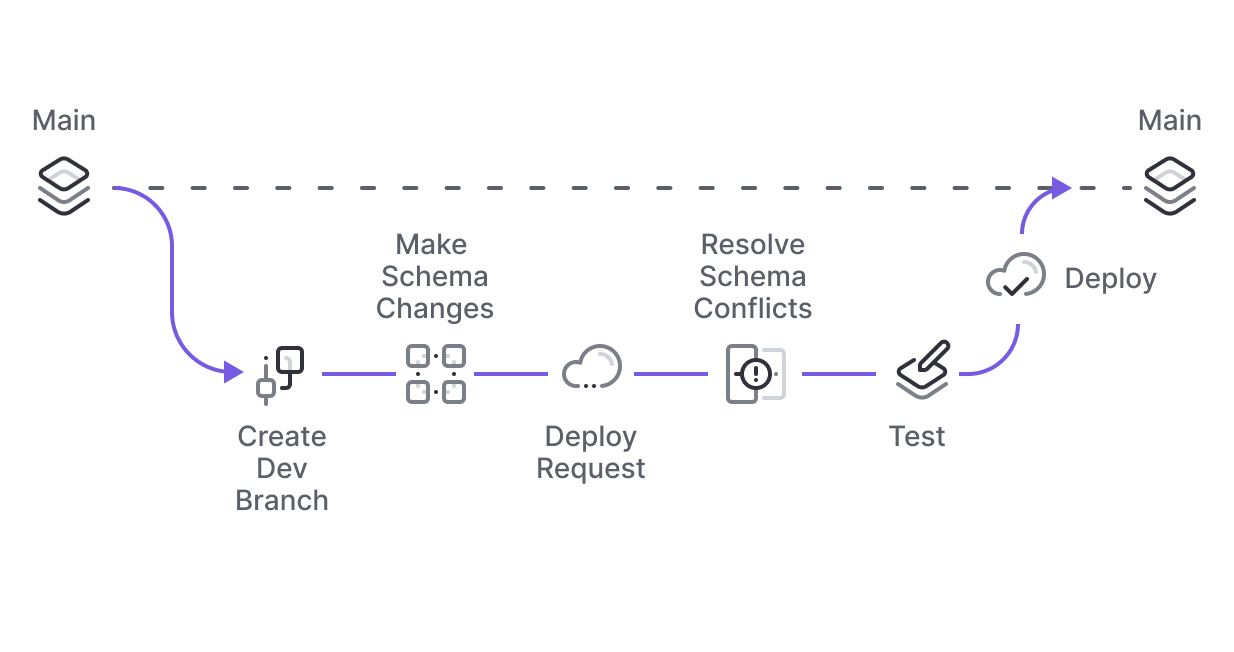
PlanetScale is a database platform for MySQL and PostgreSQL optimized for performance and scalability. It brings an interesting way to manage your database from local development to production by using the concept of branching, which is inspired by the version control tool Git.
You can manage the database schema evolution like you do with your application's source code.
PlanetScale Features
PlanetScale has a set of features to provide a performant managed MySQL and PostgreSQL database to users while enhancing the developer experience of updating the database schema.
Here are some interesting features of PlanetScale:
- Database branching: allows you to manage your database changes the way you do with your code using a Git provider like GitHub. You create a new branch for each database change to merge with the main branch.
- Non-blocking schema changes: allow users to update database tables without locking or causing downtime for the production database.
- Database Replication: It allows the creation of database replicas in read-only mode to support globally distributed applications, which makes your database highly available.
- Multi regions deployment: deploy a database in multiple regions in read-only mode; it allows you to reduce latency between your database and the backend application.
- Backup and Restore: It allows creating, scheduling, and restoring backups for production and development database branches in case of data loss.
- Authentication Security: you can use multi-factor authentication and Single Sign-On (SSO) to enforce your organization's security.
- Query insights: this allows you to view and fix long-running database queries in your application, get recommendations on how to optimize your database schema.
- AI-enhanced development: you can connect the PlanetScale MCP to your AI editor or coding agent to interact with the databases in your organization. You can also use the PlanetScale Agent Skills.
- Great Developer Experience: You can manage everything in the web console or using the CLI. The documentation is excellent, with many tutorials in various languages and technologies.
Create an account
PlanetScale doesn't provide a free tier. A single node of the PostgreSQL database starts at $5 per month.
For MySQL, A three nodes instance (1 primary + 2 read replicas) starts at $39.
For this post, we will use the PlanetScale PostgreSQL.
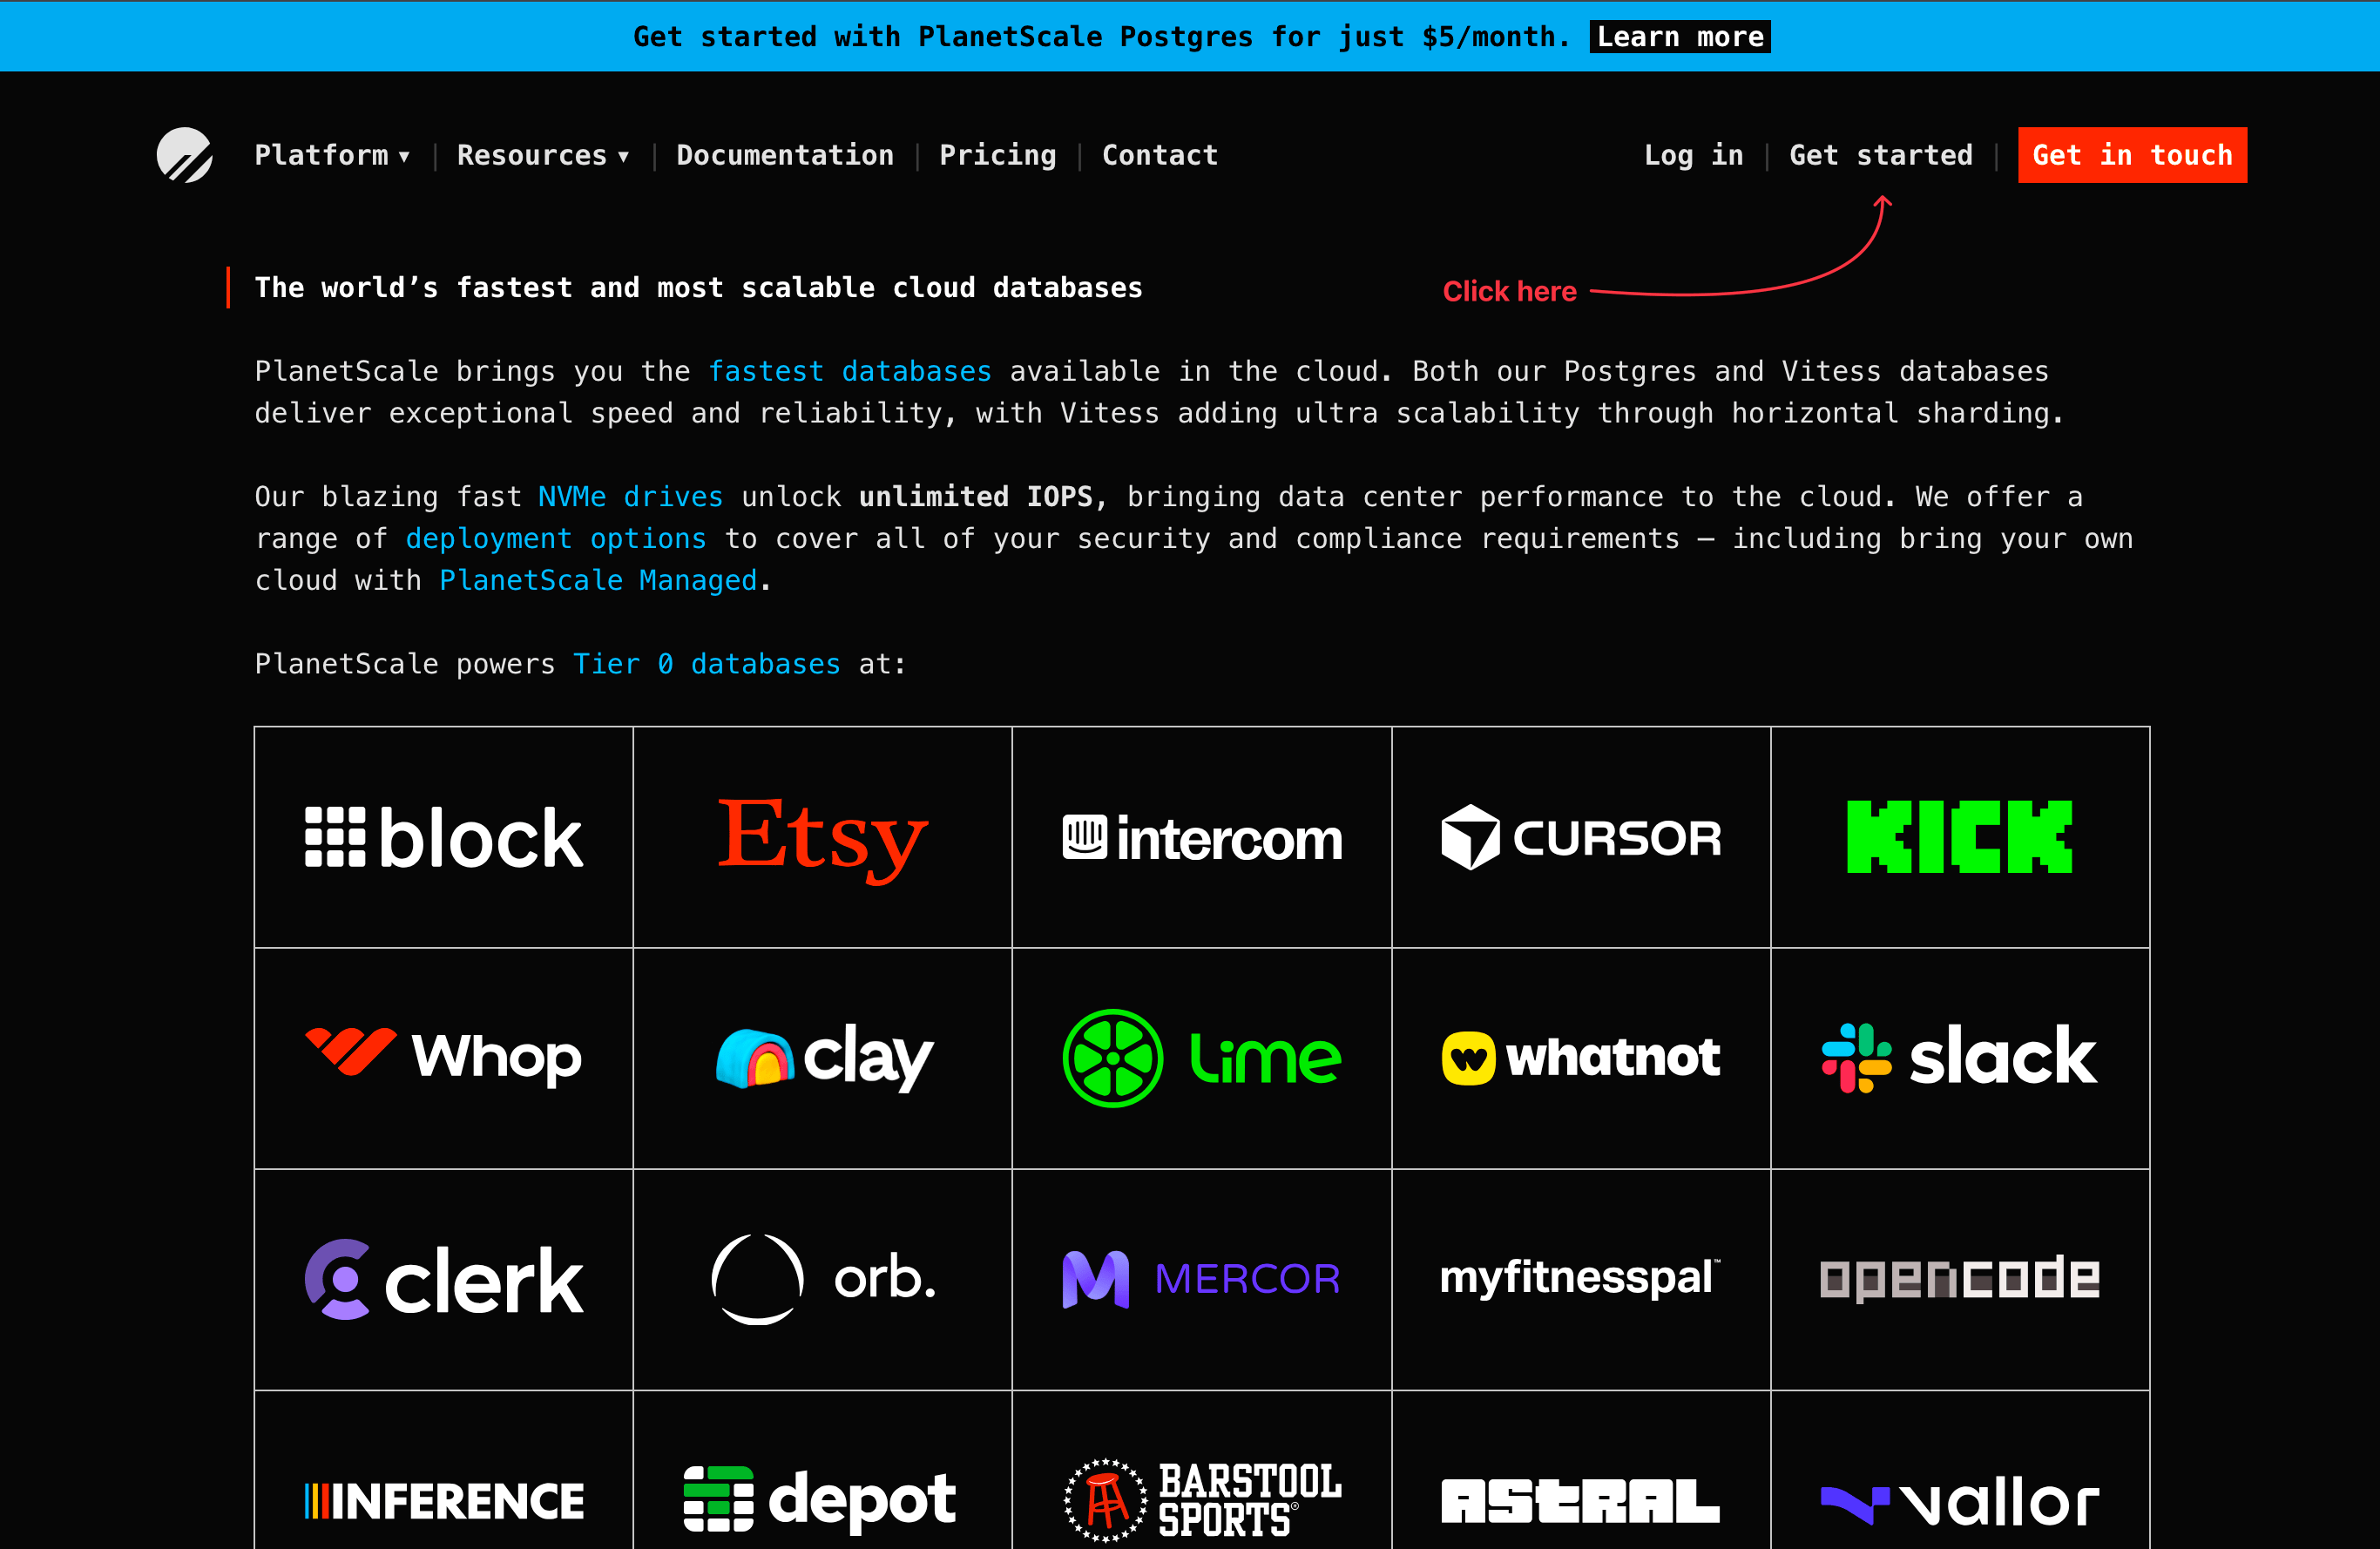
To create a PlanetScale account, go to the home page, and click on "Get Started"
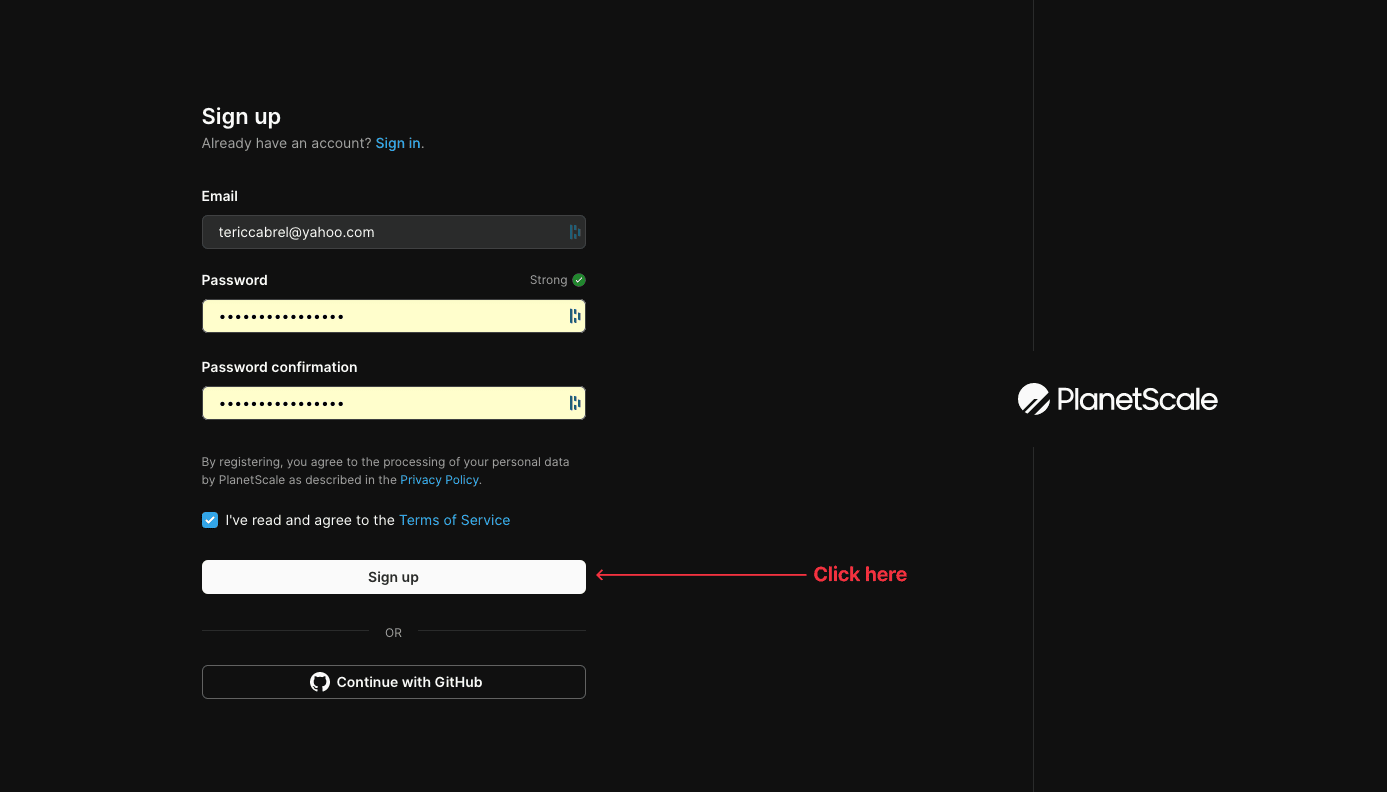
You will be redirected to the registration page, where you can create an account through email or with GitHub. We will use the email method, so fill in an email and password, then click on "Sign up"
You will receive an email to confirm your account; proceed to confirmation, and once done, you will see the PlanetScale welcome page where you can create or import a database.
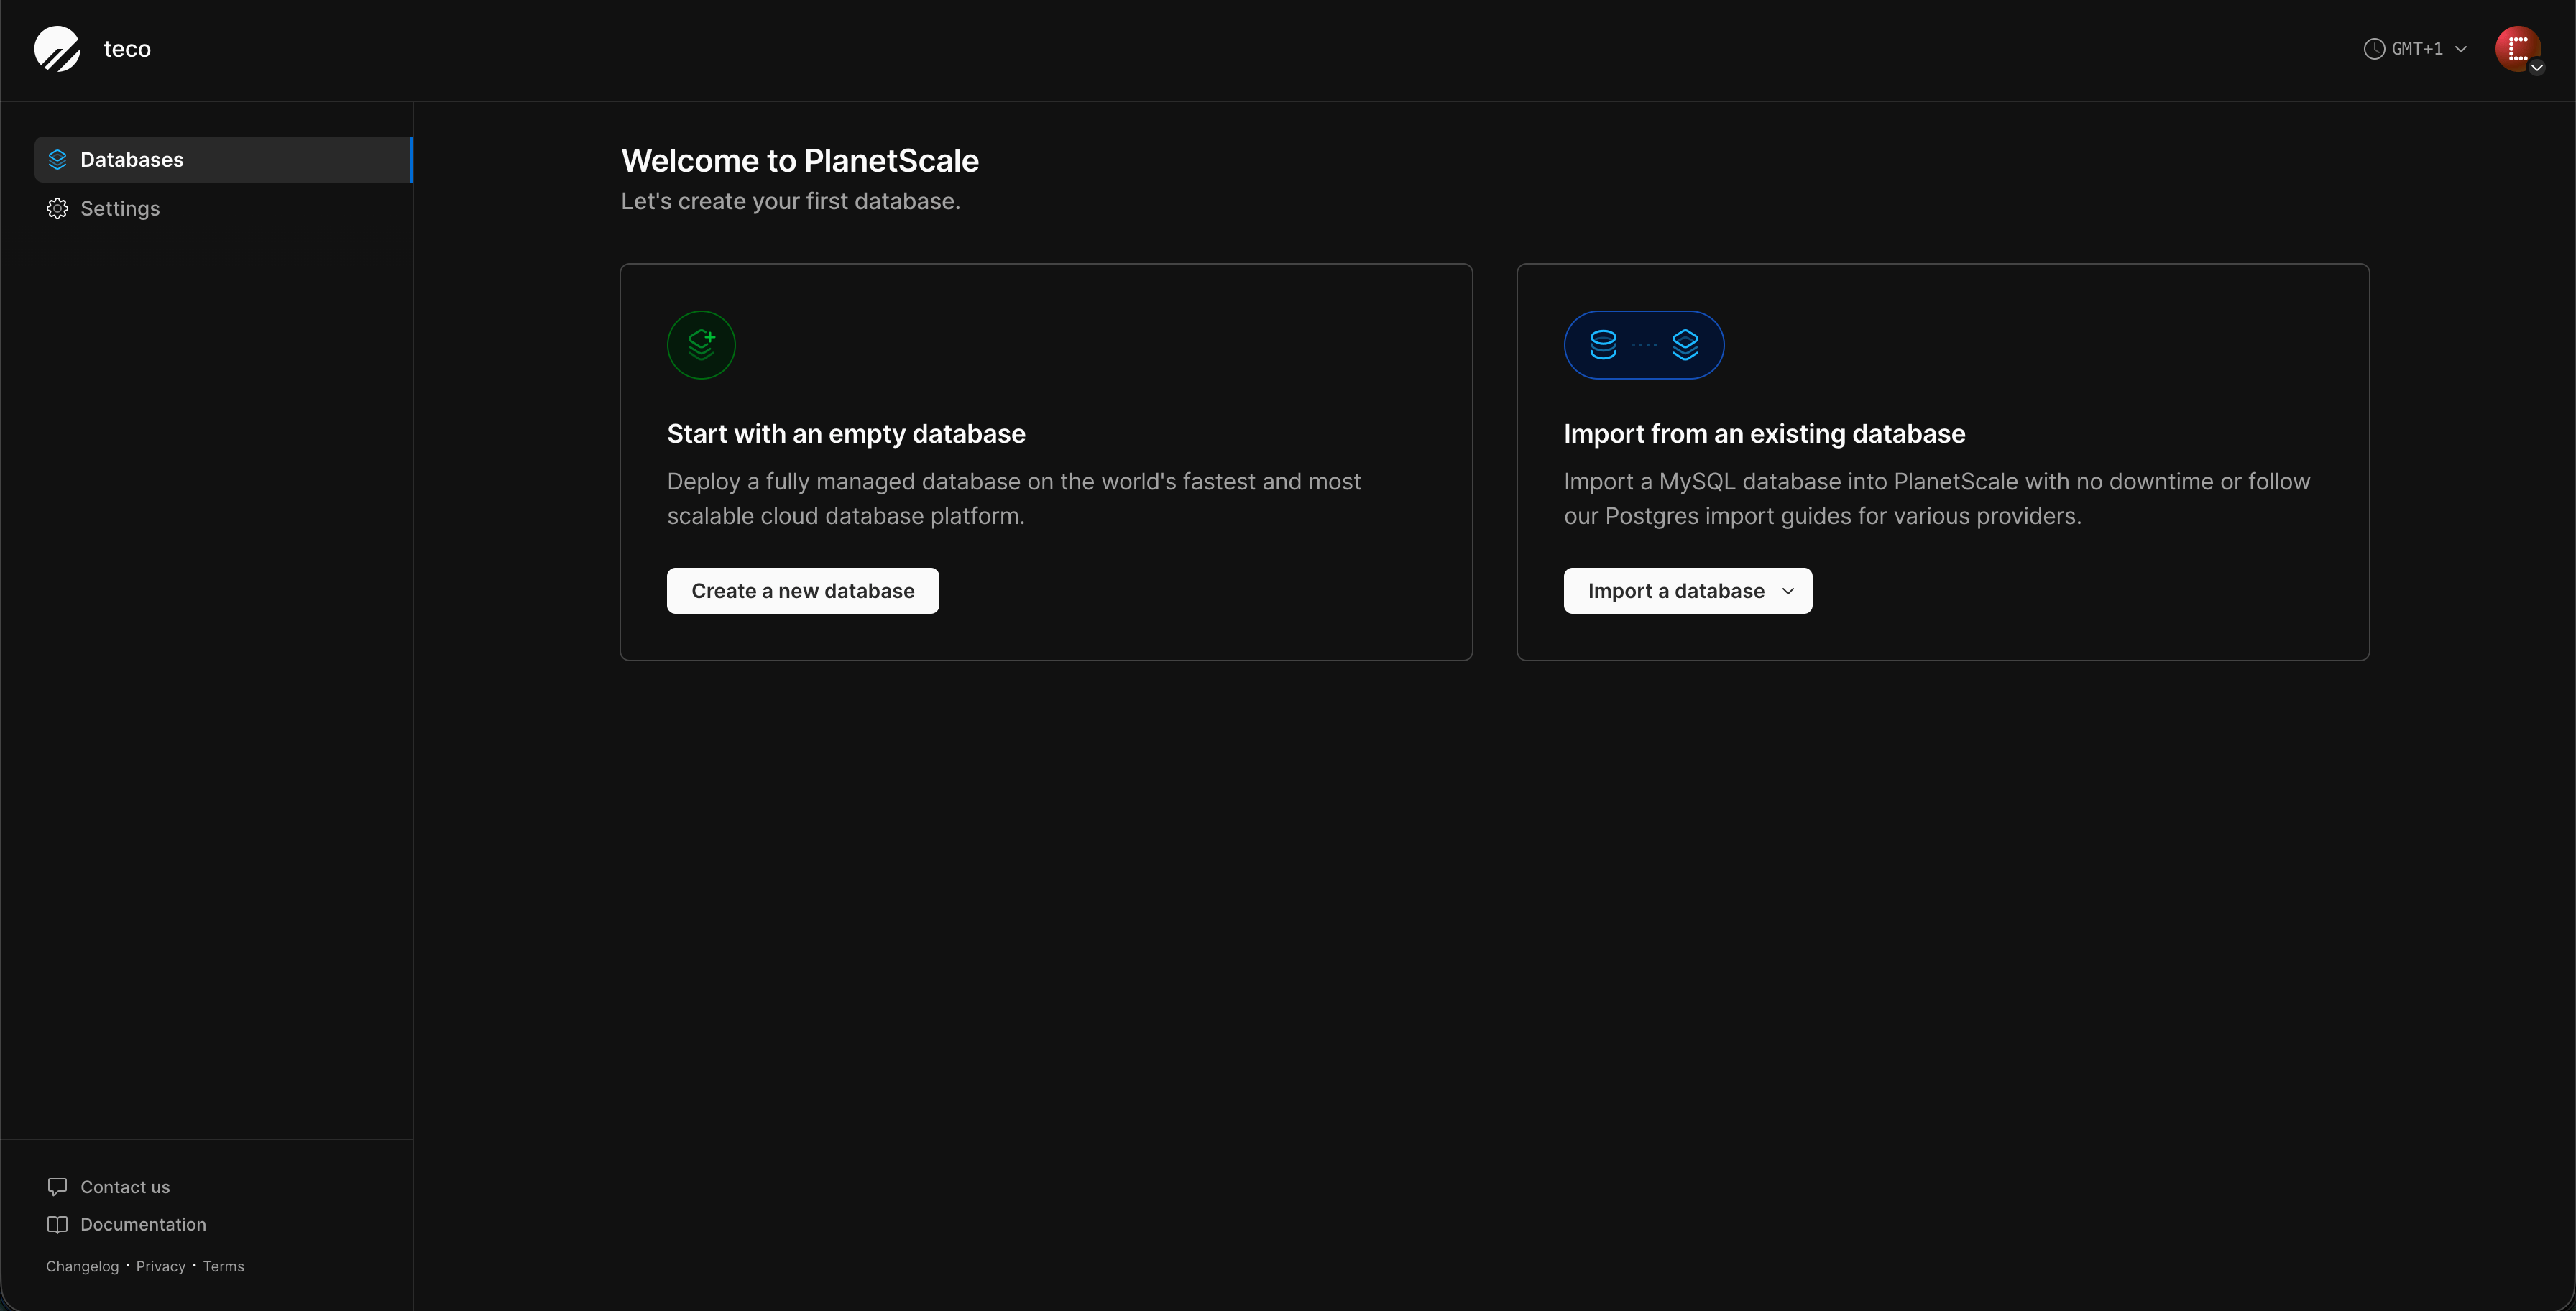
Click on the button to create a database. You are redirected to a page to configure your database.
- Enter the database name.
- Select a region to deploy your database; you can see in the list that you can deploy on AWS or GCP.
- Select the database engine: Postgres.
- Select the database cluster configuration; the default selection is a three nodes (1 primary + 2 replicas) for high availability. Since we are deploying for learning purpose select a single node.
- On the Storage options, keep the selected option Amazon Elastic Block storage.
- Select the cluster size; let's keep the selected option.
- Select the Postgres cluster that suits your needs. We will use the PS-5 which provide 1/16 CPU and 512MB of memory.
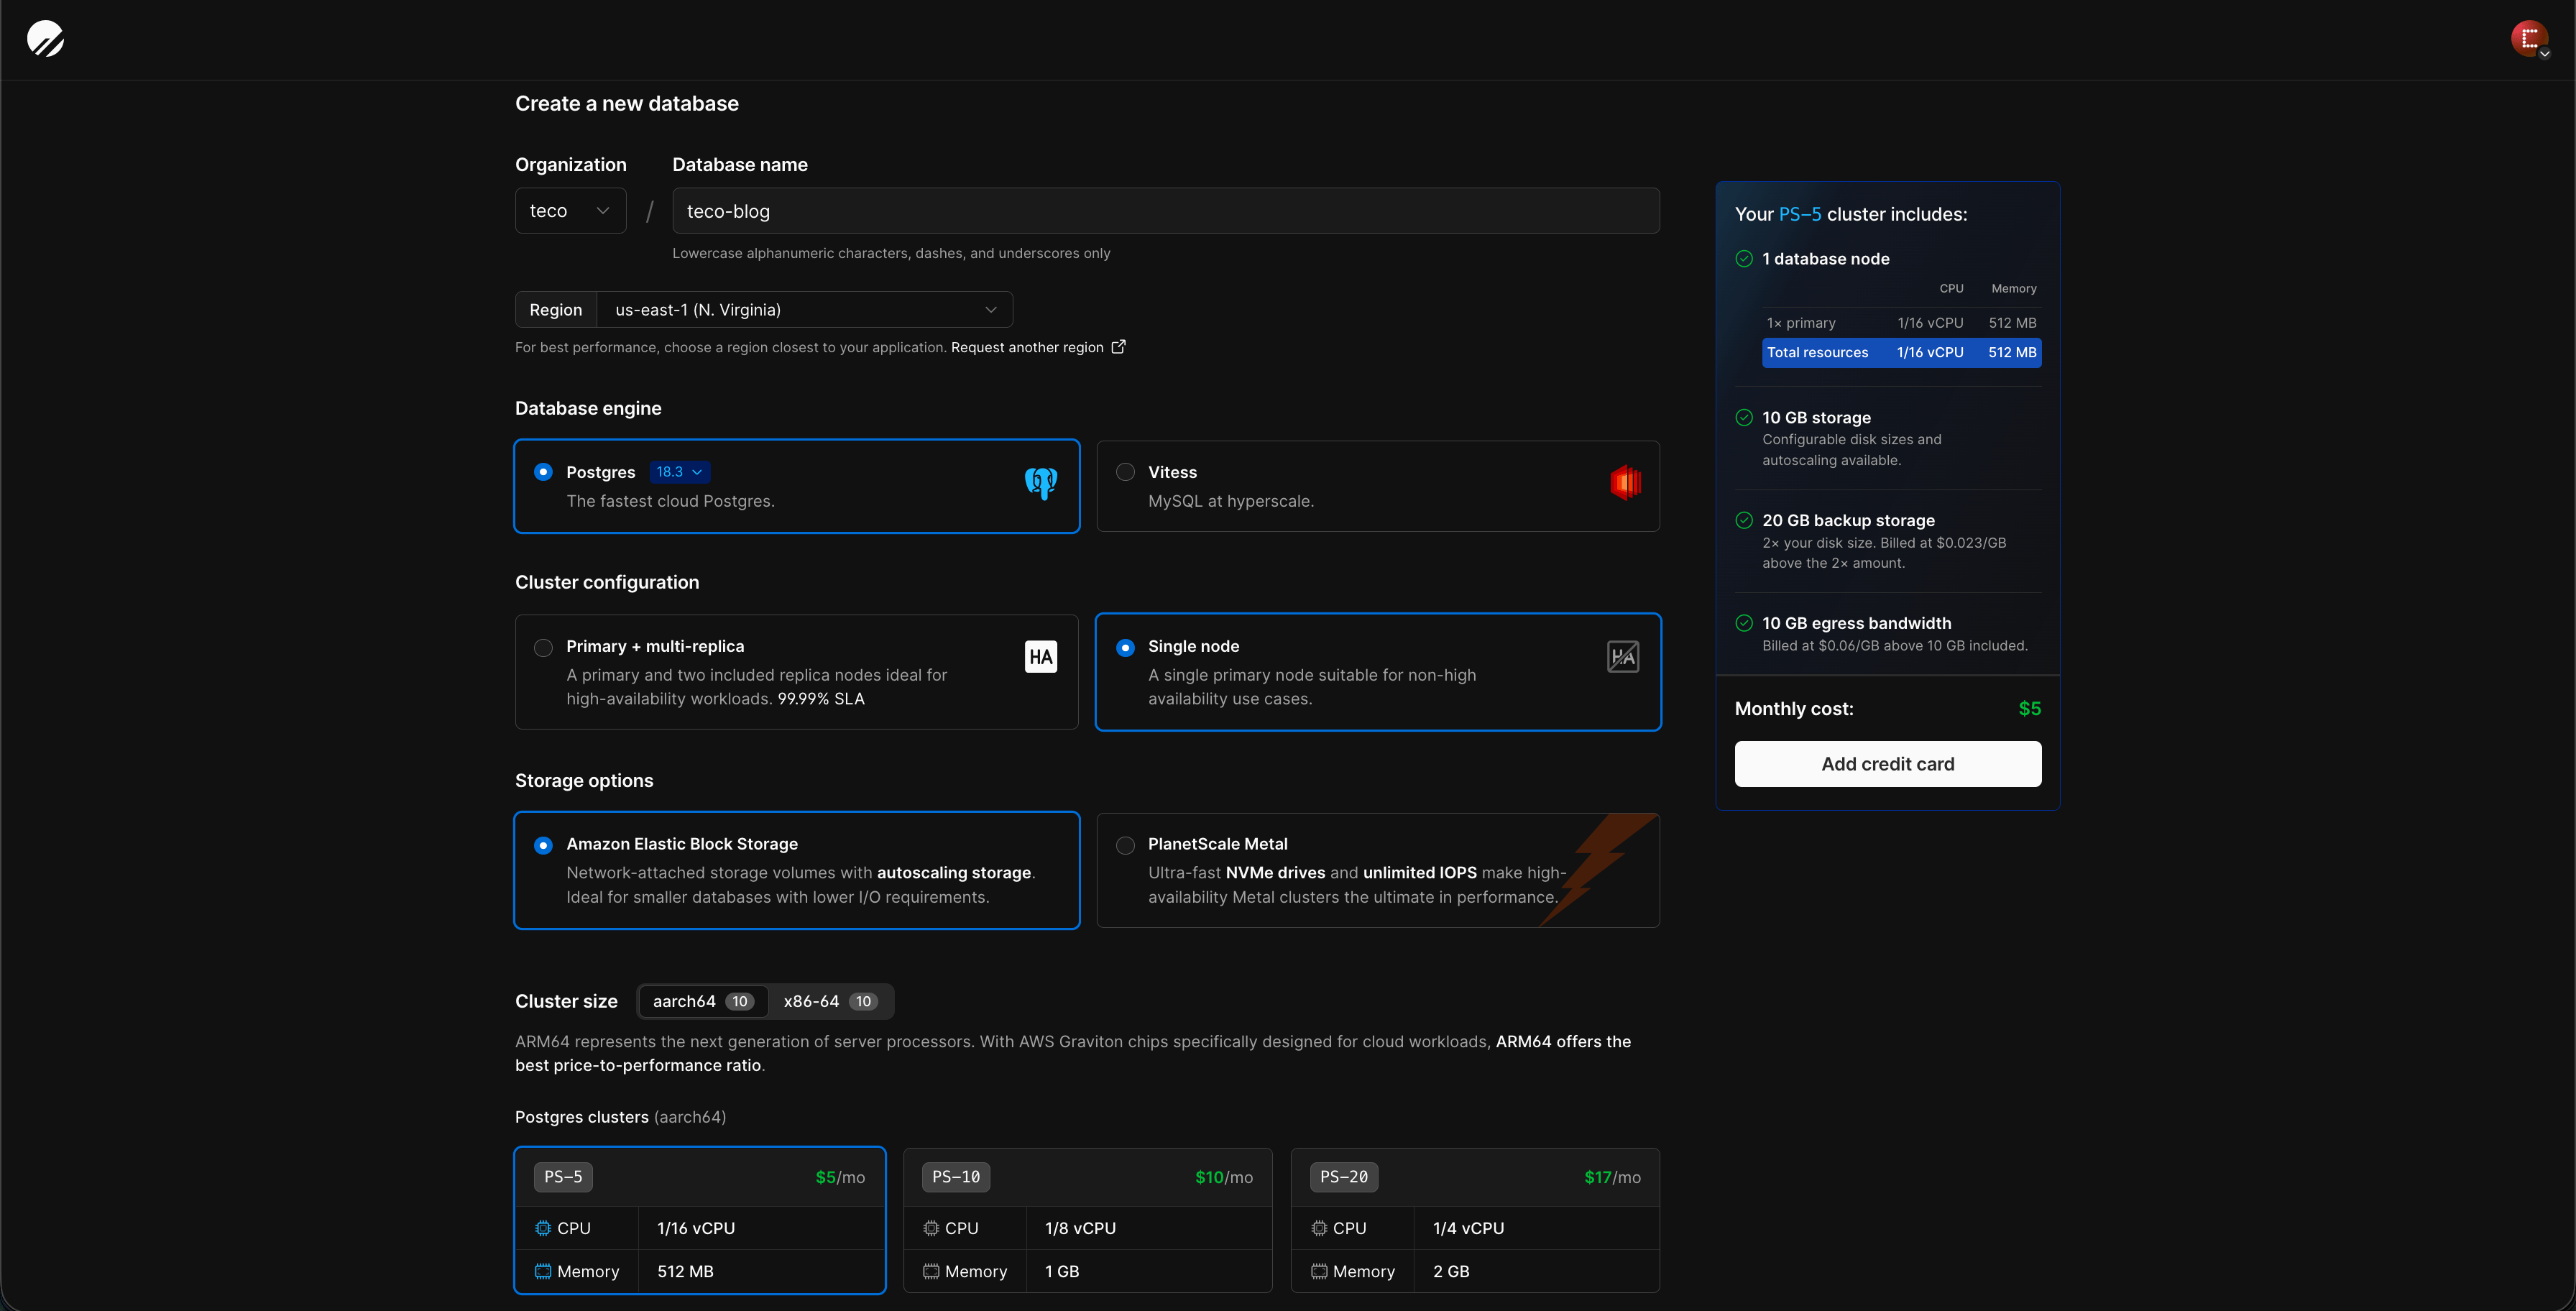
Click on the button to add a credit card; this is required to prevent abusive usage of the platform.
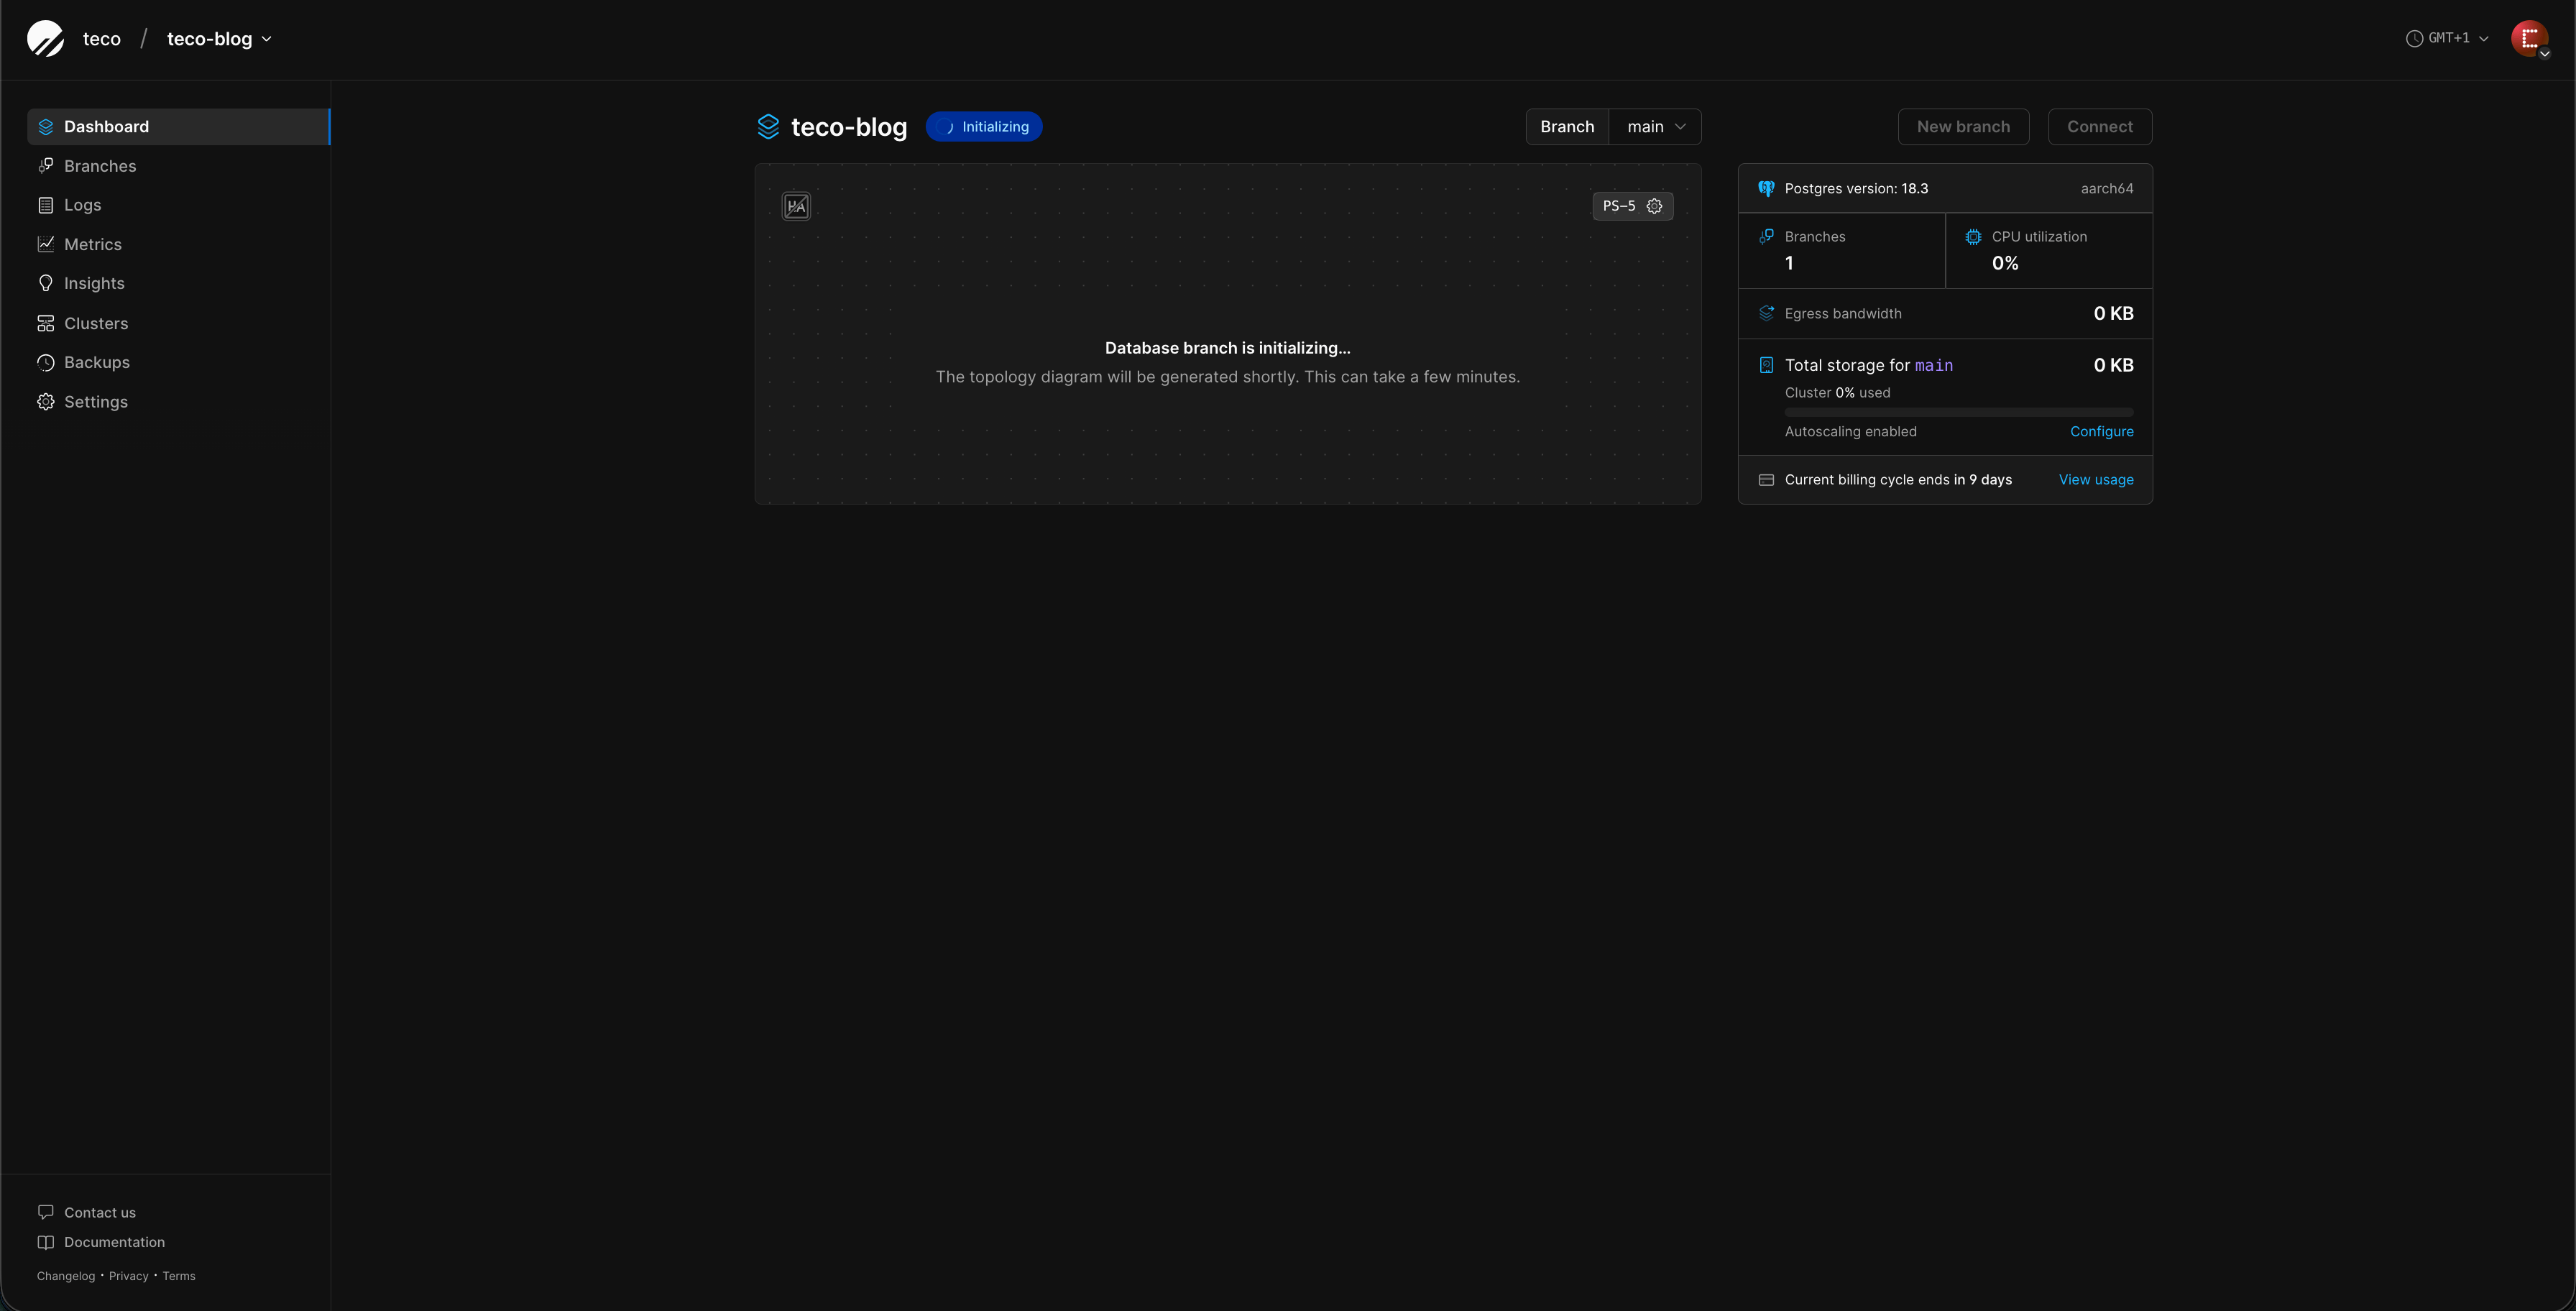
Once the card information is added, click the button to create the database and wait the database creation to complete.
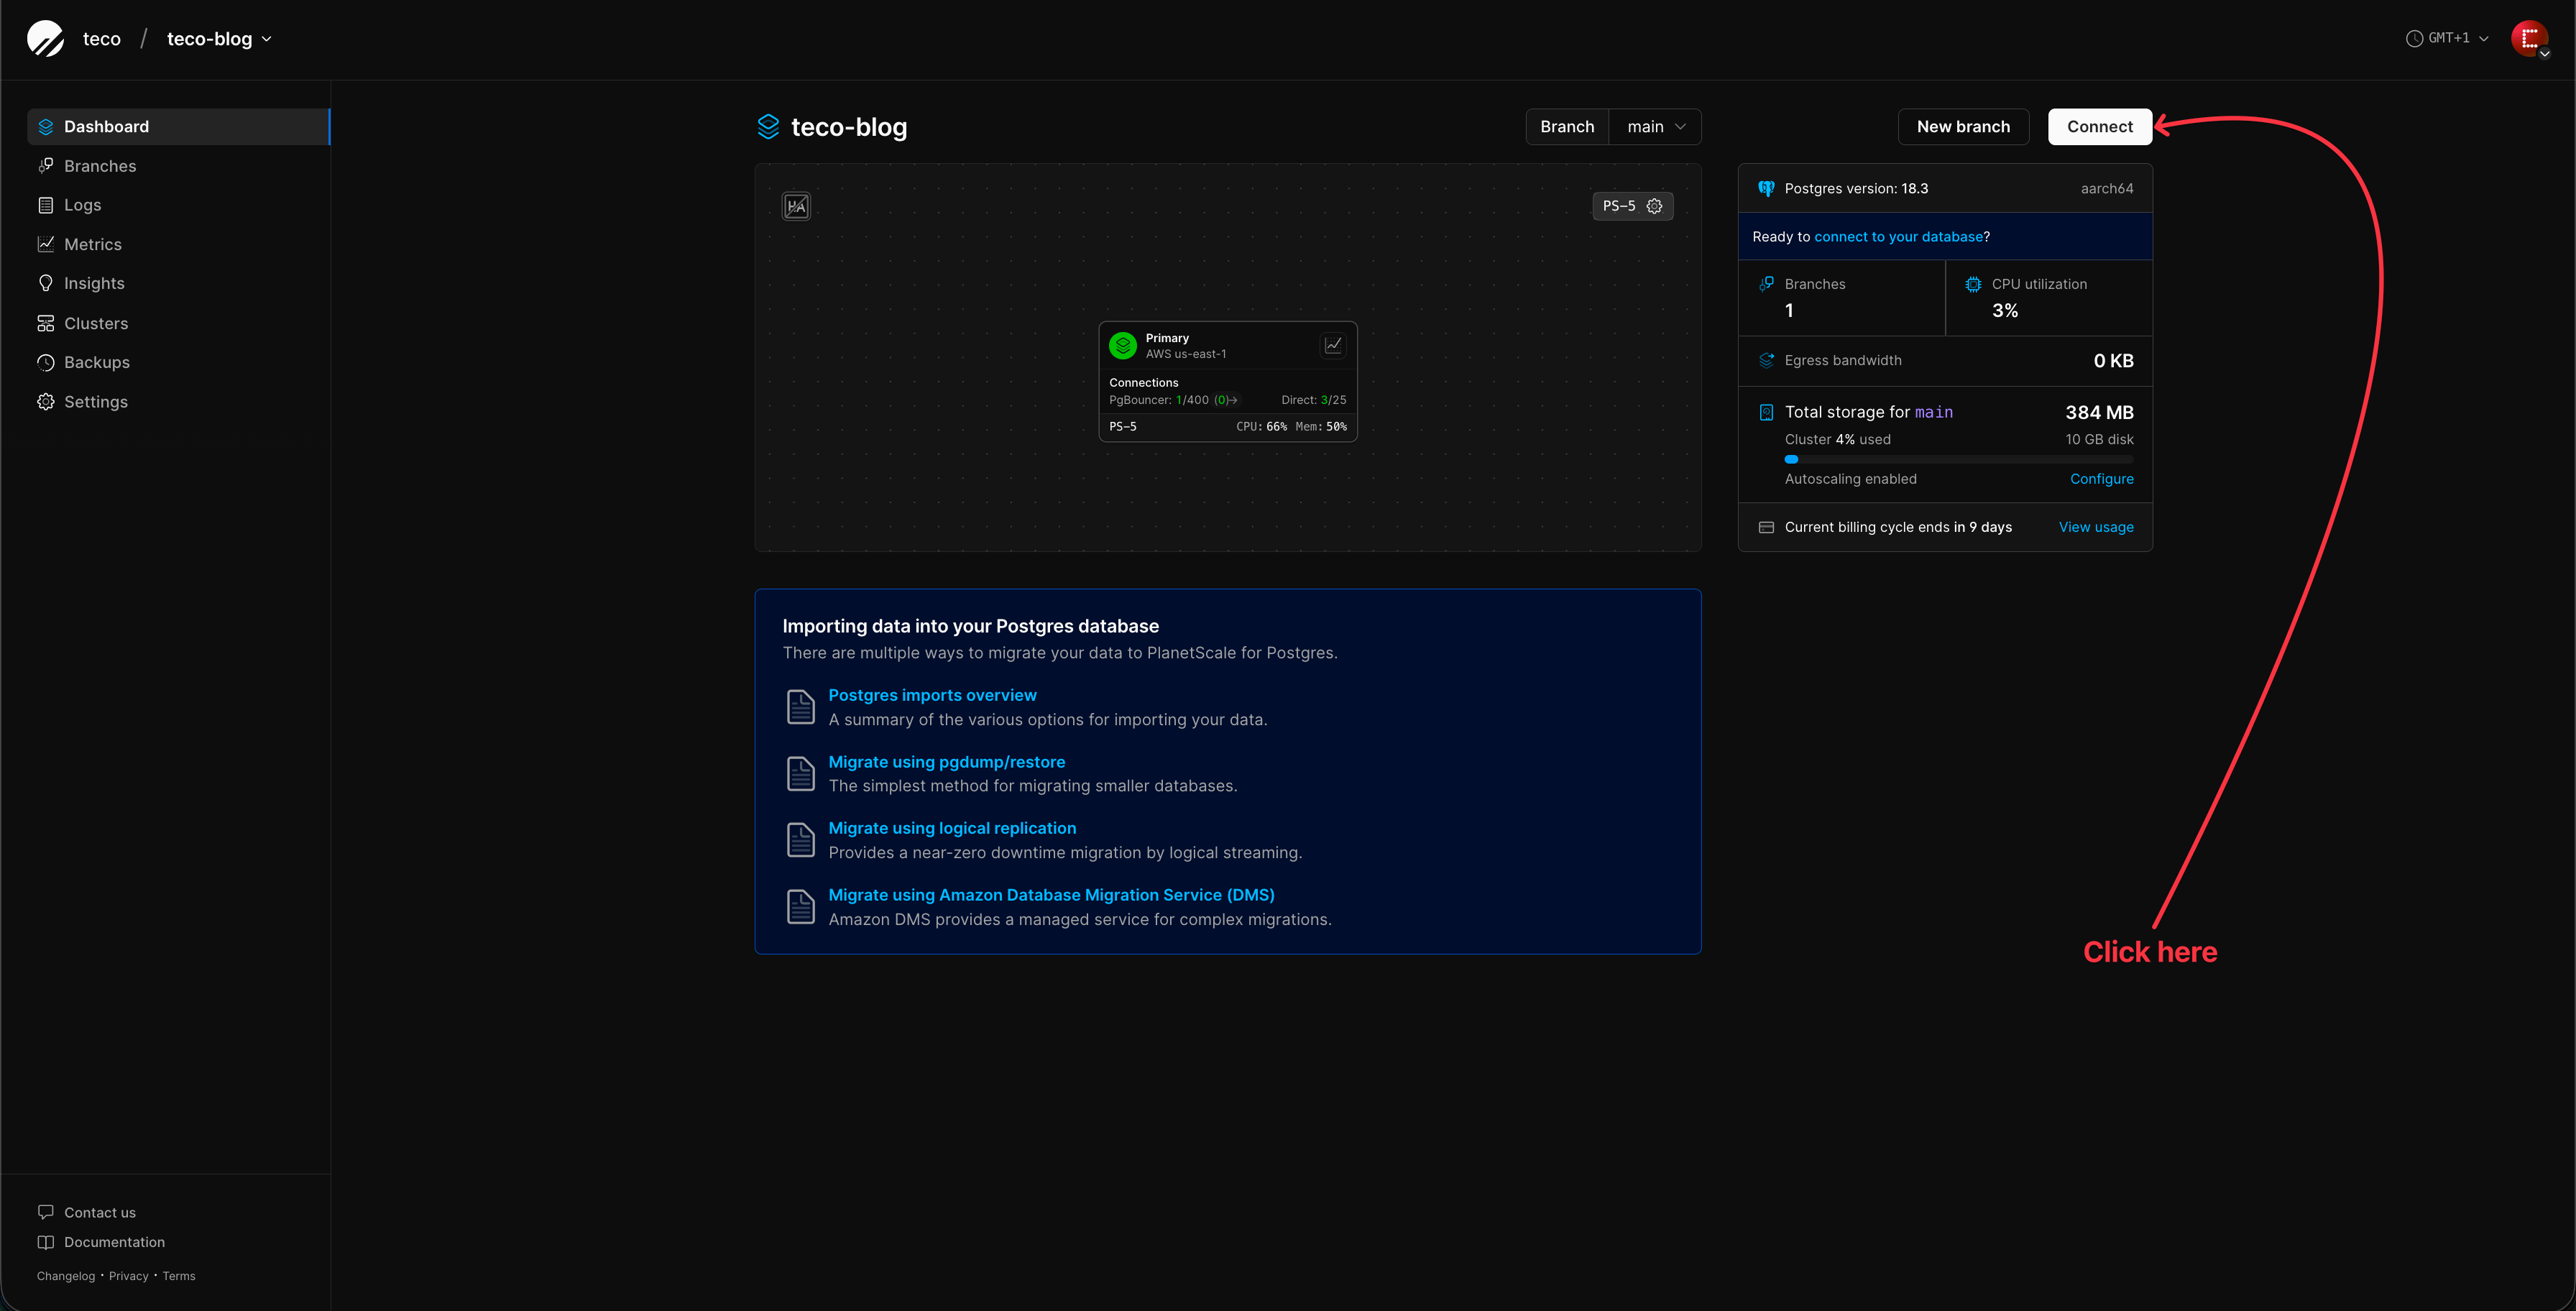
Once the database is ready, click the button "Connect" to setup database connection settings.
The next page allows creating a role for the database main branch.
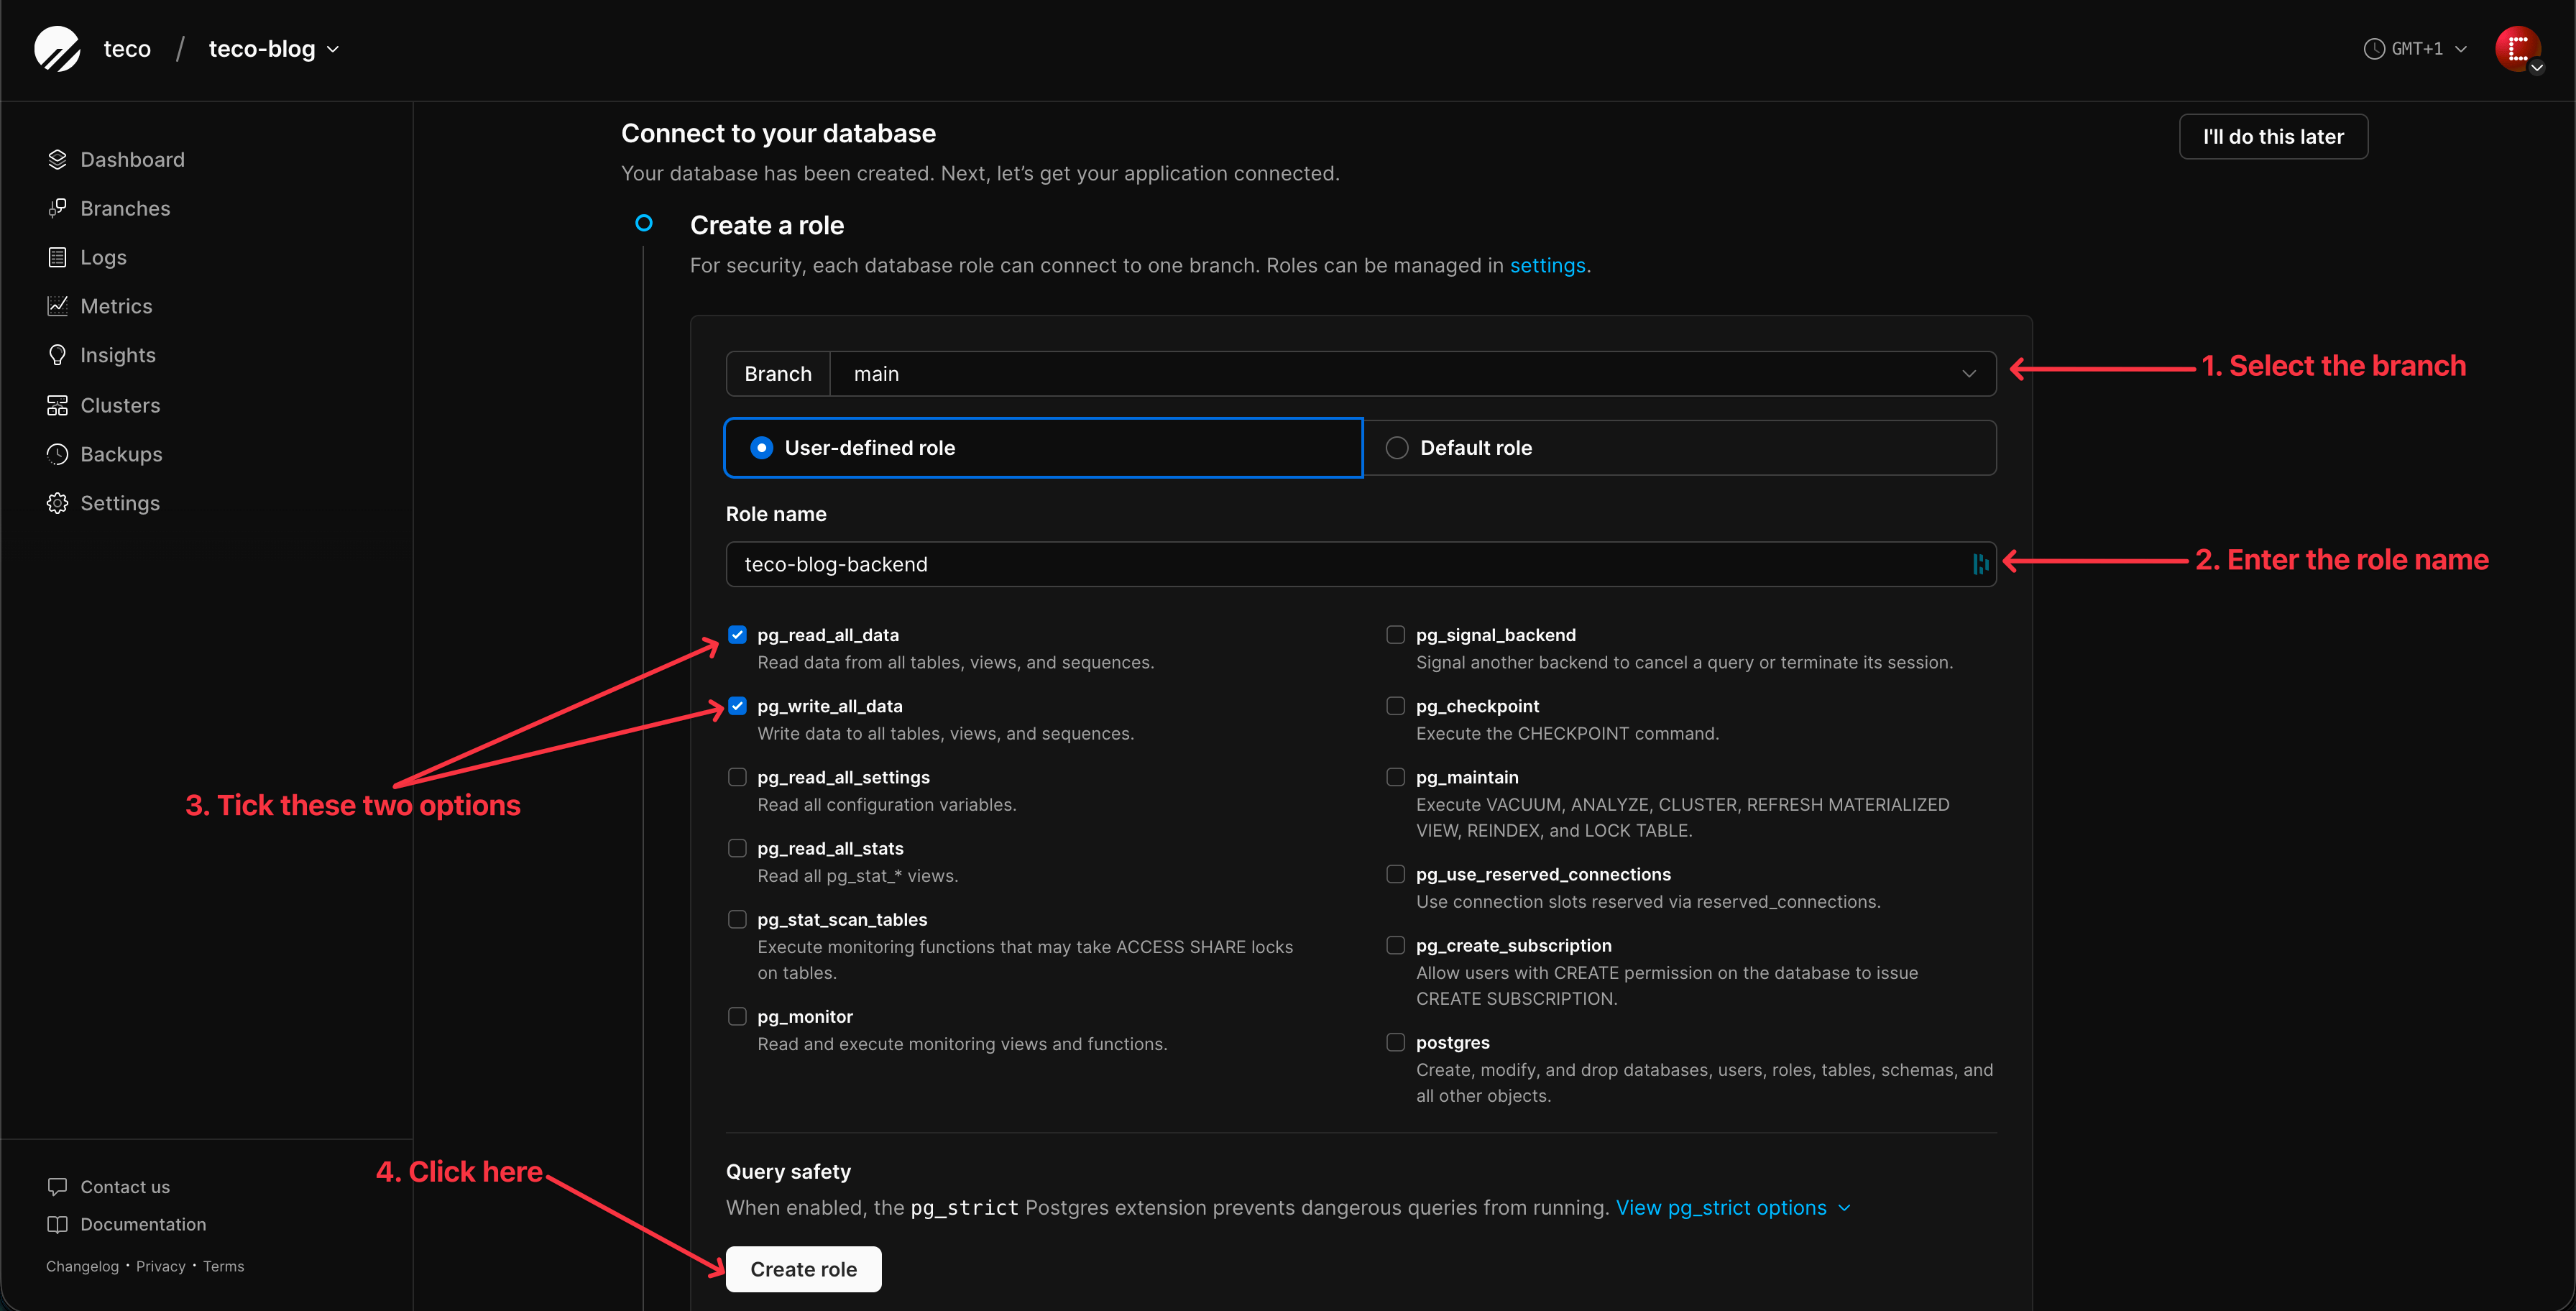
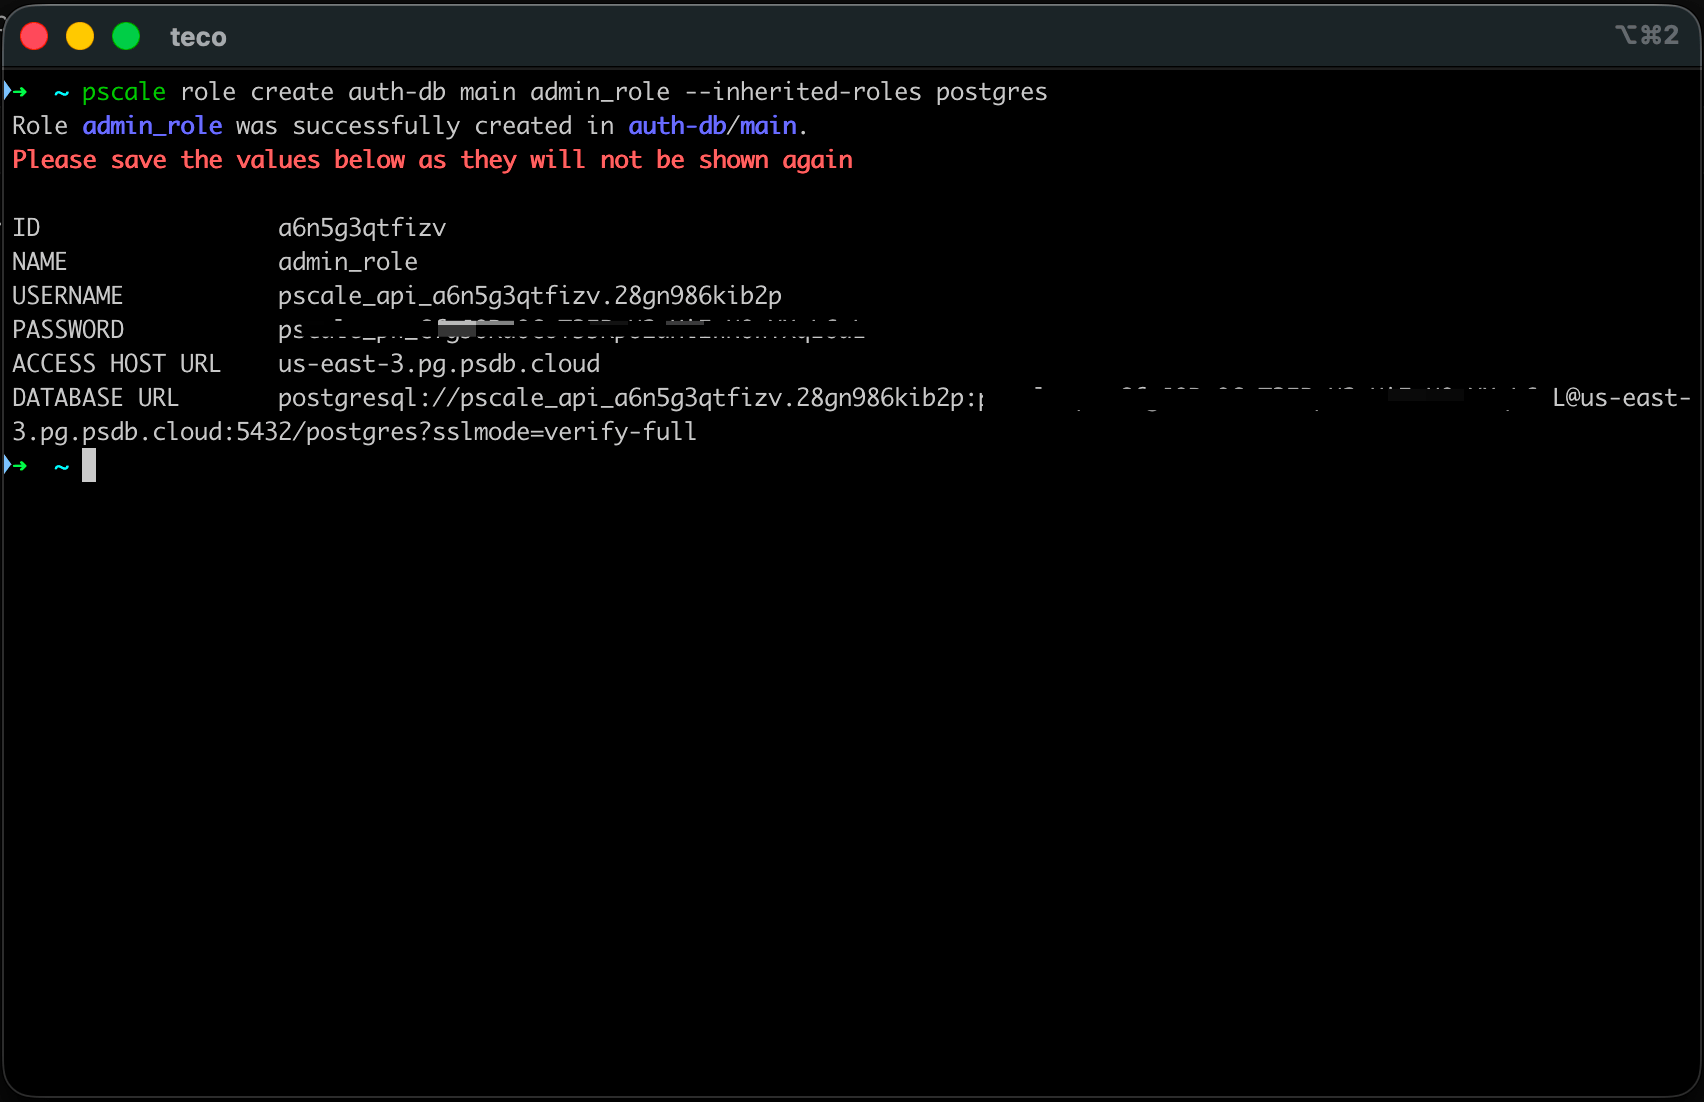
Once the role is created, you will the database connection information.
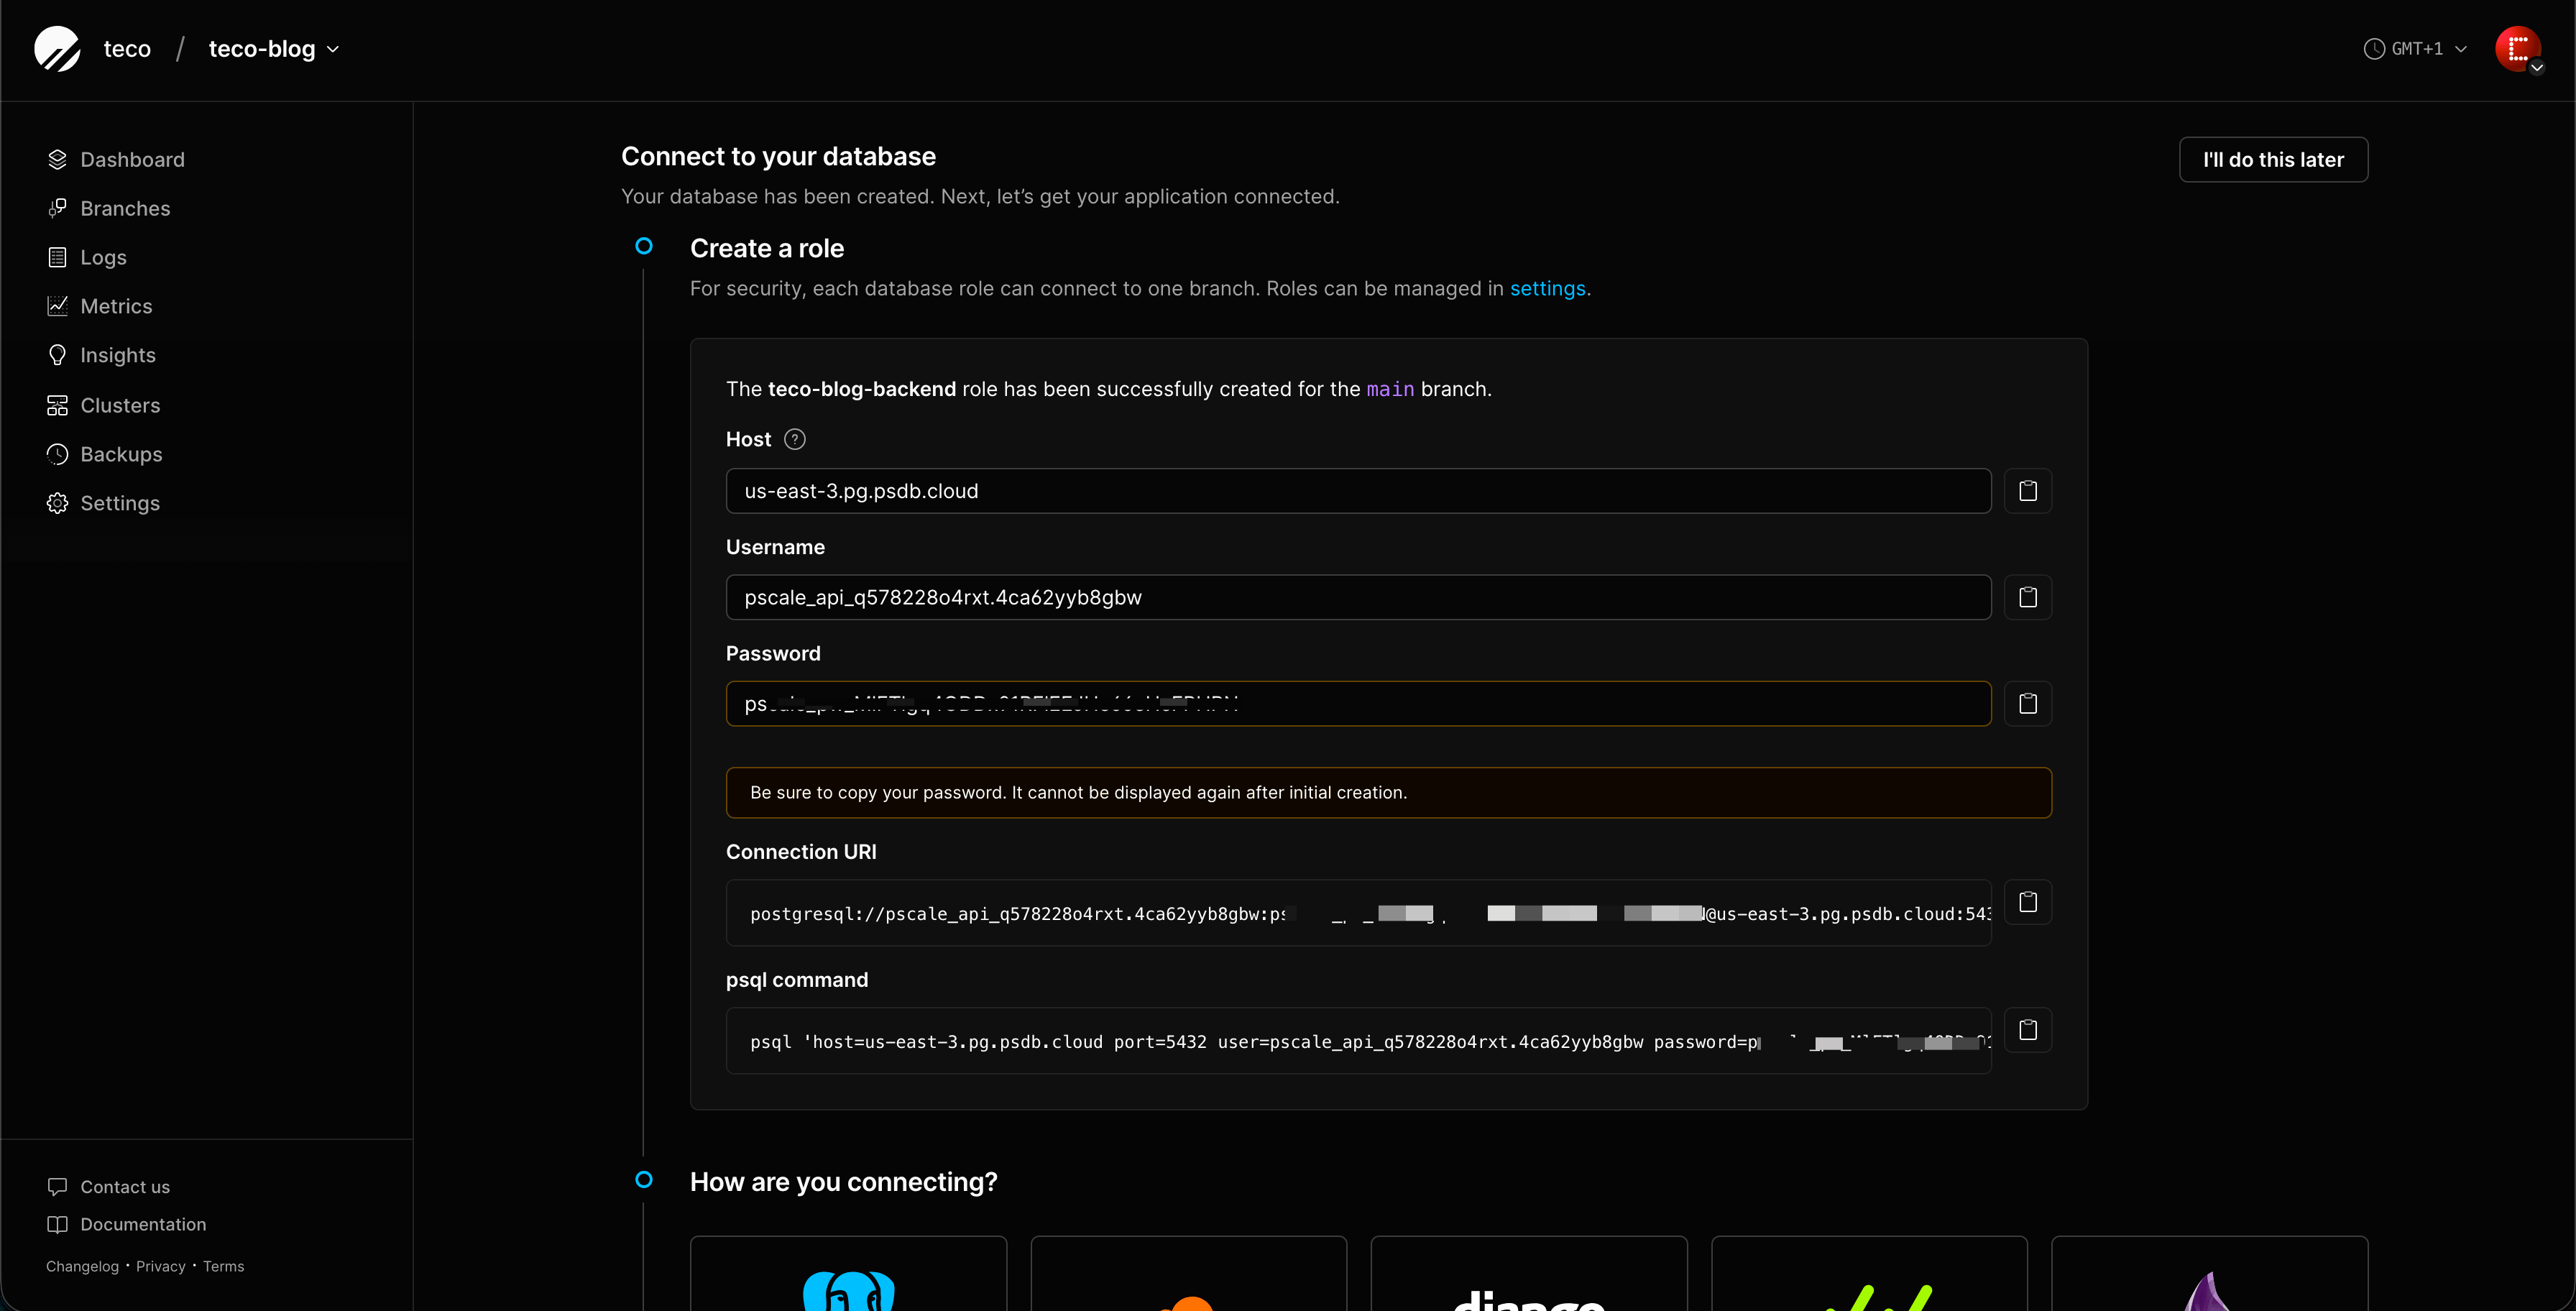
Copy and save the password somewhere to not lose it, as it will not be displayed anymore. You can also copy the connection URI and save it.
Next, you are asked to select your framework; you can ignore it.
At the top-right of the page, click on the button "I'll do it later" to go to your dashboard.
Install the PlanetScale CLI
PlanetScale also has a CLI to perform tasks from your terminal or automate some actions. For developers, using the CLI is the way to go to avoid friction from switching between your development environment and the web console.
Throughout this tutorial, we will use the CLI to discover PlanetScale features.
The PlanetScale CLI is currently supported on Windows, Linux, and MacOS. Check out this page to see the installation instructions. Run the command below to install it on MacOS
brew install planetscale/tap/pscale

# required to run certain commands with the PlanetScale CLI
brew install mysql-client

# The PostgreSQL command-line client
brew install postgresql@18
To upgrade to the new version, just run the command: brew upgrade pscale
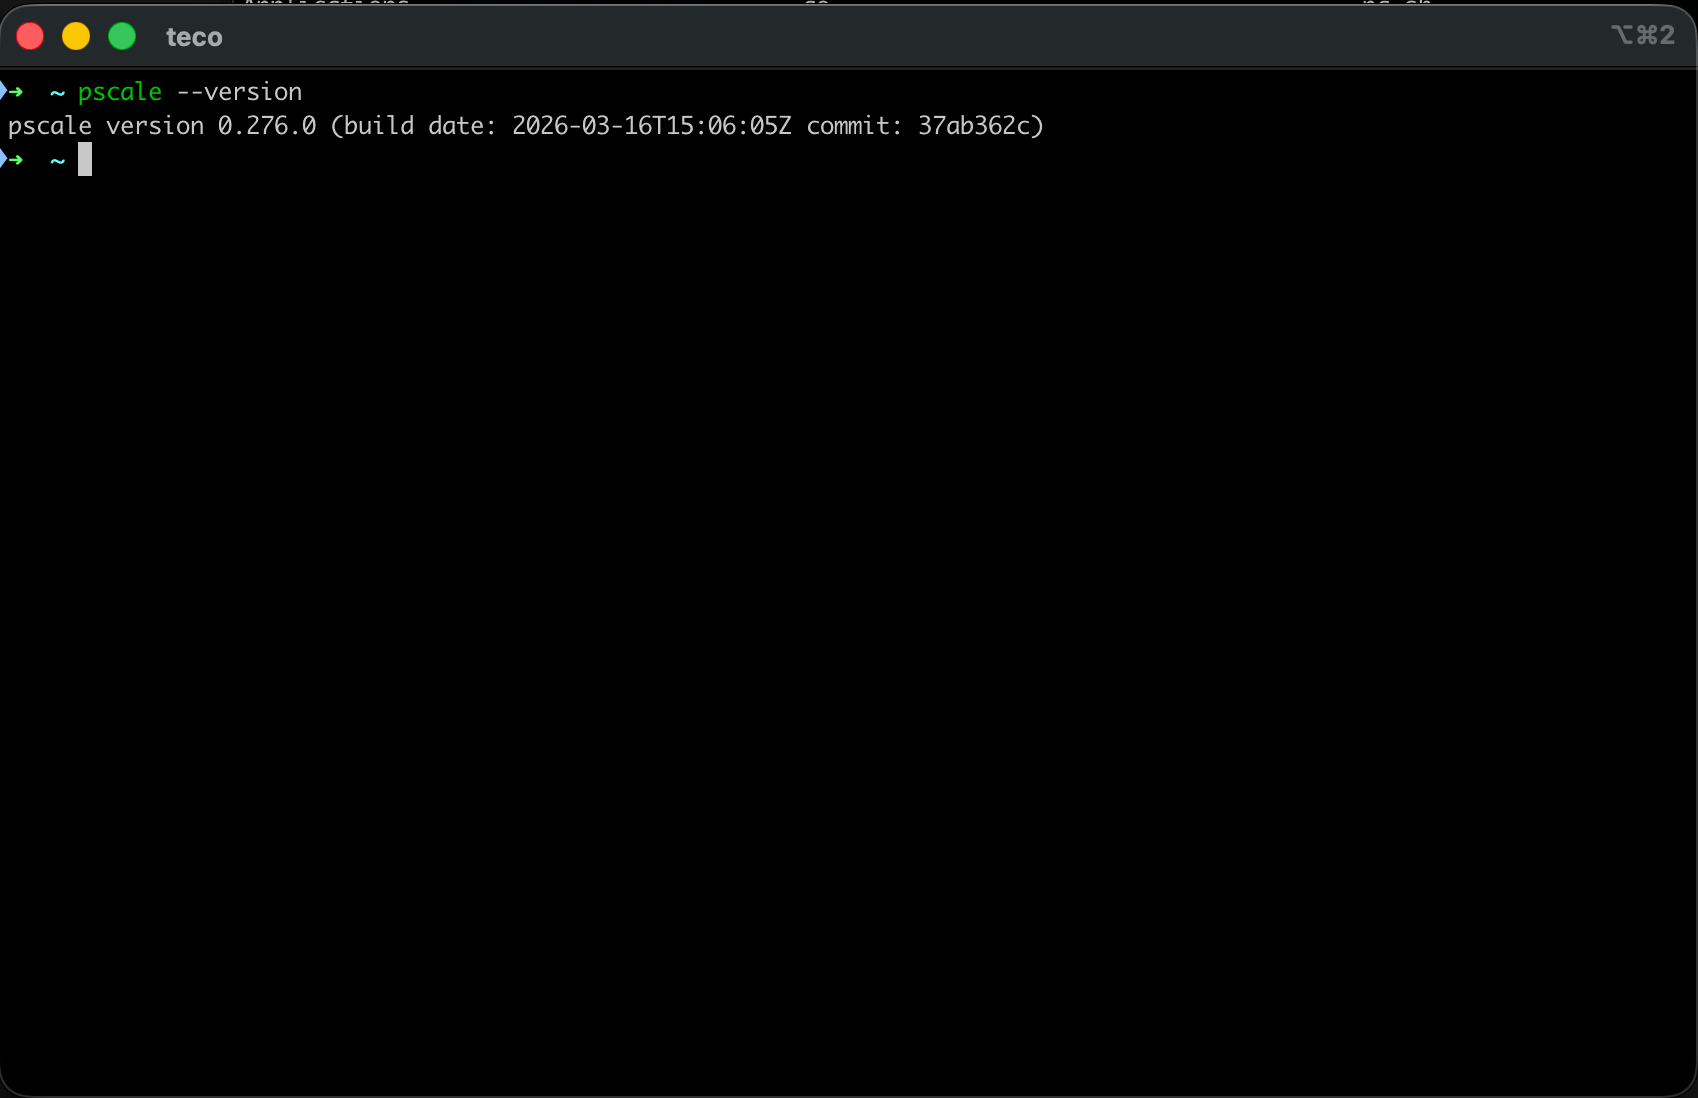
Verify the CLI is installed successfully by running: pscale --version
The use case
We will build a light authentication system with only a table to store users.
Let's see how to use the branching workflow provided by PlanetScale to create this database.
Authenticate from the CLI
We created an account through the web application with an email address and a password, and now we want to perform actions on behalf of this account through the CLI. We need to log in from the CLI first.
Open a terminal and run the command below:
pscale auth login
This command will open the browser and follow the instructions.
To authenticate from the CLI, you must confirm that the confirmation code generated in the Terminal is the same web page.
To log out, run the command pscale auth logout.
Create a PostgresSQL database with the PlanetScale CLI
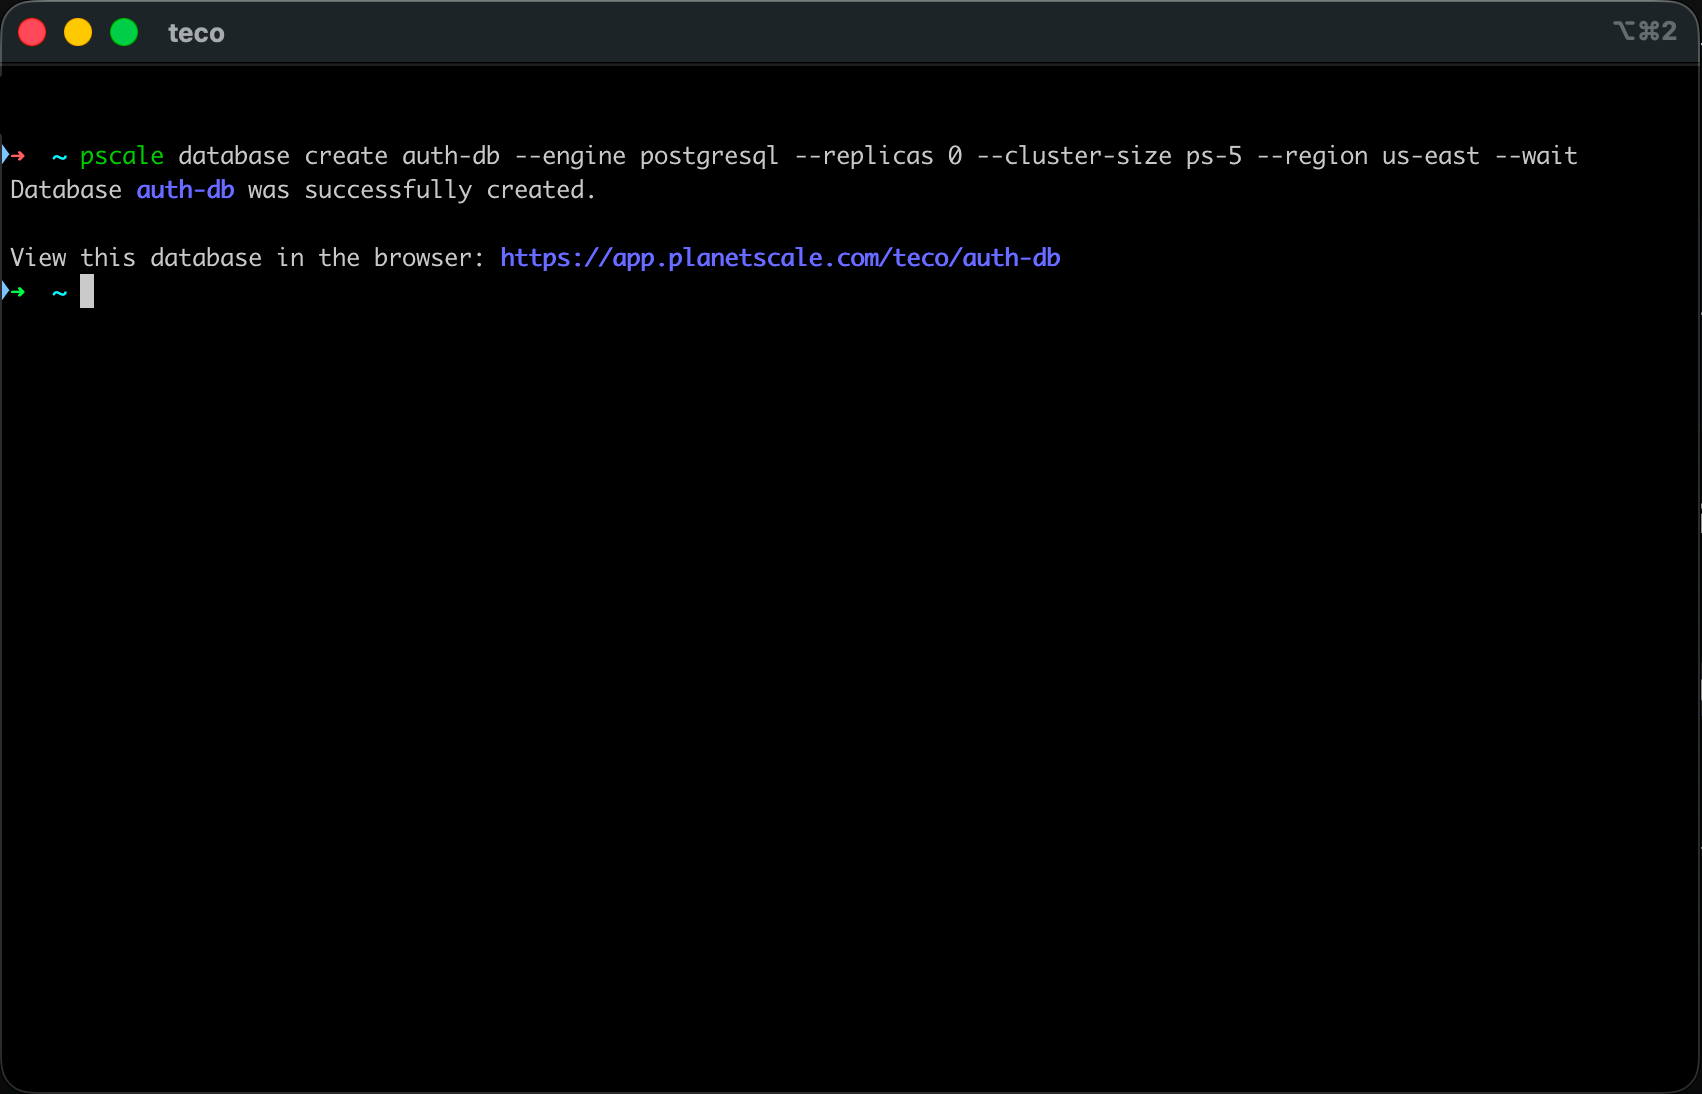
We are now connected to the organization; let's create our database with the name "auth-db".
pscale database create auth-db --engine postgresql --replicas 0 --cluster-size ps-5 --region us-east --wait
- The option
--replicasset to0tell to create a single node instance. - The cluster size is PS-5 which allocates 1/16 CPU and 512 MB of memory.
- The option
--regionis us-east which is an alias forus-east-1; runpscale region listto get the list of available regions. - The option
--waittells to wait until the database is created.
To view the list of your database, run.
pscale database list
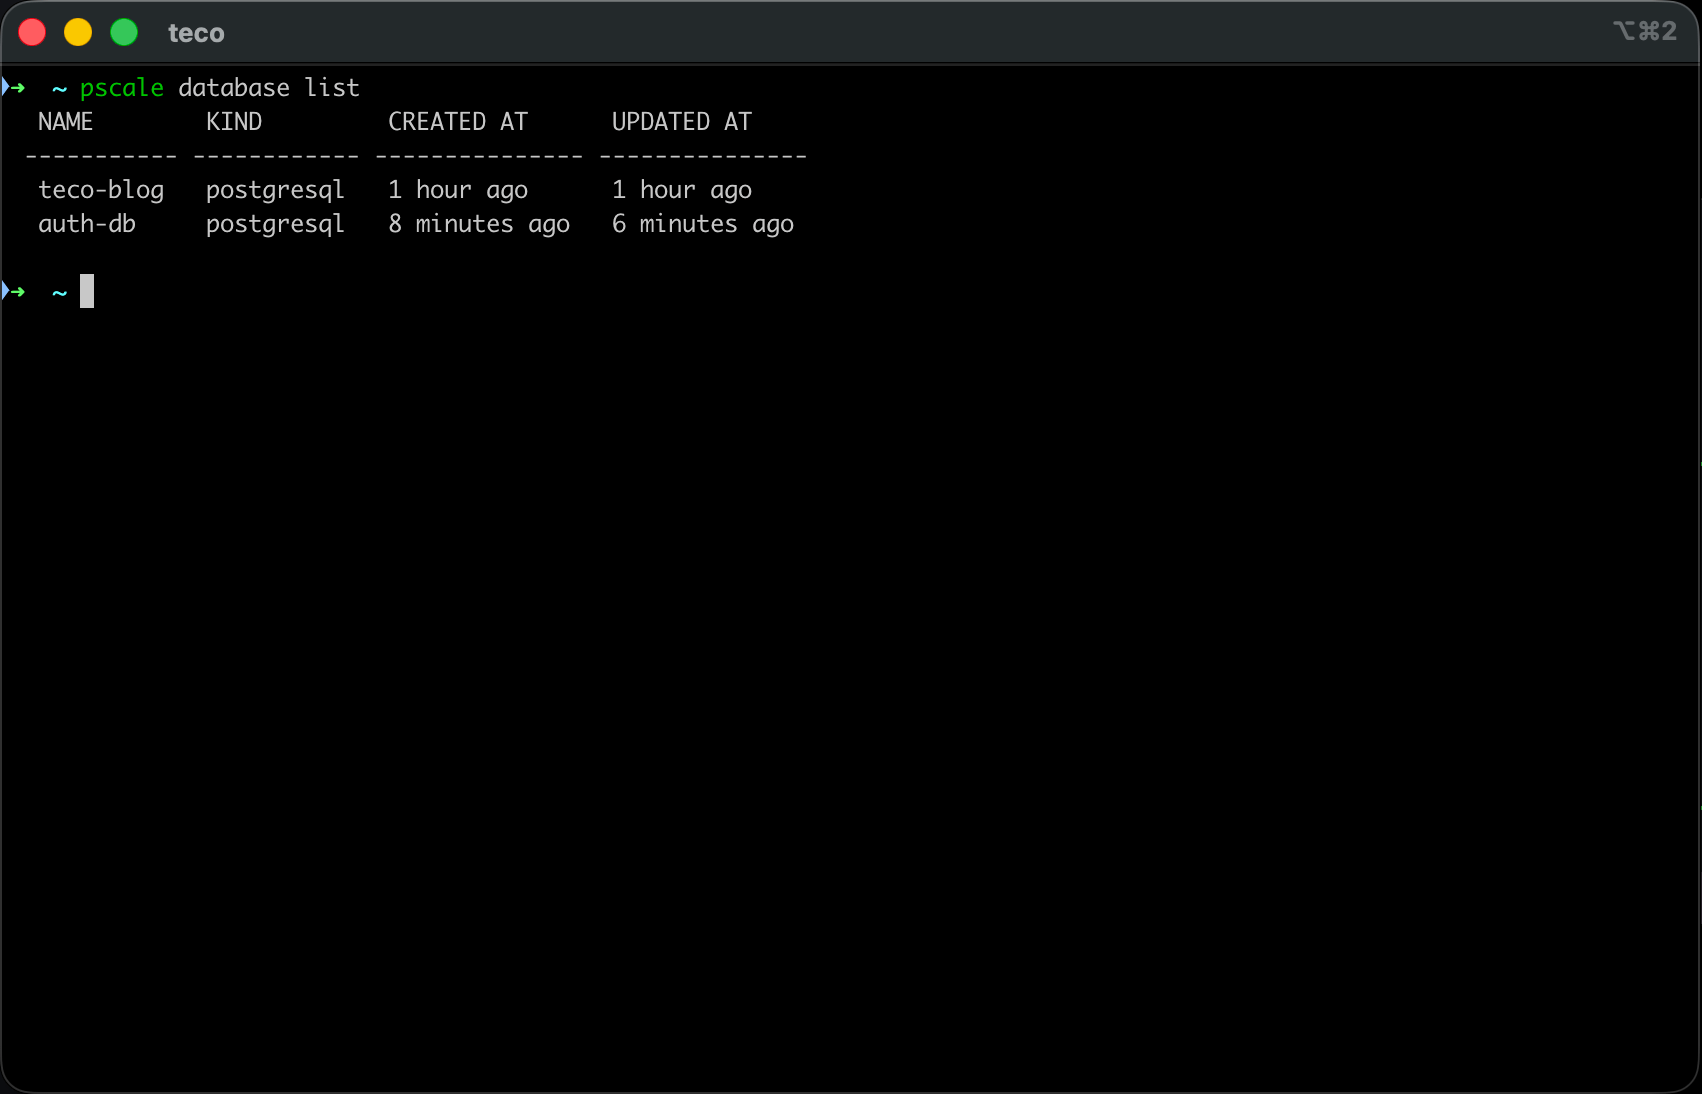
pscale database delete <database_name>. Add the flag --force to delete without a confirmation.Create a role for the database main branch
We will create an administrator role that can perform database schema creation on the main branch. Run the following command:
pscale role create auth-db main --inherited-roles postgres
The option inherited-roles is set to postgres for the admin access.
The database main branch
By default, the database is created with a default branch called "main". It is the production branch.
To view the list of database branches, run the following command:
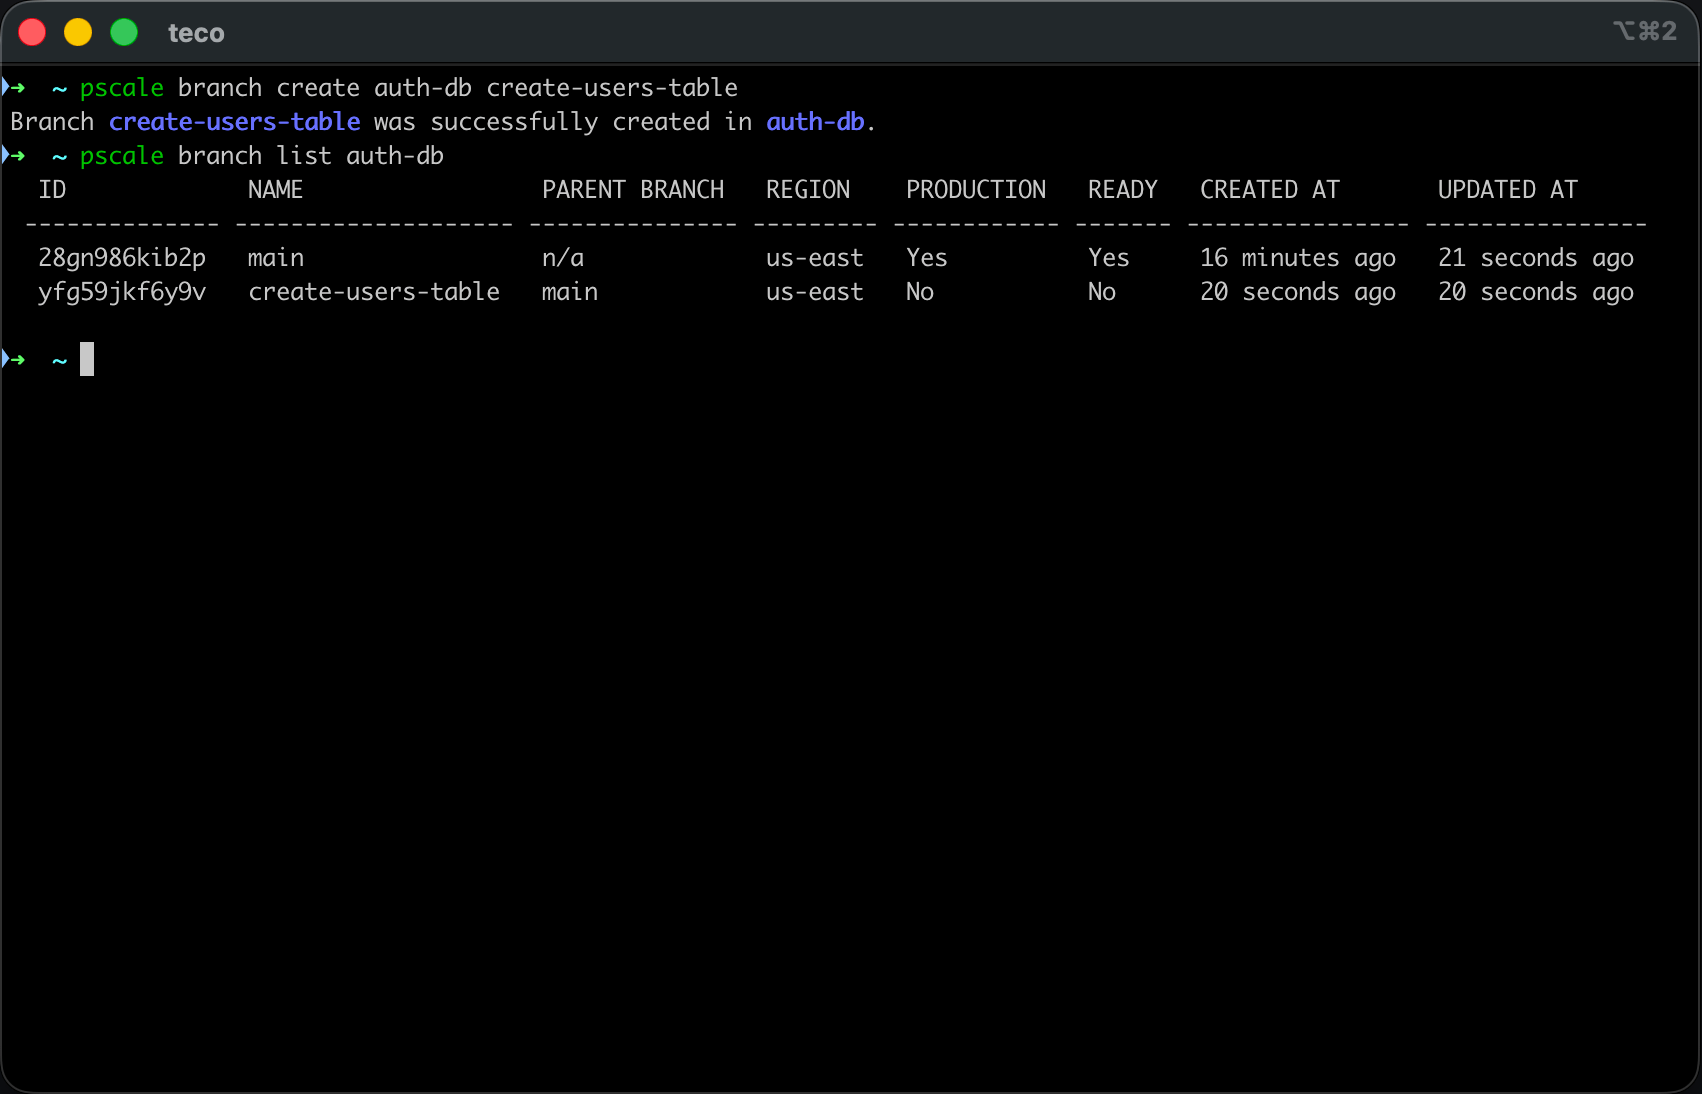
pscale branch list auth-db
We get the following output:
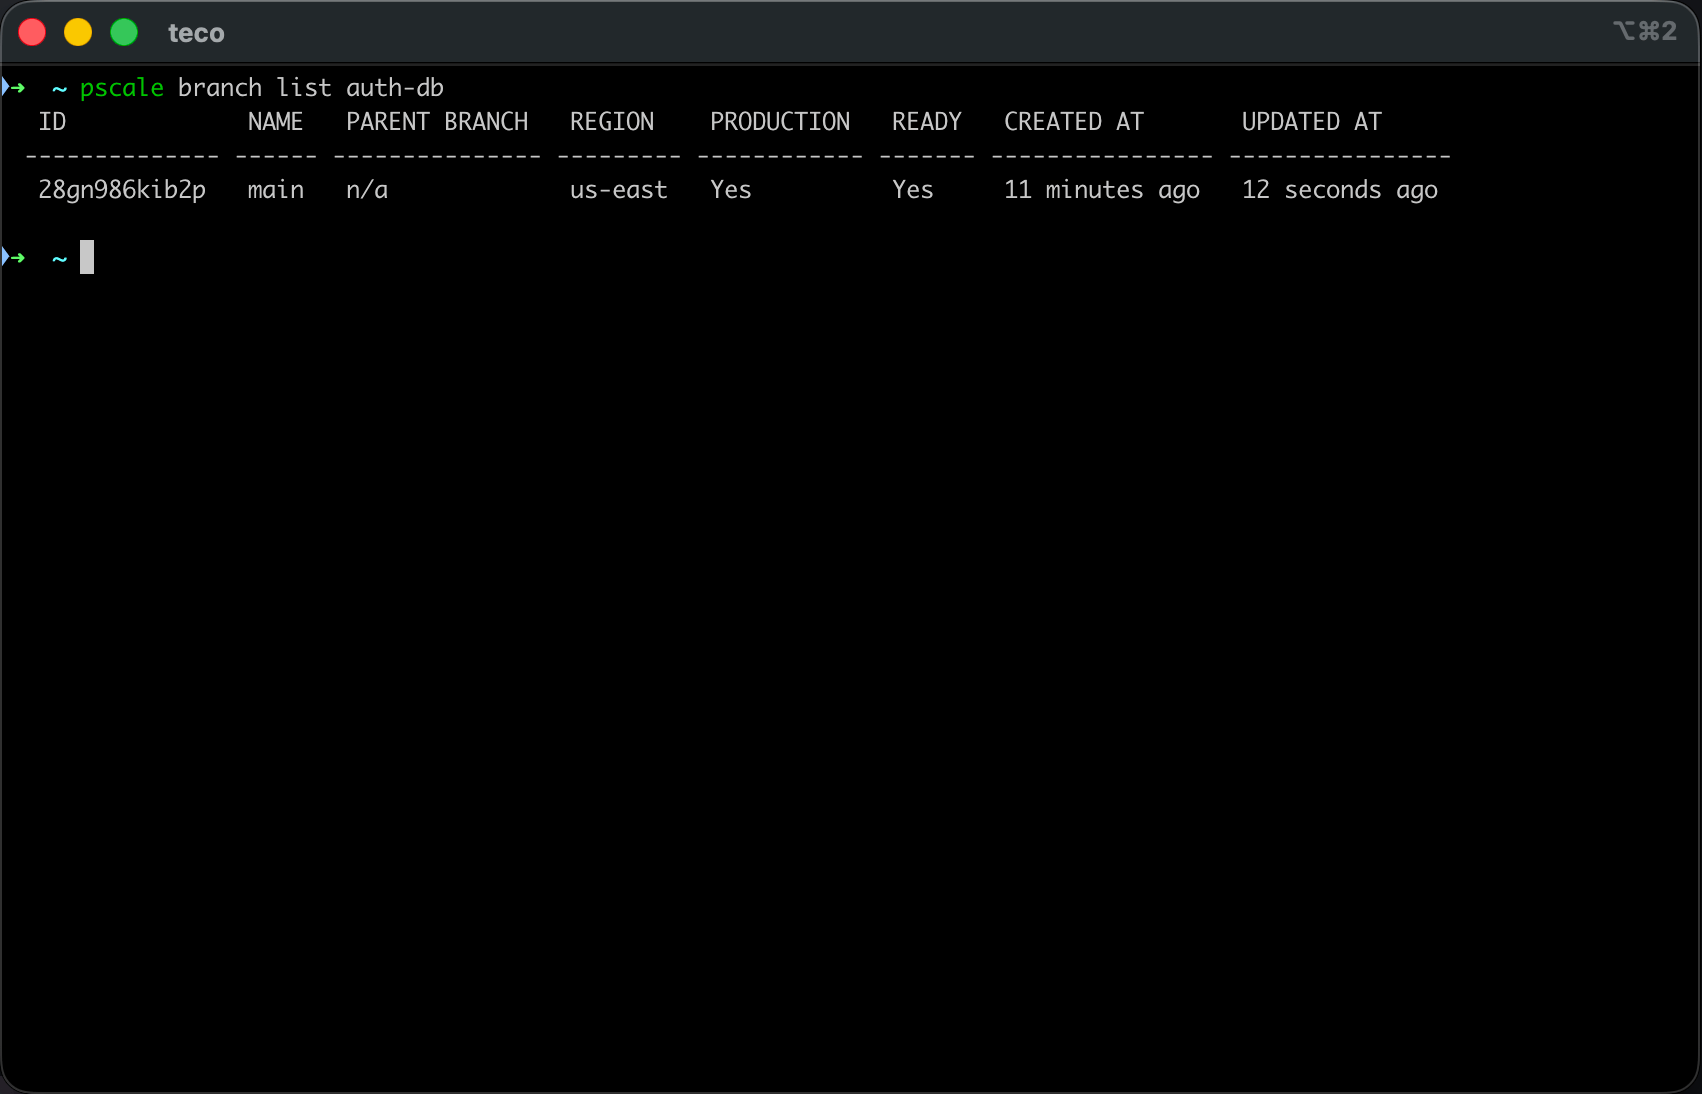
The production branch differentiate from other branches with the following element:
- Production database: We indicate it is the database branch our application deployed in production connects to.
- No direct update: The database can no longer be updated directly; it can only be done by creating a deploy request. This prevents accidentally changing the database schema with an inconsistent one and crashes the application.
- Source of truth: PlanetScale will ensure that new changes are consistent when merging a branch created from this branch. Otherwise, the branch will be seen as conflicted.
Create the table users
To create this table, let's create a new branch from the main; we will call it create-users-table.
pscale branch create auth-db create-users-table
Update database schema with PlanetScale Shell
When the branch is created, we need to write and execute the SQL code to create the table, and to do that, PlanetScale CLI makes it possible by opening a secure MySQL shell instance to our database's branch. Run the command below:
pscale shell auth-db create-users-table
Now we are connected, we need to execute the code below to create the database:
CREATE TABLE users (
    id SERIAL NOT NULL,
    full_name VARCHAR(191) NOT NULL,
    email VARCHAR(191) NOT NULL,
    password VARCHAR(100) NOT NULL,
    role VARCHAR(191) NOT NULL,
    enabled BOOLEAN NOT NULL DEFAULT false,
    created_at TIMESTAMP(3) NOT NULL DEFAULT CURRENT_TIMESTAMP,
    updated_at TIMESTAMP(3) NOT NULL,

    PRIMARY KEY (id)
);

CREATE UNIQUE INDEX users_email_key ON users(email);
You can use an ORM such as Prisma or TypeORM to generate the code above from the entity definition as code.

Copy the code above, paste it into your Terminal, then press ENTER to execute it.
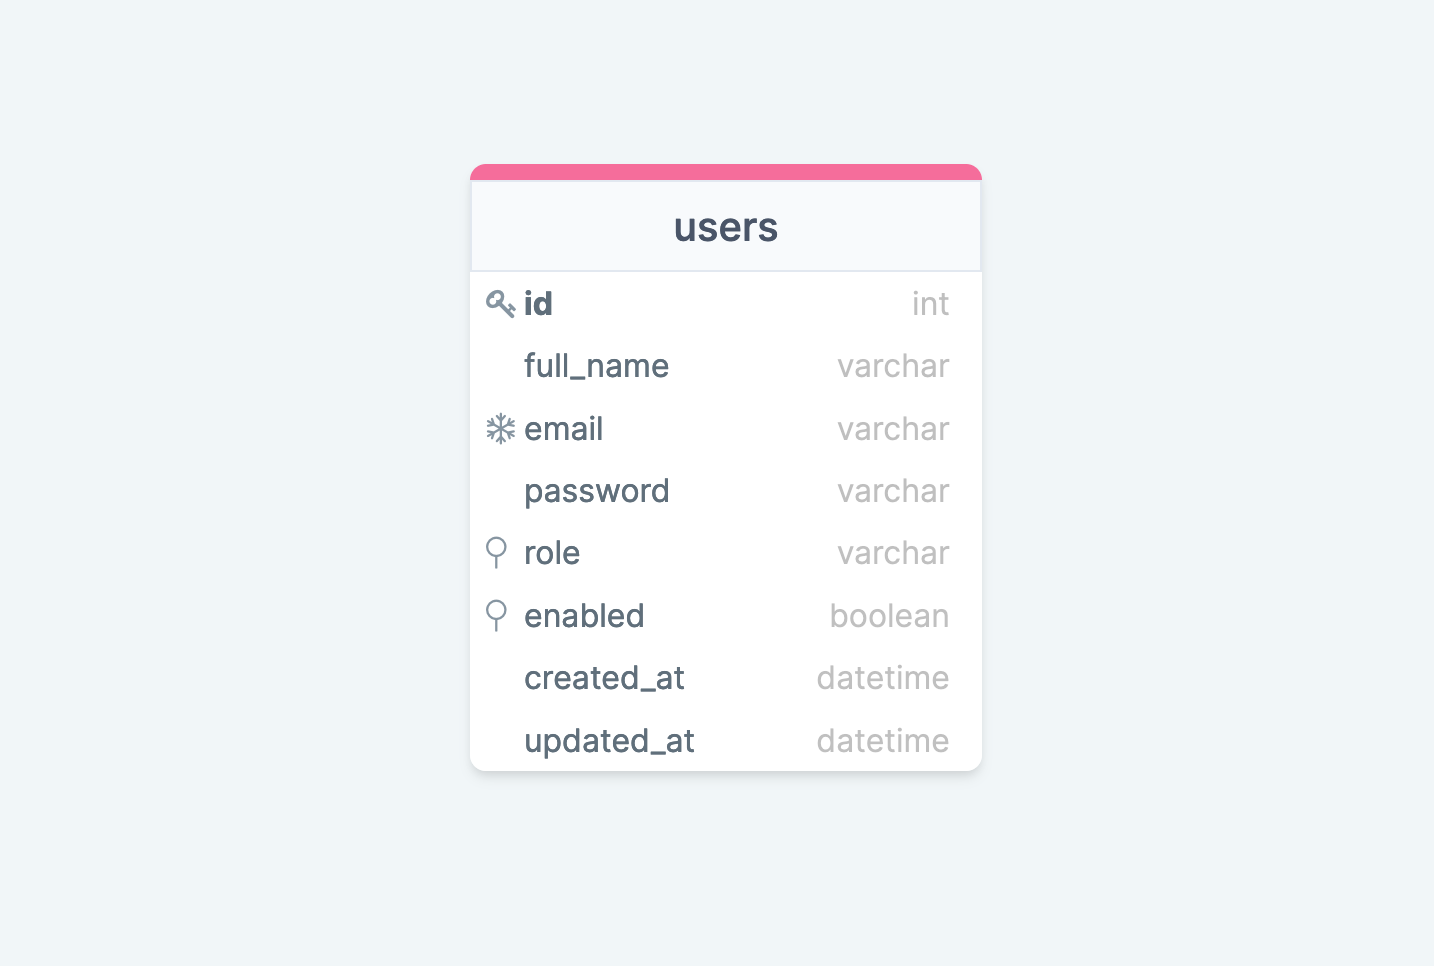
Go to the PlanetScale web console to verify the table has been created successfully.

Deployment request
Deploy is an interesting feature allowing you to review the database changes before they are applied on the main branch. Other members of the team can review, make a comment and approve.
Currently, the deployment request is not supported on PlanetScale Postgres. It is supported on Vitess clusters. I will show how to work assuming you are on a Vitess cluster.
Create a deployment request
You have the following query you applied on the branch create-users-table of Vitess cluster through the PlanetScale shell.
CREATE TABLE users (
    id INTEGER NOT NULL AUTO_INCREMENT,
    full_name VARCHAR(191) NOT NULL,
    email VARCHAR(191) NOT NULL,
    password VARCHAR(100) NOT NULL,
    role VARCHAR(191) NOT NULL,
    enabled BOOLEAN NOT NULL DEFAULT false,
    created_at DATETIME(3) NOT NULL DEFAULT CURRENT_TIMESTAMP(3),
    updated_at DATETIME(3) NOT NULL,

    UNIQUE INDEX users_email_key(email),
    PRIMARY KEY (id)
) DEFAULT CHARACTER SET utf8mb4 COLLATE utf8mb4_unicode_ci;
Now, we need to apply the change done on the branch create-users-table to the main branch. We need to create a deployment request; remember, the main branch can't be updated directly (connect to shell and execute the script)
Run the command below to create a deploy request:
pscale deploy-request create auth-db create-users-table
This step can be viewed as the pull request when working with GitHub. At this step, a teammate must review the database schema, approve if it looks good, or comment to make a suggestion/ask for clarity.
Review the deployment request
This step should be done by someone who didn't write the SQL script. So when the creator of the deployment request notifies you, you need to list the deployment requests first.
Run this command:
deploy-request list auth-db
We got the following output:
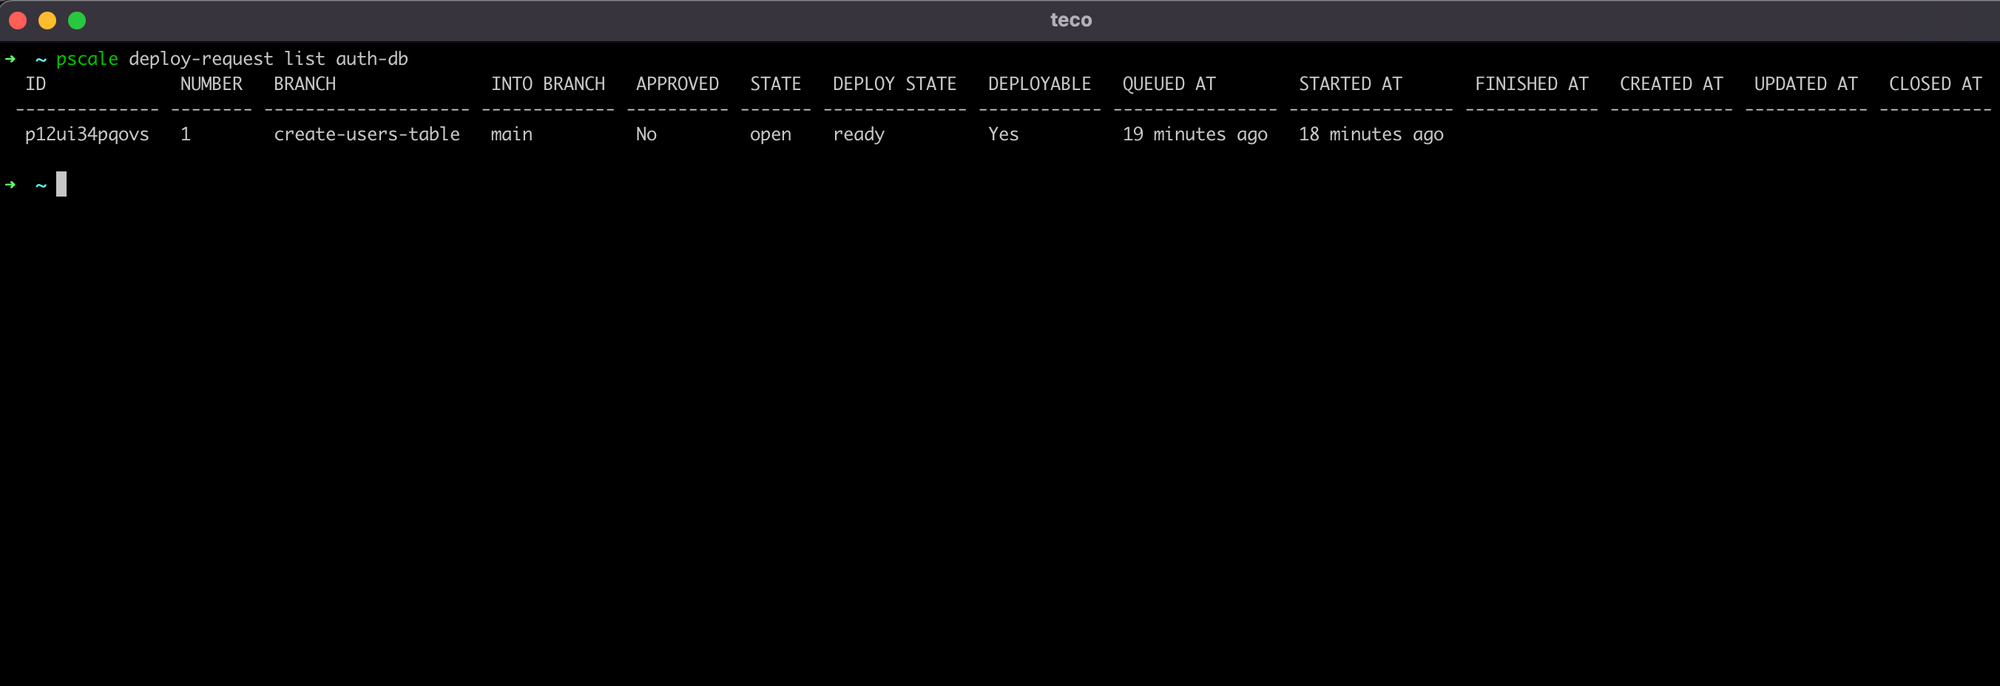
The column to pay attention to is "NUMBER" because we need it to view or update the deployment request. From the picture above, our deploy request number is 1.
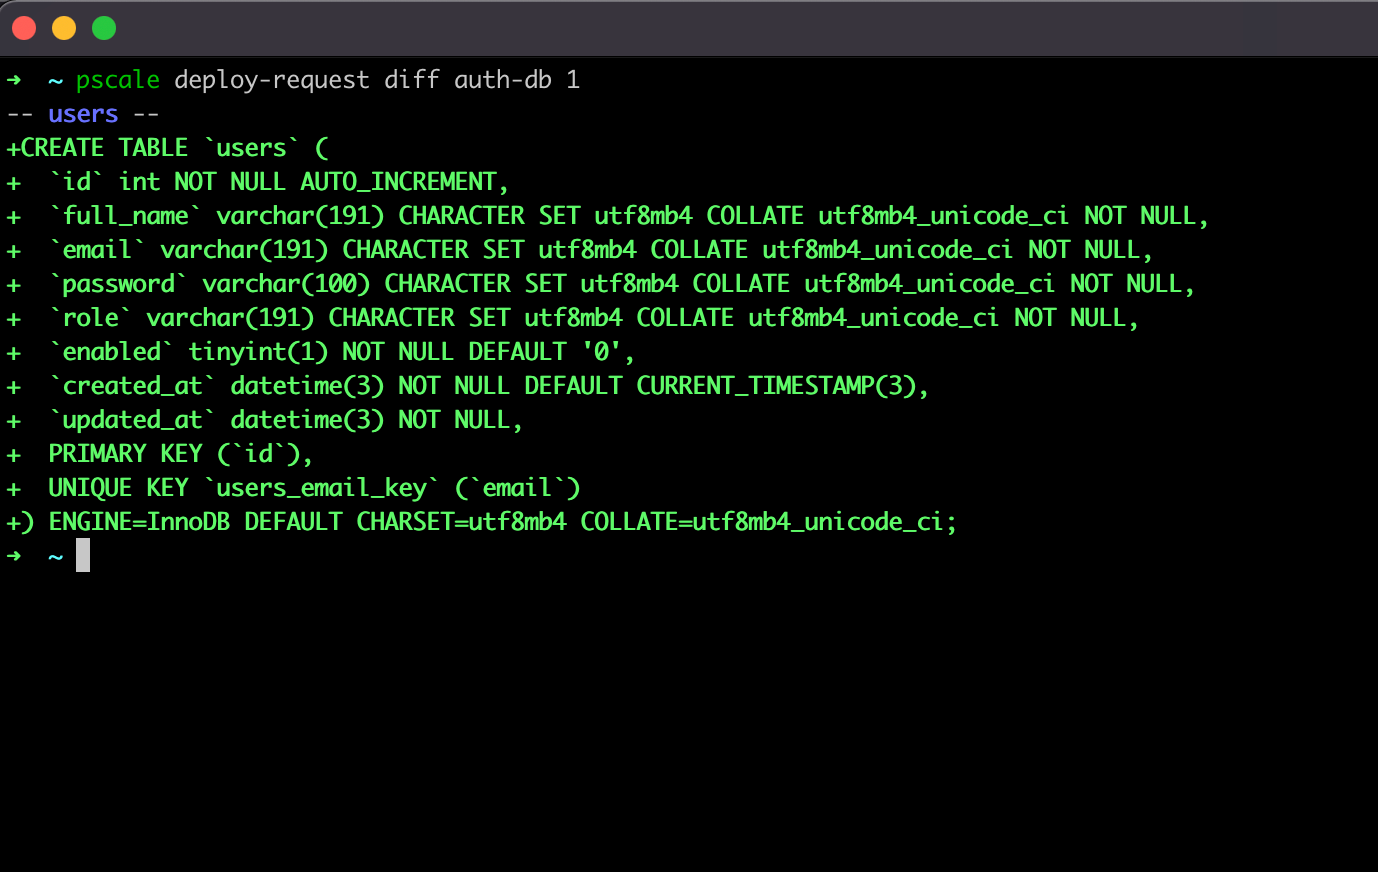
To view the change made on the deploy request, run the command:
pscale deploy-request diff auth-db 1
We got the following output:
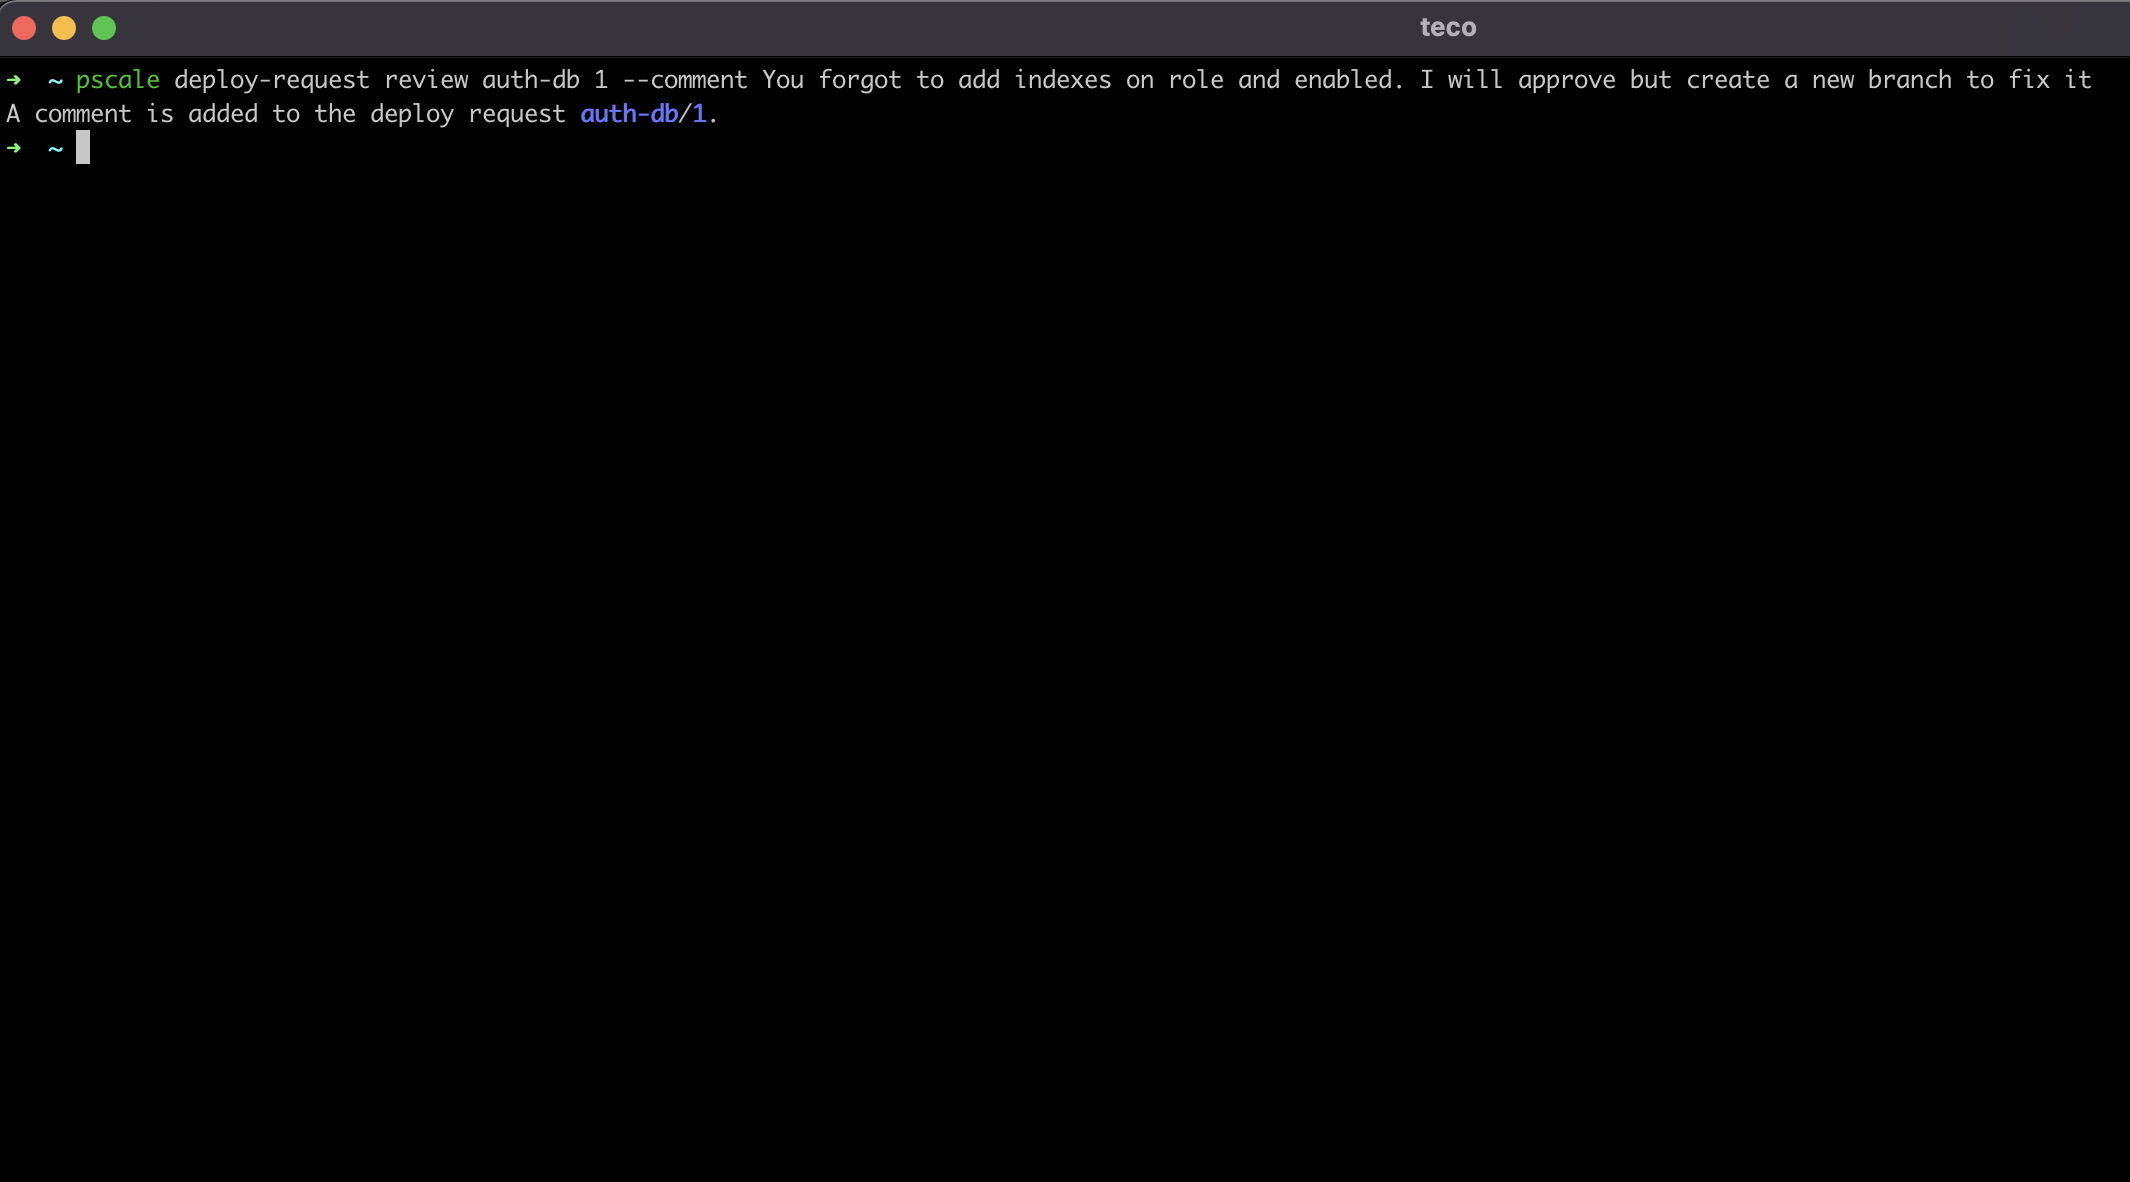
Reviewing the deployment request consists of adding a comment to the request or approving it; they aren't mutually exclusive.
There is no index on the columns role and enabled we could add a comment to notify the developer he forgot to add that. Here is an example of commenting on a deployment request:
pscale deploy-request review auth-db 1 --comment You forgot to add indexes on role and enabled. I will approve but create a new branch to fix it
Here is the output:
Approve and merge to the main branch
To approve the deploy request, run the command:
pscale deploy-request review auth-db 1 --approve
Once the deploy request is approved, we can merge it to the main branch. Note that the merge only copies the structure and not the data, so don't expect to see the data you have inserted through Shell in the main branch.
Run the command below to deploy in the main branch:
pscale deploy-request deploy auth-db 1
We got the following output:
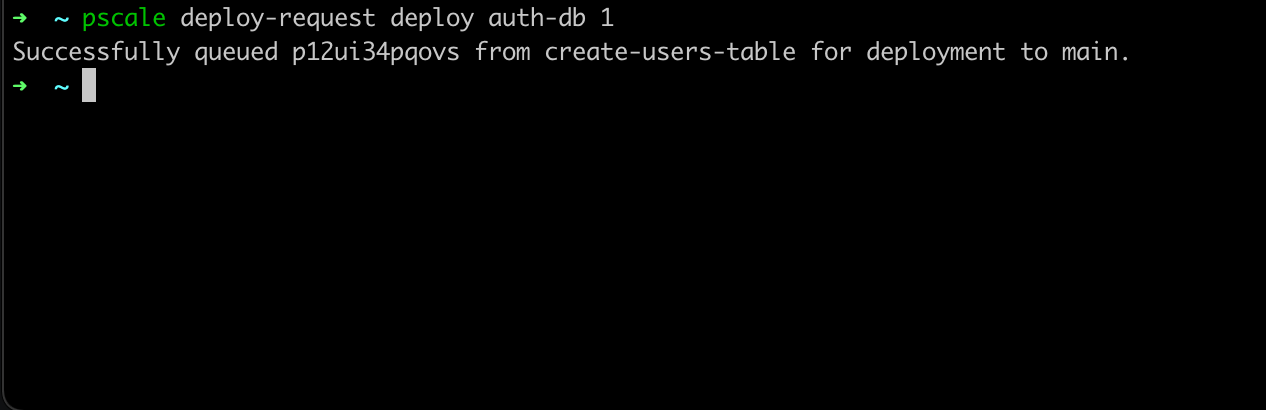
The deployment to the production branch can take some time, depending on how many deployments are in the queue. Think of multiple teams working with the same database and other teams creating a deploy request before you.
Delete the branch
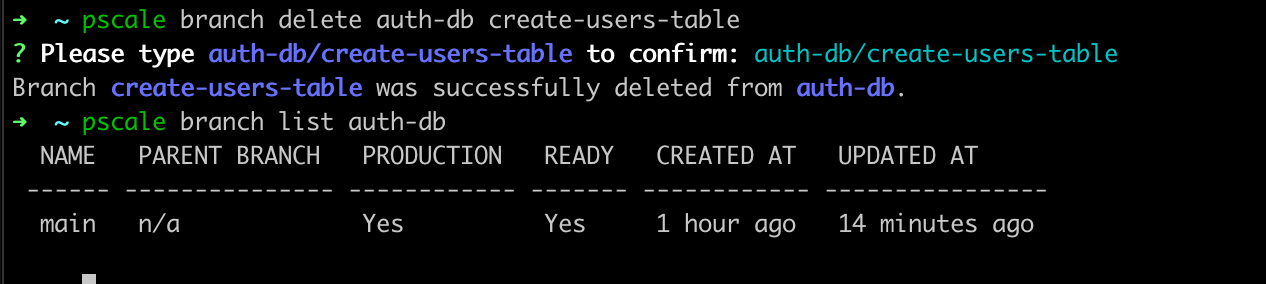
Once the deployment to the main branch is done, we no longer need the branch create-users-table so will delete it:
pscale branch delete auth-db create-users-table
Display the branch list to see if it has been deleted.
Add forgotten indexes
Since we know how PlanetScale will work, we will quickly review everything we did.
- Create the new branch:
pscale branch create auth-db add-forgotten-indexes - Connect to the shell and execute the script:
pscale shell auth-db add-forgotten-indexes - Execute the script below:
CREATE INDEX `users_role_idx` ON `users`(`role`);
CREATE INDEX `users_enabled_idx` ON `users`(`enabled`);
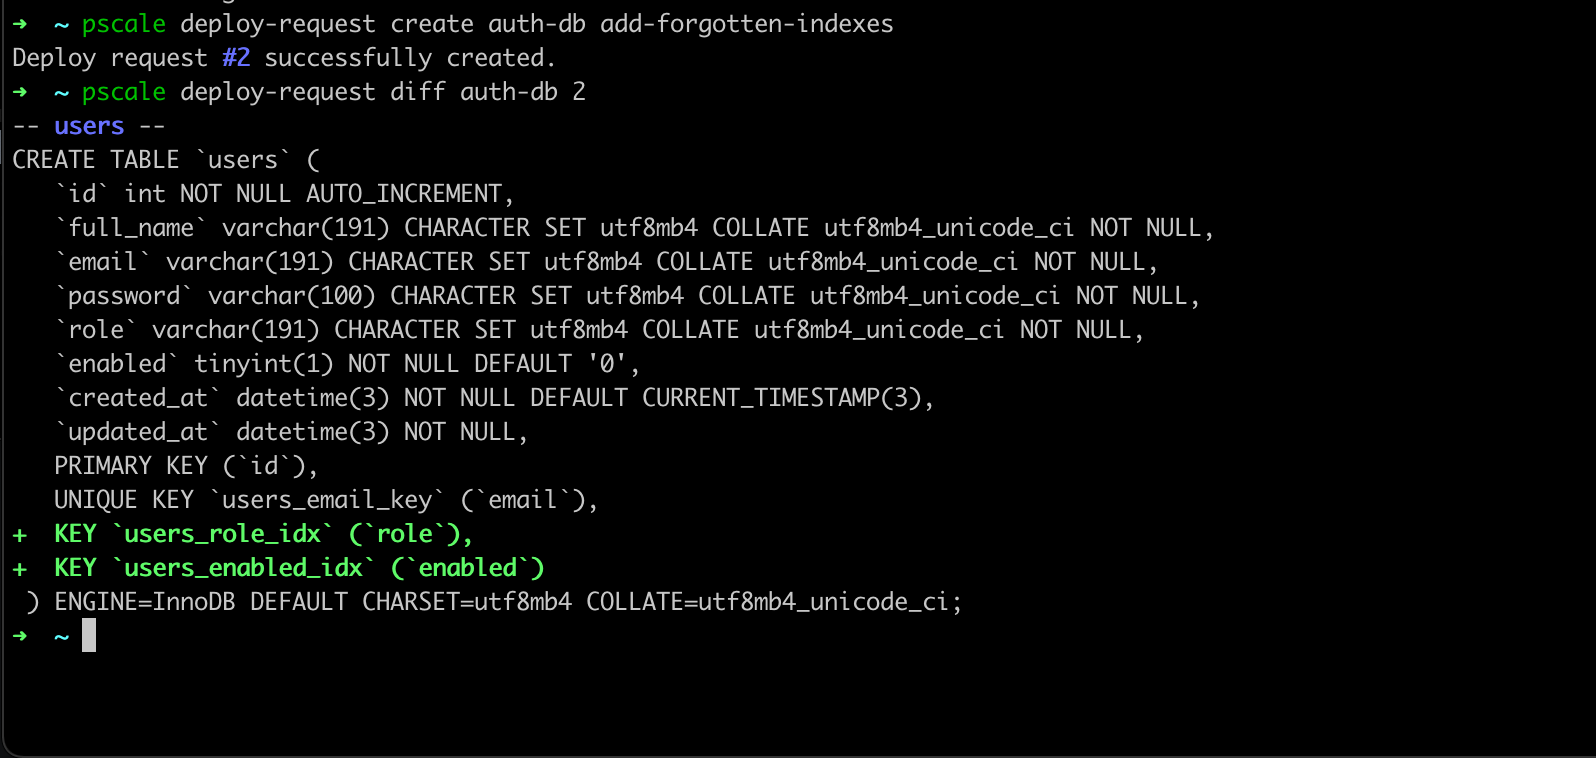
- Create a deployment request:
pscale deploy-request create auth-db add-forgotten-indexes - Verify the changes:
pscale deploy-request diff auth-db 2(2 is the number of the deploy-request)
- Approve the deployment request:
pscale deploy-request review auth-db 2 --approve - Deploy the request:
pscale deploy-request deploy auth-db 2
We are all set!
Others CLI command
We have seen some useful commands of the PlanetScale CLI to show the branching workflow, but we didn't cover everything. To view other available commands, you can type pscale --help

Conclusion
PlanetScale provides performant databases cluster on MySQL and PostgreSQL with a great developer experience. This tutorial explored how the create a Postgres database on PlanetScale and worked with database branches.
The deploy request feature, available for Vitess clusters is great to apply database changes with confidence.
To go further with PlanetScale, check out their well-detailed documentation.
You are ready to build a backend application that uses PlanetScale for the database. I wrote a whole post to show you how:


Follow me on Twitter or subscribe to my newsletter to avoid missing the upcoming posts and the tips and tricks I occasionally share.