Create a replica set in MongoDB with Docker Compose

Photo by Jørgen Håland / Unsplash
Replication is the process of creating multiple copies of the same data to increase the availability and stability. Technically, if a node is down, we can forward the incoming requests to another node while making the previous one back to life. Replication prevents data loss since you always have a copy of your data somewhere; it can be in the same physical server or distributed across many regions.
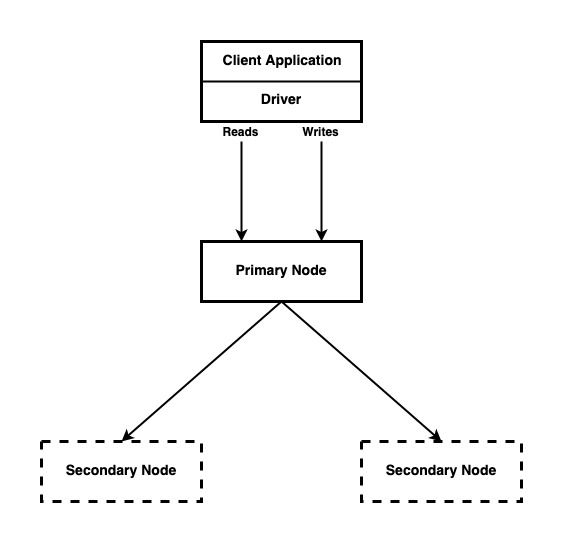
In MongoDB, A replica set is a group of mongod processes that maintain the same data set. It follows a specific structure where we have a first node called primary that receives the that then, these data are synced between the others node called secondary.

In this tutorial, we will learn how to install MongoDB then create a replica set.
Install MongoDB
Follow the installation guide on the MongoDB website according to your operating system. Once completed, we can continue with the steps below.
By default, a MongoDB instance runs on port 27017.
For Mac users, the configuration file is located here:
- Apple Intel: /usr/local/etc/mongod.conf
- Apple M1: /opt/homebrew/etc/mongod.conf
For Linux users:
- Ubuntu, Debian, Red Hat: /etc/mongod.conf
Create a replica set
As seen before, we need three running MongoDB instances. We will create them respectively on the port 27021, 27022, 27023.
Open three terminals and run the command below to launch each instance:
- On a first terminal:
mkdir -p $HOME/mongo/data/db01

mongod --replSet dbrs --port 27021 --dbpath $HOME/mongo/data/db01- On a second terminal:
mkdir -p $HOME/mongo/data/db02

mongod --replSet dbrs --port 27022 --dbpath $HOME/mongo/data/db02- On a third terminal:
mkdir -p $HOME/mongo/data/db03

mongod --replSet dbrs --port 27023 --dbpath $HOME/mongo/data/db03
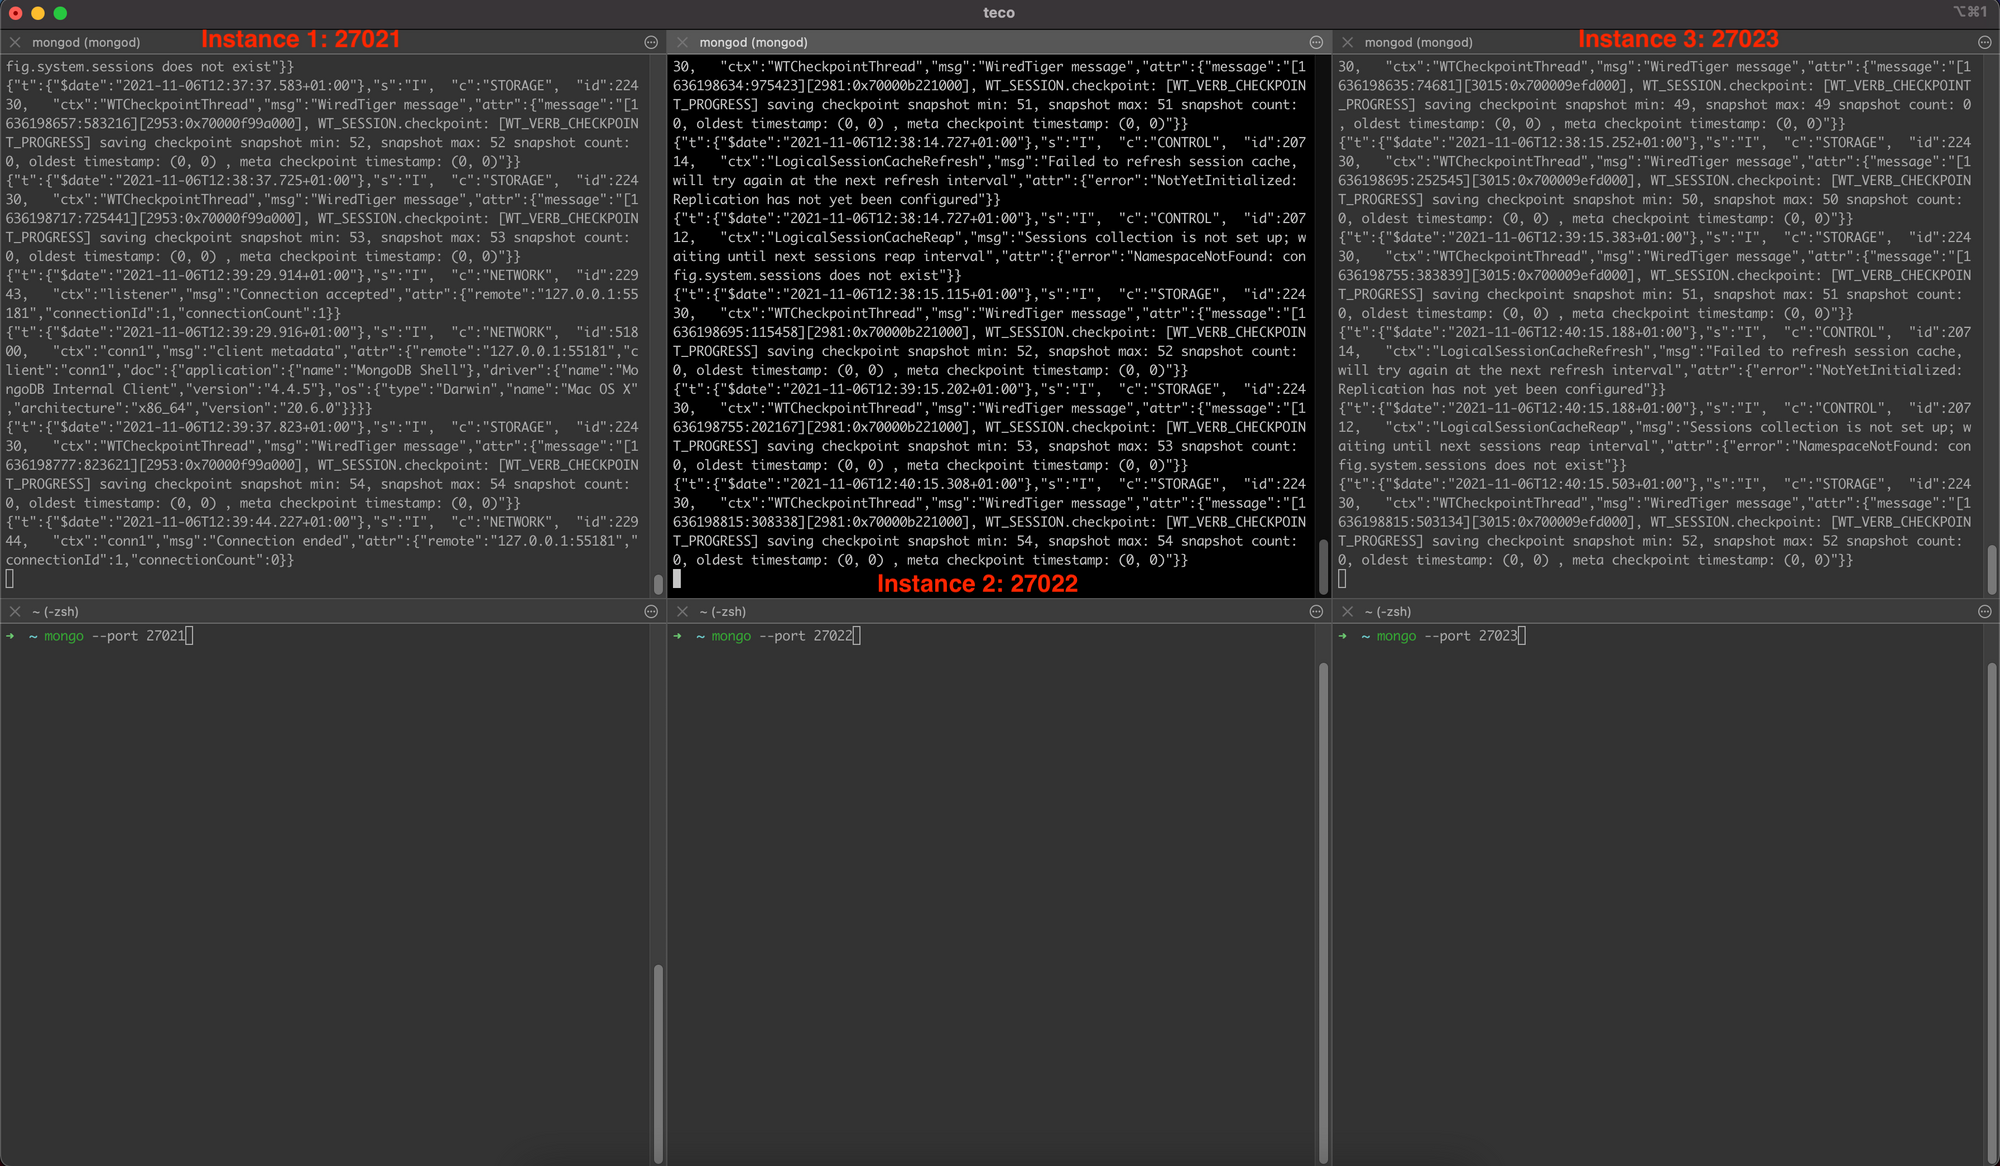
Our three instances are running as illustrated in the picture below:

On the three commands to launch each instance, the option replSet has the same value on all of them; it is the name of the replica set: dbrs. You can name it as you want.
Let's initiate the replica set by connecting to the first running instance:
mongo --port 27021Once connected, run write the command to define the replica set configuration below:
rsconf = {
    _id: "dbrs",
    members: [
        {
            _id: 0,
            host: "127.0.0.1:27021",
            priority: 3
        },
        {
            _id: 1,
            host: "127.0.0.1:27022",
            priority: 1
        },
        {
            _id: 2,
            host: "127.0.0.1:27023",
            priority: 2
        }
    ]
};
Run the command below to initiate the replica set:
rs.initiate(rsconf);We got the output below:

Our replica set is ready, and the instance running on port 27021 is the primary instance; the two others are the secondaries. How do we find it?
In the replica set configuration, the property priority indicates which instance to select as the master.
The host with the highest priority will be chosen; if the primary instance goes down, the secondary instance with the highest priority will become the primary.
To connect to the database from an application, the URI will be:
mongodb://localhost:27021,localhost:27022,localhost:27023/<DB_NAME>?replicaSet=dbrs
Shutdown a MongoDB instance
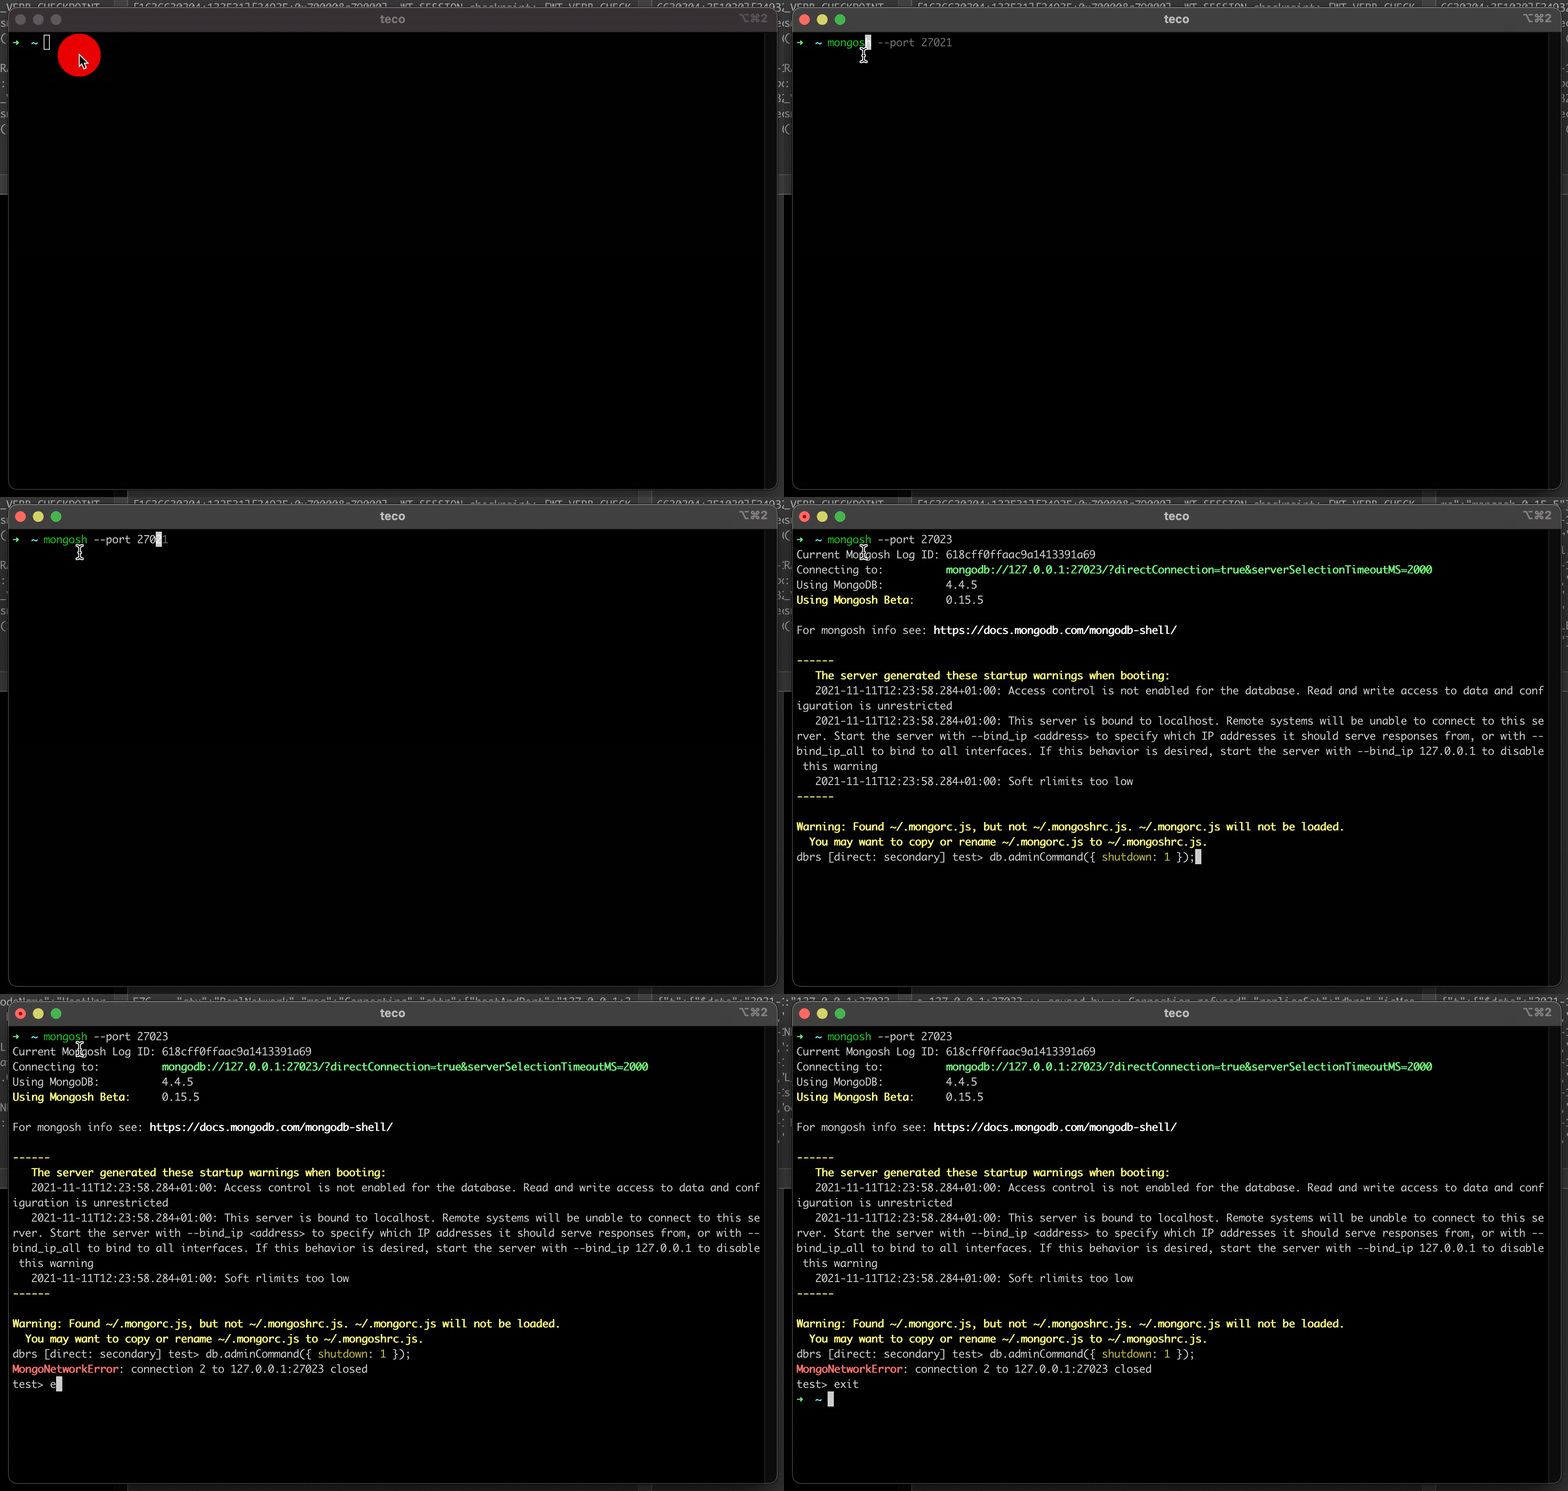
We created three instances of MongoDB to achieve a task. When the task is completed, we don't need them so, it is normal to shut down these instances. When installing MongoDB, it comes with a tool called mongosh . We can use it to shut down an instance.
Connect to the instance you want to shutdown:
mongosh -p 27021Run the command below to stop the instance:
db.adminCommand({ shutdown: 1, force: true });Exit to the shell, and you're all set!
Note: The property force is optional; it allows to force the shutdown.

Automate the process with Docker compose
There are many steps to do to have a working MongoDB in a replica set. If you are building an application and have to reproduce these steps to start working, it can be boring when doing it frequently. Fortunately, we can use Docker-compose to automate this process, and in the end, we will have only one command to run for our replica set ready to use.
Create a directory with the name you want then, inside, create a file called docker-compose.yml and add the code below:
version: '3.8'

services:
  mongo1:
    container_name: mongo1
    image: mongo:4.4
    volumes:
      - ~/mongors/data1:/data/db
      - ./rs-init.sh:/scripts/rs-init.sh
    networks:
      - mongors-network
    ports:
      - 27021:27017
    links:
      - mongo2
      - mongo3
    restart: always
    entrypoint: [ "/usr/bin/mongod", "--bind_ip_all", "--replSet", "dbrs" ]
  mongo2:
    container_name: mongo2
    image: mongo:4.4
    volumes:
      - ~/mongors/data2:/data/db
    networks:
      - mongors-network
    ports:
      - 27022:27017
    restart: always
    entrypoint: [ "/usr/bin/mongod", "--bind_ip_all", "--replSet", "dbrs" ]
  mongo3:
    container_name: mongo3
    image: mongo:4.4
    volumes:
      - ~/mongors/data3:/data/db
    networks:
      - mongors-network
    ports:
      - 27023:27017
    restart: always
    entrypoint: [ "/usr/bin/mongod", "--bind_ip_all", "--replSet", "dbrs" ]

networks:
  mongors-network:
    driver: bridge
We created three Docker containers from MongoDB images. On the first container, in addition to the volume folder for database data, we map the file in the host called rs-init.sh to the container at the location /scripts/rs-init.sh. This file will contain the command.
- Connect to the mongo instance
- Configure the replica set configure
- Exit
So let's create this file and add the code below:
#!/bin/bash

mongo <<EOF
var config = {
    "_id": "dbrs",
    "version": 1,
    "members": [
        {
            "_id": 1,
            "host": "mongo1:27017",
            "priority": 3
        },
        {
            "_id": 2,
            "host": "mongo2:27017",
            "priority": 2
        },
        {
            "_id": 3,
            "host": "mongo3:27017",
            "priority": 1
        }
    ]
};
rs.initiate(config, { force: true });
rs.status();
EOF
Make this file executable by running the command: chmod +x rs-init.sh
Now create another file called startdb.sh and the code below inside:
#!/bin/bash

docker-compose up -d

sleep 5

docker exec mongo1 /scripts/rs-init.sh
Make this file executable by running the command: chmod +x startdb.sh
Below is the description of what we do in this file:
- Run the Docker-compose file to start our container in the background.
- Wait for five seconds for the container to be ready.
- Connect to docker container mongo1 and execute the file rs-init.sh.
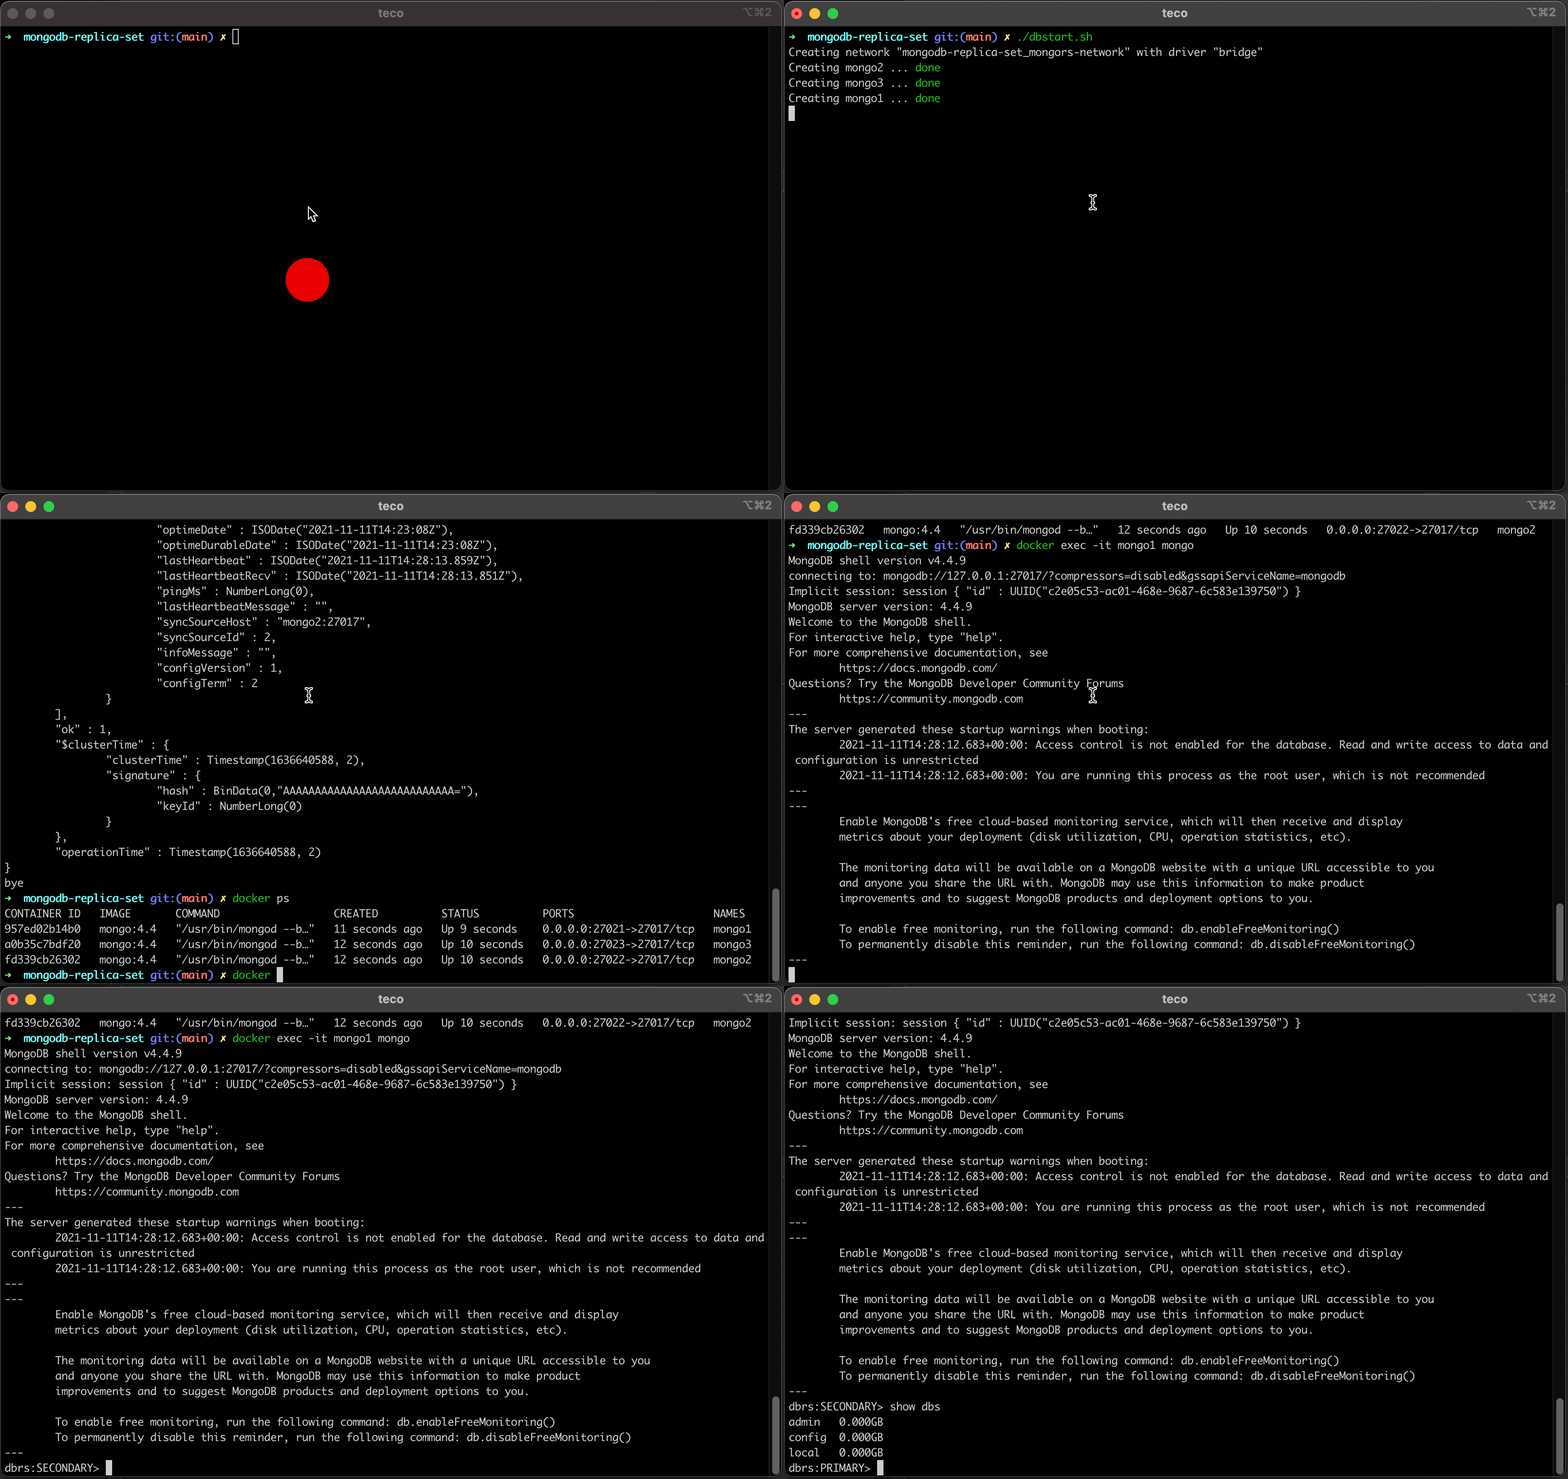
Now, when you want to work, run: ./dbstart.sh
When you finished and want to stop everything: docker-compose down
That is it! No hassle ?

Going further
When working with a replica set, there are some optimizations we might need according to our use case; you can change some configurations to improve the availability of your database:
- Increase the size limit of the oPLog (by default, it takes 5% of the free disk space or 5% of the memory)
- Share the load by defining the read replica and write replica.
End
You can find the code source on the GitHub repository.
Follow me on Twitter and subscribe to my newsletter to not miss the upcoming posts and the tips and tricks I share every week.
Happy to see you soon ?

