
Migrate a Node.js project from ESLint and Prettier to Biome


Biome is a fast code formatter and a performant code linter developers use to save time spent on linting and formatting their code.
Starting version 1.7, you can now migrate from ESLint and Prettier to Biome, making it easier for developers to switch.
In this post, we will see how to migrate from ESLint to Biome on a Node.js project that uses ESLint and Prettier to lint and format the code.
Prerequisites
To follow this tutorial, make sure you have the following tools installed on your computer.
- Node.js 18 or higher - Follow the installation guide
- A Node Package Manager such as NPM or Yarn. We will use Yarn.
If you still use a Node.js version < 18, you can follow this tutorial, but I recommend upgrading your Node.js.
Set up the project
As an example of a project using ESLint and Prettier, we will use the Node.js starter project we built on this tutorial.
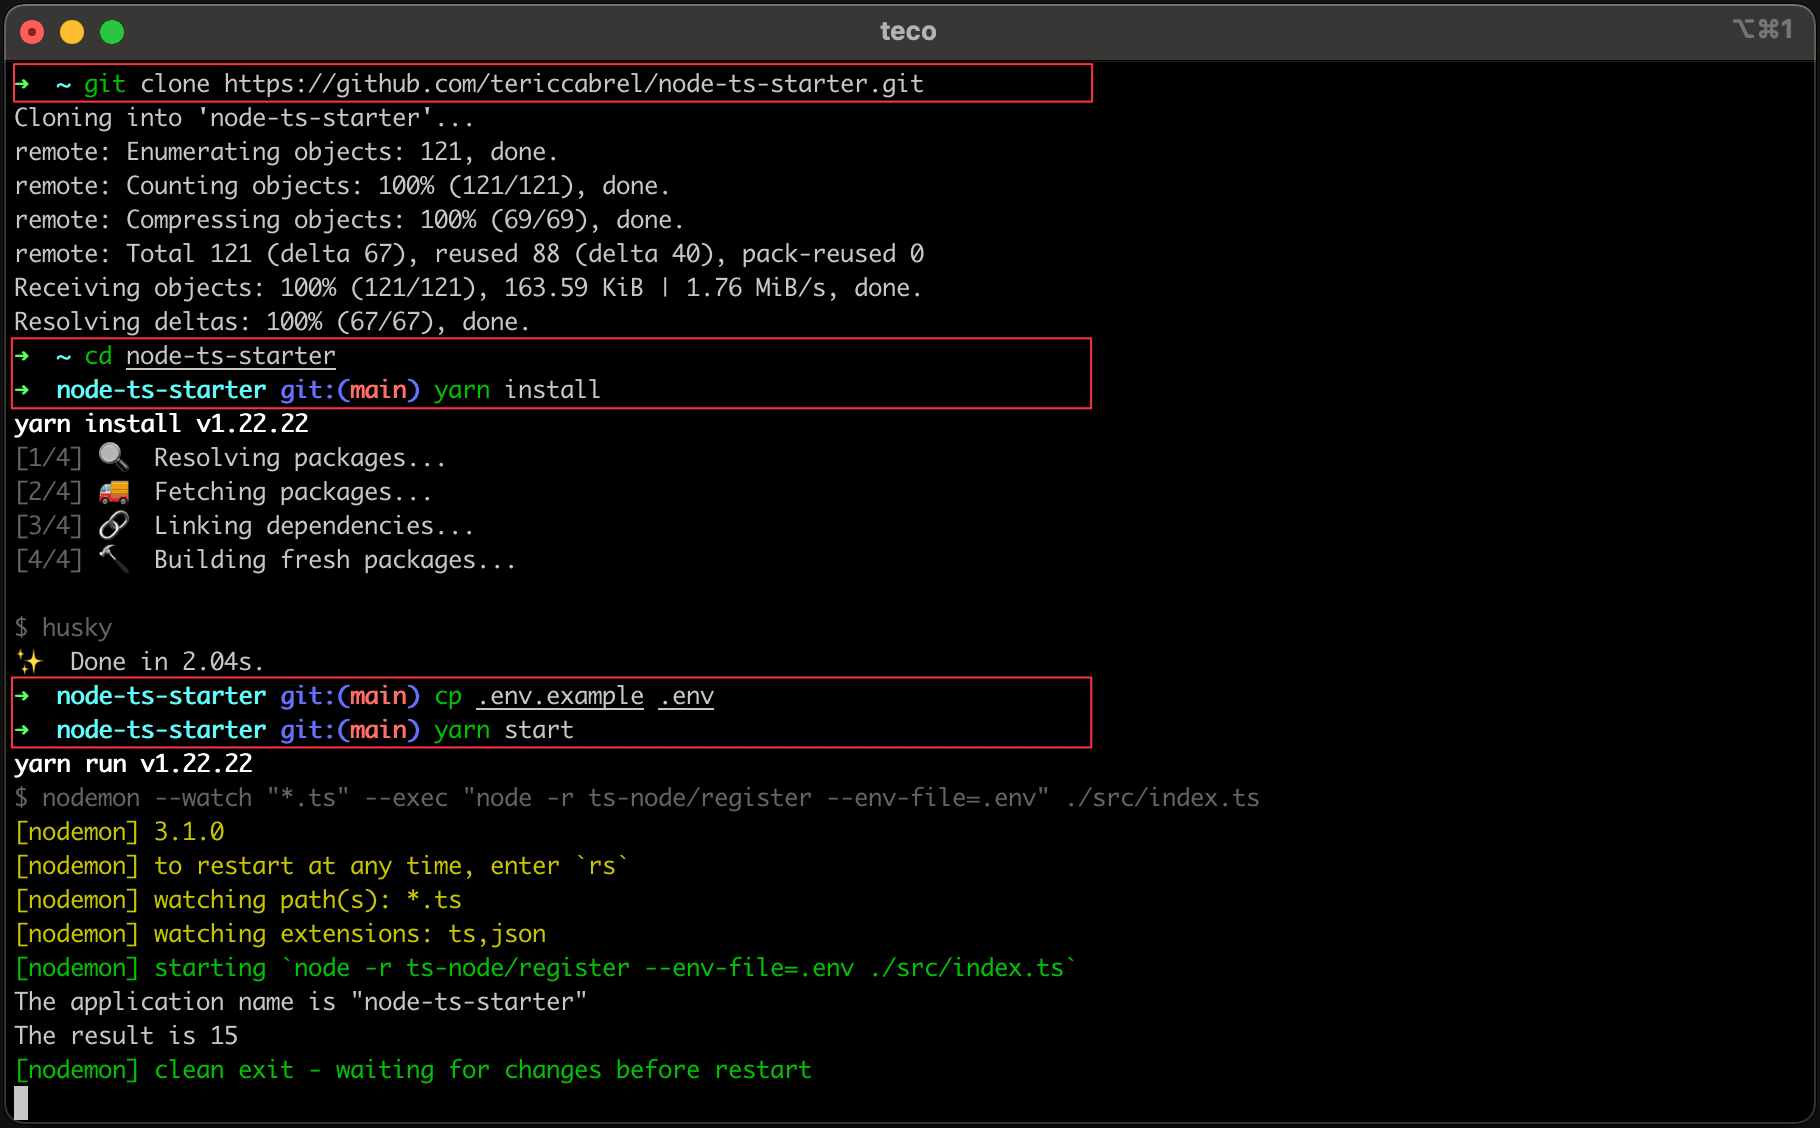
Run the following commands to set up the project:
git clone https://github.com/tericcabrel/node-ts-starter.git

cd node-ts-starter

yarn install

cp .env.example .env

yarn start
Running the last command below starts the project; you get the following output:
If you run the command yarn lint to lint and format the project's code, you can see it using ESLint.

Install Biome JS
The first step of the migration is to install Biome and initialize it in the project. Run the following commands to install the Biome Node.js package:
yarn add --dev --exact @biomejs/biome

yarn biome init
The second command will create a "biome.json" at the project root directory, having the following configuration:
{
	"$schema": "https://biomejs.dev/schemas/1.9.2/schema.json",
	"vcs": {
		"enabled": false,
		"clientKind": "git",
		"useIgnoreFile": false
	},
	"files": {
		"ignoreUnknown": false,
		"ignore": []
	},
	"formatter": {
		"enabled": true,
		"indentStyle": "tab"
	},
	"organizeImports": {
		"enabled": true
	},
	"linter": {
		"enabled": true,
		"rules": {
			"recommended": true
		}
	},
	"javascript": {
		"formatter": {
			"quoteStyle": "double"
		}
	}
}
Migrate from ESLint to Biome
Using the Biome CLI, you can migrate from ESLint using a single command that will read the ESLint configuration file .eslintrc.js and the .eslintignore and convert them to the equivalent setting in Biome.
Run the following command to proceed:
yarn biome migrate eslint --write
The flag "--write" tells the CLI to update the Biome configuration file. We get the following output:

The content of the "biome.json" file looks like this:
{
	"$schema": "https://biomejs.dev/schemas/1.9.2/schema.json",
	"vcs": { "enabled": false, "clientKind": "git", "useIgnoreFile": false },
	"files": { "ignoreUnknown": false, "ignore": [] },
	"formatter": { "enabled": true, "indentStyle": "tab" },
	"organizeImports": { "enabled": true },
	"linter": {
		"enabled": true,
		"rules": {
			"recommended": false,
			"complexity": {
				"noBannedTypes": "error",
				"noUselessTypeConstraint": "error",
				"useOptionalChain": "error"
			},
			"correctness": {
				"noInvalidUseBeforeDeclaration": "error",
				"noPrecisionLoss": "error",
				"noUnusedVariables": "off",
				"useArrayLiterals": "off"
			},
			"style": {
				"noNamespace": "error",
				"noVar": "error",
				"useAsConstAssertion": "error",
				"useBlockStatements": "error",
				"useConst": "error",
				"useTemplate": "error"
			},
			"suspicious": {
				"noExplicitAny": "error",
				"noExtraNonNullAssertion": "error",
				"noMisleadingInstantiator": "error",
				"noUnsafeDeclarationMerging": "error"
			}
		},
		"ignore": ["**/.eslintrc.js", "**/.prettierrc.js"]
	},
	"javascript": { "formatter": { "quoteStyle": "double" } },
	"overrides": [
		{
			"include": ["*.ts", "*.tsx", "*.mts", "*.cts"],
			"linter": {
				"rules": {
					"correctness": {
						"noConstAssign": "off",
						"noGlobalObjectCalls": "off",
						"noInvalidBuiltinInstantiation": "off",
						"noInvalidConstructorSuper": "off",
						"noNewSymbol": "off",
						"noSetterReturn": "off",
						"noUndeclaredVariables": "off",
						"noUnreachable": "off",
						"noUnreachableSuper": "off"
					},
					"style": {
						"noArguments": "error",
						"noVar": "error",
						"useConst": "error"
					},
					"suspicious": {
						"noDuplicateClassMembers": "off",
						"noDuplicateObjectKeys": "off",
						"noDuplicateParameters": "off",
						"noFunctionAssign": "off",
						"noImportAssign": "off",
						"noRedeclare": "off",
						"noUnsafeNegation": "off",
						"useGetterReturn": "off"
					}
				}
			}
		}
	]
}
The first important thing to highlight is the recommended rules are disabled, which I think must be enabled.
However, by enabling the recommended rules, there are redundant rules now enabled by default that are also defined explicitly, such as useOptionalChain, noInvalidUseBeforeDeclaration, useTemplate, noExtraNonNullAssertion, etc...
After enabling the recommended rules and removing the redundant rules, here is the "biome.json" file content:
{
	"$schema": "https://biomejs.dev/schemas/1.9.2/schema.json",
	"vcs": { "enabled": false, "clientKind": "git", "useIgnoreFile": false },
	"files": { "ignoreUnknown": false, "ignore": [] },
	"formatter": { "enabled": true, "indentStyle": "tab" },
	"organizeImports": { "enabled": true },
	"linter": {
		"enabled": true,
		"rules": {
			"recommended": true,
			"correctness": {
				"noUnusedVariables": "error"
			},
			"style": {
				"noNamespace": "error",
				"useBlockStatements": "error"
			}
		},
		"ignore": ["**/.eslintrc.js", "**/.prettierrc.js"]
	},
	"javascript": { "formatter": { "quoteStyle": "double" } }
}
We went from 75 lines to 22 lines while keeping the same linting level thanks to the recommended rules enabled.
Migrate from Prettier to Biome
Same as for ESLint, the Biome CLI provides a single command that will read the Prettier configuration file .prettierrc.js and the .prettierignore and convert them to the equivalent setting in Biome.
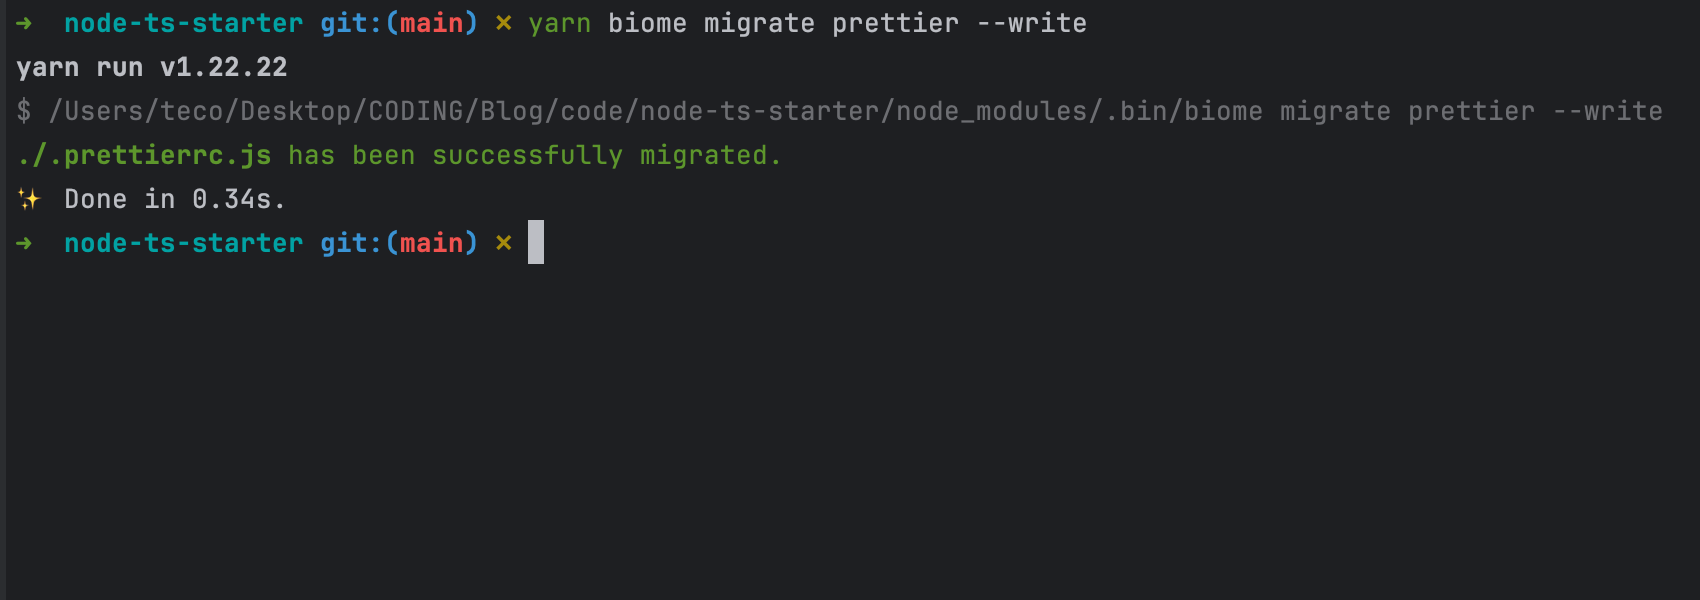
Run the following command to proceed:
yarn biome migrate prettier --write
We get the following output:
The "biome.json" file's content has the following content:
{
	"$schema": "https://biomejs.dev/schemas/1.9.2/schema.json",
	"vcs": { "enabled": false, "clientKind": "git", "useIgnoreFile": false },
	"files": { "ignoreUnknown": false, "ignore": [] },
	"formatter": {
		"enabled": true,
		"useEditorconfig": true,
		"formatWithErrors": false,
		"indentStyle": "space",
		"indentWidth": 2,
		"lineEnding": "lf",
		"lineWidth": 150,
		"attributePosition": "auto",
		"bracketSpacing": true
	},
	"organizeImports": { "enabled": true },
	"linter": {
		"enabled": true,
		"rules": {
			"recommended": true,
			"correctness": { "noUnusedVariables": "error" },
			"style": { "noNamespace": "error", "useBlockStatements": "error" }
		},
		"ignore": ["**/.eslintrc.js", "**/.prettierrc.js"]
	},
	"javascript": {
		"formatter": {
			"jsxQuoteStyle": "double",
			"quoteProperties": "asNeeded",
			"trailingCommas": "all",
			"semicolons": "always",
			"arrowParentheses": "always",
			"bracketSameLine": false,
			"quoteStyle": "single",
			"attributePosition": "auto",
			"bracketSpacing": true
		}
	}
}
There are formatter configuration rules applied to all the supported programming languages and those specific to JavaScript.
Some rules, such as indentWidth, trailingComma, arrowParentheses, etc... are defined explicitly as the same values by default, so we can remove them.
After removing them, this is the "biome.json" file content:
{
	"$schema": "https://biomejs.dev/schemas/1.9.2/schema.json",
	"vcs": { "enabled": false, "clientKind": "git", "useIgnoreFile": false },
	"files": { "ignoreUnknown": false, "ignore": [] },
	"formatter": {
		"enabled": true,
		"useEditorconfig": true,
		"formatWithErrors": false,
		"indentStyle": "space",
		"lineEnding": "lf",
		"lineWidth": 120
	},
	"organizeImports": { "enabled": true },
	"linter": {
		"enabled": true,
		"rules": {
			"recommended": true,
			"correctness": { "noUnusedVariables": "error" },
			"style": { "noNamespace": "error", "useBlockStatements": "error" }
		},
		"ignore": ["**/.eslintrc.js", "**/.prettierrc.js"]
	},
	"javascript": {
		"formatter": {
			"semicolons": "always",
			"quoteStyle": "single"
		}
	}
}
We went from 40 lines to 29 lines and a formatter.
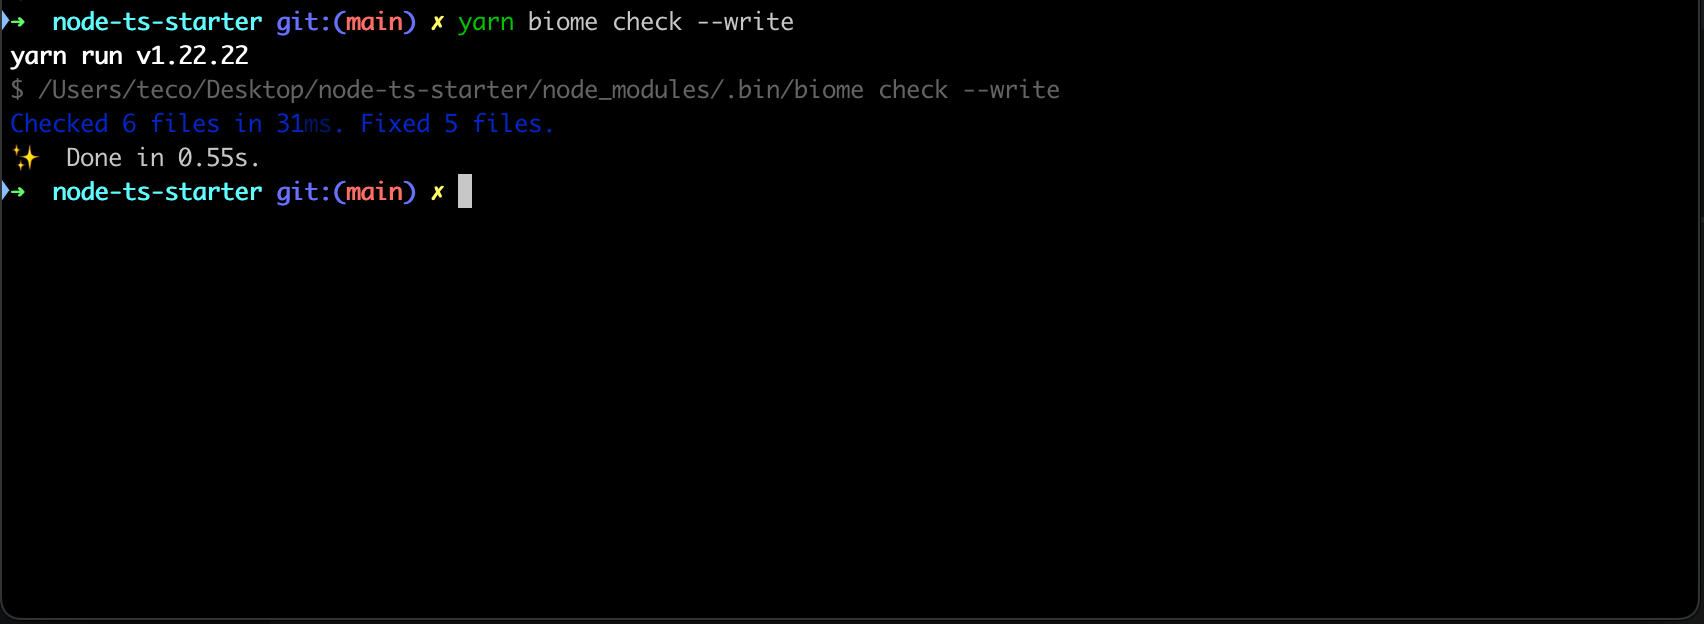
Run the command below to lint and format your code with Biome:
yarn biome check --write
We get the following output:
Update Git commit hook commands
The pre-commit hook still uses ESLint to lint and format the project; let's update it by replacing the lint-staged configuration in the "package.json" with the following one:
{
  "lint-staged": {
    "*": ["biome check --write --no-errors-on-unmatched --files-ignore-unknown=true"]
  }
}
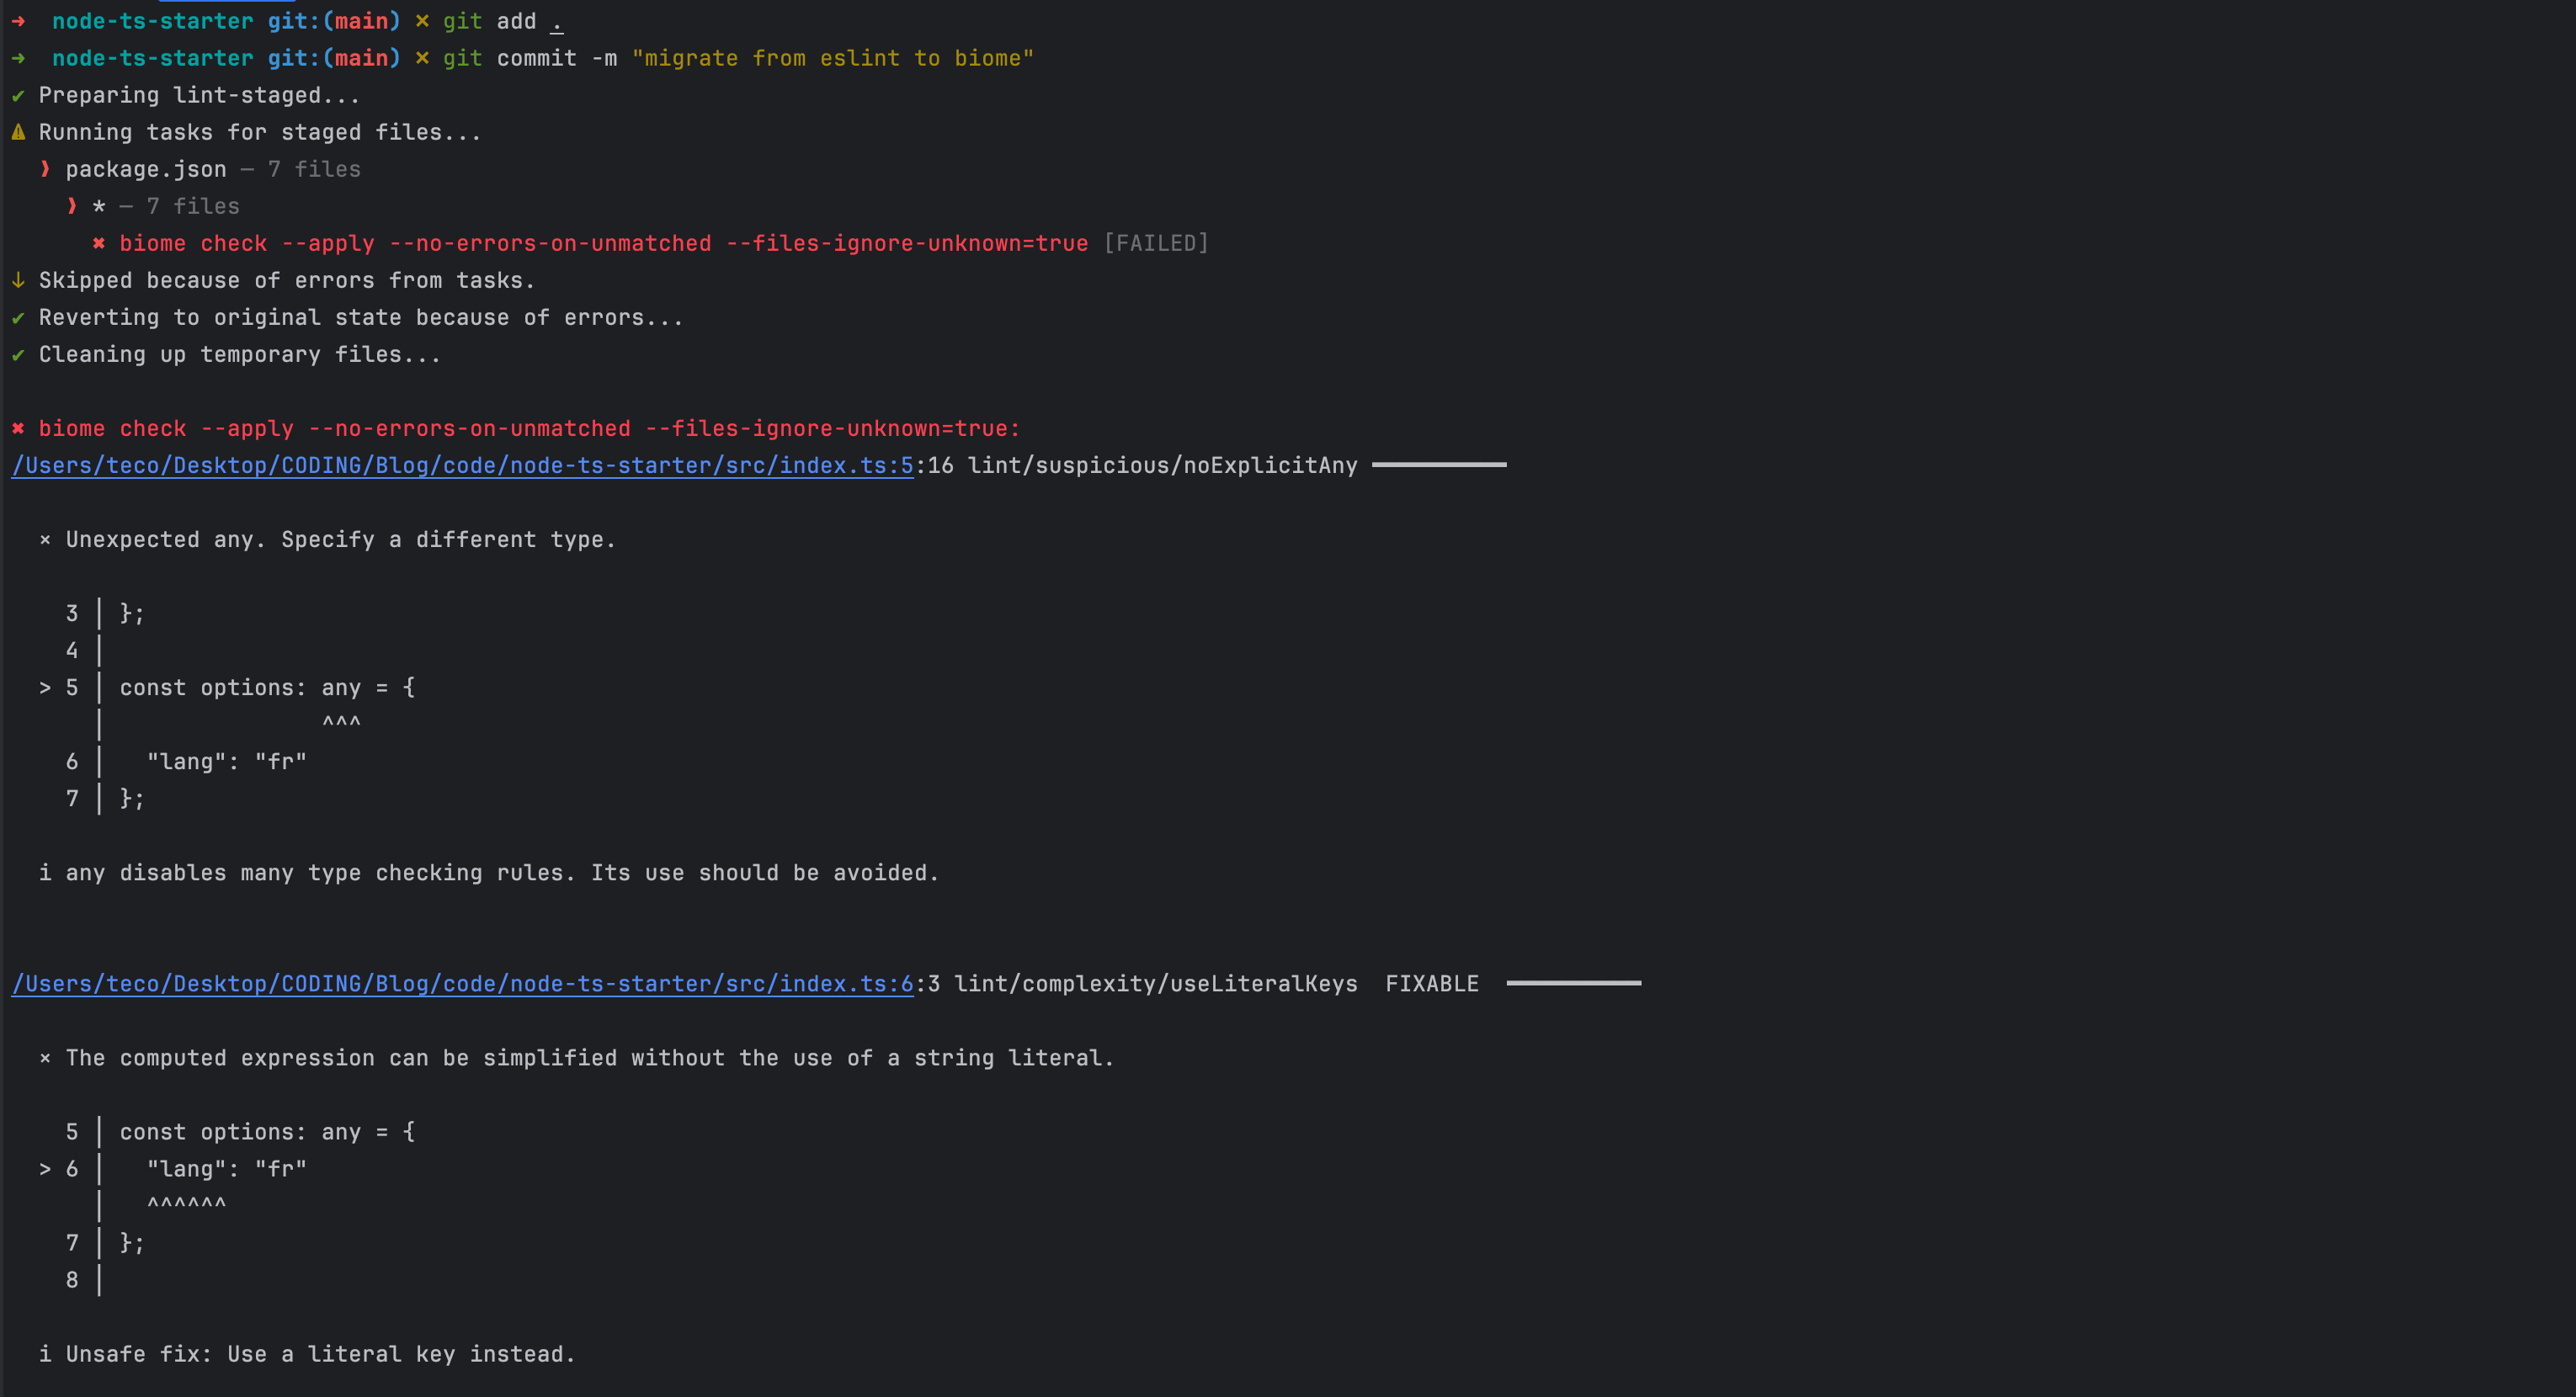
Since we already fixed all the linting and formatting errors, let's update the file "src/index.ts" to add the code below:
// Existing code here...

const options: any = {
  lang: "fr",
};

console.log(`The language is ${options.lang}`);
The Biome linting will complain because our configuration does not allow using the "any" type. Now, let's make a commit to see the result:
Remove ESLint and Prettier configuration
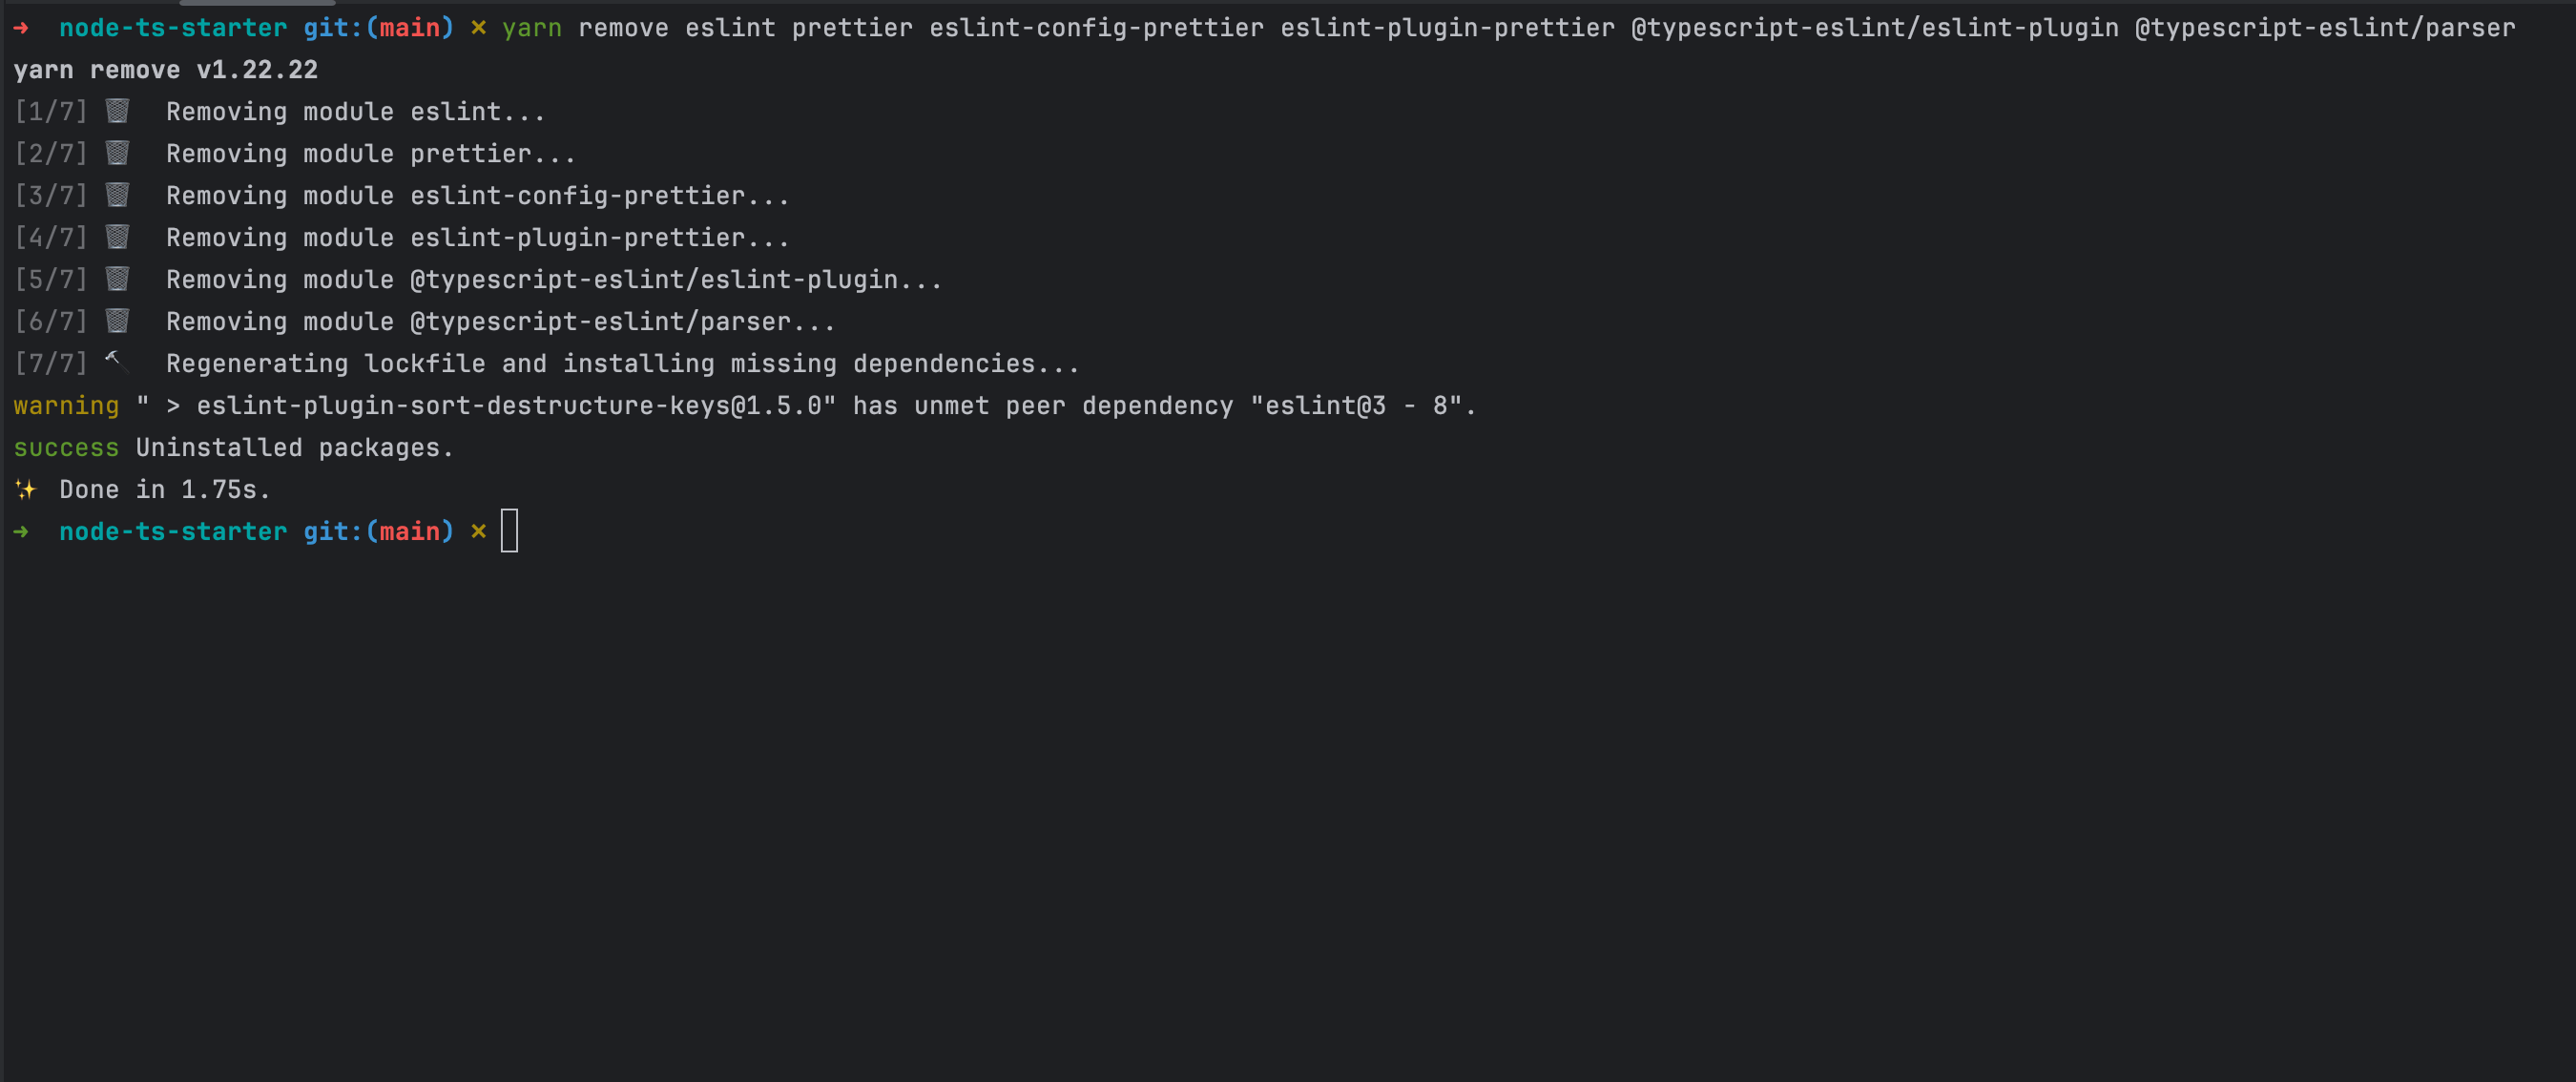
To finish the migration, let's remove everything related to ESLint and Prettier by running the following commands:
rm .eslintrc.js .eslintignore .prettierrc.js

yarn remove eslint prettier eslint-config-prettier eslint-plugin-prettier @typescript-eslint/eslint-plugin @typescript-eslint/parser
It is done 🎉
Wrap up
The Biome CLI makes it easy to migrate from ESLint to Biome, which can be achieved in the following steps:
- Execute the Biome commands to migrate ESLint and Prettier.
- Edit the Biome configuration file to remove redundant rules and add new rules if needed.
- Delete the ESLint and Prettier configuration files.
- Remove all the dependencies related to ESLint and Prettier.
- If the pre-commit hook is configured, update it to use Biome instead.
You are now ready to work with Biome to format your code. You can integrate Biome JS in your Code Editor or a Continuous Integration pipeline to go further. Read about my post, where I show you how to run Biome in GitHub Actions.
Check out the Biome official documentation to learn about its capabilities.
You can find the code source on the GitHub repository.
Follow me on Twitter or subscribe to my newsletter to avoid missing the upcoming posts and the tips and tricks I occasionally share.