Upgrade a Node.js project from Yarn 1 to Yarn 4

Yarn is a popular Node.js package manager developers use to manage project dependencies. Since its first release, v1, also called Yarn Classic, it has received significant updates to v2, v3, and v4, named Berry.
Many developers still use Yarn v1 for its simplicity and convenience, but Yarn v4 has made some improvements regarding performance, workspace management, and complex dependency tree management.
Benefits of migrating from Yarn 1 to Yarn 4
- Faster dependency resolution: Yarn 4 is faster at resolving dependency, which allows you to gain time working locally or in the CI.
- Plug'n'Play (PnP) mode: It makes the use of "node_modules" optional, which reduces disk space.
- Better workspace support: You can easily manage a Monorepo project and share code between packages.
- Better compatibility: It supports the most recent feature in the Node.js ecosystem and integrates better with TypeScript.
- Backward compatibility: Yarn 4 supports most legacy Yarn 1 project configurations, allowing easier migration.
Prerequisites
To follow this tutorial, make sure you have the following tools installed on your computer.
- Node.js 20+ - I wrote an installation guide.
- Yarn v1.
Set up the project
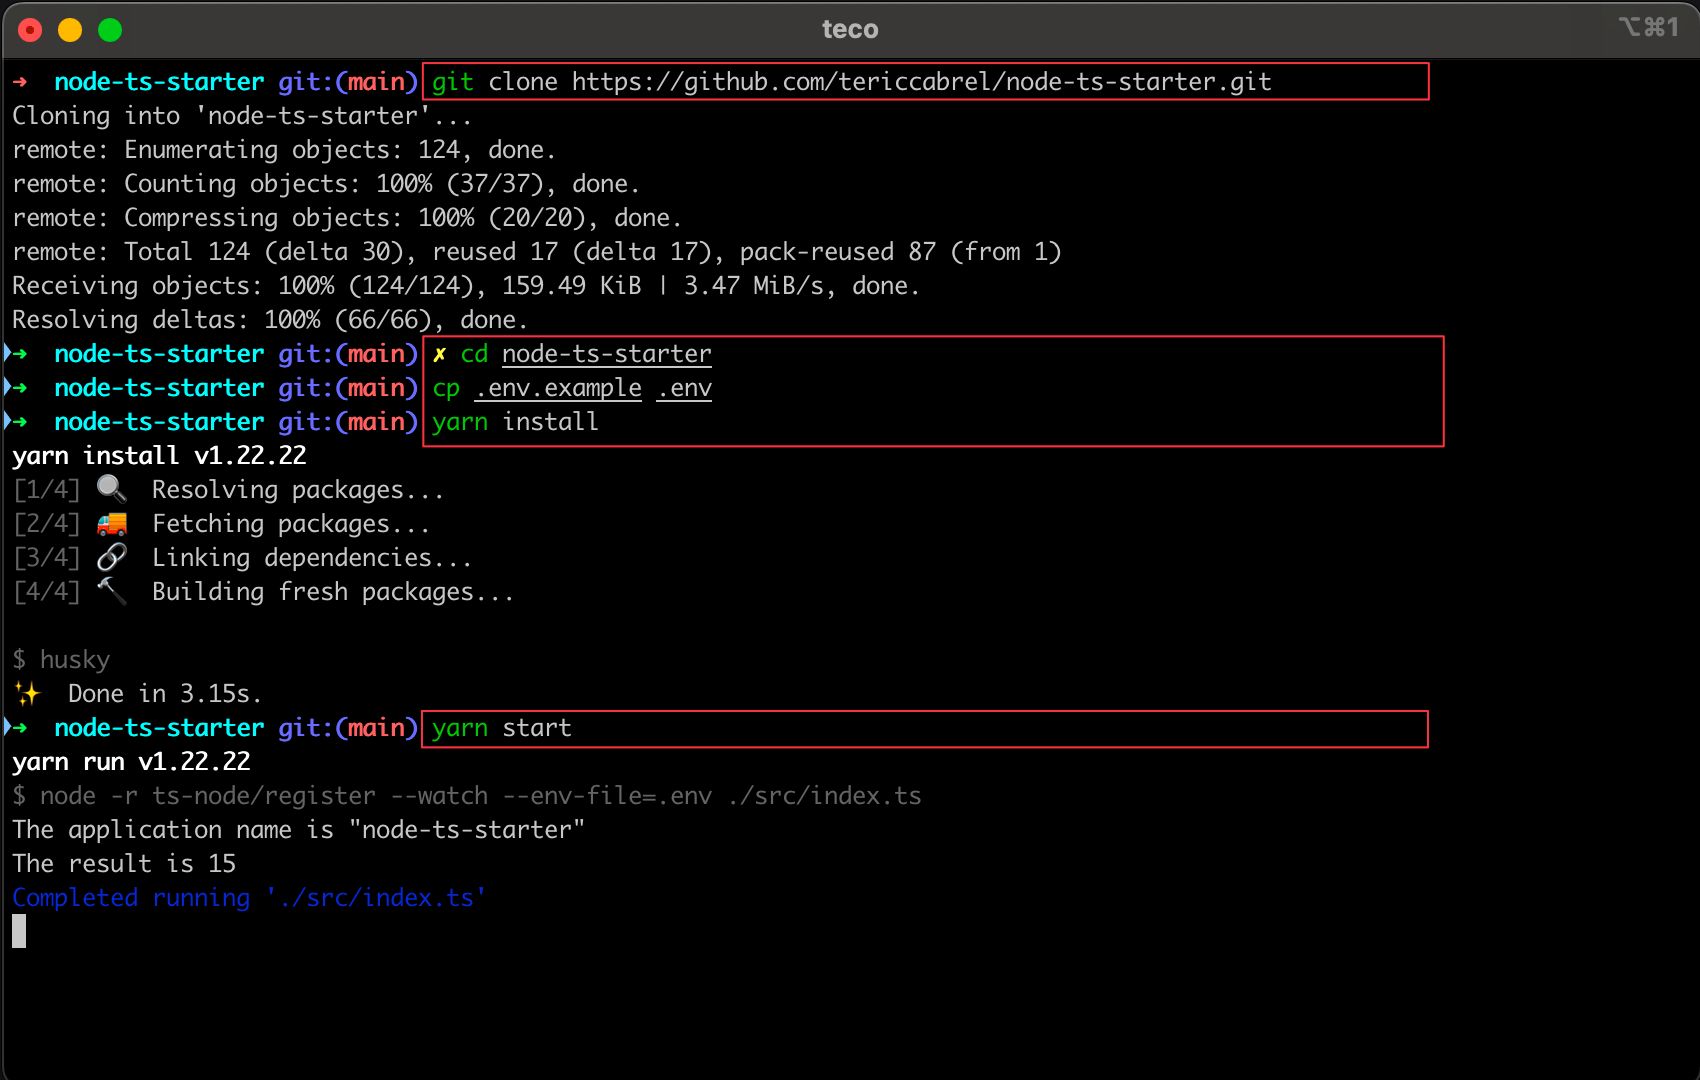
We will use the Node.js starter project we built in this tutorial as an example of a Node.js project using Yarn v1. Let's clone and run it locally.
git clone https://github.com/tericcabrel/node-ts-starter.git

cd node-ts-starter

cp .env .env.example

yarn install

yarn start
You get the following output:

The version of Yarn running the Node.js project is 1.22.22; let's upgrade it to the latest version of Yarn 4.
Enable Corepack in Node.js
The first step is to install Corepack, an experimental tool introduced since Node..js v16.9.0 that made using a Node.js Package manager agnostic from the operating.
Corepack will detect which package manager is used and then download and install the related binaries. It is disabled by default because it is experimental; to enable it, run the following command:
corepack enable
The Node.js package managers that Corepack supports are Yarn and PNPM. To see all the available commands, run corepack --help.
Install and enable Yarn 4
Now that Corepack is enabled install Yarn 4 by running the following command:
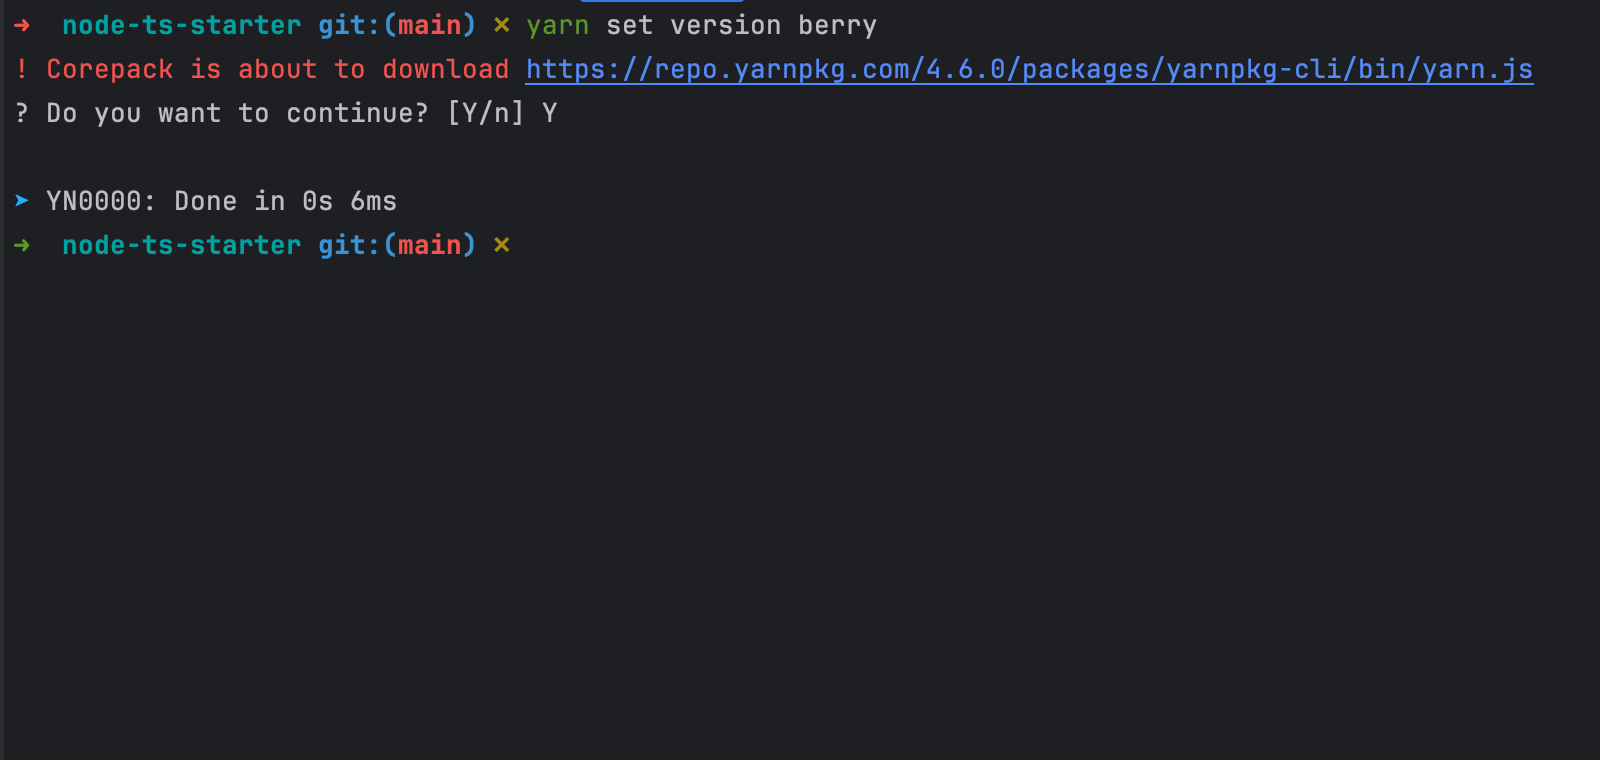
yarn set berry
Corepack will download the binary of the latest version Yarn 4.

The version installed is 4.6.0. it will update the "package.json" to set the property "packageManager" to "yarn@4.6.0"
Define basic configuration
To configure how Yarn 4 works, you must use a YAML configuration file named ".yarnrc.yml". Add the following code inside:
nodeLinker: node-modules

npmRegistries:
  //registry.yarnpkg.com:
    npmAuthToken: "$(NPM_TOKEN-}"
The property "nodeLinker" indicates how to manage Node.js dependencies: pnp, pnpm, or node_modules.
The property "npmRegistries" defines how to set the NPM token to publish a package on the Node.js package registry or authenticate to a private Node registry.
Check out the Yarn 4 settings documentation to learn more.
Use Yarn 4
You now have Yarn 4 installed; you can use the same command as on Yarn 1
# Install Node.js packages in the package.json
yarn install

# Add a package to be used in production
yarn add express

# Add a package to be used in development
yarn add -D jest

# Execute a script command defined in the package.json
yarn link
Install only Node.js packages for production
On Yarn 1, to install a Package for production, you run the command below:
yarn install --production
To install Node.js packages for production with Yarn 4, run the command below:
yarn workspaces focus --all --production
Upgrade Yarn 4 to a new version
When there is a new version of Yarn 4, let's say version 4.6.1, run the following command:
yarn set version 4.6.1
You now use the latest version of Yarn 4. The package.json will be updated accordingly.
Caveats about Yarn 4
Here are some essential things to know when working with Yarn 4
- When you install Yarn 4 the way we did, it is only available in the current project, and outside, Yarn 1 is still the default version for existing projects. So you will have to set it up per project.
- The Plug'n'Play mode has a non-negligible learning curve and can have some Node.js packages or bundles that do not support it yet.
- Since Yarn 2, the shell execution context is not available, meaning Yarn will throw an error if you use a shell command such as
exportin a script command.

Wrap up
In this post, we learned how to upgrade a Node.js project from Yarn v1 to Yarn v4. The upgrade is simple and highly compatible with your project.
Once Yarn 4 is installed, you benefit from faster dependency installation, better support for monorepos, and package management that is up to date with the Node.js features.
To go further, you can set up a Node.js monorepo project with Yarn 4.
You can find the code source on the GitHub repository.
Follow me on Twitter or subscribe to my newsletter to avoid missing the upcoming posts and the tips and tricks I occasionally share.

