
How to Build a RESTful API with Node.js, Express, and MongoDB


REST is the acronym for REpresentational State Transfer. It is an architectural style that defines a set of rules for creating Web Services. Roy Fielding presented it for the first time in his dissertation in 2000.
When exposing your API to the public, following the REST standard makes it easier for other developers to consume and integrate it into their workflow. For you, it makes it easy to build a consistent API that is easier to evolve and maintain.
REST is compatible with various programming languages. This tutorial will show you how to create a REST API in Node.js with MongoDB.
What we will build
Let's say you want to create a user management system in Node.js allowing to:
- Create roles such as user, admin, super admin, etc...
- Create a user and assign a role
- Change the role of the user.
- Retrieves the list of users.
- A user can have one role and only one at a time.
Prerequisites
To follow this tutorial, you must have these tools installed on your computer:
- Node.js 20+ - I wrote an installation guide.
- NPM or Yarn (I will use Yarn)
- MongoDB installed: Download the version for your operating system.
- A GUI REST client; I will use Postman.
If you have Docker, you can start a Docker container of MongoDB from the Docker image. Run the command below to start the Docker container from the MongoDB image:
docker run -d --rm -e MONGO_INITDB_ROOT_USERNAME=user -e MONGO_INITDB_ROOT_PASSWORD=secret -p 27018:27017 --name mongodb mongo:8.0
The MongoDB URL is mongodb://user:secret@localhost:27018/admin.
Set up the project
We will use a boilerplate for the Node.js project we built in the tutorial below. The main Git branch contains a simple Node.js application.

The Git branch "express-mongo" contains a Node.js application that uses the Express framework and connects to a Mongo database using the ODM Mongoose.
Read my complete tutorial on how to connect a Node.js application to MongoDB.
Let's clone the project by running the following commands:
git clone https://github.com/tericcabrel/node-ts-starter.git -b express-mongo node-rest-api

cd node-rest-api
Set the Mongo database credentials in the environment variables
cp .env.example .env

nano .env
In the ".env" file, set the value for the MongoDB URL.
MONGODB_URL=mongodb://user:secret@localhost:27018/admin
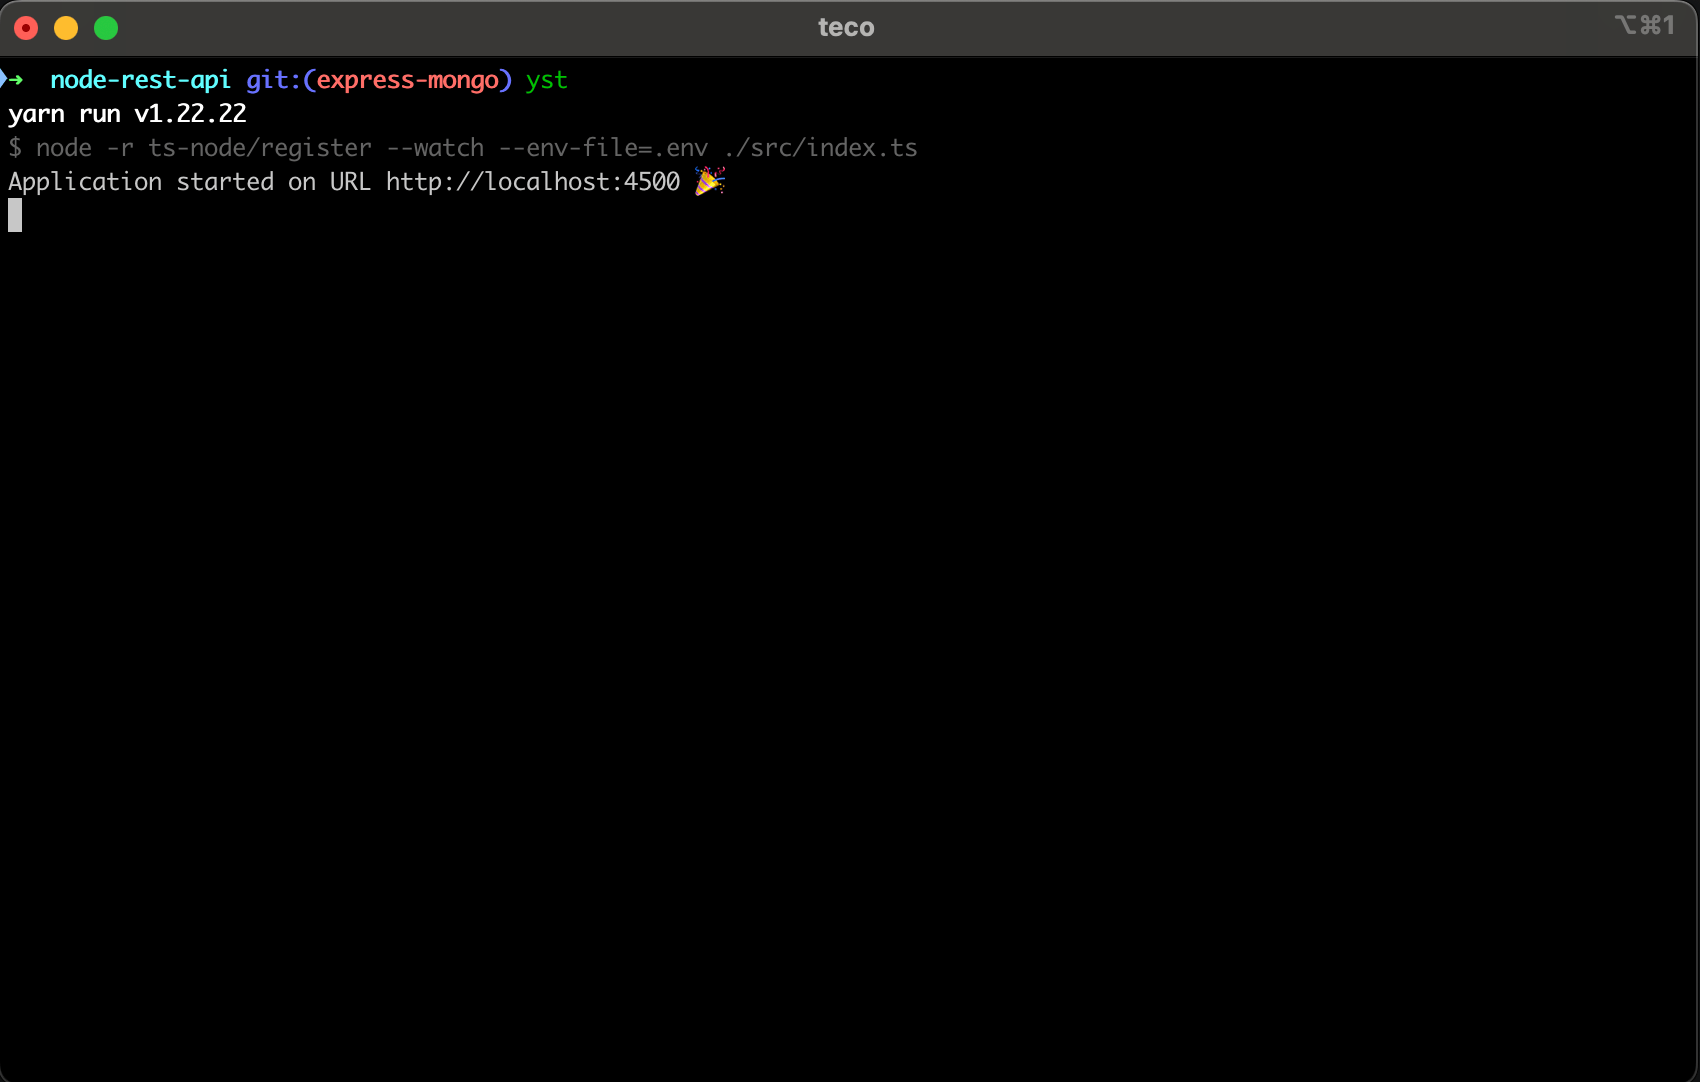
Save and exit, then run the commands below to install the Node.js dependencies and start the application.
yarn install

yarn start
Open your browser and navigate to http://localhost:4500
Now that we have a working project, we will continue creating the Mongo schema representing the data structure we want to store in the database.
Define the MongoDB schemas
To store data in MongoDB collections, we must first define the shape of this collection. You can manually create them using the MongoDB Shell or a GUI tool for MongoDB.
Still, a better way is to define collections programmatically in your project and create them in the database when the application starts.
There are Node.js libraries that help you achieve that, and this project uses Mongoose.
We will create two schemas, respectively, for role and user. Create a folder "src/models" then add a file "role.model.ts" with the code below:
import mongoose, { Schema, Model, Document } from 'mongoose';

type RoleDocument = Document & {
  name: string;
  description: string | null;
};

type RoleInput = {
  name: RoleDocument['name'];
  description: RoleDocument['description'];
};

const roleSchema = new Schema(
  {
    name: {
      type: Schema.Types.String,
      required: true,
      unique: true,
    },
    description: {
      type: Schema.Types.String,
      default: null,
    },
  },
  {
    collection: 'roles',
    timestamps: true,
  },
);

const Role: Model<RoleDocument> = mongoose.model<RoleDocument>('Role', roleSchema);

export { Role, RoleInput, RoleDocument };
Let's do the same for the user by creating the file "src/models/user.model.ts" and adding the code below:
import mongoose, { Schema, Model, Document } from 'mongoose';

type UserDocument = Document & {
  fullName: string;
  email: string;
  password: string;
  enabled: string;
  role: string;
};

type UserInput = {
  fullName: UserDocument['fullName'];
  email: UserDocument['email'];
  password: UserDocument['password'];
  enabled: UserDocument['enabled'];
  role: UserDocument['role'];
};

const usersSchema = new Schema(
  {
    fullName: {
      type: Schema.Types.String,
      required: true,
    },
    email: {
      type: Schema.Types.String,
      required: true,
      unique: true,
    },
    password: {
      type: Schema.Types.String,
      required: true,
    },
    enabled: {
      type: Schema.Types.Boolean,
      default: true,
    },
    role: {
      type: Schema.Types.ObjectId,
      ref: 'Role',
      required: true,
      index: true,
    },
  },
  {
    collection: 'users',
    timestamps: true,
  },
);

const User: Model<UserDocument> = mongoose.model<UserDocument>('User', usersSchema);

export { User, UserInput, UserDocument };
Create REST resources for the Role entity
Following the REST specification, we must create the following routes:
- Create a role: [POST] /roles
- Get all roles: [GET] /roles
- Get one role: [GET] /roles/:id
- Update a role: [PUT] /roles/:id
- Delete a role: [DELETE] /roles/:id
Create a folder "src/routes" and add the file "role.route.ts". This file will contain the configuration of the routes listed above. We use the Express Framework to define these routes.
import { Router } from 'express';

export const roleRoutes = () => {
  const router = Router();

  router.post('/roles', (req, res) => {
    // TODO logic for creating role
  });

  router.get('/roles', (req, res) => {
    // TODO logic for retrieving roles
  });

  router.get('/roles/:id', (req, res) => {
    // TODO logic for retrieving role
  });

  router.put('/roles/:id', (req, res) => {
    // TODO logic for updating role
  });

  router.delete('/roles/:id', (req, res) => {
    // TODO logic for deleting role
  });

  return router;
};
We have defined all the endpoints. Now, let's write the logic to be executed when calling each one.
Create handlers for each REST API route
We can write the logic in the route file, but a good practice is to separate the route configuration from the logic related to these routes to better separate concerns in our project. By doing that, we have code that is more readable and maintainable.
Create a folder "src/controllers" and add the file "role.controller.ts". This file contains the logic for all the role endpoints.
Handler for creating a role
A call to the endpoint [POST] /roles will execute the function below. Add the code below to the controller file we created before.
import { Request, Response } from 'express';
import { Role, RoleInput } from '../models/role.model';

export const createRole = async (req: Request, res: Response) => {
  const { description, name } = req.body;

  if (!name || !description) {
    return res.status(422).json({
      message: 'The fields name and description are required',
    });
  }

  const roleInput: RoleInput = {
    name,
    description,
  };

  const roleCreated = await Role.create(roleInput);

  return res.status(201).json({ data: roleCreated });
};
Let's update the route configuration file "src/routes/role.route.ts" to call the function.
import { Router } from 'express';
import { createRole } from '../controllers/role.controller';

export const roleRoutes = () => {
  const router = Router();

  router.post('/roles', createRole);

  // ... others routes configuration here

  return router;
};
Handler for retrieving all roles
Add the code below to the controller file "role.controller.ts"
export const getAllRoles = async (req: Request, res: Response) => {
  const roles = await Role.find().sort('-createdAt').exec();

  return res.status(200).json({ data: roles });
};
The above code retrieves all the roles in the Mongo database and sorts them by creation date in descending order (the most to the least recently created role). Also, update "role.route.ts" to link the API route with the controller function.
Handler for retrieving a role
export const getRole = async (req: Request, res: Response) => {
  const { id } = req.params;

  const role = await Role.findOne({ _id: id });

  if (!role) {
    return res.status(404).json({ message: `Role with id "${id}" not found.` });
  }

  return res.status(200).json({ data: role });
};
The above code retrieves the role by the ID passed as a parameter in the URL roles/:id. If the role is not found, it returns a 404 HTTP not found error with a message; otherwise, it returns the role's object.
Handler for updating a role
export const updateRole = async (req: Request, res: Response) => {
  const { id } = req.params;
  const { description, name } = req.body;

  const role = await Role.findOne({ _id: id });

  if (!role) {
    return res.status(404).json({ message: `Role with id "${id}" not found.` });
  }

  if (!name || !description) {
    return res.status(422).json({ message: 'The fields name and description are required' });
  }

  await Role.updateOne({ _id: id }, { name, description });

  const roleUpdated = await Role.findById(id, { name, description });

  return res.status(200).json({ data: roleUpdated });
};
Handler for deleting a role
export const deleteRole = async (req: Request, res: Response) => {
  const { id } = req.params;

  await Role.findByIdAndDelete(id);

  return res.status(200).json({ message: 'Role deleted successfully.' });
};
At this step, this is what the file "src/routes/role.route.ts" looks like:
import { Router } from 'express';
import { createRole, deleteRole, getAllRoles, getRole, updateRole } from '../controllers/role.controller';

export const roleRoutes = () => {
  const router = Router();

  router.post('/roles', createRole);

  router.get('/roles', getAllRoles);

  router.get('/roles/:id', getRole);

  router.put('/roles/:id', updateRole);

  router.delete('/roles/:id', deleteRole);

  return router;
};
If you start the Node.js application and call an endpoint, you will receive a 404 Not Found because the routing configuration has not yet been registered in Express.
To register the routing configuration in Express, add the code below in the file "src/index.ts" after the line app.use(express.json());
app.use('/', roleRoutes());
Test role resources of the Node.js REST API
We will test the API by doing the following actions:
- Retrieve the roles list -> [GET] /roles
- Create a new role -> [POST] /roles
- Retrieve the roles list to ensure the new role is listed.
- Delete a role -> [DELETE] /roles/:id
- Retrieve the roles list to ensure the deleted role is not listed.
Re-run the application with yarn start. Here is the demo of the API test.
Test role resources of the Node.js application REST API.
Create handlers of the user API route
As we did for the role resources, let's create the file "src/controllers/user.controller.ts" and add the code below:
import { Request, Response } from 'express';
import crypto from 'crypto';

import { User, UserInput } from '../models/user.model';

const hashPassword = (password: string) => {
  const salt = crypto.randomBytes(16).toString('hex');

  // Hashing salt and password with 100 iterations, 64 length and sha512 digest
  return crypto.pbkdf2Sync(password, salt, 100, 64, `sha512`).toString(`hex`);
};

export const createUser = async (req: Request, res: Response) => {
  const { email, enabled, fullName, password, role } = req.body;

  if (!email || !fullName || !password || !role) {
    return res.status(422).json({ message: 'The fields email, fullName, password and role are required' });
  }

  const userInput: UserInput = {
    fullName,
    email,
    password: hashPassword(password),
    enabled,
    role,
  };

  const userCreated = await User.create(userInput);

  return res.status(201).json({ data: userCreated });
};

export const getAllUsers = async (req: Request, res: Response) => {
  const users = await User.find().populate('role').sort('-createdAt').exec();

  return res.status(200).json({ data: users });
};

export const getUser = async (req: Request, res: Response) => {
  const { id } = req.params;

  const user = await User.findOne({ _id: id }).populate('role').exec();

  if (!user) {
    return res.status(404).json({ message: `User with id "${id}" not found.` });
  }

  return res.status(200).json({ data: user });
};

export const updateUser = async (req: Request, res: Response) => {
  const { id } = req.params;
  const { enabled, fullName, role } = req.body;

  const user = await User.findOne({ _id: id });

  if (!user) {
    return res.status(404).json({ message: `User with id "${id}" not found.` });
  }

  if (!fullName || !role) {
    return res.status(422).json({ message: 'The fields fullName and role are required' });
  }

  await User.updateOne({ _id: id }, { enabled, fullName, role });

  const userUpdated = await User.findById(id);

  return res.status(200).json({ data: userUpdated });
};

export const deleteUser = async (req: Request, res: Response) => {
  const { id } = req.params;

  await User.findByIdAndDelete(id);

  return res.status(200).json({ message: 'User deleted successfully.' });
};
For the API routes, create a file "src/routes/user.route.ts"
import { Router } from 'express';
import { createUser, deleteUser, getAllUsers, getUser, updateUser } from '../controllers/user.controller';

export const userRoutes = () => {
  const router = Router();

  router.post('/users', createUser);

  router.get('/users', getAllUsers);

  router.get('/users/:id', getUser);

  router.patch('/users/:id', updateUser);

  router.delete('/users/:id', deleteUser);

  return router;
};
Finally, register the route configuration in Express by adding the code below in the file "src/index.ts".
app.use('/', userRoutes());
Test user resources of the Node.js REST API
Re-run the application and test user creation, retrieval, update, and deletion.
Test user resources of the Node.js application REST API.
Patch vs. Put Method
For updating role and user, we used the method PUT for the former and PATCH for the latter. For a role, we update all the properties of the model, while on the user, we only update some properties of the model.
The PUT verb should be used when updating the entire object, and the PATCH verb should be used when updating the object partially.
Wrap up
Combining Express and MongoDB allows building API with Node.js that follows the REST standard.
By taking inspiration from the role and user resources we created in this tutorial, you can build a robust REST API for a real-world application.
To further, here are some tasks you can do:
- Filter sensitive information like the user password in the API response.
- Build the Docker image of your Node.js application.
- Deploy your Node.js application on a server in the cloud.
You can find the code source on the GitHub repository.
I also included the Postman collection with all the endpoints we created in this tutorial.
Follow me on Twitter or subscribe to my newsletter to avoid missing the upcoming posts and the tips and tricks I occasionally share.