
Connect MongoDB with a Node.js web application using Mongoose


Photo by Kevin Jansen on Unsplash
In a previous article, we saw how to set authentication and authorization on MongoDB, and we interacted through the CLI, but what do we do if we want our Node.js to talk with our database? In this tutorial, we will see how to achieve that by creating a Node.js project and then interacting with MongoDB.
For this project, let's say we have a blog where users can create posts, see the number of views for a post, and add a comment; a comment can be upvoted or downvoted.
Create the project
We will start with the node starter with Typescript I did on this tutorial so let's clone it and install dependencies:
git clone https://github.com/tericcabrel/node-ts-starter.git

cd node typescript-starter

yarn install
Now the project is ready, let's create our database:
mongo --port 27017 -u "root" -p "rootPassword" --authenticationDatabase "admin"

use blog

db.createUser({ user: "blogUser", pwd: "blogUserPwd@2k21", roles: [{ role: "dbAdmin", db: "blog" }, { role: "readWrite", db: "blog" } ]})
Now we have everything to start.
Connection with the database
To make Node.js communicate with MongoDB, we need the Mongo DB driver for Node.js. We will use an ORM called mongoose to map a class to a MongoDB collection and also make it easy to perform CRUD queries in the database. Mongoose already embeds the driver, so no need to install it separately.
yarn add mongoose
yarn add -D @types/mongoose
Once installed, create a file db-connection.ts in src the folder the add this code
import mongoose, { ConnectionOptions } from 'mongoose';

mongoose.Promise = global.Promise;

const connectToDatabase = async (): Promise<void> => {
  const options: ConnectionOptions = { useNewUrlParser: true, useFindAndModify: false, useCreateIndex: true, useUnifiedTopology: true };

  await mongoose.connect(`mongodb://blogUser:blogUserPwd@localhost:27017/blog`, options);
};

export { connectToDatabase };
Replace the content of index.ts with:
import { connectToDatabase } from './db-connection';

(async () => {
  await connectToDatabase();

  console.log('Connected to the database successfully!');
})();
Save and run yarn start you should successfully connect to the database if your credentials are valid.
Note: In a real application, never hard code sensitive data like database credentials. It's recommended to load them from the environment variable. We will see how to do it in an upcoming tutorial.
Create the schemas
We will create the schemas, and Mongoose will take charge to create them in the database. Let's start with user schema by creating a folder called models then, a file user.model.ts.
import mongoose, { Document, Schema, Model } from 'mongoose';

type UserDocument = Document & {
  name: string;
  dateOfBirth: Date;
  location: {
    country: string;
    city: string;
  };
  email: string;
};

type UserInput = {
  name: UserDocument['name'];
  dateOfBirth: UserDocument['dateOfBirth'];
  location: UserDocument['location'];
  email: UserDocument['email'];
};

const userSchema = new Schema(
  {
    email: {
      type: String,
      required: true,
      unique: true,
      index: true, // We can search an user by his email, index the field will make the search faster
    },
    name: {
      type: String,
      required: true,
    },
    dateOfBirth: {
      type: Date,
      required: true,
    },
    location: {
      country: String,
      city: String,
    },
  },
  {
    timestamps: true, // Automatically field createdAt and updatedAt
    collection: 'users', // Create the collection with name 'users'
  },
);

const User: Model<UserDocument> = mongoose.model('User', userSchema);

export { User, UserDocument, UserInput };
We also create a file post.model.ts for Post schema
import mongoose, { Document, Schema, Model } from 'mongoose';
import { UserDocument } from './user.model';

type CommentInput = {
  text: string;
  voteCount: number;
};

enum TagEnum {
  Node = 'Node.js',
  Java = 'Java',
  React = 'React',
  GraphQL = 'GraphQL',
  Spring = 'Spring',
  Typescript = 'Typescript',
  Express = 'Express',
  Docker = 'Docker',
  Jest = 'Jest',
  Jenkins = 'Jenkins',
  AWS = 'AWS',
}

type PostDocument = Document & {
  title: string;
  content: string;
  viewCount: number;
  author: UserDocument['_id'];
  tags: TagEnum[];
  isPublished: boolean;
  comments: CommentInput[];
};

type PostInput = {
  title: PostDocument['title'];
  content: PostDocument['content'];
  viewCount: PostDocument['viewCount'];
  author: PostDocument['author'];
  tags: PostDocument['tags'];
  isPublished: PostDocument['isPublished'];
  comments: PostDocument['comments'];
};

const commentSchema = new Schema(
  {
    text: {
      type: String,
      required: true,
    },
    voteCount: {
      type: Number,
      default: 0,
    },
  },
  {
    timestamps: true,
  },
);

const postSchema = new Schema(
  {
    title: {
      type: String,
      required: true,
    },
    content: {
      type: String,
      required: true,
    },
    viewCount: {
      type: Number,
      default: 0,
    },
    tags: {
      type: [String],
      enum: TagEnum,
    },
    isPublished: {
      type: Boolean,
      required: true,
      default: false,
    },
    author: {
      type: mongoose.Schema.Types.ObjectId,
      ref: 'User',
      required: true,
      index: true,
    },
    comments: [commentSchema],
  },
  {
    collection: 'posts',
    timestamps: true,
  },
);

const Post: Model<PostDocument> = mongoose.model('Post', postSchema);

export { Post, PostInput, CommentInput, TagEnum };
Insert data
Our schemas are created so we can insert data into our database. We will first create a user and then create a post with the author as the user created earlier.
Create a file inserUserAndPost.ts then add the code below.
import { User, UserInput } from '../models/user.model';
import { CommentInput, Post, PostInput, TagEnum } from '../models/post.model';

export const insertUserAndPost = async () => {
  const userInput: UserInput = {
    email: 'jon.snow@got.com',
    name: 'Jon Snow',
    dateOfBirth: new Date(1995, 1, 23),
    location: {
      city: 'Paris',
      country: 'FRA',
    },
  };

  const createdUser = await User.create(userInput);

  const postInput: PostInput = {
    author: createdUser._id,
    comments: [
      {
        text: 'My first comment',
        voteCount: 14,
      },
    ],
    content: 'My first post text content',
    isPublished: false,
    tags: [TagEnum.Node, TagEnum.Docker, TagEnum.GraphQL],
    title: 'My first post title',
    viewCount: 23,
  };

  const createdPost = await Post.create(postInput);

  console.log(createdUser);
  console.log(createdPost);
};
Call the file above inside. index.ts
import { connectToDatabase } from './db-connection';
import { insertUserAndPost } from './queries/insertUserAndPost';

(async () => {
  await connectToDatabase();

  console.log('Connected to the database successfully!');

  await insertUserAndPost();
})();
Run your code with yarn start and here is the output we got:
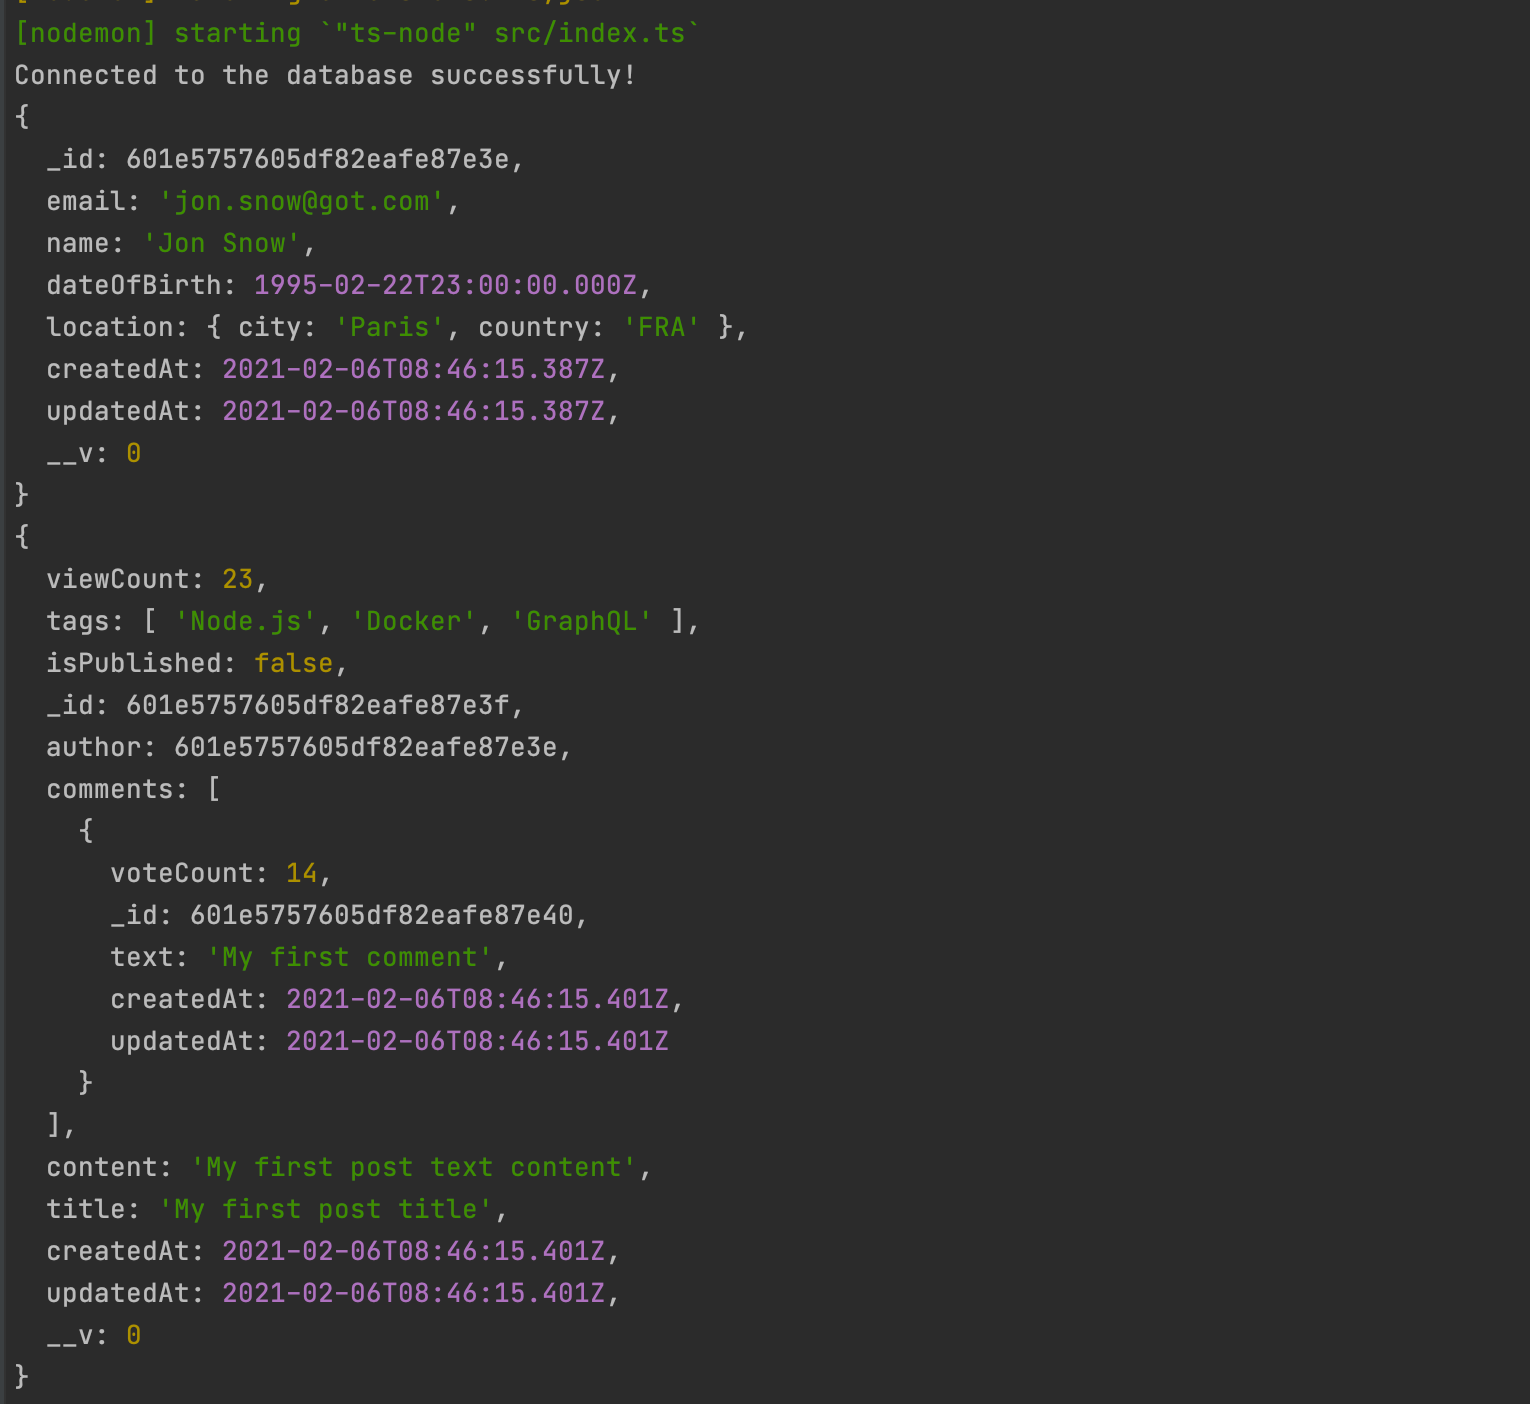
You can use GUI tools for the database to view data inside the database. A great tool for MongoDB is MongoDB Compass. The installation and usage are straightforward. You can download it here.
Insert in children
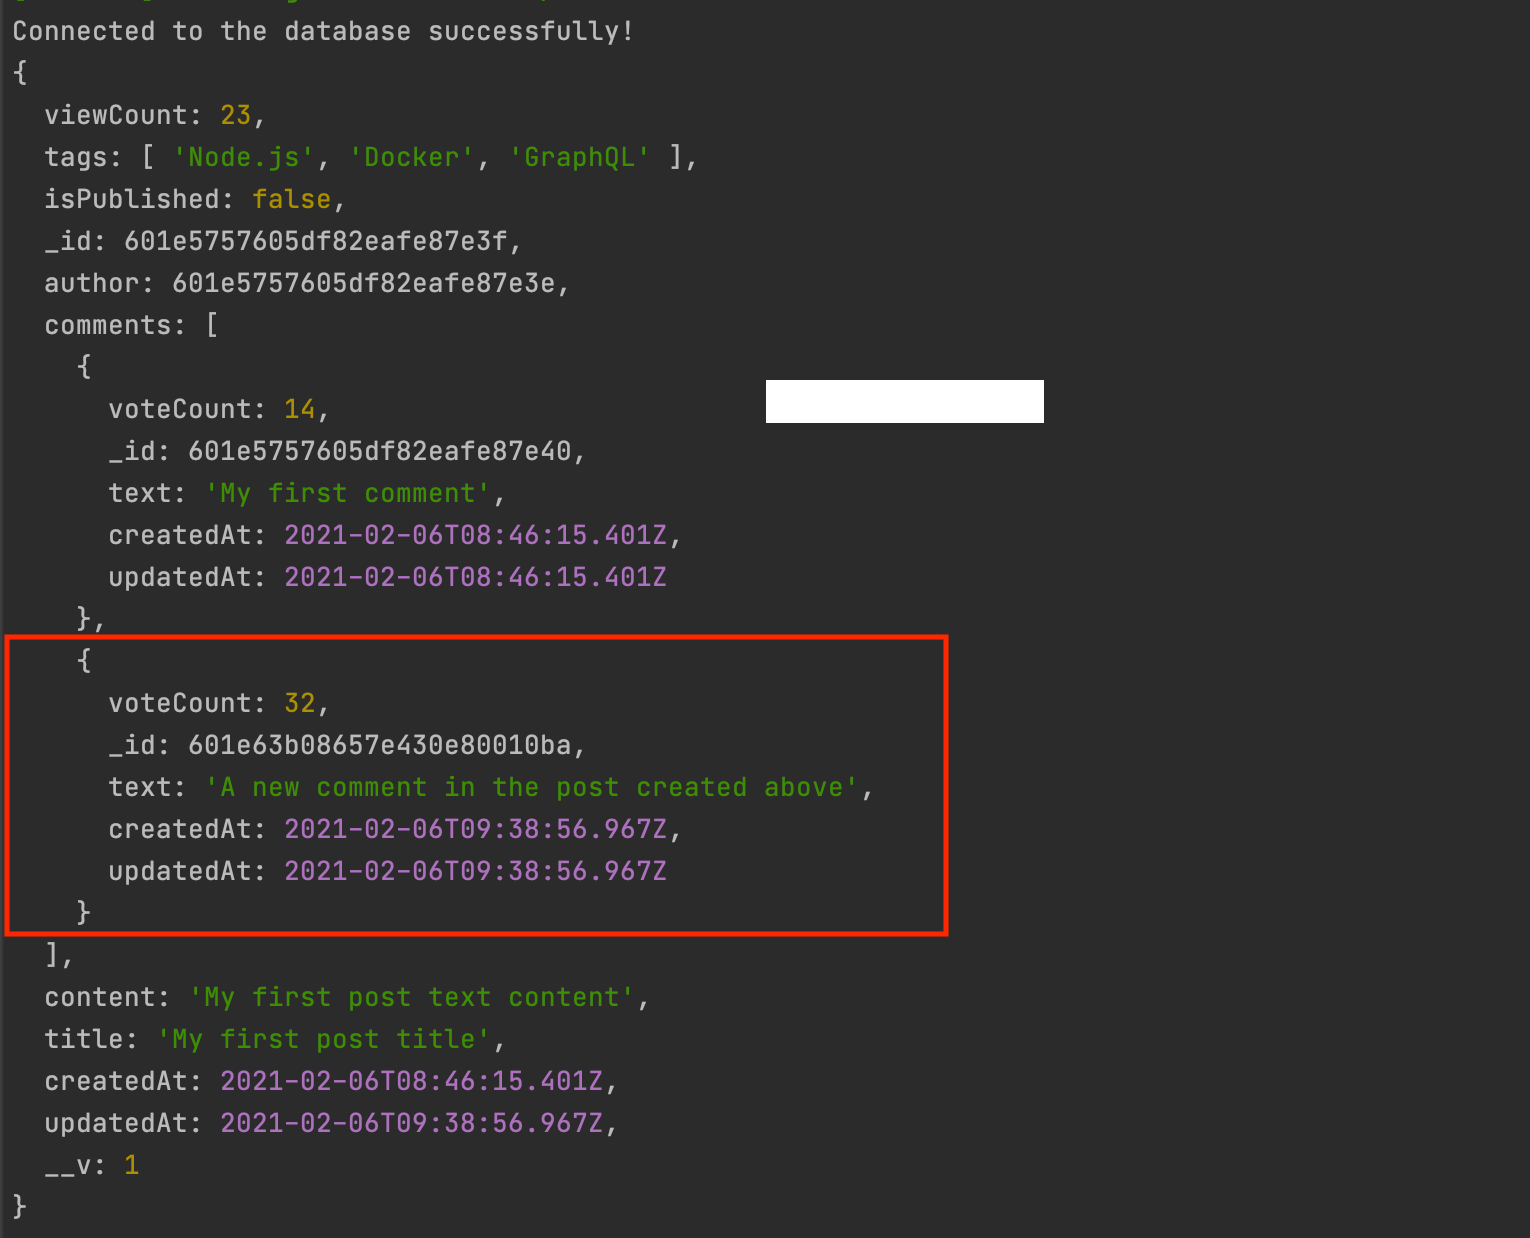
Inside the post, we have an array of comments related to the post. Let's say we want to add a comment to an existing post, inside insertUserAndPost.ts, we will do something like this:
// ....code to create user and post
const newComment: CommentInput = {
    text: 'A new comment in the post created above',
    voteCount: 32,
};

createdPost.comments.push(newComment);
const updatedPost = await createdPost.save();
console.log(updatedPost);
Note that you will need to clean your DB before running this; otherwise, the app will crash because the email address on the user's schema is defined as unique. Run your app, and you will have this output.
Retrieve data
In the snippet below, we see how we can perform some queries using mongoose.
import { User } from '../models/user.model';
import { Post, TagEnum } from '../models/post.model';

export const retrieveData = async () => {
  // Find all users
  const allUsers = await User.find();

  // Find an user by his Id
  const userById = await User.findById(allUsers[0]._id);

  // Find an user by his email
  const userByEmail = await User.findOne({ email: allUsers[0].email });

  // Find an user by his email
  const partialUserByEmail = await User.findOne({ email: allUsers[0].email }, 'name email');
  // console.log(partialUserByEmail);

  // Find user living in France order by creation date Descending
  const users = await User.find({ 'location.country': 'FRA' }).sort('+createdAt');
  // console.log(users);

  // Find all post of an user and also fetch the author data (.populate('author'))
  const allUserPosts = await Post.find({ author: users[0]._id }).populate('author').exec();
  // console.log(allUserPosts);

  // Find all post of an user and also fetch the author data (.populate('author')) but only his name
  const allUserPostsWithPartialAuthor = await Post.find({ author: users[0]._id }).populate('author', 'name').exec();
  // console.log(allUserPostsWithPartialAuthor);

  // Find published post with viewCount Greater than 20 order by creation date Ascending
  const ascPosts = await Post.find({ isPublished: true, viewCount: { $gt: 20 } }).sort('-createdAt');

  // Find post with tags containing Node and Docker and viewCount Greater than between 20 and 30
  const where = `this.tags.includes("${TagEnum.Node}") && this.tags.includes("${TagEnum.Docker}")`;
  const postsWithTags = await Post.find({ $where: where, viewCount: { $gte: 20, $lte: 30 } });
};
Update data
Now let's see how we can update data but before, reate a file "updateData.ts" inside the folder "queries."
import { User, UserDocument } from '../models/user.model';
import { Post, TagEnum } from '../models/post.model';

export const updateData = async () => {
  const allUsers = await User.find();

  const user: UserDocument | undefined = await User.findById(allUsers[0]._id);

  if (user) {
    user.location = {
      country: 'US',
      city: 'San Francisco',
    };
    const updatedUser = await user.save();

    console.log(updatedUser);
  }

  const userPost = await Post.findOne({ author: user?._id });
  // The "new" option tell mongoose to return the modified document rather than the original
  const updatedPost = await Post.findOneAndUpdate(
    { _id: userPost._id },
    { isPublished: true, tags: [TagEnum.GraphQL, TagEnum.AWS, TagEnum.Jest] },
    {
      new: true,
    },
  );

  console.log(updatedPost);
};
Delete data
Mongoose provides 4 methods to delete data. Create a file "deleteData.ts" inside the folder "queries."
import { User } from '../models/user.model';
import { Post } from '../models/post.model';

export const deleteData = async () => {
  await User.findByIdAndDelete('601e6711225a273142039d2a');

  await User.findOneAndDelete({ email: 'jon.snow@got.com' });

  await Post.deleteOne({ _id: '601e6711225a273142039d2a' });

  // Delete all posts where the title content "how to"
  await Post.deleteMany({ title: /how to/ });

  const allUserPosts = await Post.find().populate('author').exec();
  console.log(allUserPosts);
};
One of the main differences between NoSQL and SQL is the non-support of integrity constraints. In the code above, when we delete a user, there is no check if the id is used as a foreign key somewhere, and also, the posts created by this user remain.
Keep this in mind when you choose the database to use for your next project.
There is a package that can help you to strong types of your mongoose schema called ts-mongoose.
You can find the code source on the GitHub repository.
Follow me on Twitter or subscribe to my newsletter to avoid missing the upcoming posts and the tips and tricks I occasionally share.