
Set up a personal blog with Ghost and Docker


If you are reading this, you decided to share your knowledge on your personal blog using Ghost, and you are looking for a way to set it up. You are at the right place.
Just a kick reminder of what Ghost is: It is a Node.js CMS for professional publishing that makes the experience of writing and publishing articles easier. I tried many platforms, and Ghost is the one I'm really comfortable with.
We will set up Ghost with Docker and make it accessible through a subdomain.
Features provided by Ghost
- Share a private link to a post. It is helpful for a review.
- A great editor that allows embedding code snippets, YouTube, Twitter, etc...
- Schedule your publication.
- Customize a post to be SEO Friendly.
- Manage authors.
- Create an additional page for specific content.
- Manage post tags.
- Integrations with over a hundred apps like Slack, Stripe, Shopify, etc.
- Theme customization and code injection on the template.
- Manage users' membership and the newsletter.
- And so many awesome features.
Prerequisites
- A domain name to make your blog available to the world. We will use a No-IP to create a free subdomain.
- A VPS running on a Linux distribution. A droplet of 1GB of RAM, 1 CPU, and 25GB of disk is enough.
You can buy a VPS on Hetzner, which provides affordable servers with good performance. The server running this blog and all my side projects are hosted here. Use my referral link to get €20 after you sign up.
Once you got a server, check out the tutorial below to set the minimal configuration to secure your server.

Install Docker and Docker-compose
The installation is for Ubuntu distribution. If you are using another, check out this link to find the installation process that suits your case.
Run the command below to install Docker and Docker-compose.
sudo apt-get update

# Install dependencies
sudo apt-get install apt-transport-https ca-certificates curl gnupg lsb-release

# Add Docker’s official GPG key
curl -fsSL https://download.docker.com/linux/ubuntu/gpg | sudo gpg --dearmor -o /usr/share/keyrings/docker-archive-keyring.gpg

# Set up the stable repository as the source to download Docker
echo \
  "deb [arch=amd64 signed-by=/usr/share/keyrings/docker-archive-keyring.gpg] https://download.docker.com/linux/ubuntu \
  $(lsb_release -cs) stable" | sudo tee /etc/apt/sources.list.d/docker.list > /dev/null

# Update the repository
sudo apt-get update

# Install Docker
sudo apt-get install docker-ce docker-ce-cli containerd.io

# Install Docker-compose
sudo apt-get install docker-compose

# Verify docker is installed successfully
docker --version
Installing Docker on Ubuntu 18.04
After this, running a Docker command without sudo will not work because the current user is not in the group. Here is how to solve that:
# Add current user to docker group
sudo usermod -aG docker ${USER}
Logout of the server and log in again, then type the command below, enter your password, and press Enter:
su - ${USER}Test by running docker image ls will work now.
Install Nginx
Run the command below to install Nginx:
sudo apt-get install nginx

sudo ufw allow 'Nginx Full'

sudo systemctl status nginx
The command sudo ufw allow 'Nginx Full' Open ports 80 and 443 for HTTP and HTTPS, respectively, to allow incoming traffic from the web. UFW is the firewall and must be installed and enabled first. If you didn't do it, check out my tutorial about setting up a virtual private server.
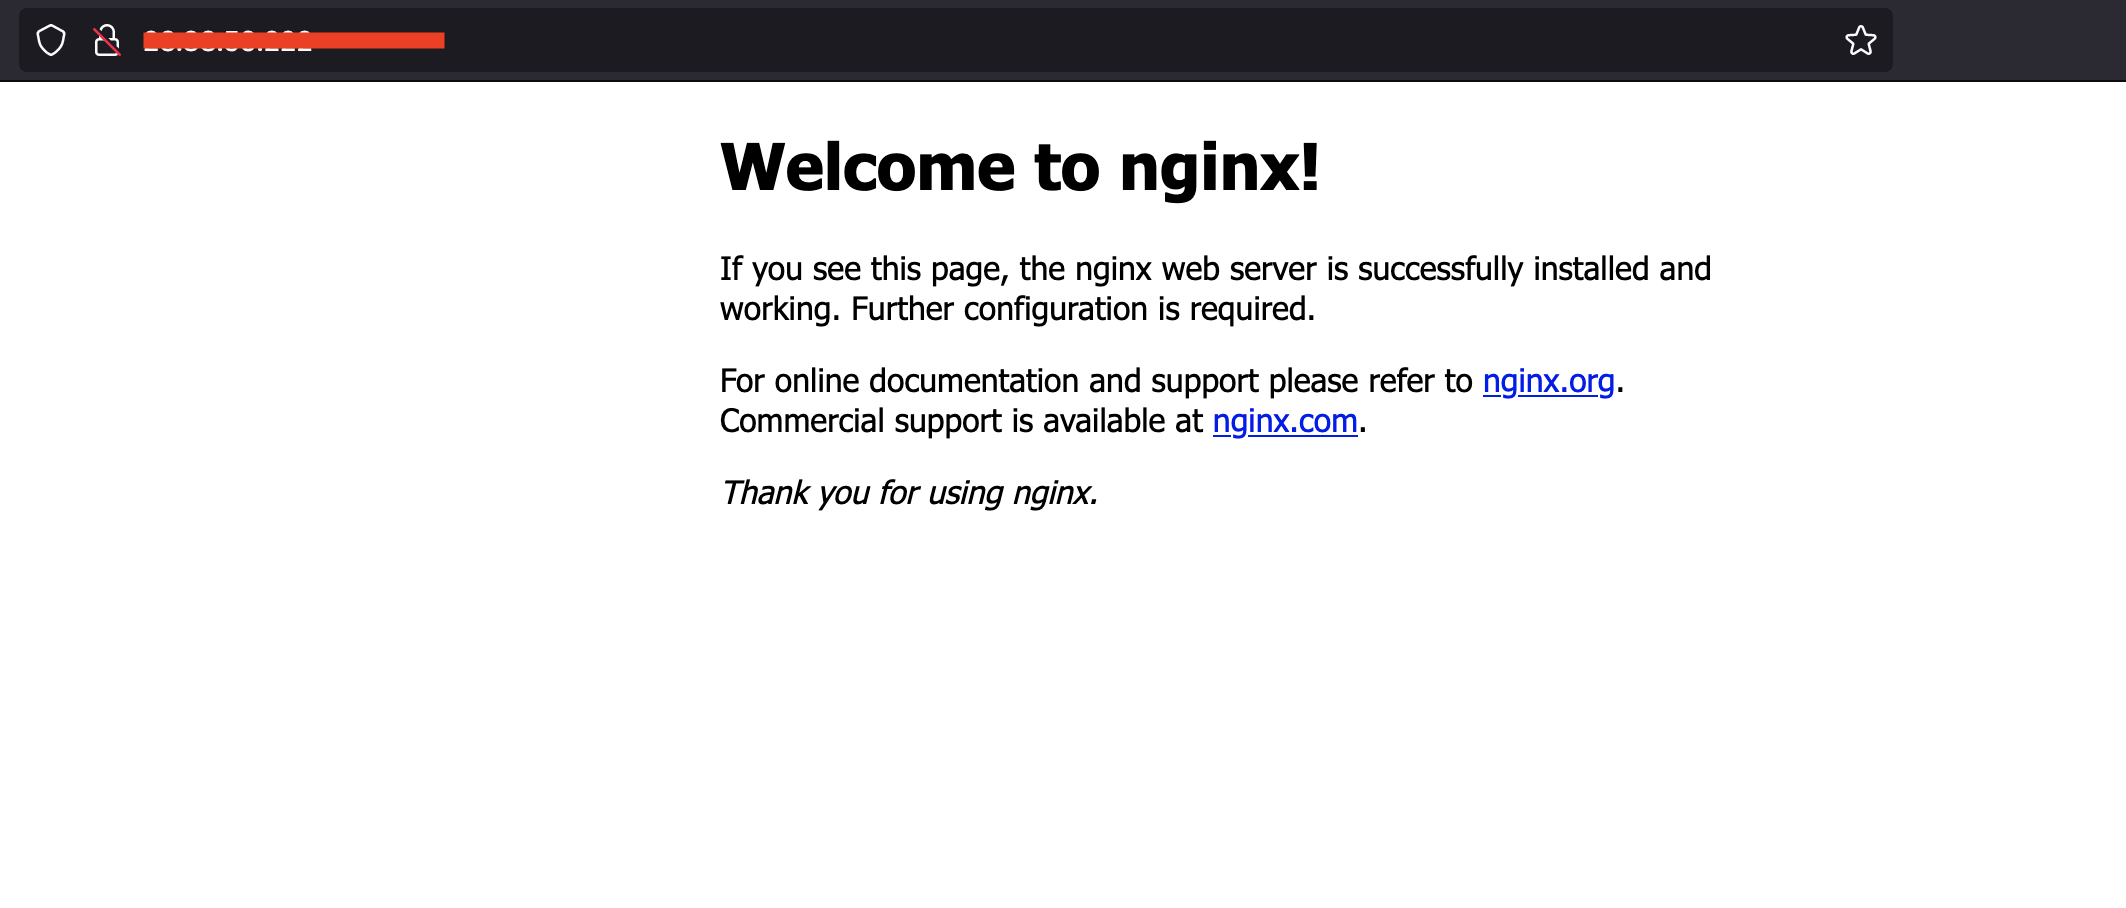
If you navigate to http://<your_server_ip>, you will have this picture:
Create a subdomain
Note: If you already have a domain or subdomain name on hosting providers, jump to step 4.
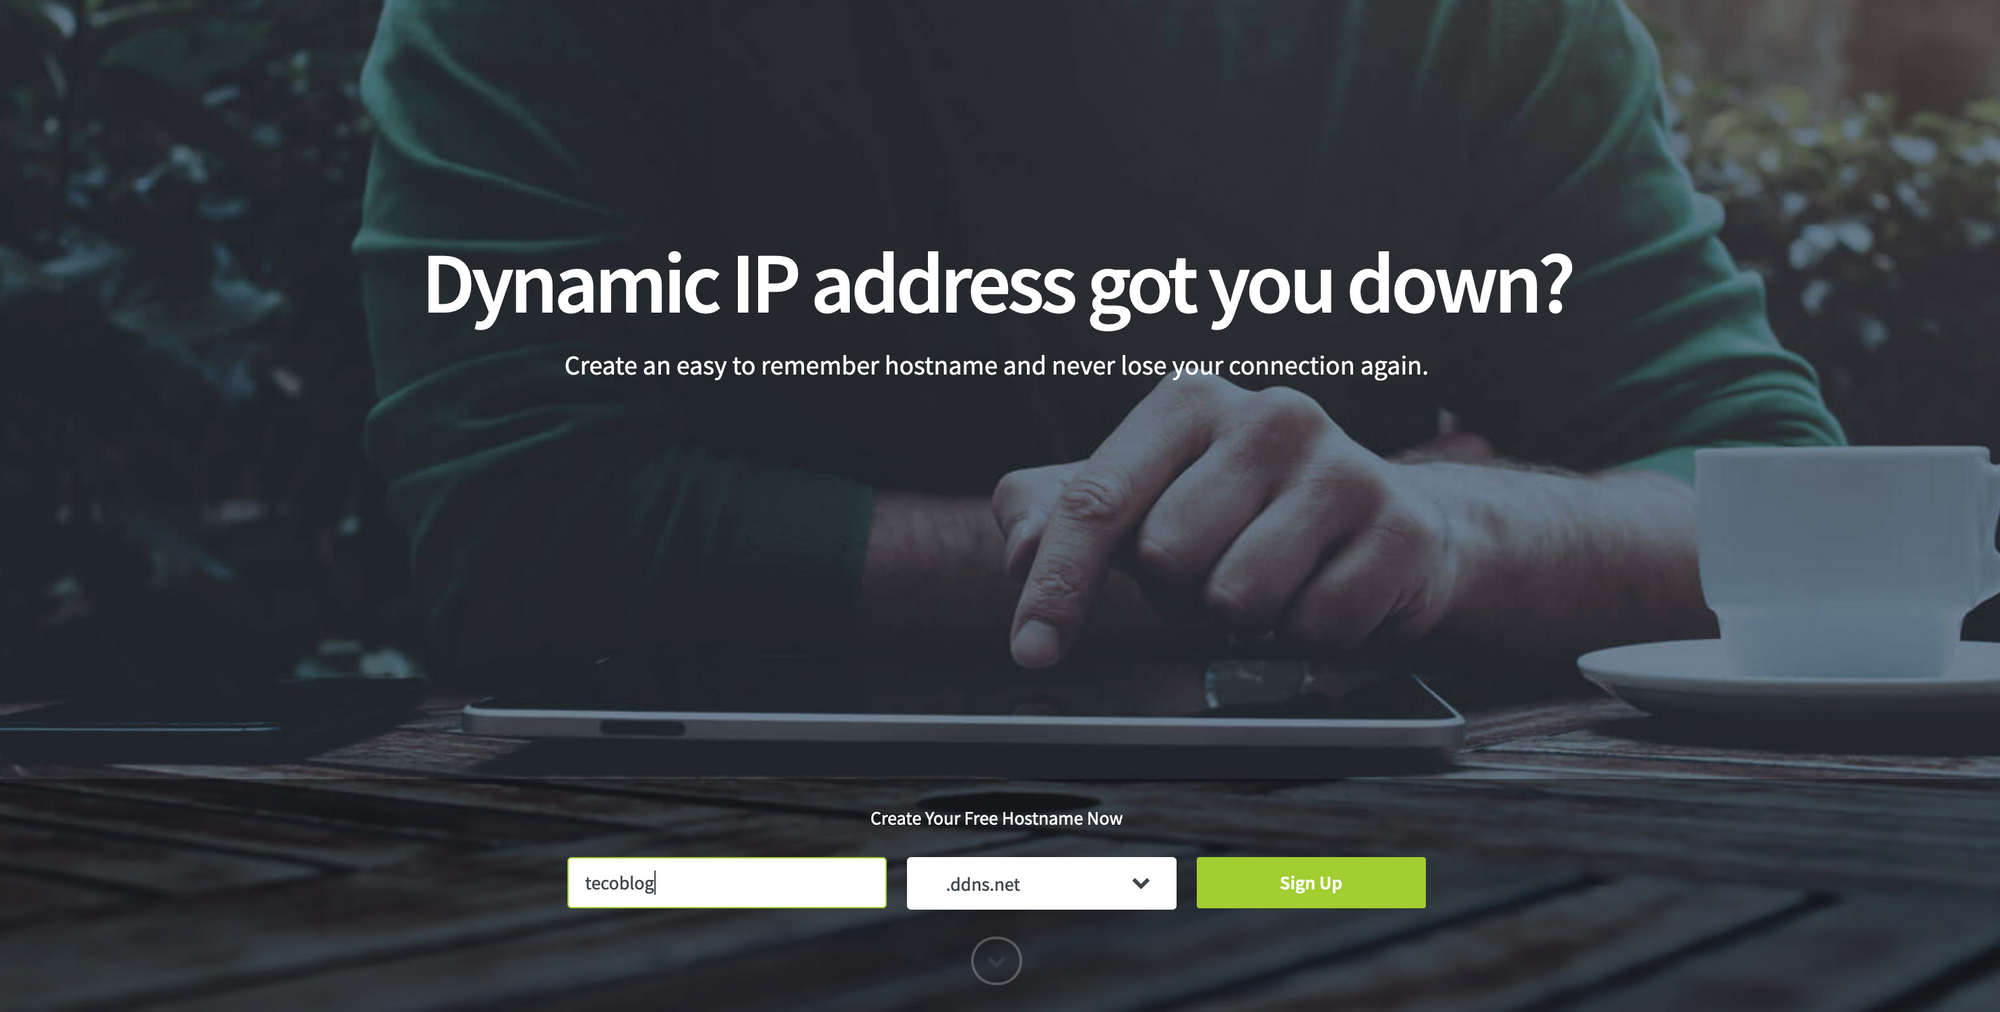
We will use the service No IP, which provides free Dynamic DNS.
- Navigate to the No IP website, enter the name of your subdomain, and click on the button "Sign Up" you can choose whatever you want. I chose tecoblog.ddns.net.
2. You will be redirected to a page to enter your email address and password. Once done and submitted, you will be asked to confirm your account.
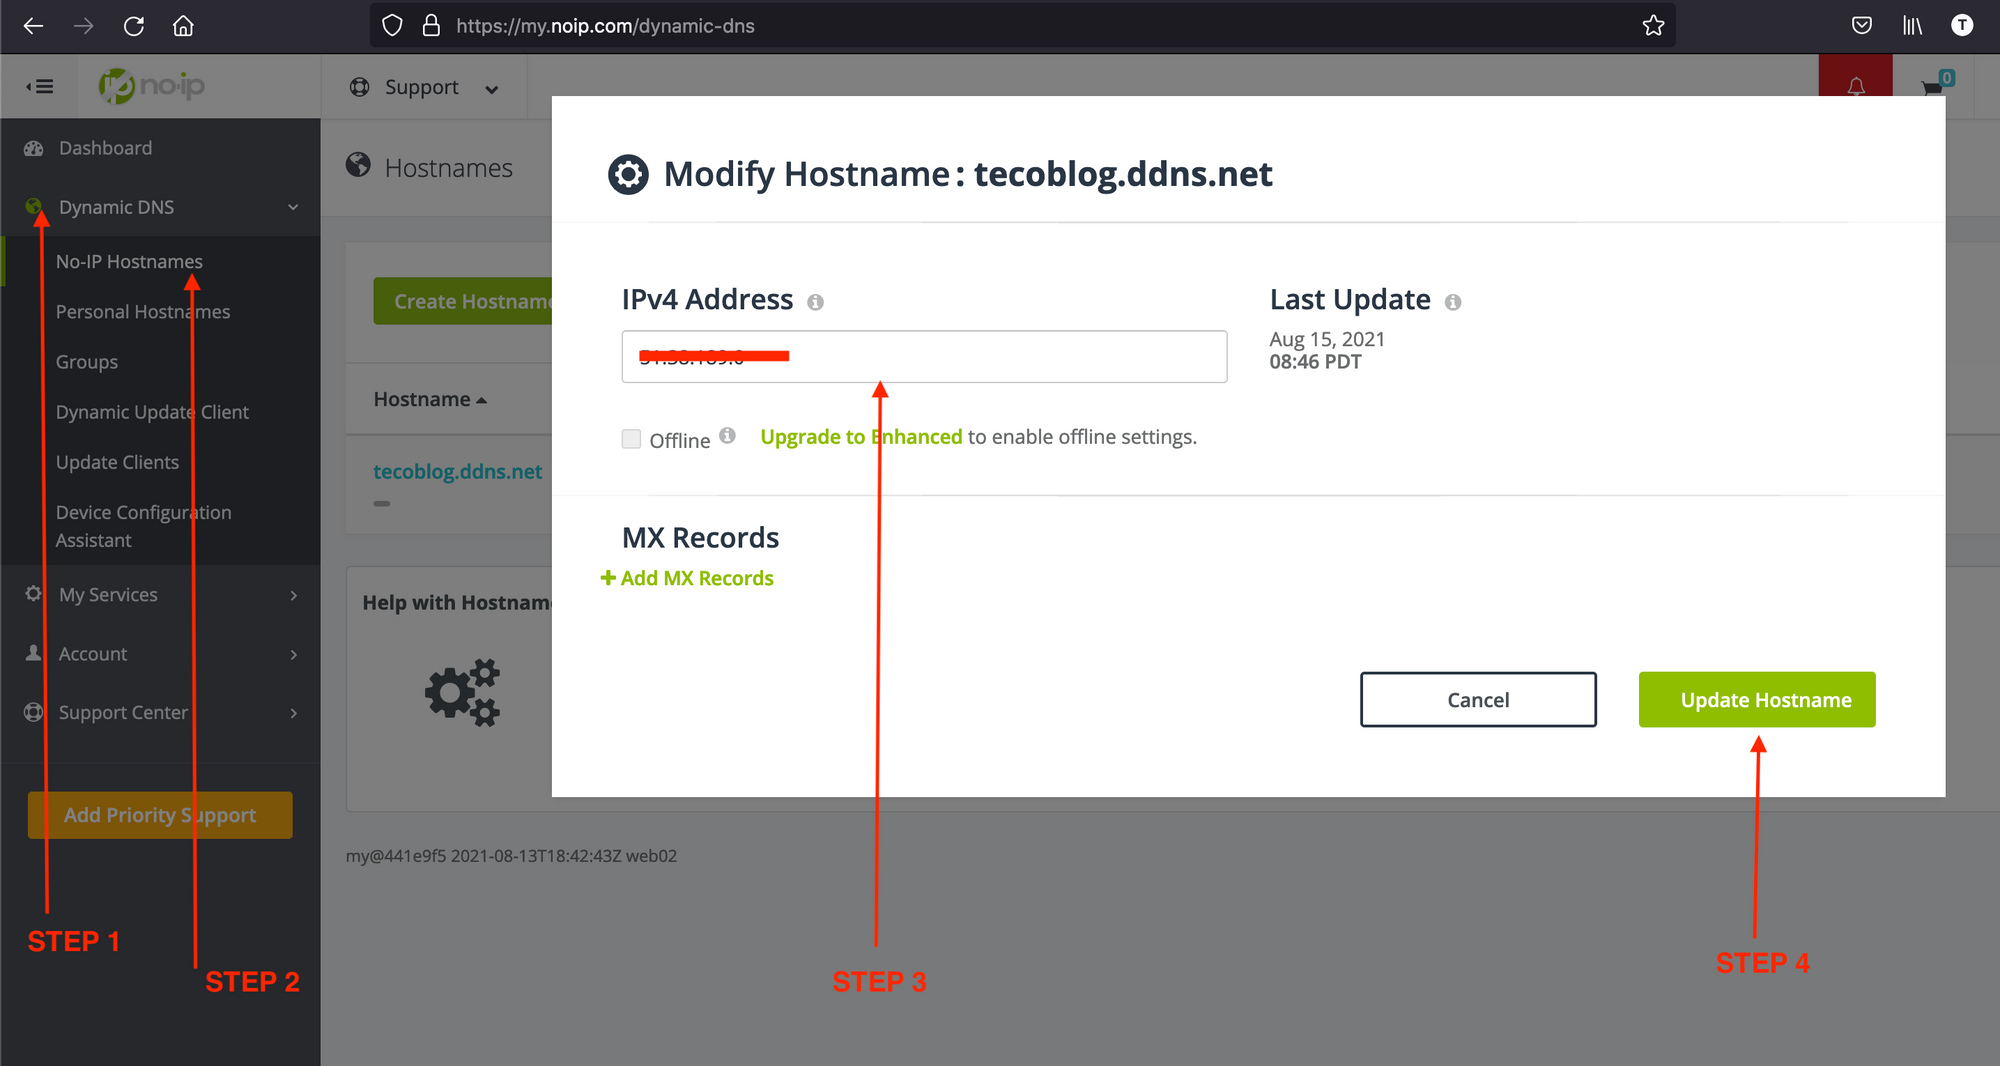
3. Now your account is confirmed, go to your dashboard; On the sidebar menu, click on the menu "Dynamic DNS" then on the submenu "No-IP hostnames."
4. Click on your subdomain (tecoblog.ddns.net) to set the target IP value to the IP address of Droplet. And click on "Update hostname".
5. To verify that the domain is already propagated, I use this DNS Checker.
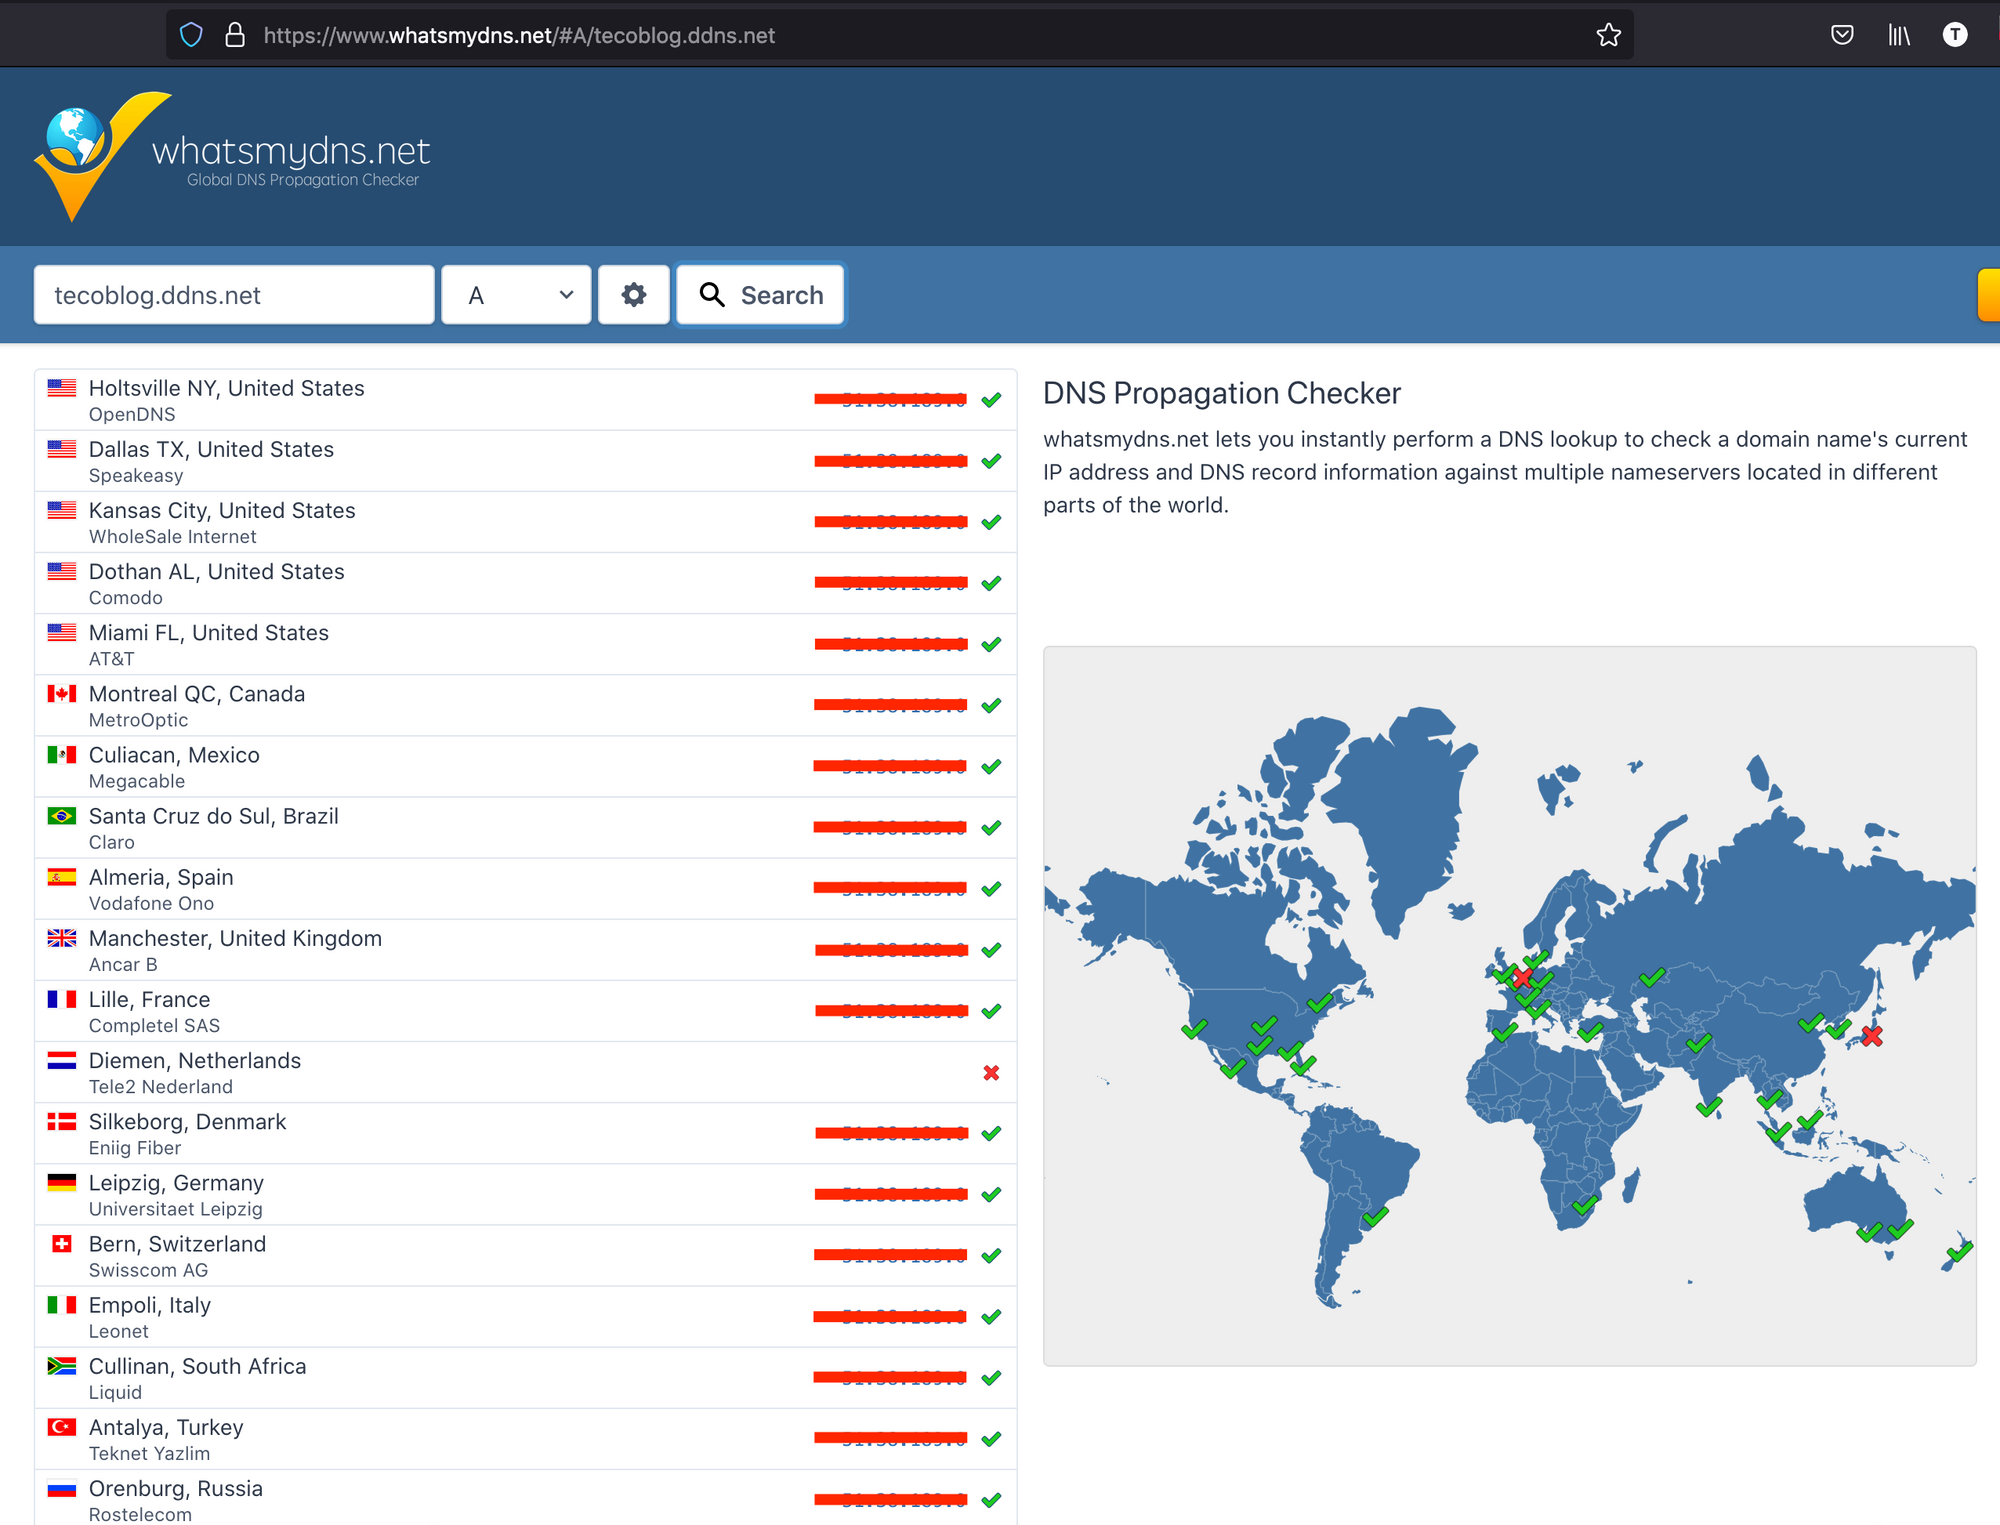
As we can see, the propagation is almost instantaneous. Now, if we navigate to http://tecoblog.ddns.net we have this:
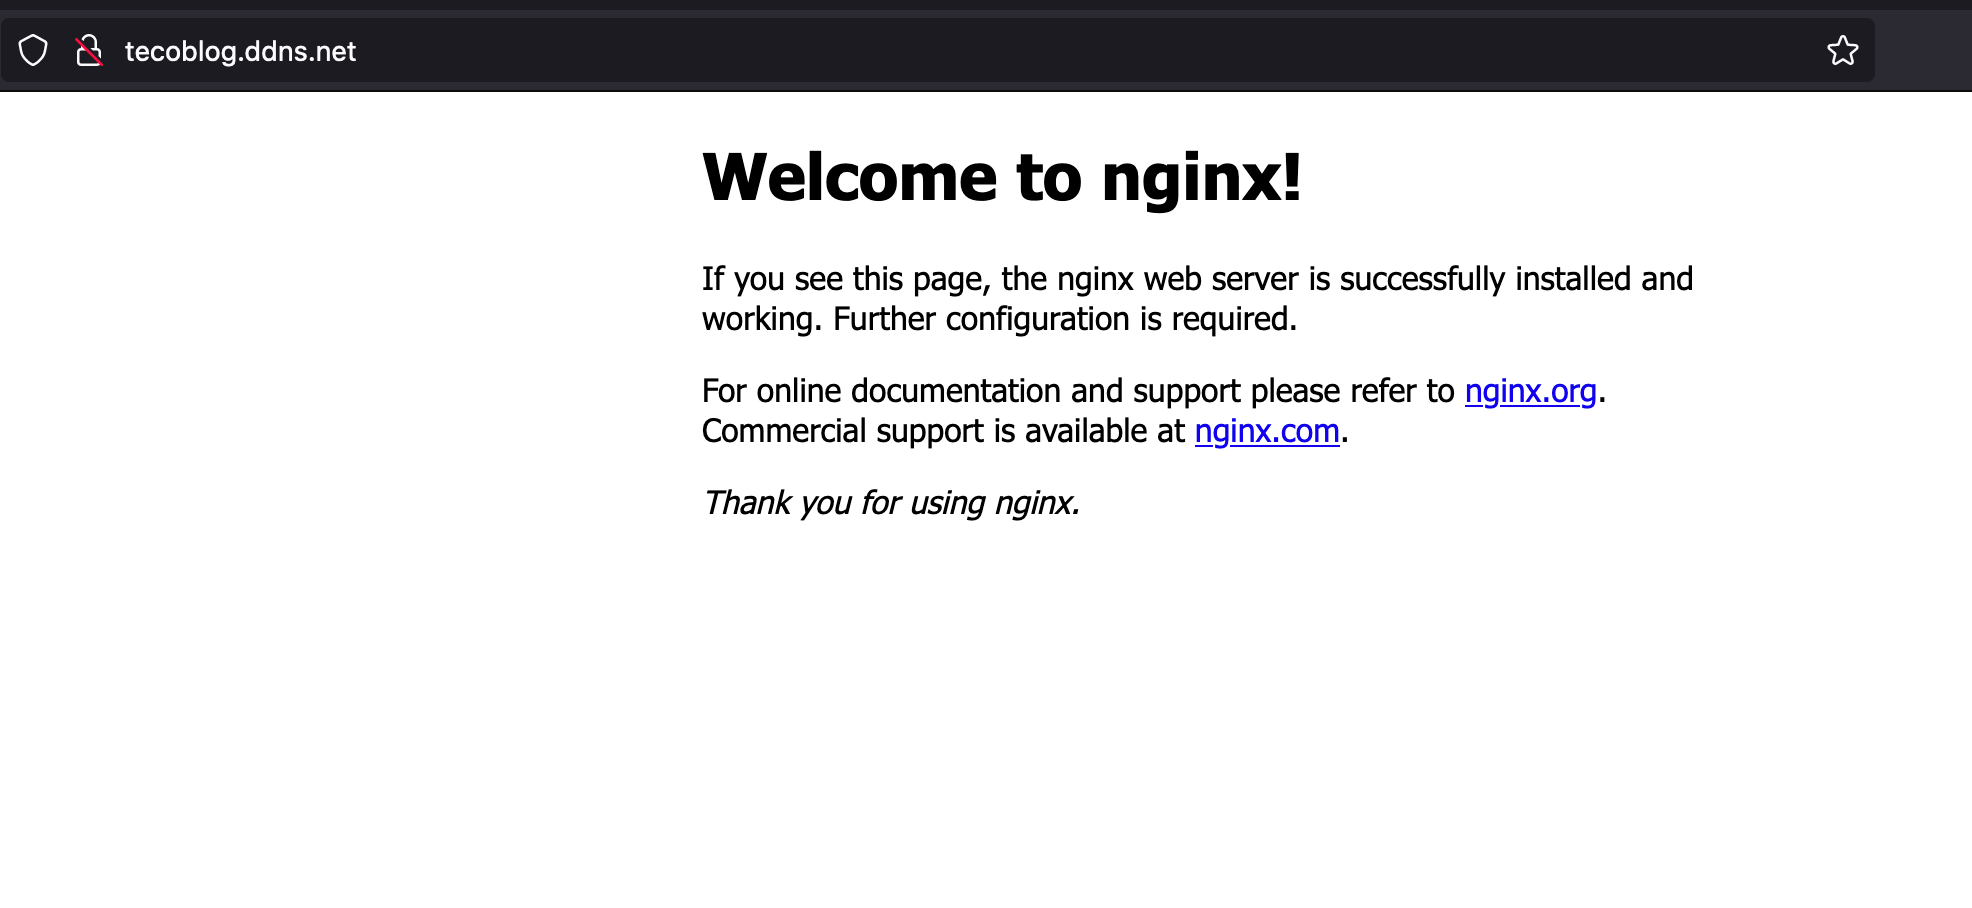
Our domain is ready to host our blog.
Create the Docker stack for the blog
Ghost provides a docker image to quickly spin up a docker container. It uses SQLite as a database, so that is why there is no need to link the container with another container running a database like MySQL.
We will use MySQL and Docker-compose to link the Ghost container with the MySQL container. Below is the docker-compose.yml content:
version: '3.3'

services:
  blog:
    image: ghost:5
    restart: always
    ports:
      - 8080:2368
    volumes:
      - ~/data/content:/var/lib/ghost/content
    environment:
      # see https://ghost.org/docs/config/#configuration-options
      database__client: mysql
      database__connection__host: database
      database__connection__user: root
      database__connection__password: strong_password
      database__connection__database: ghost
      url: https://tecoblog.ddns.net
      NODE_ENV: production

  database:
    image: mysql:8.0
    restart: always
    volumes:
      - ~/data/db:/var/lib/mysql
    ports:
      - "13928:3306"
    environment:
      MYSQL_ROOT_PASSWORD: strong_password
      MYSQL_DATABASE: ghost
      MYSQL_USER: user
      MYSQL_PASSWORD: strong_password
Some things we can highlight in this file:
- The Ghost image version is set to 5, which will pull the available (5.40.1 at the time I'm writing this)
- We map the port 2368 exposed by the Ghost image to 8080, so by calling localhost:8080, we can reach localhost:2368 inside the container.
- The set to https://tecoblog.ddns.net; we will set up an SSL certificate with Letsencrypt later.
- We map the Ghost content folder inside the container to the physical host at the path ~/data/content.
Create a file docker-compose.yml at the home directory (or wherever you want) and add the content above: nano ~/docker-composer.yml
Run the command below to launch the containers and check if they are up and running:
docker-compose up -d

# Wait about 20 - 30 seconds before run this command
docker ps

# Verify you can browse Ghost
curl http://localhost:8080
Configure reverse proxy with Nginx
Create a file in the Nginx host configuration folder:
sudo nano /etc/nginx/sites-available/tecoblog.ddns.net
Add the content below inside and save:
server {
    server_name  tecoblog.ddns.net;
    index index.html index.htm;
    access_log /var/log/nginx/blog.log;
    error_log  /var/log/nginx/blog-error.log error;

    location / {
        proxy_set_header X-Forwarded-For $proxy_add_x_forwarded_for;
        proxy_set_header X-Forwarded-Proto $scheme;
        proxy_set_header X-Real-IP $remote_addr;
        proxy_set_header Host $http_host;
        proxy_pass http://127.0.0.1:8080;
        proxy_redirect off;
    }

    client_max_body_size 50m;
}
Enable this configuration
sudo ln -s /etc/nginx/sites-available/tecoblog.ddns.net /etc/nginx/sites-enabled/tecoblog.ddns.net
Verify that the Nginx configuration is good:
sudo nginx -t

# Expected output below:
nginx: the configuration file /etc/nginx/nginx.conf syntax is ok
nginx: configuration file /etc/nginx/nginx.conf test is successful
Reload Nginx to these changes in the account:
sudo nginx -s reload
Open your browser and navigate to the URL http://tecoblog.ddns.net
Set up SSL with Letsencrypt
We need to install Certbot, the tool responsible for certificate generation.
sudo apt install snapd
sudo snap install --classic certbot
Generate and install an SSL certificate for our domain.
sudo certbot --nginx -d tecoblog.ddns.net
You will be asked if you want to redirect HTTP to HTTPS. You can press 1 to deny or 2 to accept. In this case, press 2, hit Enter, and wait for the installation to complete.
Reload Nginx configuration: sudo nginx -s reload
Navigate to https://tecoblog.ddns.net, and you will see the homepage. Append /ghost to access the admin zone.
Since it is the first time, some configuration is required:
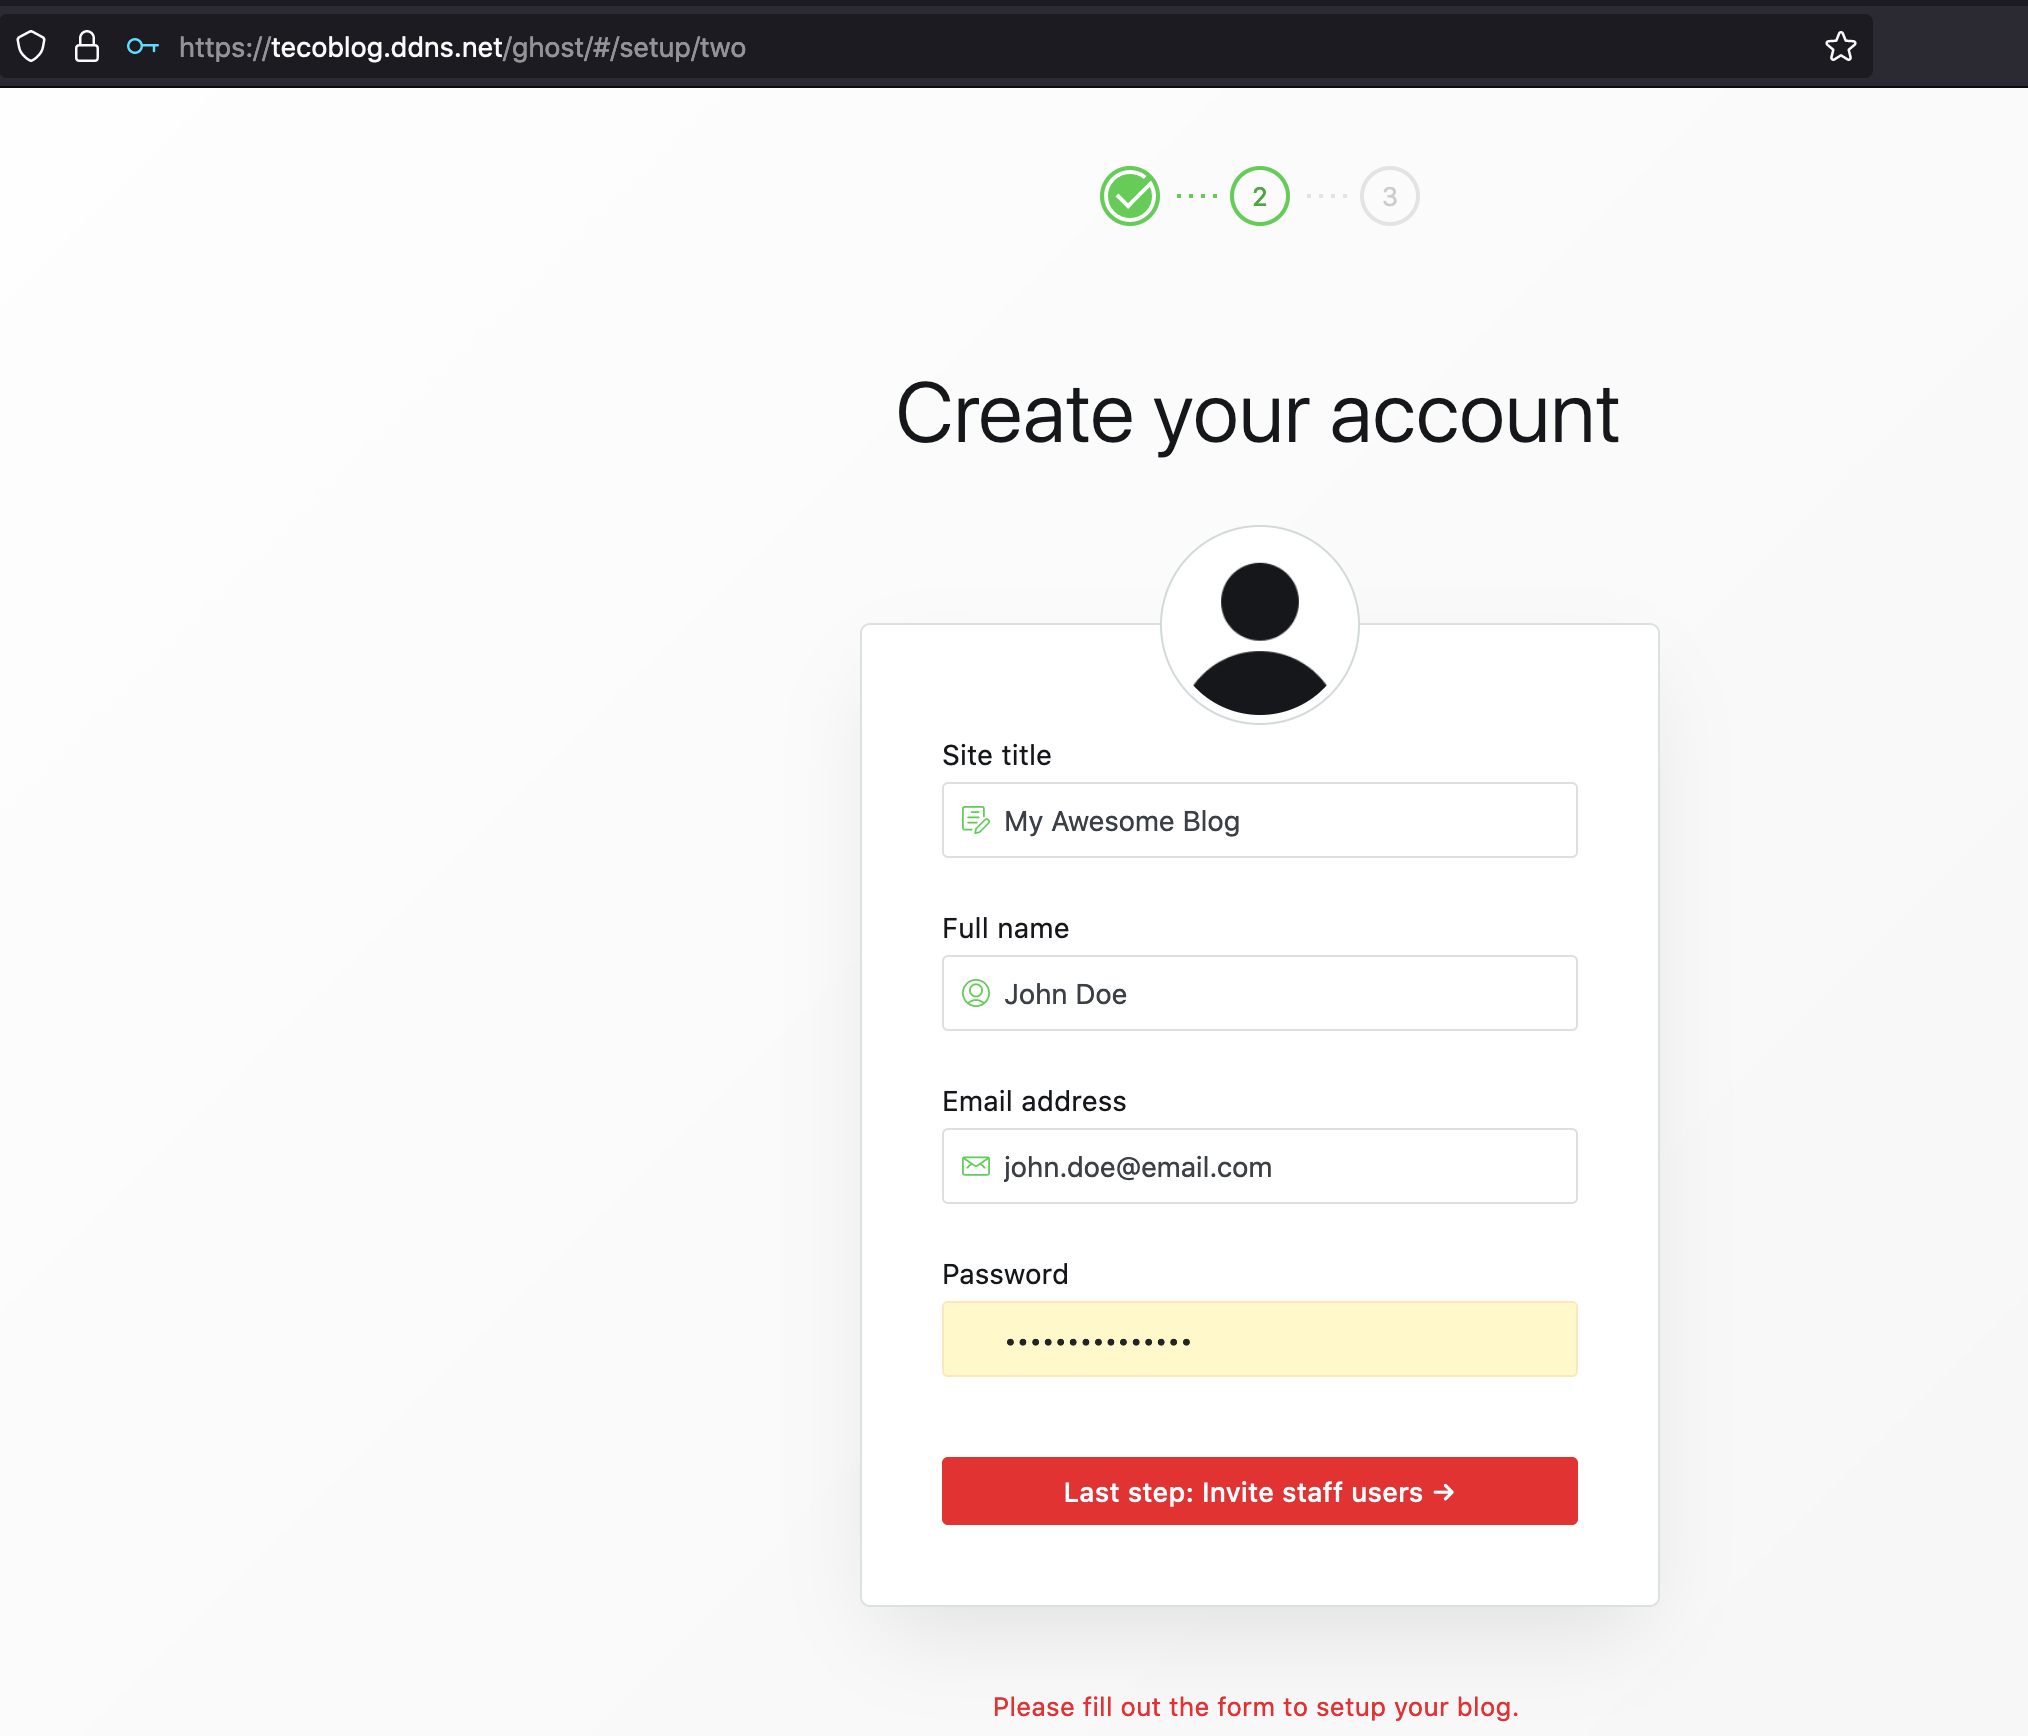
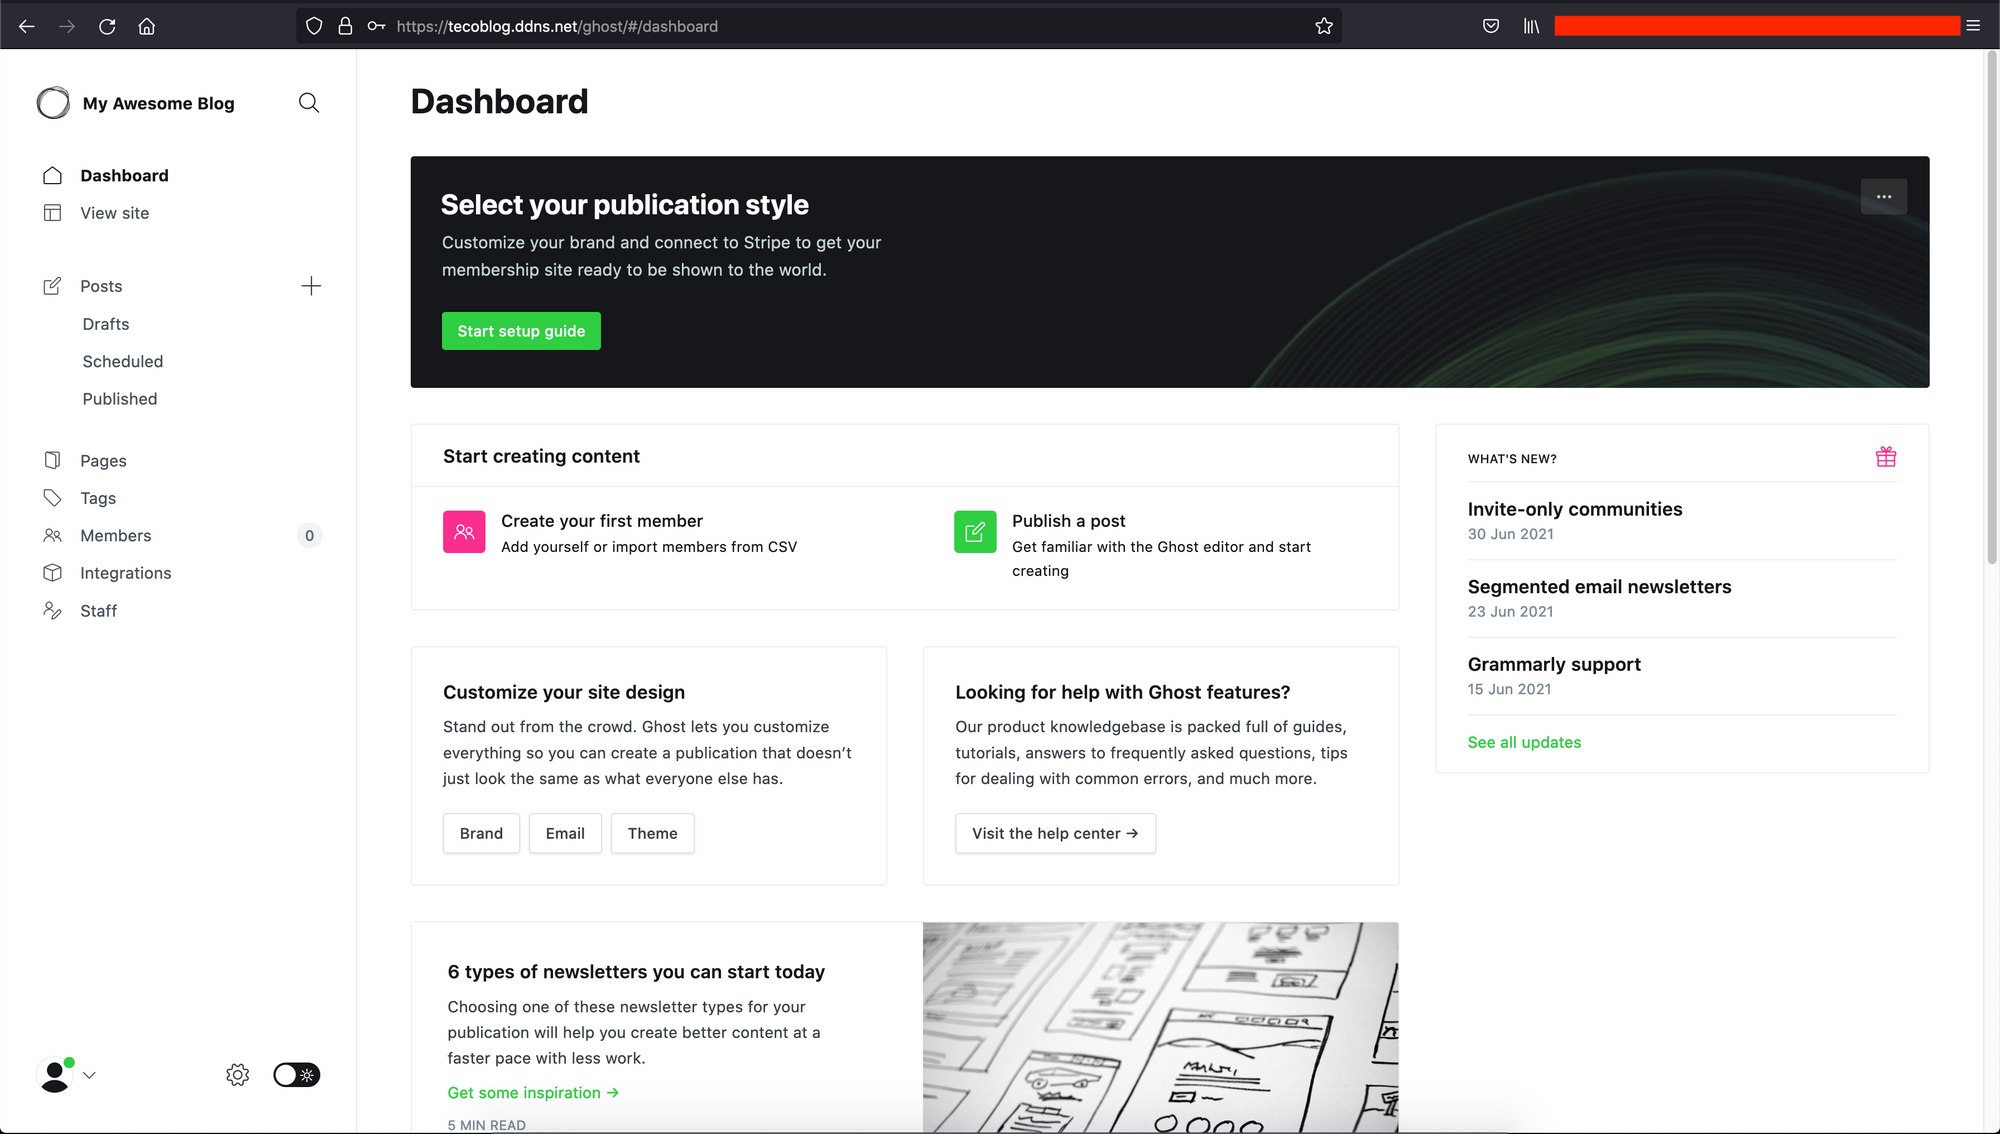
Fill in the inputs and validate; the next step is the staff invitation; skip it if you have no one to invite and access this awesome dashboard!
Going Further
There is much more to do to improve your blogging experience using Ghost. Find below some actions you can take.
- Sign up on Grammarly and install the web extension.
- Customize the design with pictures and the theme.
- Set up analytics with Google Analytics
- Add code syntax highlighting
- Set up your newsletter with Convertkit
- Add comments to the posts
- Fix your internal linking with Blogima.
Find the source code of the docker-compose.yml on the GitHub repository.
Once you finish setting up and customizing your blog, share it with me on Twitter. I will love to see that.
Follow me on Twitter or subscribe to my newsletter to avoid missing the upcoming posts and the tips and tricks I occasionally share.