
Create a GraphQL application with Node.js and Apollo server 4


GraphQL is a query language for APIs that makes it easier to extract data from a data source. With the high adoption of Software oriented architecture, here are some use cases where you could need GraphQL:
- You have various clients that need different data.
- You are fetching more than you need or less than you need.
- You make multiple calls to fetch data that are linked between them.
- You want auto-generated documentation from the GraphQL schema.
- Built-in type checking and validation of the input.
- Supported by the most popular programming languages.
- A large community-building tool around to make the usage easier.
GraphQL is always compared to REST API, another way of building API. If you are interested in building one using Node.js, I wrote a post about it.

What we will build
Let's say you are building a note-taking app where each user will sign up before starting to take notes. The backend system will expose a GraphQL API that allows user registration and also retrieve the list of users registered.
We will see how to set up a GraphQL server in Node.js using Apollo server 4, which provides great features compared to the previous version.
Prerequisites
To follow this post, you will need the following tools:
- Node.js 16+ - Download link
- NPM or Yarn
Set up the project
To start, we will use a boilerplate for the Node.js project we built on this tutorial.
git clone https://github.com/tericcabrel/node-ts-starter.git node-graphql

cd node-graphql

yarn install

yarn start
Now the project work as expected, let's install the libraries required to create a GraphQL server:
yarn add @apollo/server graphql
Define the GraphQL schema
A GraphQL schema contains the definition of types and operations describing how clients can interact with the API. This schema will act as a contract between the server implementation and the client that consumes the API.
Let's create a file called schema.graphql and add the code below:
type User {
    id: ID!
    firstName: String!
    lastName: String!
    email: String!
    password: String!
}

input CreateUserInput {
    firstName: String!
    lastName: String!
    email: String!
    password: String!
}

type Mutation {
    registerUser(input: CreateUserInput!): User!
}

type Query {
    users: [User!]!
}
Here, we define the schema for the User, then, create a mutation registerUser() to register a user, and finally define a query listUsers() to retrieve users.
Before writing the resolvers for the mutation and the query, we will first generate the definition of the types from the GraphQL schema to enforce the type check while writing the mutation and query implementation.
Generate type definitions
GraphQL code generator is a CLI tool that generates types definitions from the GraphQL schema. It avoids us writing the same types which are already described by the GraphQL schema.
So, once we change the schema, we will run a command to update the definition of the auto-generated types. For that, we need three Node packages:
graphql-codegen/cli: command-line tool for the code generator.graphql-codegen/typescript: generate types definitions from the schema.graphql-codegen/typescript-resolvers: generate the method signature for a resolver.
yarn add -D @graphql-codegen/cli @graphql-codegen/typescript @graphql-codegen/typescript-resolvers
We only need them during our development; this is why they are installed as development dependencies.
We must define a configuration that will be used by codegen to know where the GraphQL schema is located and also the path to store the generated types. Let's create a file named codegen.yml at the project root directory, then add the code below:
overwrite: true
schema: src/schema.graphql
documents: null
generates:
  src/types/types.d.ts:
    plugins:
      - "typescript"
      - "typescript-resolvers"
The property schema takes the location of our GraphQL schema, and we want the output to be stored in src/types/types.d.ts.
Run the command below to generate the types:
yarn graphql-codegen
Check the file generated but don't edit anything inside, and if it happens and you don't know how to go back, just retype the code above to regenerate.

Create the data source
Apollo can fetch data from various data sources like databases, REST or GraphQL API, RPC, and static data. To stay focused on GraphQL things, we will create a file that will act as our data source with some existing users by default.
Create a file src/datasource.ts and add the code below:
export default [
  {
    email: 'tlannister@got.com',
    firstName: 'Tywin',
    id: '1',
    lastName: 'Lannister',
    password: 'my-very-secured-password',
  },
  {
    email: 'lmormont@got.com',
    firstName: 'Lyanna',
    id: '2',
    lastName: 'Mormont',
    password: 'my-very-secured-password',
  },
];
Create resolvers for the mutation and query
Create a file src/resolvers.ts and add the code below:
import { CreateUserInput, MutationResolvers, QueryResolvers, Resolvers } from './types/types';
import datasource from './datasource';

const createUser: MutationResolvers['registerUser'] = (parent, args) => {
  const { email, firstName, lastName, password }: CreateUserInput = args.input;

  const user = {
    email,
    firstName,
    id: `${datasource.length + 1}`,
    lastName,
    password,
  };

  datasource.push(user);

  return user;
};

const findAllUsers: QueryResolvers['users'] = () => {
  return datasource;
};

const resolvers: Resolvers = {
  Mutation: {
    registerUser: createUser,
  },
  Query: {
    users: findAllUsers,
  },
};

export { resolvers };
Create GraphQL server with Apollo server 4
Replace the content of the index.ts with the code below:
import { readFileSync } from 'fs';
import { resolve } from 'path';
import { startStandaloneServer } from '@apollo/server/standalone';
import { ApolloServer } from '@apollo/server';
import { resolvers } from './resolvers';

type ApolloContext = {};

const GRAPHQL_SCHEMA_PATH = resolve(__dirname, 'schema.graphql');

const typeDefs = readFileSync(GRAPHQL_SCHEMA_PATH, { encoding: 'utf-8' });

const server = new ApolloServer<ApolloContext>({
  typeDefs,
  resolvers,
});

startStandaloneServer(server, {
  listen: { port: 4000 },
}).then((result) => {
  console.log(`🚀 Server ready at: ${result.url}`);
});
Start the server by running the command yarn start, then open your browser and navigate to http://locahost:4000. You get the page below:
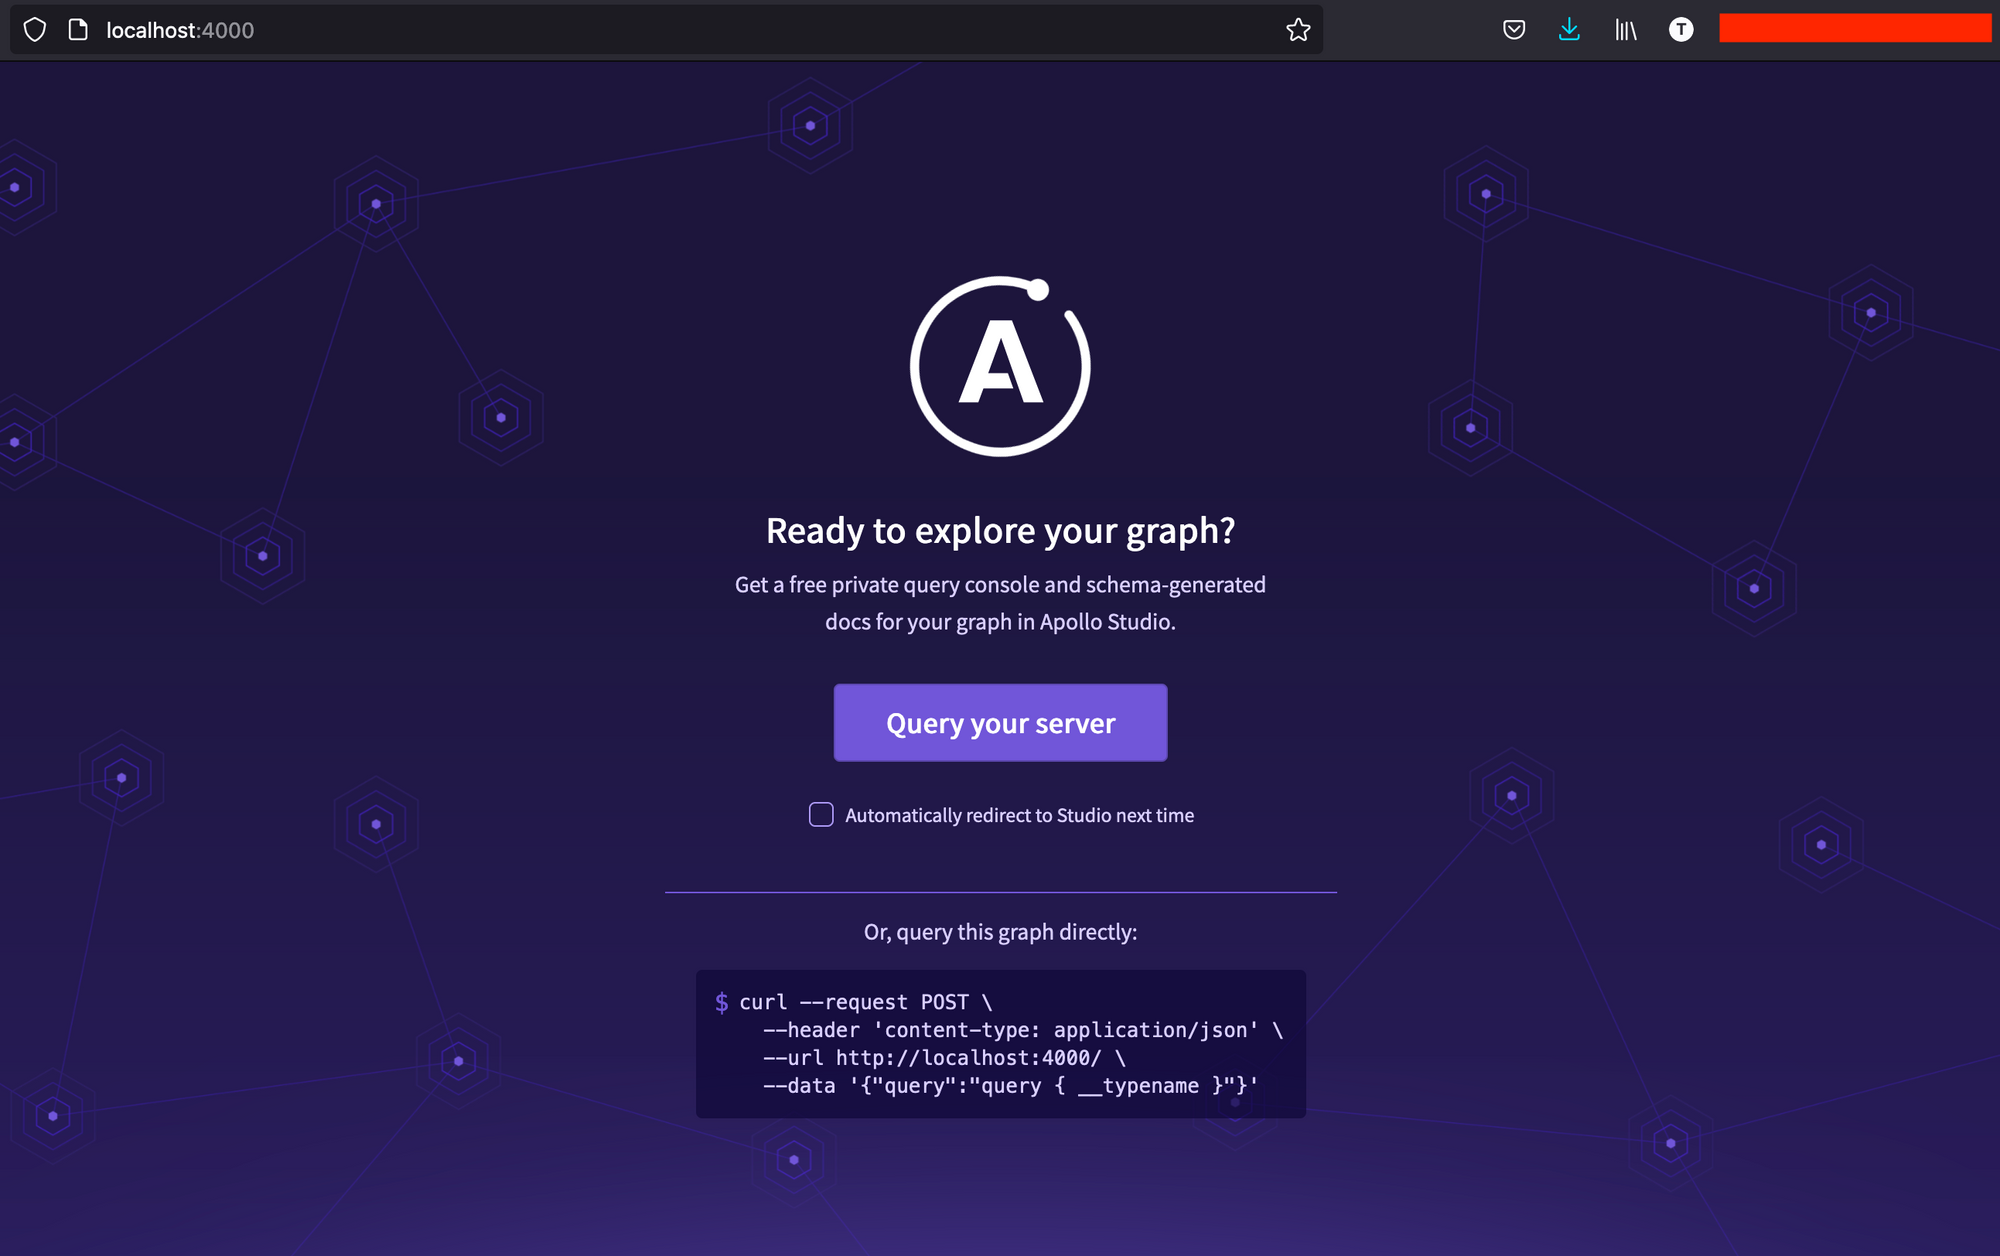
Click on the button Query your server; you will be redirected to the Apollo sandbox, which is an editor where you can execute your graphQL queries:
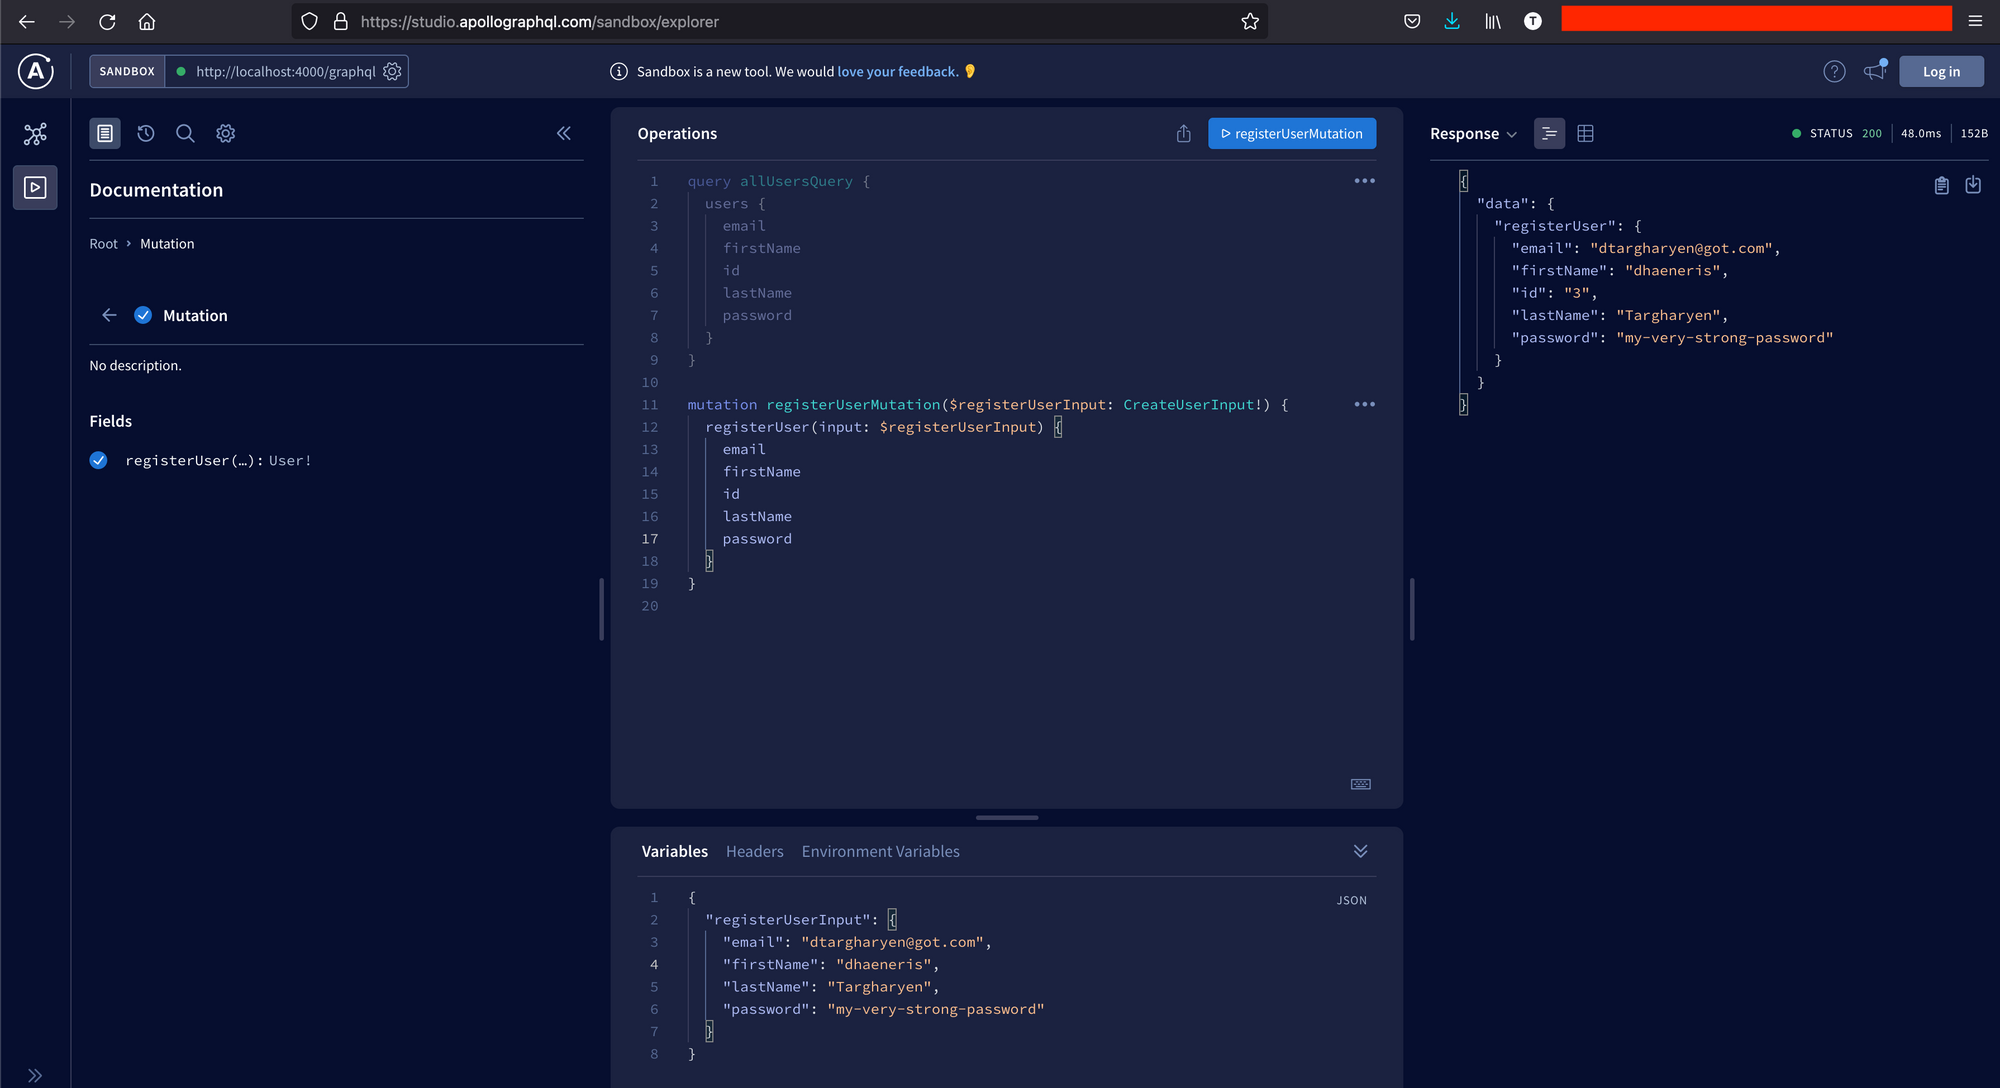
The Sandbox UI includes:
- An Operations panel for writing and executing queries (in the middle)
- A Response panel for viewing query results (on the right)
- Tabs for schema exploration, search, and settings (on the left)
- A URL bar for connecting to other GraphQL servers (in the upper left)
Note: if the environment variable NODE_ENV is set to productionIntrospection is disabled by default. You will need to enable it manually so that Apollo sandbox can query the schema definition.
To do that, update the Apollo Server instance creation to this:
const server = new ApolloServer({
  typeDefs,
  resolvers,
  introspection: true
});
Wrap up
We reached the end of this tutorial, and we saw how to set up a GraphQL server with Apollo server 4. To go further, check out the Apollo documentation.
Find the final source code on the GitHub repository.
Follow me on Twitter or subscribe to my newsletter to avoid missing the upcoming posts and the tips and tricks I occasionally share.