
How to build a Web scraper with Node.js


Today, companies expose public APIs consumed by applications built by other companies or developers. The goal is to help them develop more features on top of their system and give more flexibility to API consumers.
Sometimes, no API is available that exposes data needed by a feature of your application. Still, they are available on a website (of the company or elsewhere). In this case, we can use web scraping to retrieve this data.
In this tutorial, we will learn how to build a web scraper in Node.js. As a use case, I recently needed data for all programming languages, but I didn't find an API that provides that, so I built one.
Libraries to do Web scraping
Web Scraping is a technique of fetching the content of a website page and then extracting data from that page. With Node.js, we will use the following libraries to show how to do Web scraping:
- Axios: Get the HTML content of a page through the URL.
- Cheerio: Parse the HTML content to retrieve the data needed.
- Mongoose: Save the data extracted into a MongoDB database.
- Express: Create an endpoint that returns languages stored in the database in a JSON format.
Prerequisites
You must need these tools installed on your computer to follow this tutorial.
- Node.js 20.6 or higher - Installation's link
- NPM or Yarn - I will use Yarn
- Docker (optional)
We need Docker to run a container for MongoDB; you can skip it if MongoDB is installed on your computer. R
Run the command below to start the Docker container from the Mongo image:
docker run -d --rm -e MONGO_INITDB_ROOT_USERNAME=user -e MONGO_INITDB_ROOT_PASSWORD=secret -p 27018:27017 --name mongodb mongo:8.0
The MongoDB URL is mongodb://user:secret@localhost:27018/admin.
Set up the project
We will use the project starter for Node.js, which we built in the tutorial. The Git branch "express-mongo" already has the Express Framework and Mongoose installed, so we can focus on building the Web scraper.
Run the command below to clone and set up the project locally.
git clone https://github.com/tericcabrel/node-ts-starter.git -b express-mongo node-web-scraping
cd node-web-scraping
cp .env.example .env
yarn install
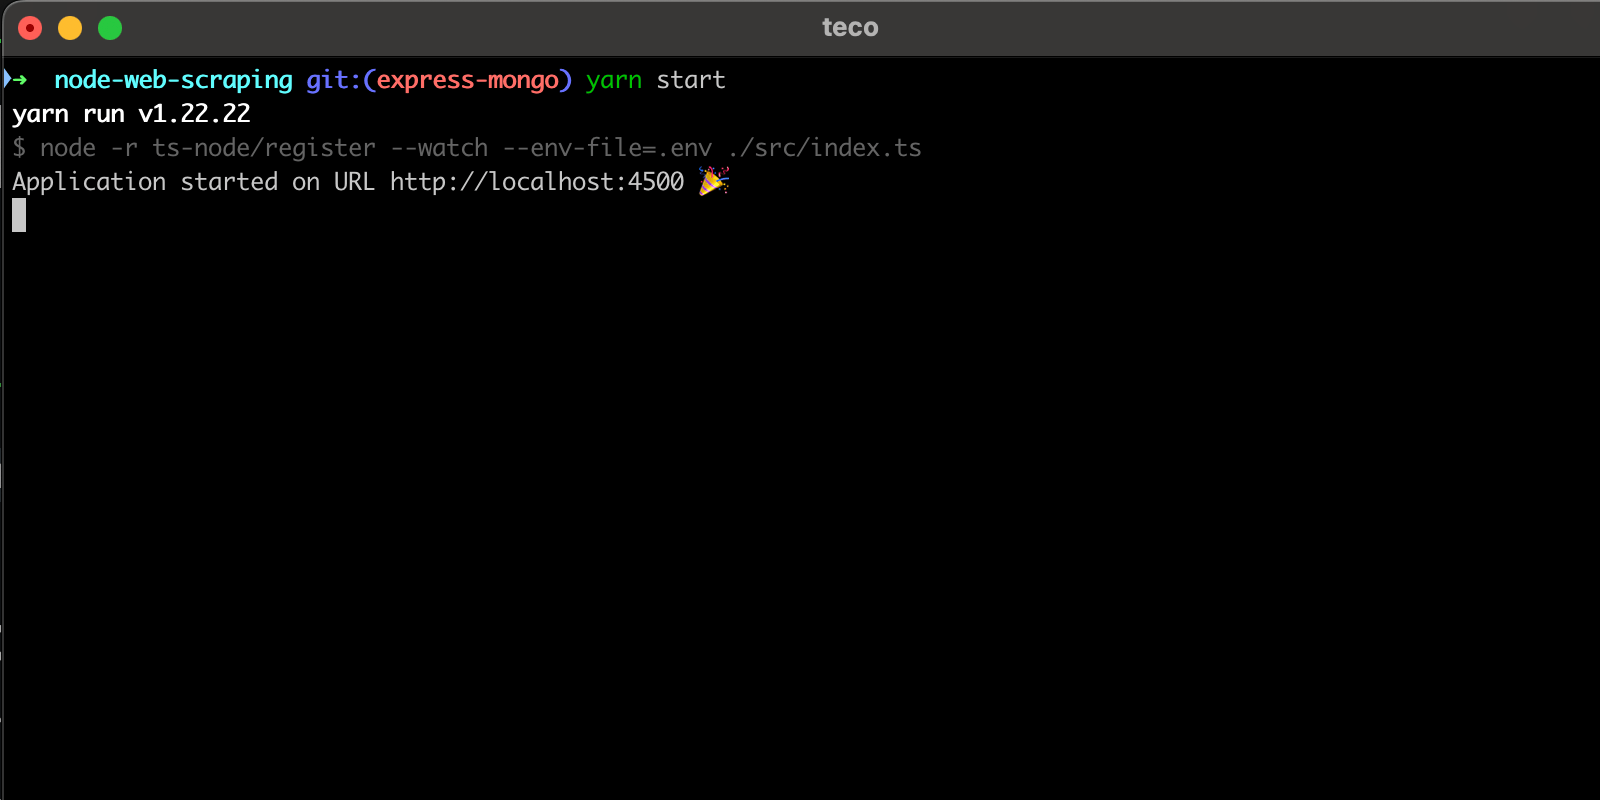
yarn start
The application will start on the port http://localhost:4500.
Now we have a working project, let's continue by installing libraries for web scraping.
yarn add axios cheerio

yarn add -D @types/cheerio
You do not need to install the Axios type definitions because they are because the type definition is included in the library.
How to scrape a web page
To scrape a web page's content using Axios, we will send a GET request to retrieve the HTML content of the page.
The page to scrape is a Wikipedia page listing all the programming languages created from the beginning until today.
Let's create a file called "src/scraper.ts" and add the code below:
import axios from 'axios';

const PAGE_URL = 'https://en.wikipedia.org/wiki/Timeline_of_programming_languages';

const scraper = async () => {
  const response = await axios.get(PAGE_URL);

  console.log(response.data);
};

(async () => {
  await scraper();
})();
As you see, getting the page's content is very straightforward using Axios. Run this code with the command below:
yarn ts-node src/scraper.ts
We get the following output:
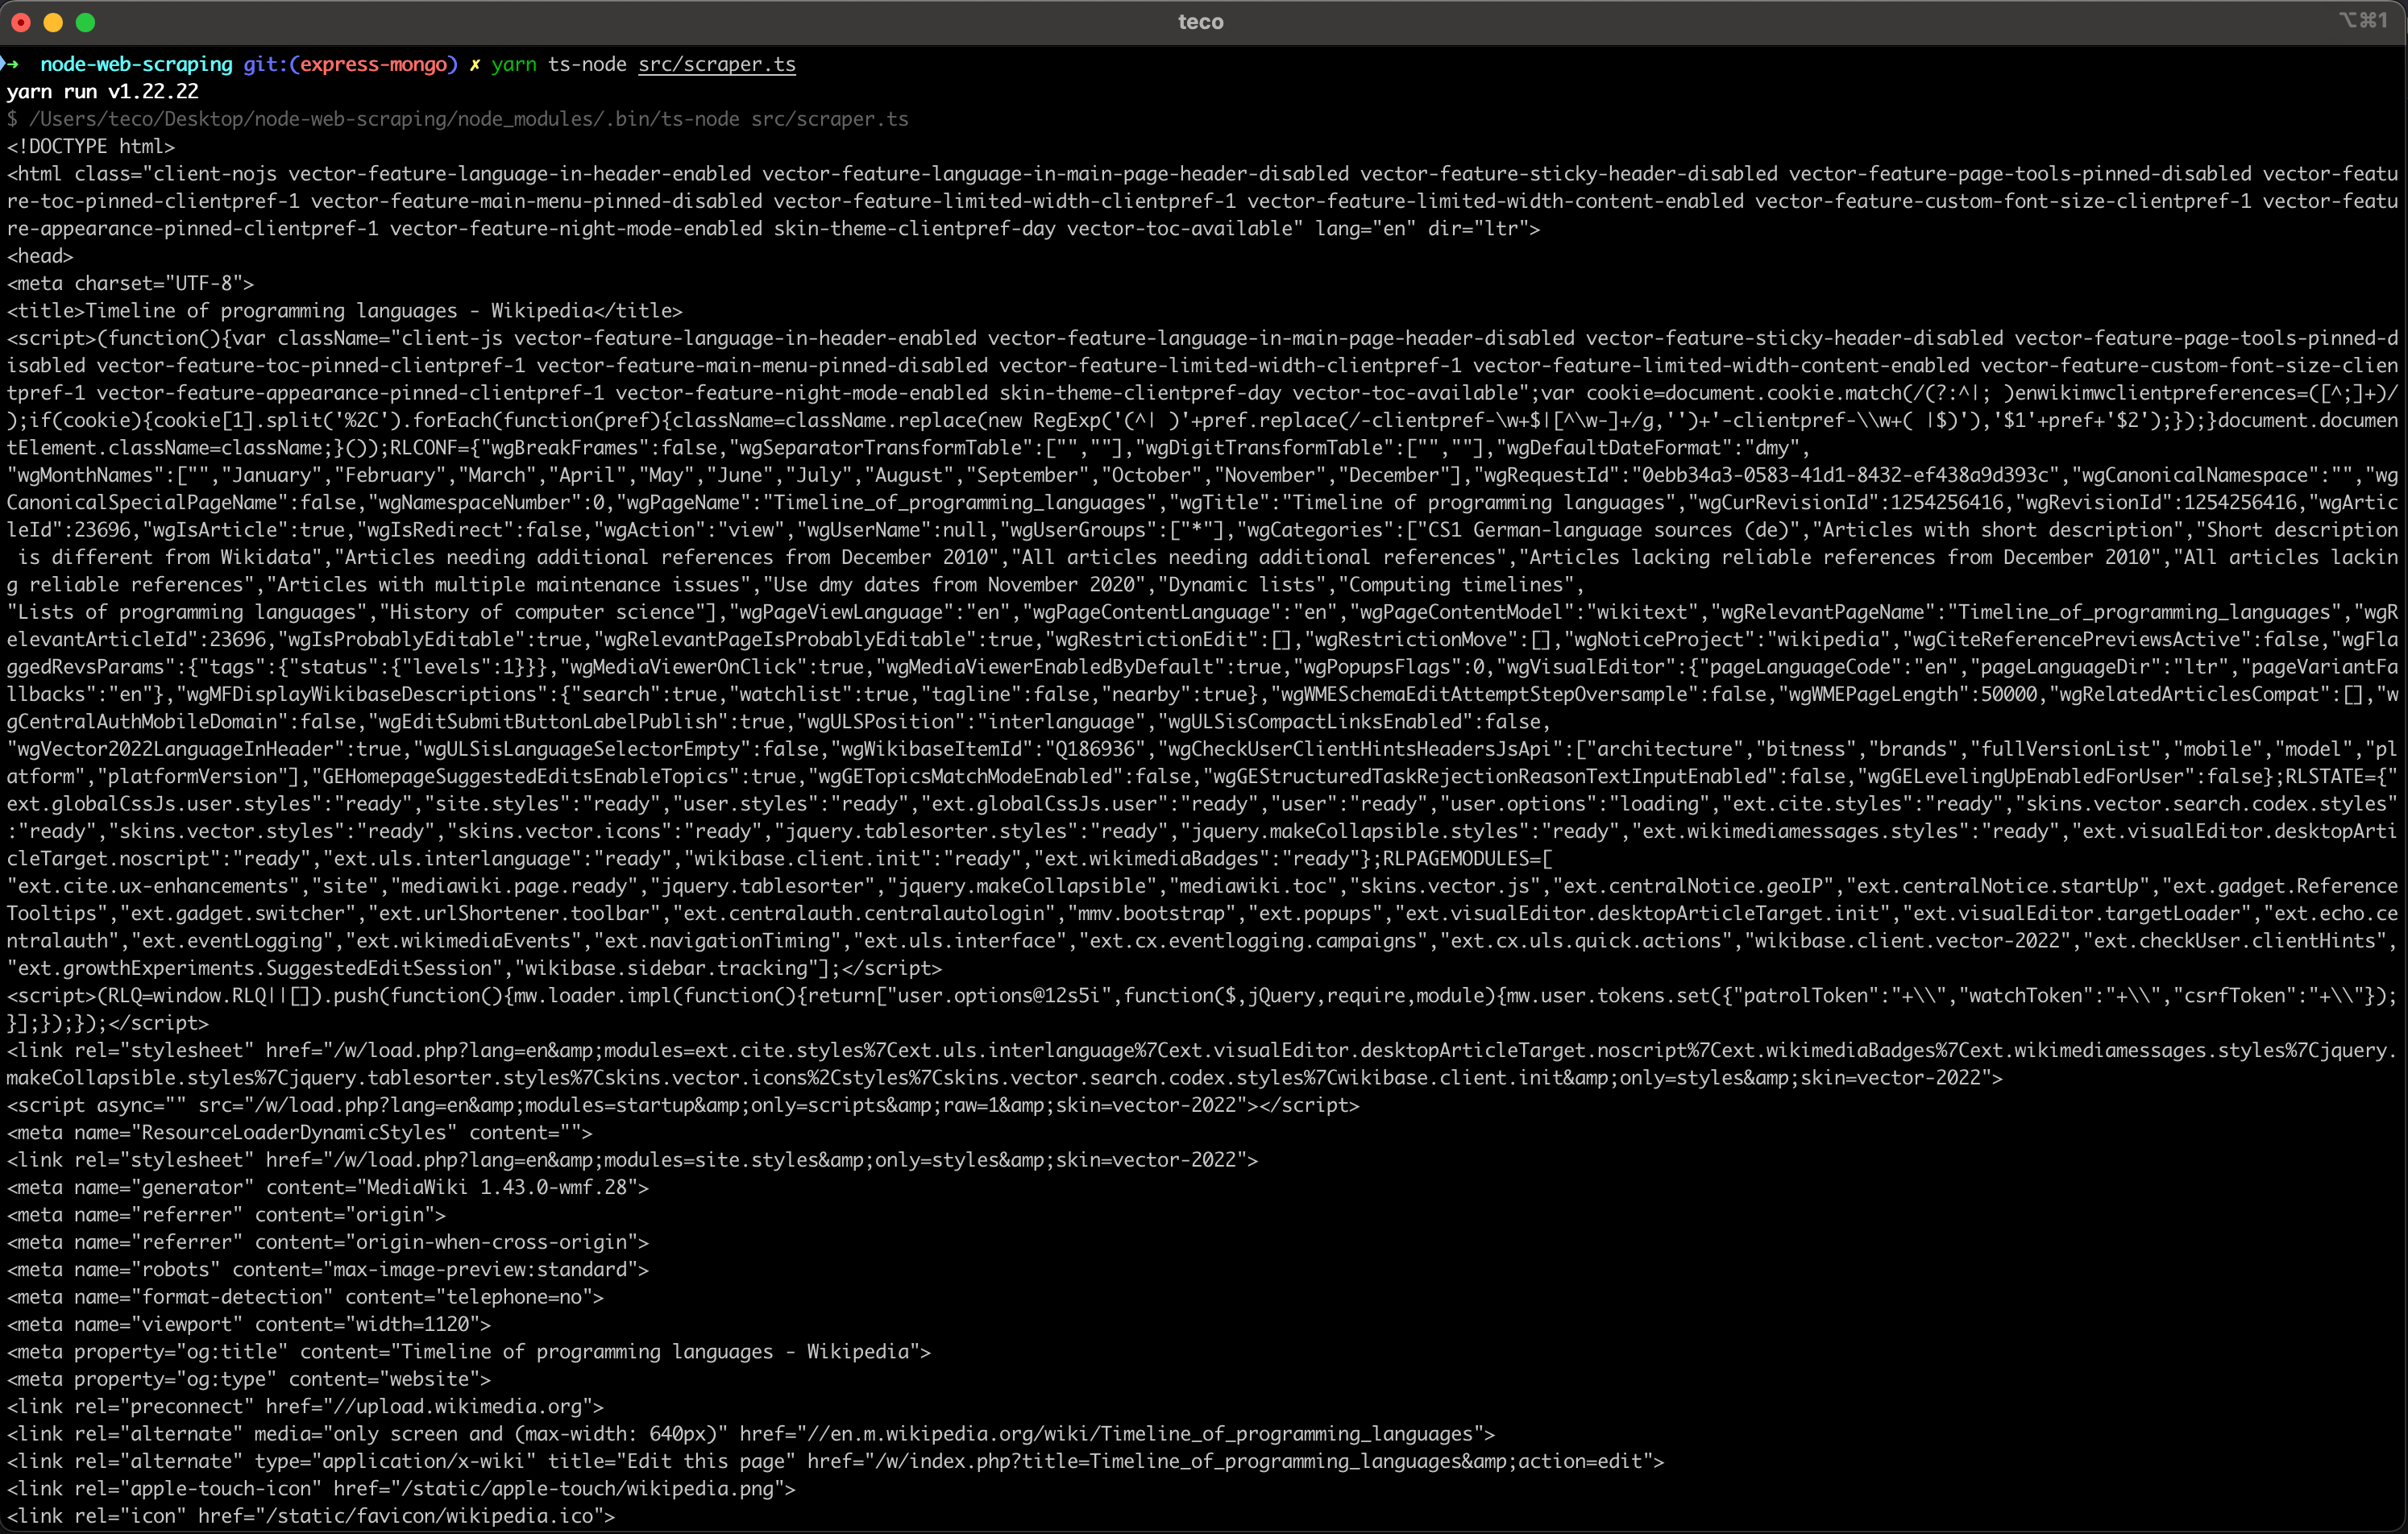
It is a huge, unreadable HTML code that cannot be parsed without the appropriate tool; Cheerio will help us parse it and select the data we need.
Extract data from the HTML content
For Cheerio to get the data, we must provide the selector in the HTML page content that holds the data we want. The only way to know is to analyze the page structure, but the page content is enormous and contains irrelevant data.
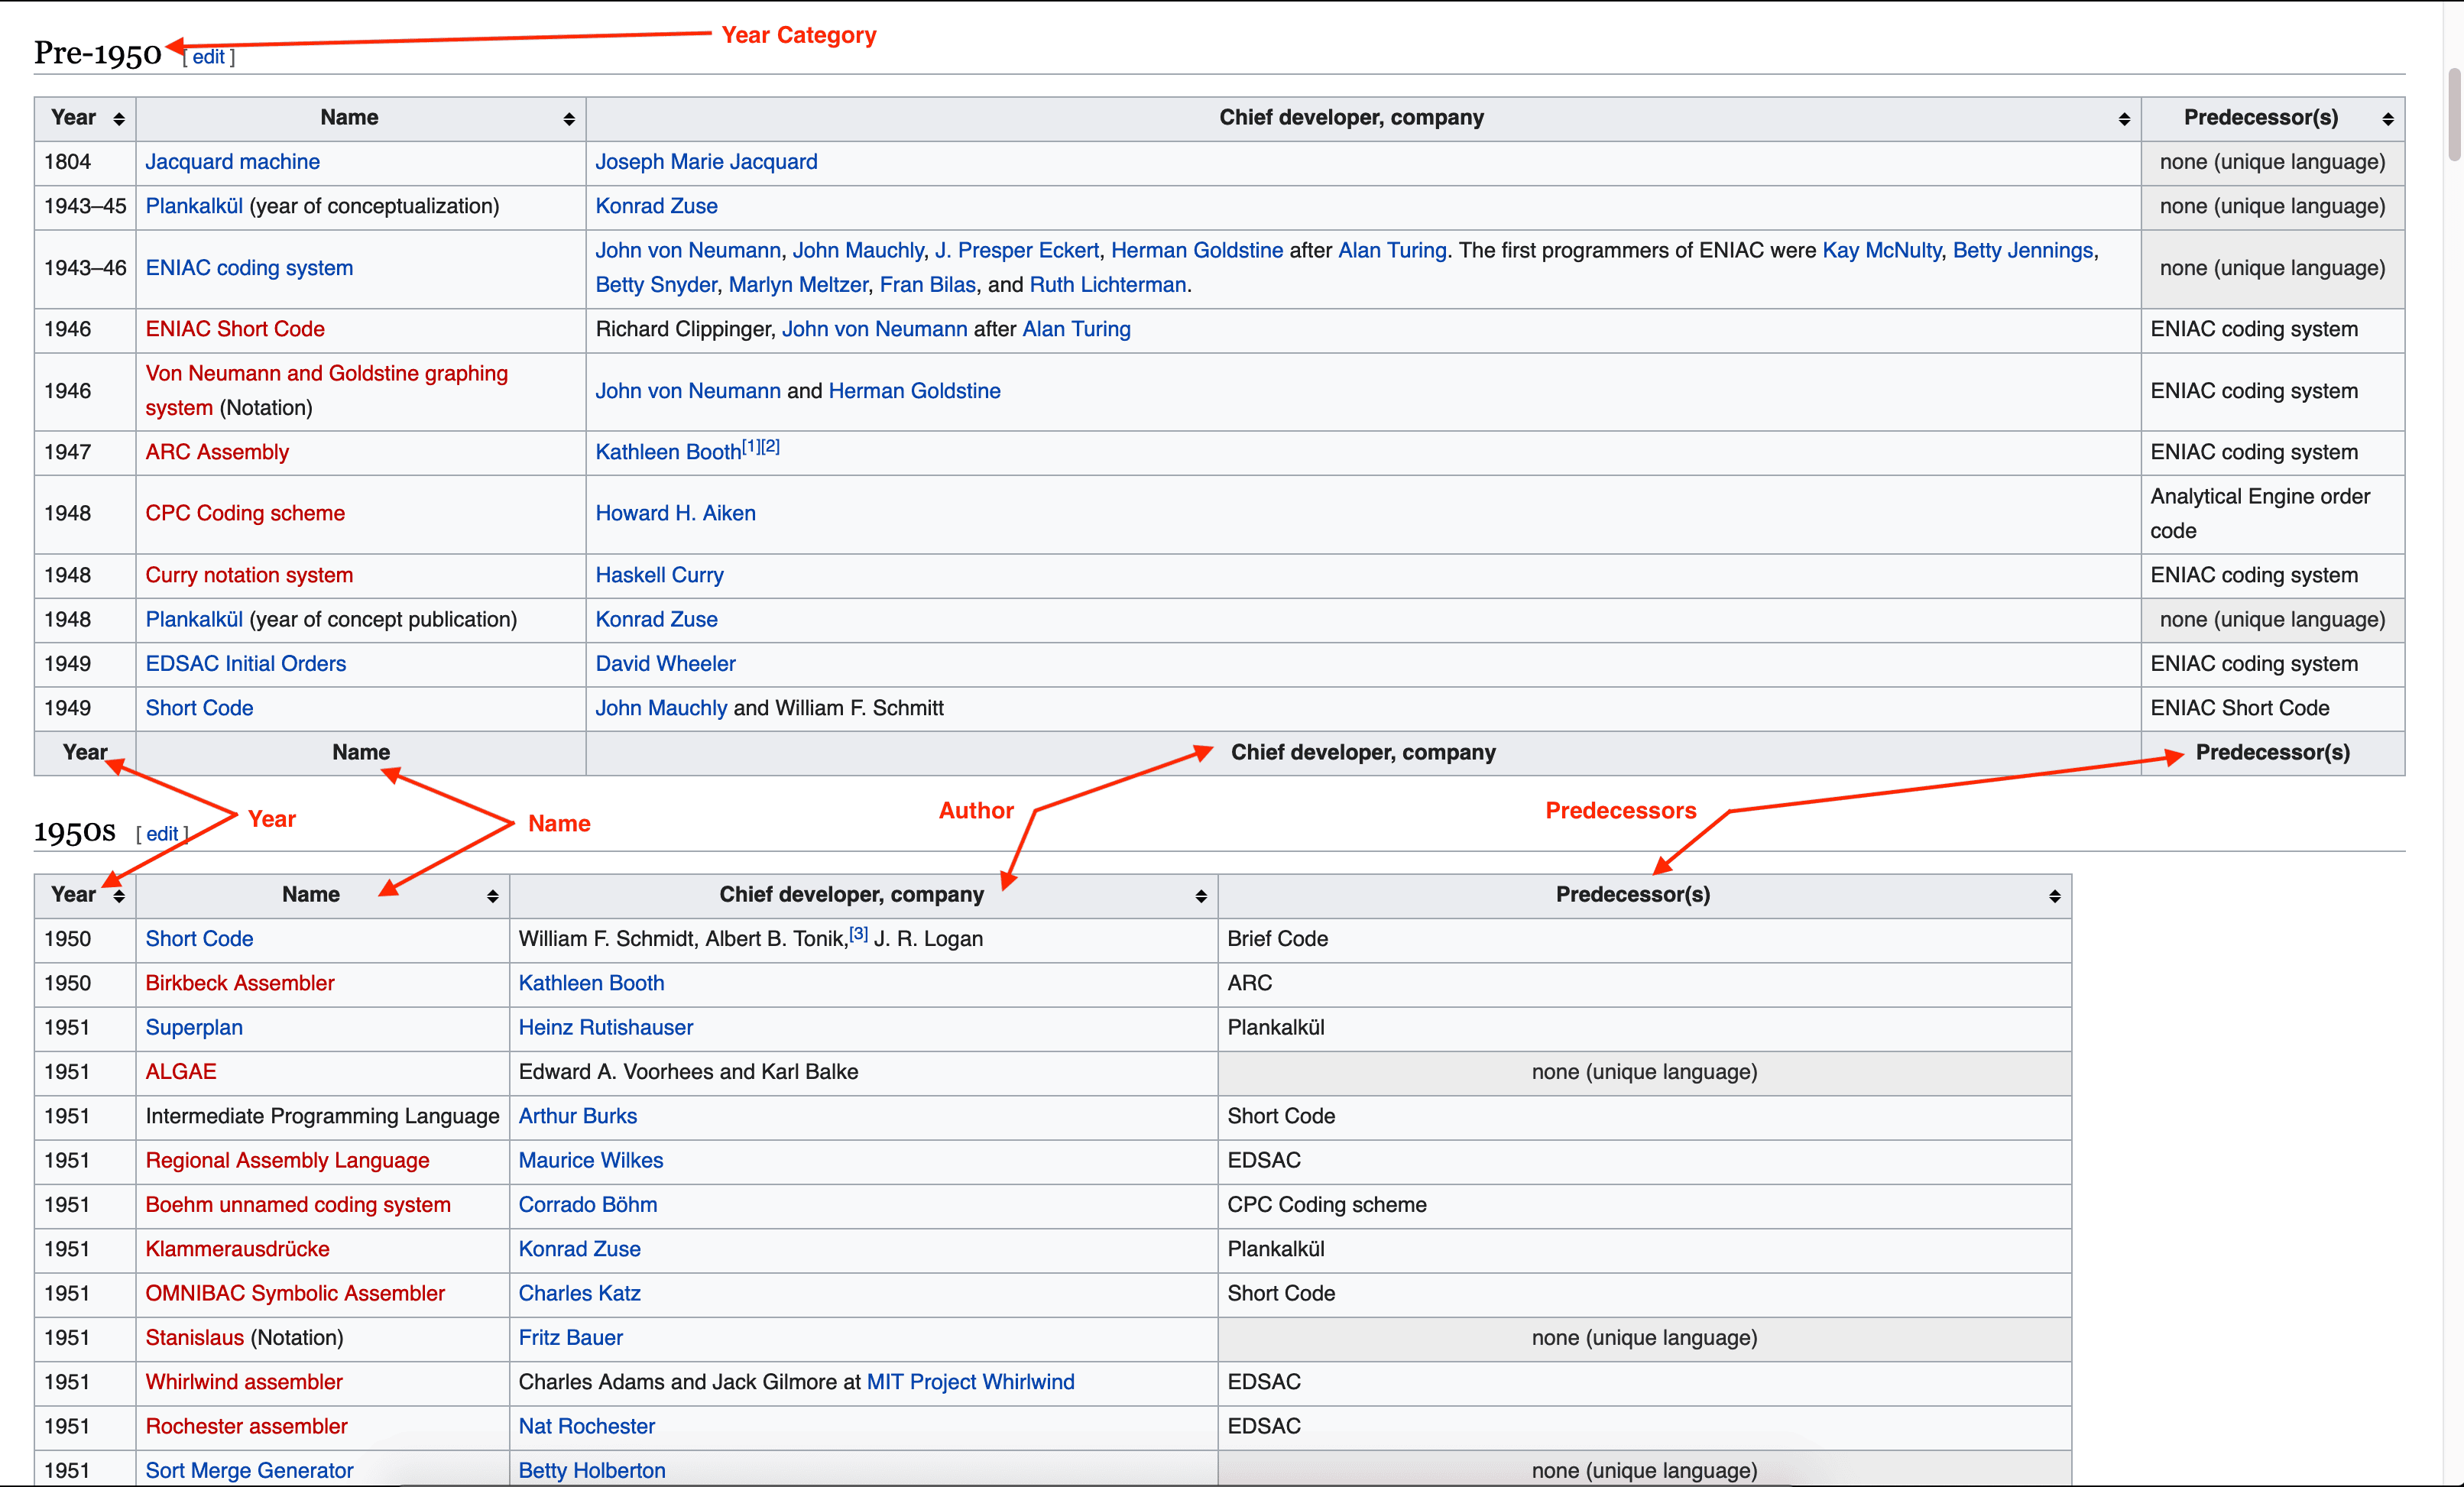
The first step is to define which data we want from the page. The picture below shows which data we want to retrieve on the webpage.
Now we have identified which data we want to extract, the TypeScript data structure for representing these data can be the following:
type ProgrammingLanguage = {
  yearCategory: string;
  year: number;
  name: string;
  author: string;
  predecessors: string[];
};
Handle edge cases on the data to extract
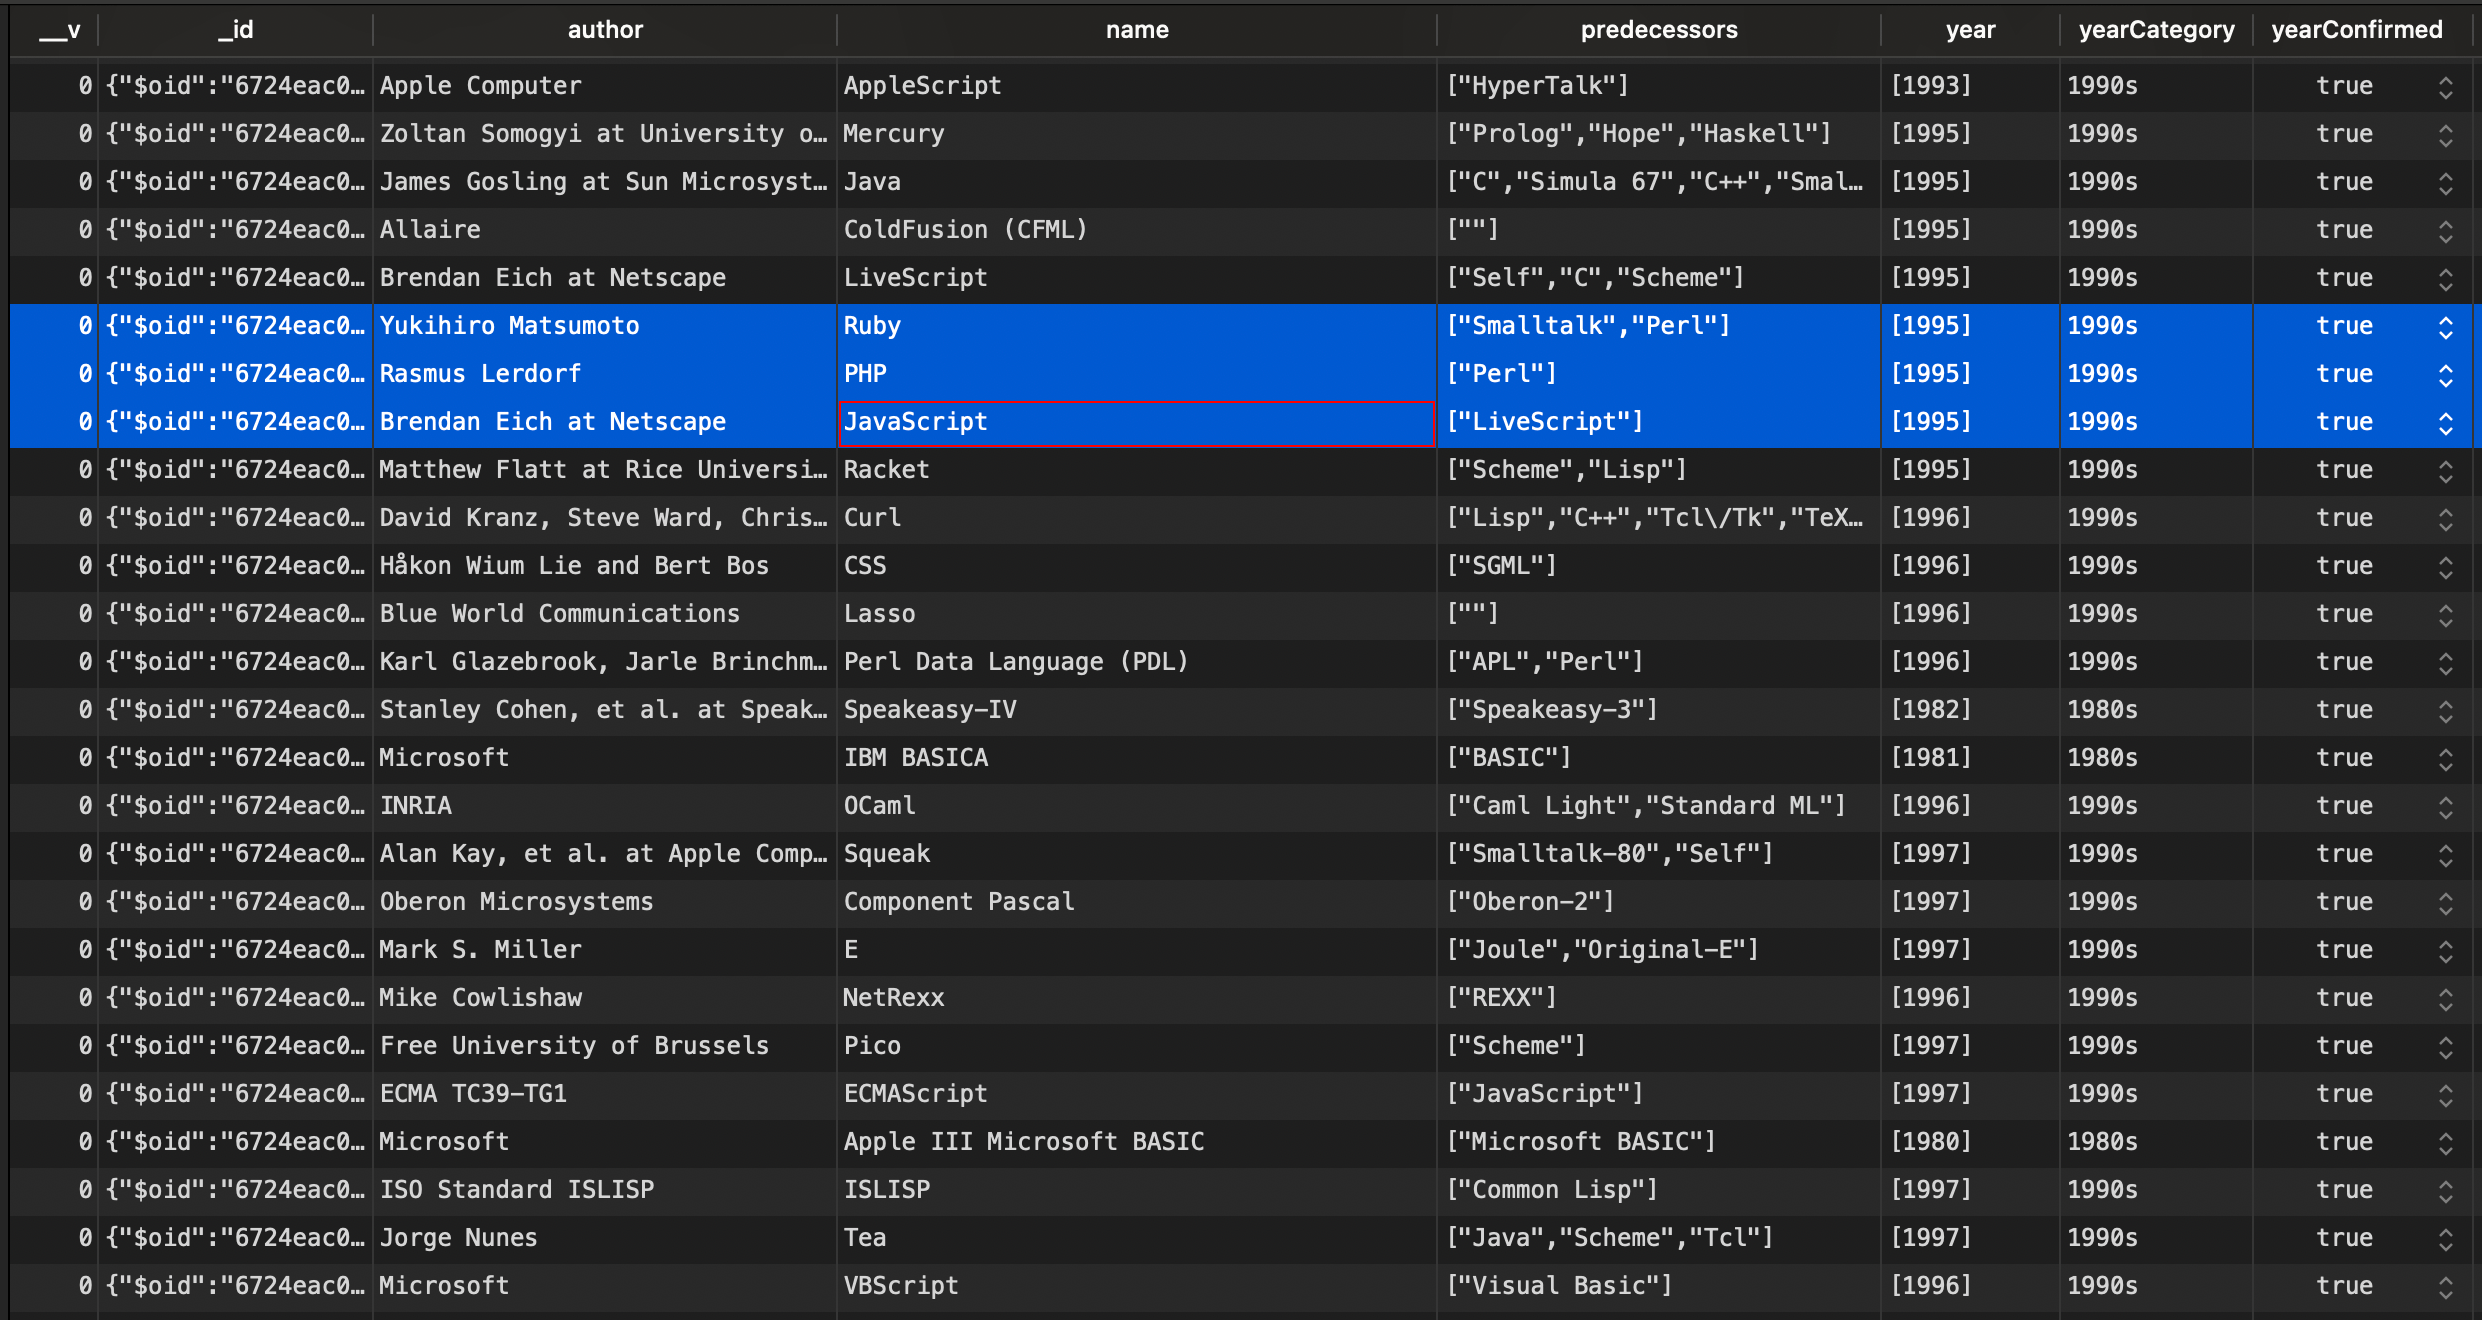
One essential step is to analyze the data to ensure that the type you selected is correct. Previously, we defined the year of creation as a number, but if we pay attention, there seems to be a problem with this type.
- The first line highlighted represents a programming language released over a range of years.
- The second line highlighted indicates that the release year of a programming language isn't confirmed.
Let's update our data structure to handle these cases:
type ProgrammingLanguage = {
  yearCategory: string;
  year: number[];
  yearConfirmed: boolean;
  name: string;
  author: string;
  predecessors: string[];
};
Find HTML selectors to extract data
We now know the part of the page we want to retrieve. Let's analyze the page structure to find our selector:
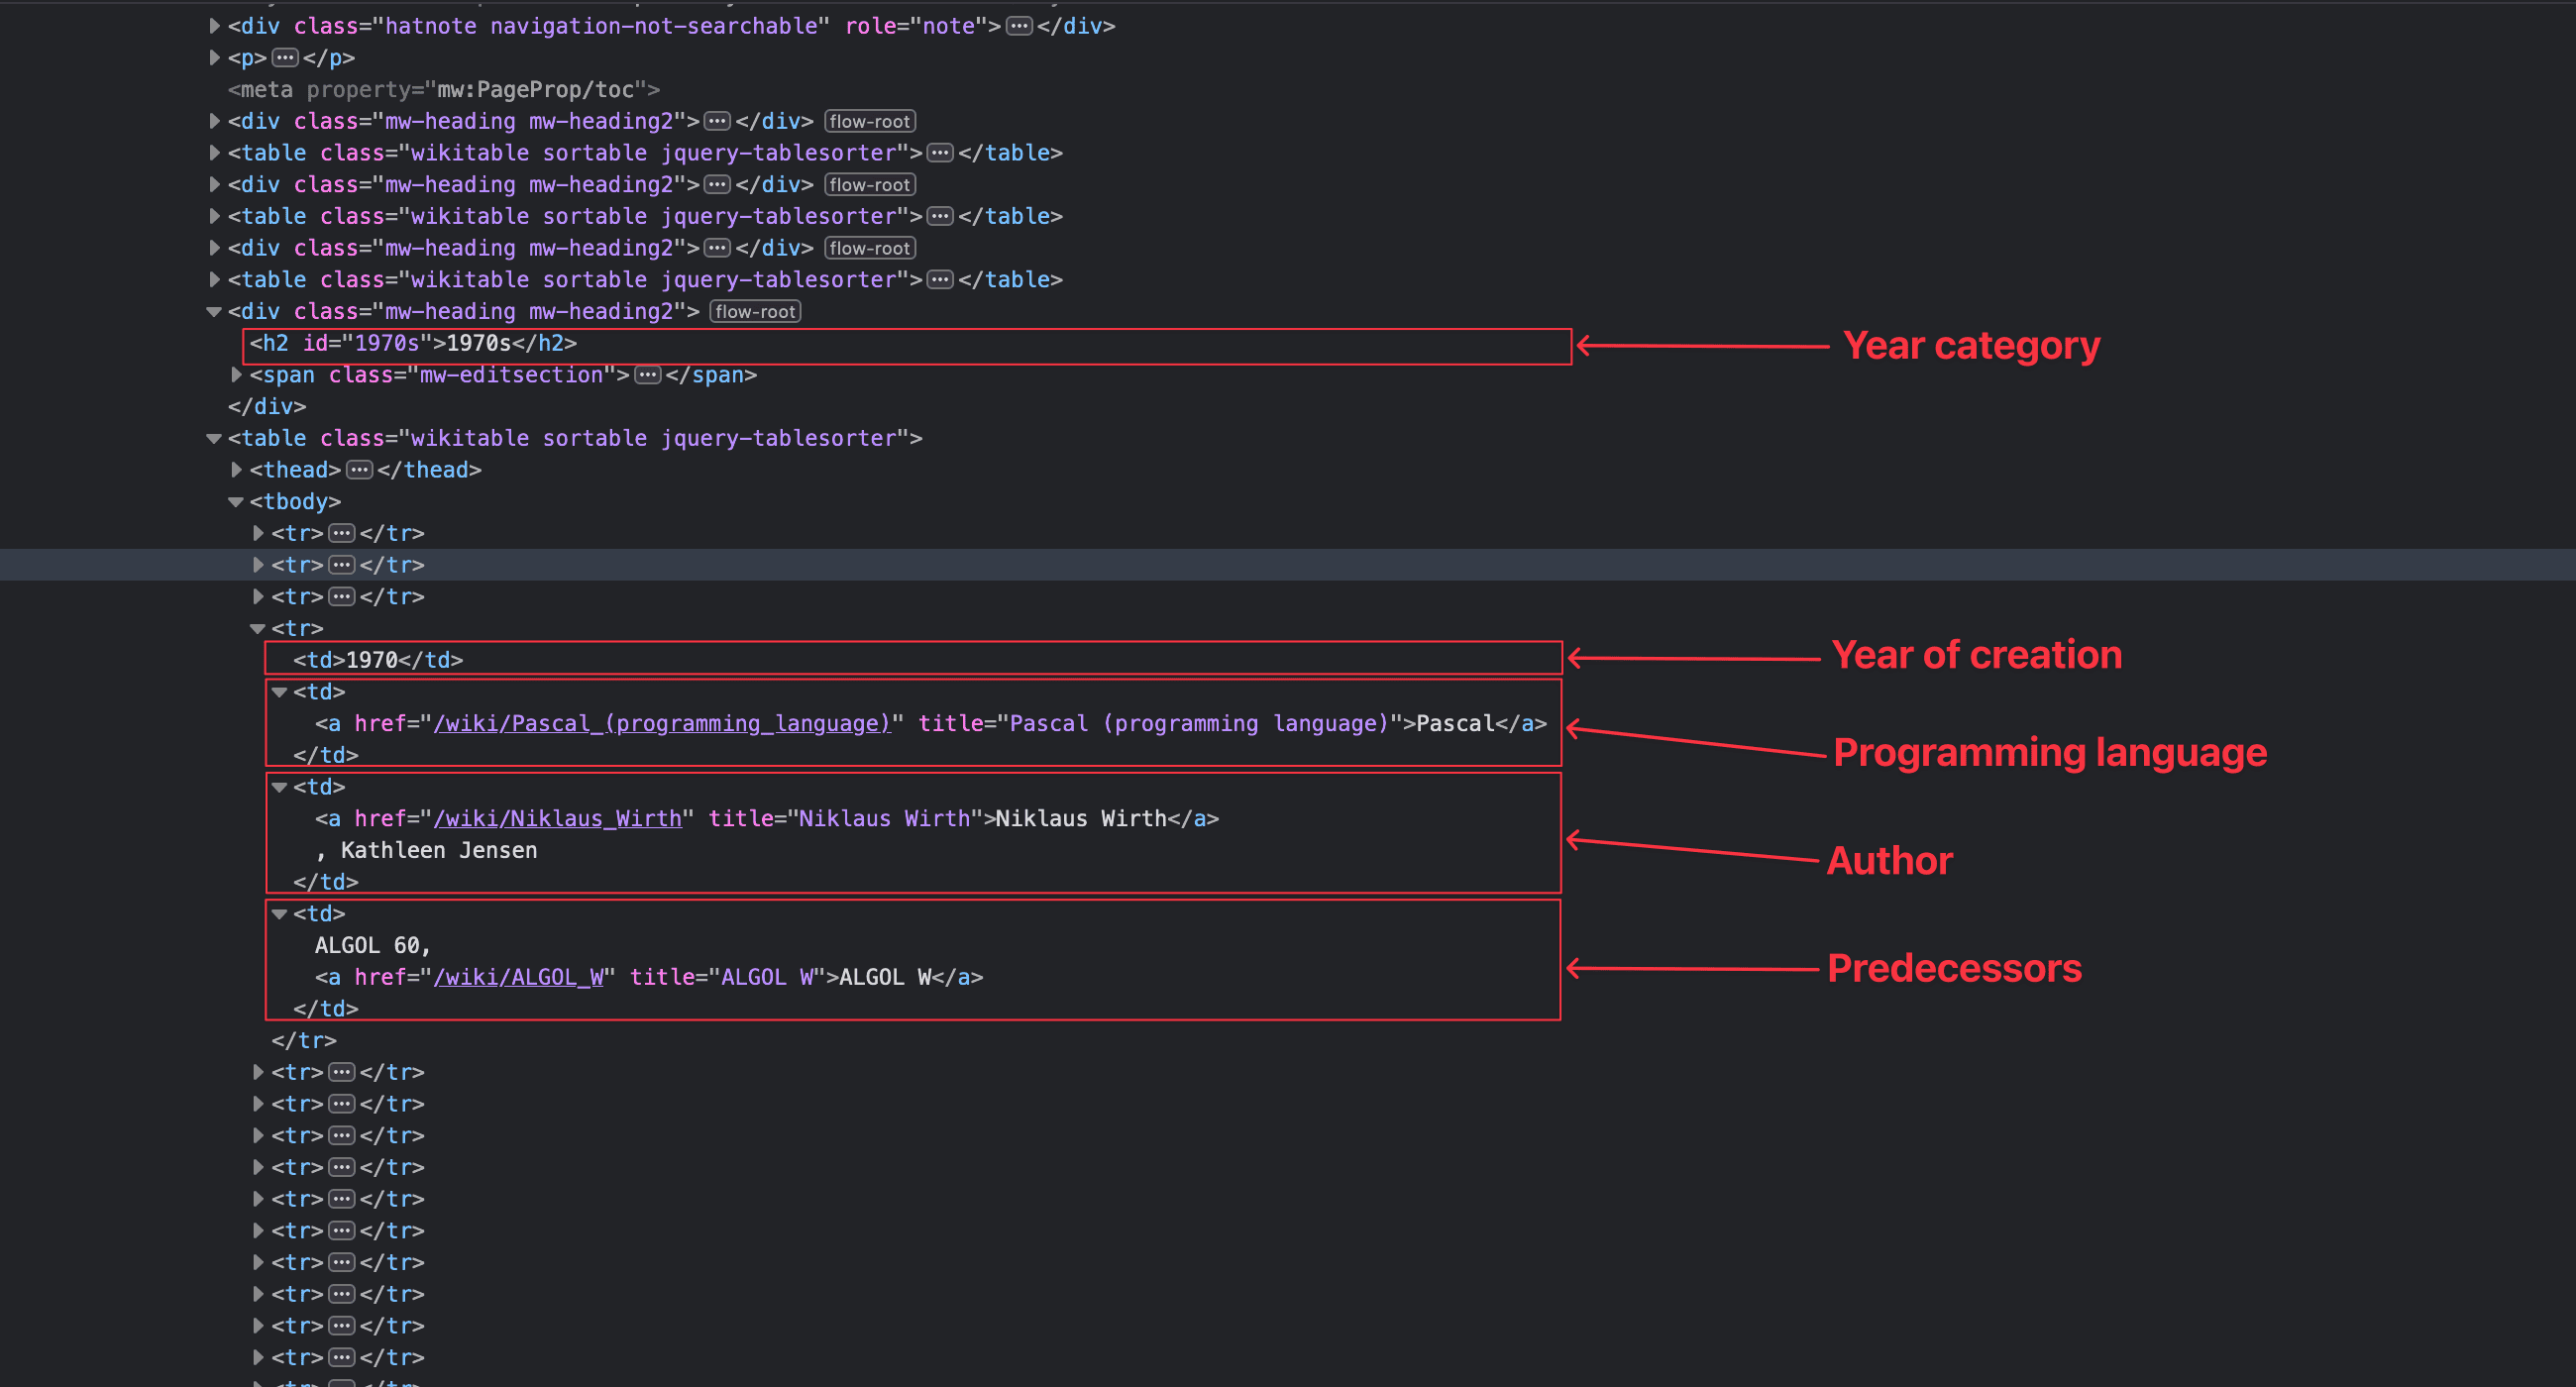
From the picture, we can guess a pattern:
The year category is inside a <div> tag under the tag <h2>. The following tag is a <table> where the data we want is inside the tag <body> in the following order:
- Year: the first column
- Name: the second column
- Author: the third column
- Predecessors: the fourth column
Now, we have everything we need to retrieve our data using Cheerio. Update the file "src/scraper.ts" with the code below:
import axios from 'axios';
import * as cheerio from 'cheerio';

const PAGE_URL = 'https://en.wikipedia.org/wiki/Timeline_of_programming_languages';

type ProgrammingLanguage = {
  yearCategory: string;
  year: number[];
  yearConfirmed: boolean;
  name: string;
  author: string;
  predecessors: string[];
};

const formatYear = (input: string) => {
  const array = input.split('–');

  if (array.length < 2) {
    return [+input.substr(0, 4)];
  }
  return [+array[0], +(array[1].length < 4 ? `${array[0].substr(0, 2)}${array[1]}` : array[1])];
};

const extractLanguagesData = (content: string) => {
  const $ = cheerio.load(content);

  const headers = $('body .mw-heading2');

  const languages: ProgrammingLanguage[] = [];

  for (let i = 0; i < headers.length; i++) {
    const header = headers.eq(i);
    const table = header.next('table');

    if (!table.is('table')) {
      continue;
    }

    const yearCategory = header.children('h2').first().text();
    const tableRows = table.children('tbody').children('tr');

    for (let i = 0; i < tableRows.length; i++) {
      const rowColumns = tableRows.eq(i).children('td');
      const name = rowColumns.eq(1).text().replace('\n', '');

      if (!name) {
        continue;
      }

      const language: ProgrammingLanguage = {
        author: rowColumns.eq(2).text().replace('\n', ''),
        name,
        predecessors: rowColumns
          .eq(3)
          .text()
          .split(',')
          .map((value) => value.trim()),
        year: formatYear(rowColumns.eq(0).text()),
        yearConfirmed: !rowColumns.eq(0).text().endsWith('?'),
        yearCategory,
      };

      languages.push(language);
    }
  }

  return languages;
};

const scraper = async () => {
  const response = await axios.get(PAGE_URL);

  const languages = extractLanguagesData(response.data);

  console.log(languages);
};

(async () => {
  await scraper();
})();
Run the code to see the result:
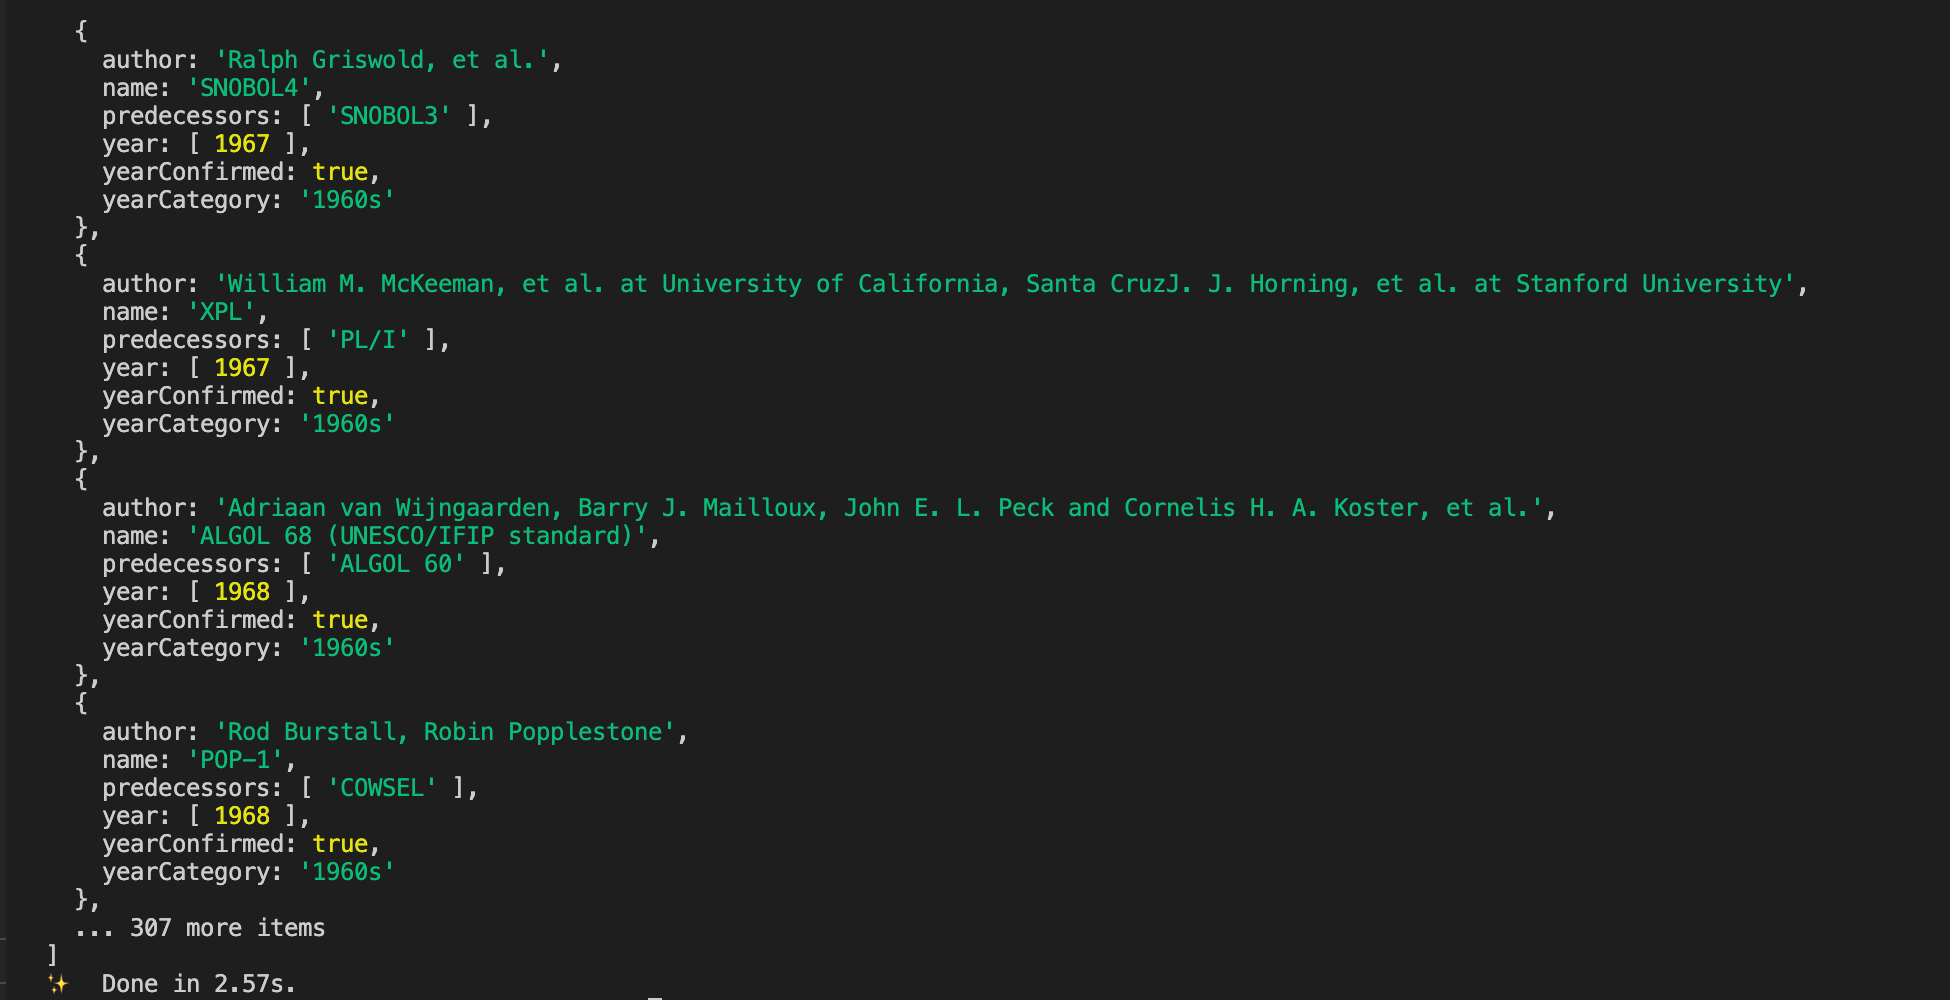
Save Web scraping data in a Mongo database
Since we retrieve our data, we can now save them inside MongoDB. For that, we need to create the model; check out my tutorial below to learn how to define a model for MongoDB.

Create a folder called models, then create a file language.ts inside. Add the code below:
import mongoose, { Model, Schema, Document } from 'mongoose';

type LanguageDocument = Document & {
  yearCategory: string;
  year: number[];
  yearConfirmed: boolean;
  name: string;
  author: string;
  predecessors: string[];
};

const languageSchema = new Schema(
  {
    name: {
      type: Schema.Types.String,
      required: true,
      index: true,
    },
    yearCategory: {
      type: Schema.Types.String,
      required: true,
      index: true,
    },
    year: {
      type: [Schema.Types.Number],
      required: true,
    },
    yearConfirmed: {
      type: Schema.Types.Boolean,
      required: true,
    },
    author: {
      type: Schema.Types.String,
    },
    predecessors: {
      type: [Schema.Types.String],
      required: true,
    },
  },
  {
    collection: 'languages',
    timestamps: true,
  },
);

const Language: Model<LanguageDocument> = mongoose.model<LanguageDocument>('Language', languageSchema);

export { Language, LanguageDocument };
Let's update the "scraper()" function to insert languages into the database.
const scraper = async () => {
  const response = await axios.get(PAGE_URL);

  const languages = retrieveData(response.data);

  await connectToDatabase();

  const insertPromises = languages.map(async (language) => {
    const isPresent = await Language.exists({ name: language.name });

    if (!isPresent) {
      await Language.create(language);
    }
  });

  await Promise.all(insertPromises);

  console.log('Data inserted successfully!');
};
Update the scraper() method inside the file scraper.ts
Run the code with the following code:
node -r ts-node/register --watch --env-file=.env ./src/scraper.ts
Wait for the execution to complete and check out your database to ensure the data have been inserted as expected.
Note: The unique constraint is not applied to the language name because there are programming languages with the same name as Short Code. I don't know if it is a mistake, but for now, in Wikipedia, we trust 😄.
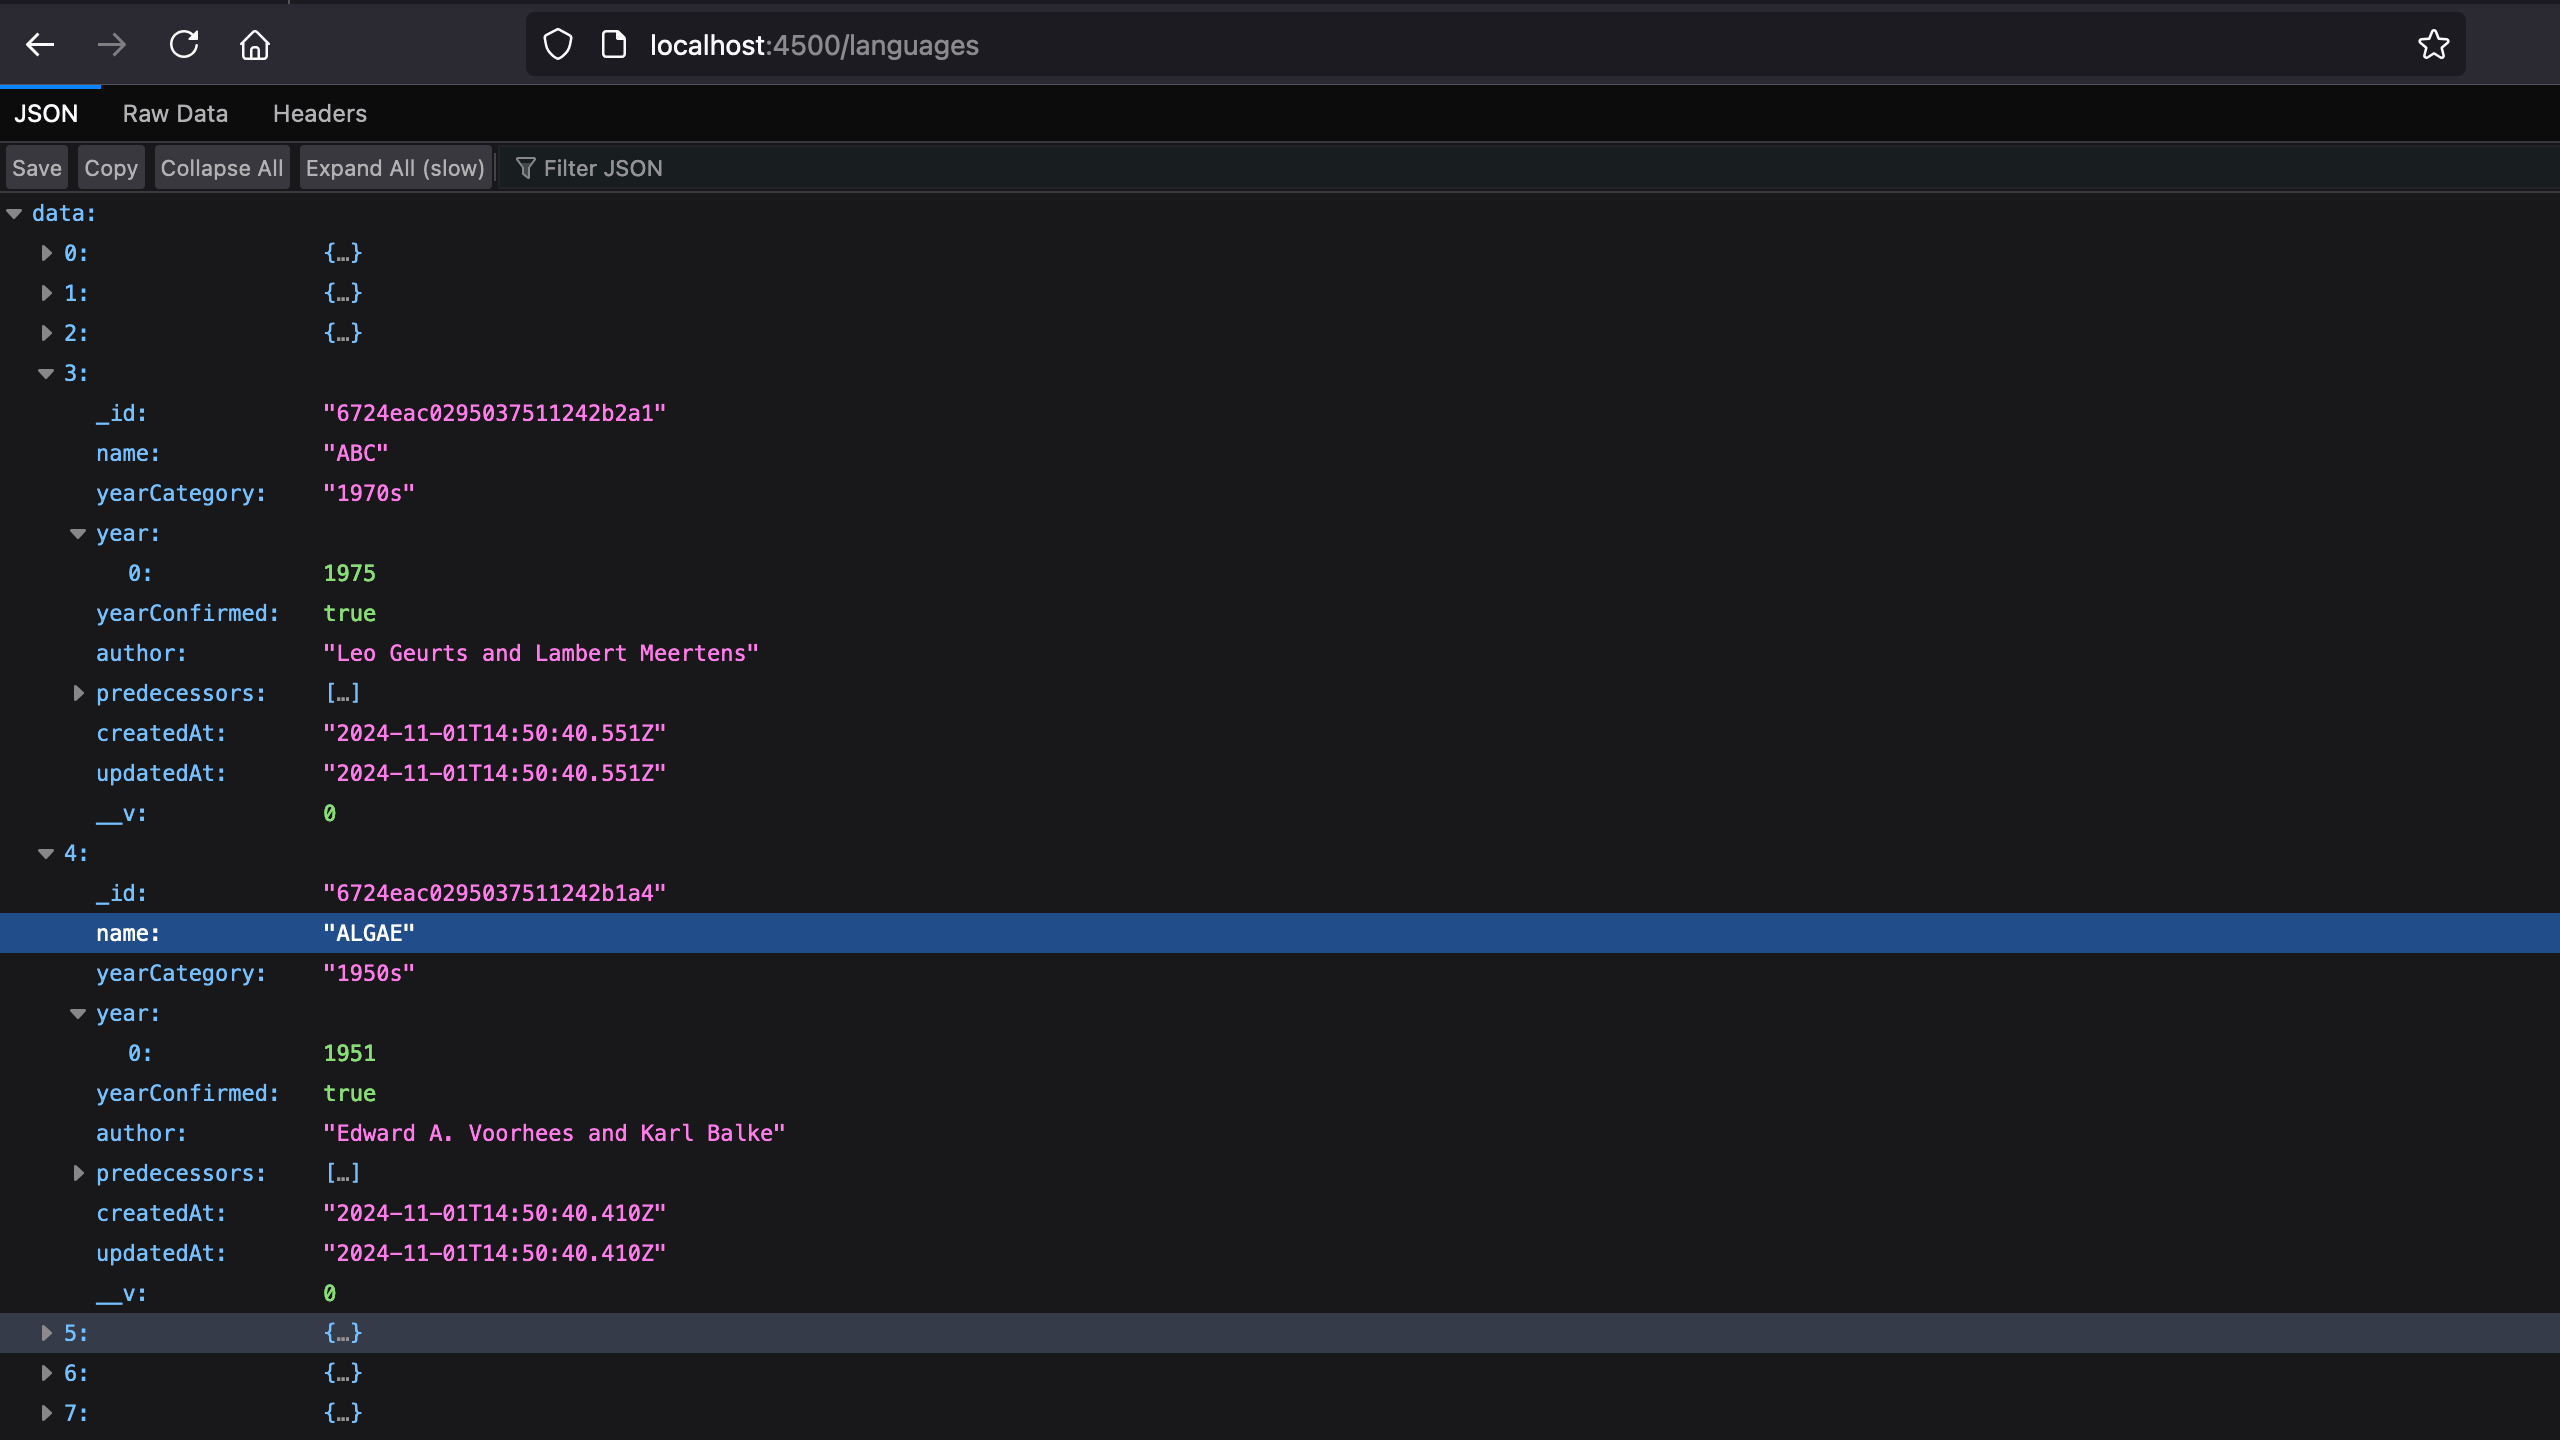
Create an API route to list Web scraping data
The final part is to create a route "/languages" to retrieve programming languages stored in the database.
Update the file "src/index.ts" to add the code below:
import { Language } from './models/languages';

app.get('/languages', async (req, res) => {
  const languages = await Language.find().sort({ name: 1 }).exec();

  return res.json({ data: languages });
});
We retrieve all data ordered by name in ascending directions.
Start the application by running the command yarn start , then navigate to http://localhost:4500/languages in your browser.
Caveats about Web scraping
- Always check if there is already an API that provides the data you need to avoid spending many hours building a new API.
- The code to retrieve data is highly coupled to the page's HTML structure, meaning that if the structure changes, you have to update your code.
- Some companies can forbid the scraping of their website, so always check if you can do that before doing it.
- Some websites have enhanced security against Web scraping, such as captcha validation. I wrote a post on how to bypass these advanced security measures.

Wrap up
We saw how to build a web scraper in Node.js that scrapes data from Wikipedia and saves it into a database.
We can summarize the steps into the following:
- Download the HTML content of the web page using Axios.
- Identify the HTML selectors associated with the data to extract.
- Extract the data from the HTML content using Cheerio.
- Save the data in the database.
Wikipedia is a website with static content; to go further, you can try scraping a dynamic website, which is more challenging. You will need a tool like Puppeteer, but I recommend checking Web Scraper API solutions, which solve most web scraping challenges.
Also, check out this link to learn about some problems you can face while web scraping and how to avoid them.
You can find the code source on the GitHub repository.
Follow me on Twitter or subscribe to my newsletter to avoid missing the upcoming posts and the tips and tricks I occasionally share.