
Implement Role-based Access Control in Spring Boot 3


Role-based Access Control (RBAC) is a valuable access control model that enhances security, simplifies access management, and improves efficiency. It is particularly beneficial in complex environments where managing access to resources is critical to security and operations.
This tutorial is the suite of this tutorial where we implemented a JWT authentication in Spring Boot 3 and Spring Security.

What we will do
We have a Web API that has public routes and restricted routes. The restricted routes require a valid JWT from a user in the database.
Now that the user is authenticated, we want to go further by allowing access to some data only if the user has a specific role.
Here are the following roles we have in our system:
- User: can access his information
- Administrator: can do everything the User role does and access the users' list.
- Super Administrator: can do everything the Admin role does and create an admin user; shortly, he can do everything.
The table below lists the protected routes with the role required to access them.
| API route | Role required | Description |
|---|---|---|
| [GET] /users/me | User, Admin, Super Admin | Retrieve the authenticated user |
| [GET] /users | Admin, Super Admin | Retrieve the list of all users |
| [POST] /admins | Super Admin | Create an administrator |
Prerequisites
To follow this tutorial, make sure you have the following tools installed on your computer.
- JDK 11 or higher - Download link
- Maven 3.8 or higher - Download link
- Docker - Download link
- Has followed this tutorial about JWT authentication in Spring Boot.
We need Docker to run a container for MySQL 8; you can skip it if MySQL is installed on your computer. Run the command below to start the Docker container from the MySQL image:
docker run -d -e MYSQL_ROOT_PASSWORD=secret -e MYSQL_DATABASE=taskdb --name mysqldb -p 3307:3306 mysql:8.0
Set up the project
We will start from the final project of the previous tutorial since it is the continuity. The project is in the blog repository GitHub.
We will do a sparse checkout to only clone the project folder we want in the Git repository.
Run the commands below to configure the project locally and launch it:
git clone --no-checkout https://github.com/tericcabrel/blog-tutorials.git

cd blog-tutorials

git sparse-checkout init --cone

git sparse-checkout set springboot-jwt-auth

git checkout @

cd springboot-jwt-auth

mvn install -DskipTests

mvn spring-boot:run
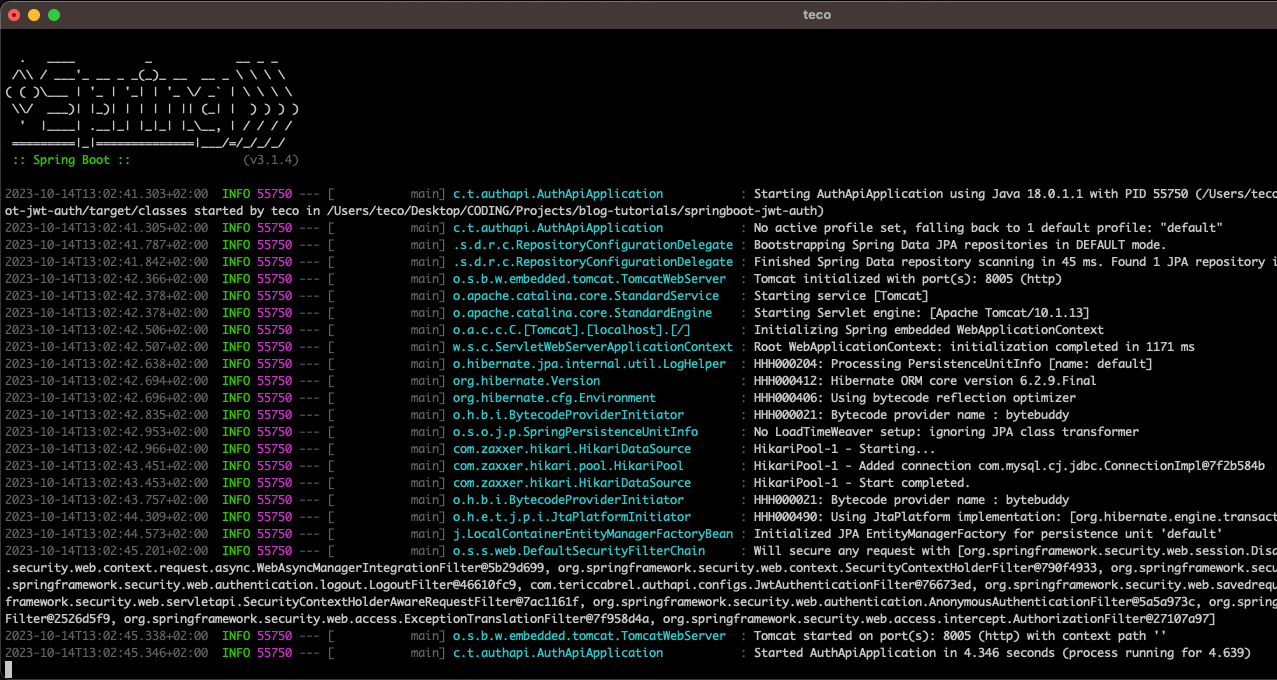
Before running the last command, ensure the MySQL Docker container is running. The application will start on port 8005.
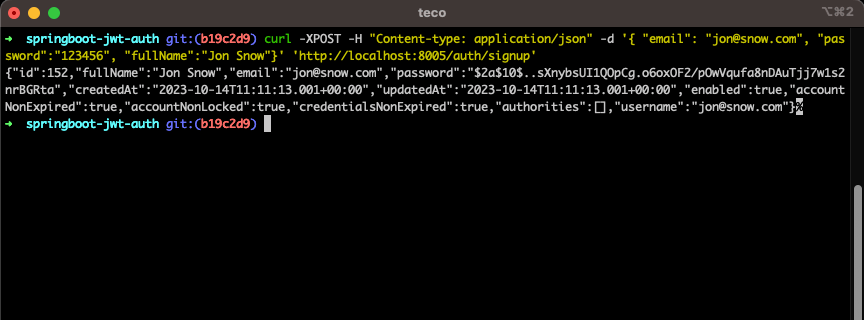
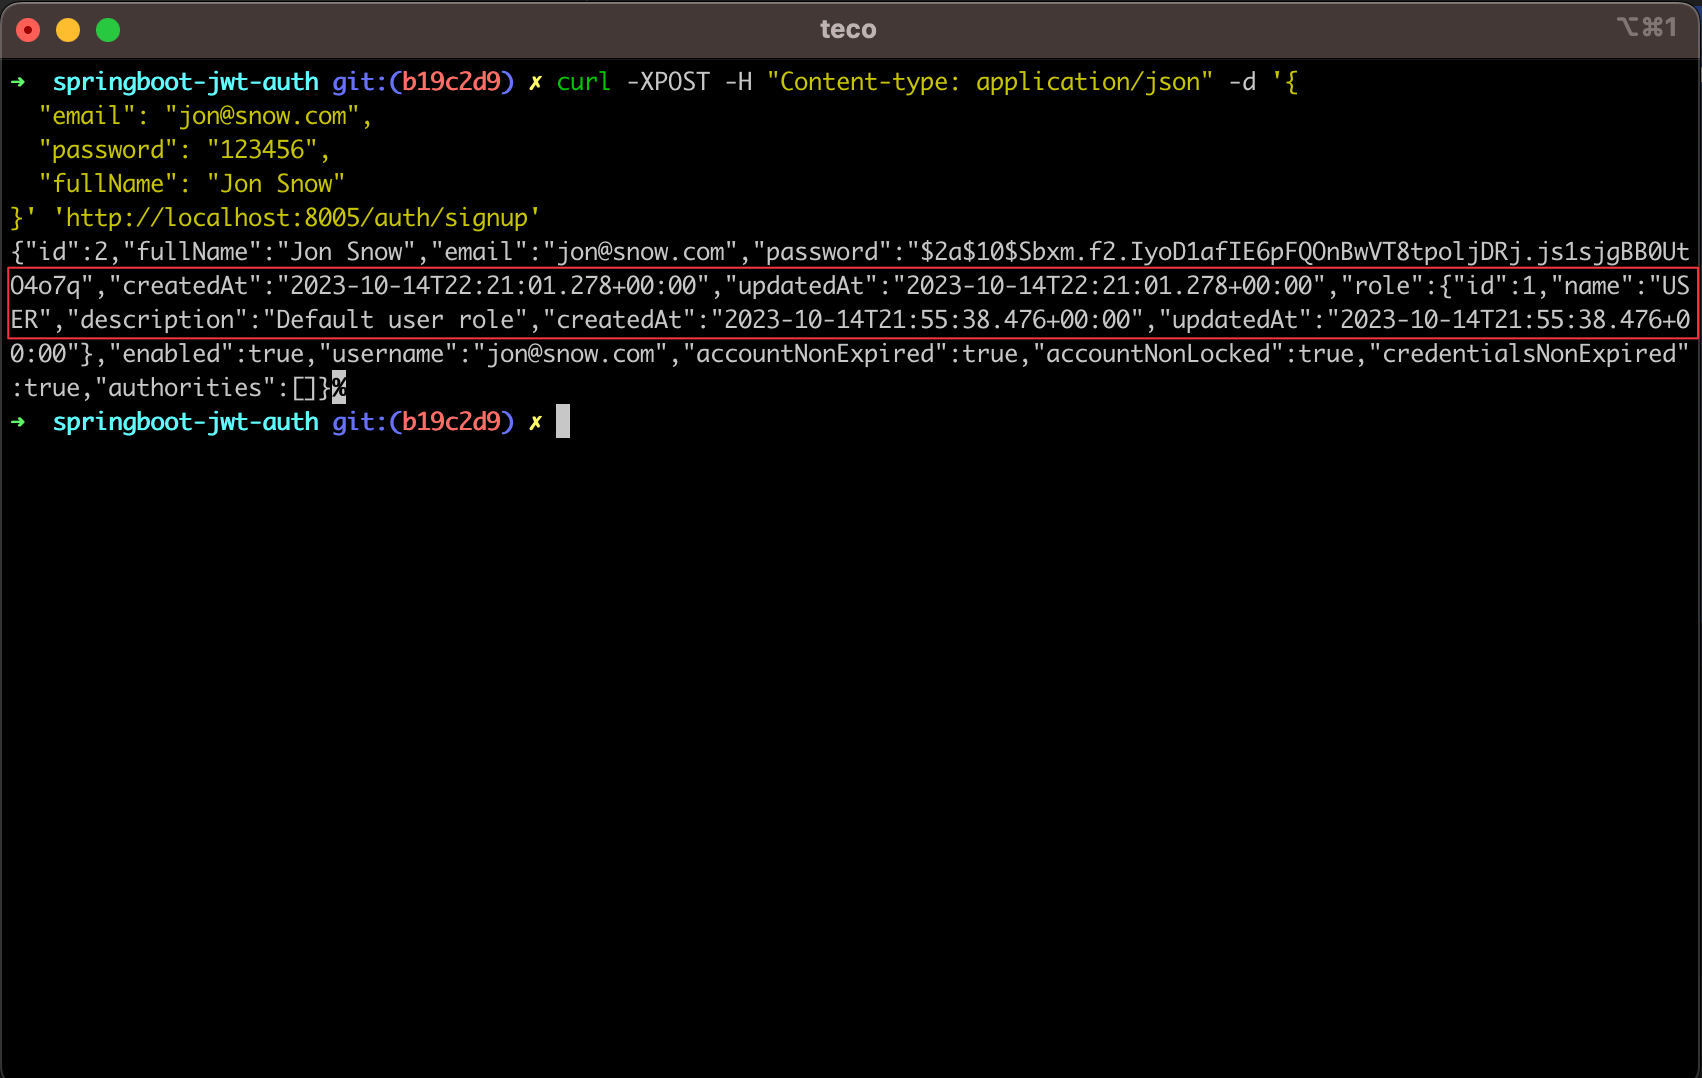
Let's register a user with the following cURL request.
curl -XPOST -H "Content-type: application/json" -d '{
  "email": "jon@snow.com",
  "password": "123456",
  "fullName": "Jon Snow"
}' 'http://localhost:8005/auth/signup'
We get the following output.
Let's authenticate with the user created previously using the following cURL request.
curl -XPOST -H "Content-type: application/json" -d '{
  "email": "jon@snow.com",
  "password": "123456"
}' 'http://localhost:8005/auth/login'
We get the following output.
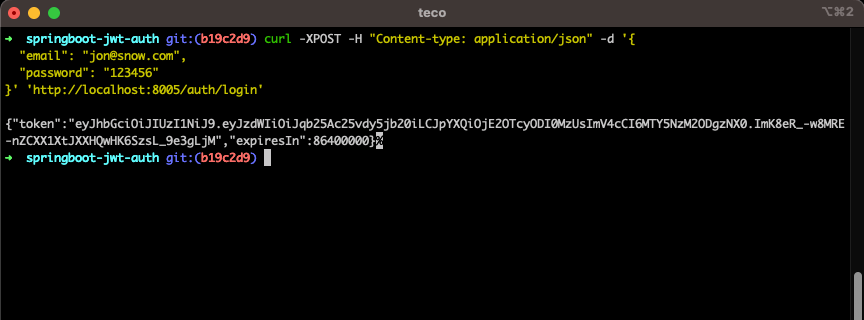
We can see everything works as expected; let's continue!
Create the role entity
The role entity will represent the different roles needed in our system. We will create an enum to represent all the possible role names.
In the package "entities", create a file "RoleEnum.java" and add the code below:
package com.tericcabrel.authapi.entities;

public enum RoleEnum {
    USER,
    ADMIN,
    SUPER_ADMIN
}
In the package "entities", create a file "Role.java" and add the code below:
package com.tericcabrel.authapi.entities;

import jakarta.persistence.*;
import org.hibernate.annotations.CreationTimestamp;
import org.hibernate.annotations.UpdateTimestamp;

import java.util.Date;

@Table(name = "roles")
@Entity
public class Role {
    @Id
    @GeneratedValue(strategy = GenerationType.AUTO)
    @Column(nullable = false)
    private Integer id;

    @Column(unique = true, nullable = false)
    @Enumerated(EnumType.STRING)
    private RoleEnum name;

    @Column(nullable = false)
    private String description;

    @CreationTimestamp
    @Column(updatable = false, name = "created_at")
    private Date createdAt;

    @UpdateTimestamp
    @Column(name = "updated_at")
    private Date updatedAt;

    // Getters and setters here....
}
Create the "RoleRepository.java" which represents the Data Access Layer for the Role entity.
package com.tericcabrel.authapi.repositories;

import com.tericcabrel.authapi.entities.Role;
import com.tericcabrel.authapi.entities.RoleEnum;
import org.springframework.data.repository.CrudRepository;
import org.springframework.stereotype.Repository;

import java.util.Optional;

@Repository
public interface RoleRepository extends CrudRepository<Role, Integer> {
    Optional<Role> findByName(RoleEnum name);
}
Re-run the application and ensure the roles table has been created in the database.
Store the pre-defined roles in the database
We already know roles to persist in the system. So, before creating a user, we must ensure the role exists in the database.
We will create a function executed at the application startup to create roles in the database if they don't exist.
Spring Boot allows executing some actions on the application startup; we will use it here, so let's create a package called "bootstrap", then create the file "RoleSeeder.java" and add the code below:
package com.tericcabrel.authapi.bootstrap;

import com.tericcabrel.authapi.entities.Role;
import com.tericcabrel.authapi.entities.RoleEnum;
import com.tericcabrel.authapi.repositories.RoleRepository;
import org.springframework.context.ApplicationListener;
import org.springframework.context.event.ContextRefreshedEvent;
import org.springframework.stereotype.Component;

import java.util.*;

@Component
public class RoleSeeder implements ApplicationListener<ContextRefreshedEvent> {
    private final RoleRepository roleRepository;


    public RoleSeeder(RoleRepository roleRepository) {
        this.roleRepository = roleRepository;
    }

    @Override
    public void onApplicationEvent(ContextRefreshedEvent contextRefreshedEvent) {
        this.loadRoles();
    }

    private void loadRoles() {
        RoleEnum[] roleNames = new RoleEnum[] { RoleEnum.USER, RoleEnum.ADMIN, RoleEnum.SUPER_ADMIN };
        Map<RoleEnum, String> roleDescriptionMap = Map.of(
            RoleEnum.USER, "Default user role",
            RoleEnum.ADMIN, "Administrator role",
            RoleEnum.SUPER_ADMIN, "Super Administrator role"
        );

        Arrays.stream(roleNames).forEach((roleName) -> {
            Optional<Role> optionalRole = roleRepository.findByName(roleName);

            optionalRole.ifPresentOrElse(System.out::println, () -> {
                Role roleToCreate = new Role();

                roleToCreate.setName(roleName)
                        .setDescription(roleDescriptionMap.get(roleName));

                roleRepository.save(roleToCreate);
            });
        });
    }
}
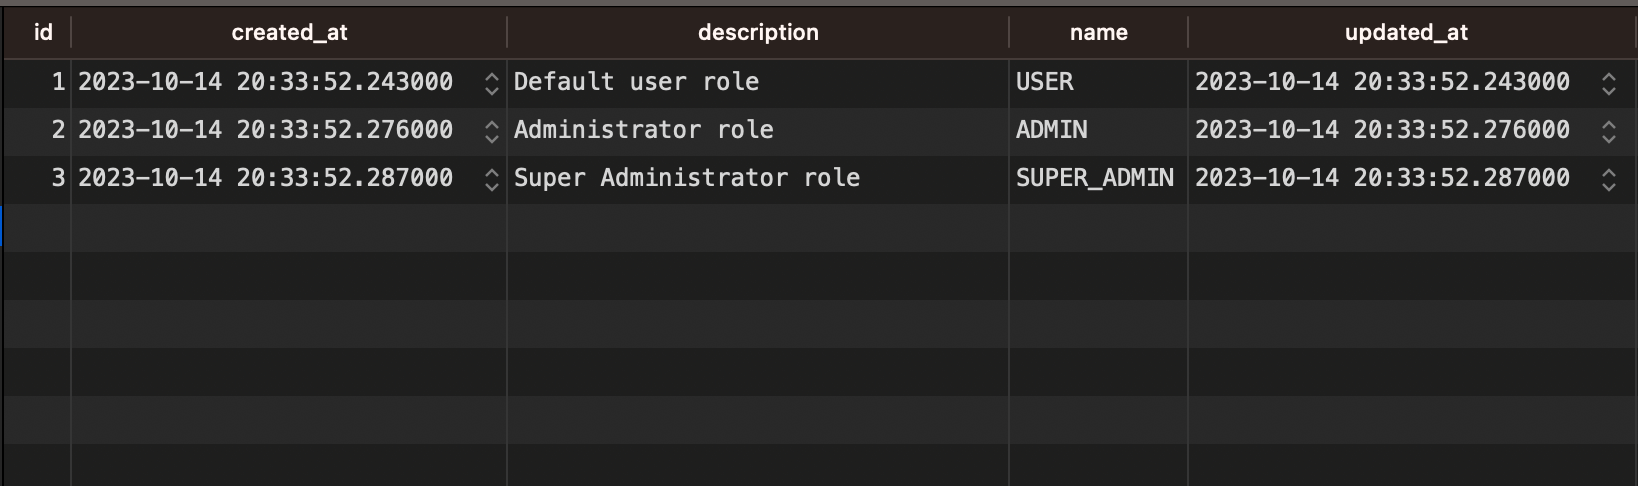
Re-run the application and verify the roles have been created in the database.
Update the User entity to include the role
We must associate a role for each user to use it later to determine whether it can access a resource. We can achieve this by creating a one-to-one relationship between the user and the role.

Let's update the file "User.java" in the package "entities" to add the code below:
@ManyToOne(cascade = CascadeType.REMOVE)
@JoinColumn(name = "role_id", referencedColumnName = "id", nullable = false)
private Role role;

public Role getRole() {
    return role;
}

public User setRole(Role role) {
    this.role = role;

    return this;
}
Re-run the application and ensure the users' table has been updated.
Set the role when creating a user
The user role is now required, so creating a user without one will throw an error. We must update signup() function in the AuthenticationService.java; replace the function with the code below:
public User signup(RegisterUserDto input) {
    Optional<Role> optionalRole = roleRepository.findByName(RoleEnum.USER);

    if (optionalRole.isEmpty()) {
        return null;
    }

    var user = new User()
        .setFullName(input.getFullName())
        .setEmail(input.getEmail())
        .setPassword(passwordEncoder.encode(input.getPassword()))
        .setRole(optionalRole.get());

    return userRepository.save(user);
}
We inject the "RoleRepository" as a dependency of the AuthenticationService class.
Re-run the application and try to register a user; we can see that the user role is returned in the response.
Access the user role in the authentication context
In the user entity class (User.java), the function getAuthorities() returns all the authorities associated with this user; it was empty by default, but now we must update it to produce a list containing the user's role name.
Replace the function getAuthorities()with the code below:
@Override
public Collection<? extends GrantedAuthority> getAuthorities() {
    SimpleGrantedAuthority authority = new SimpleGrantedAuthority("ROLE_" + role.getName().toString());

    return List.of(authority);
}
This allows us to access the user role from the authentication context.
ROLE_ prefix to the value given. This is why we concatenate the role's name with "ROLE_".Enable the method security of Spring Security
To restrict user access based on their roles, we must enable the feature in Spring security, allowing us to perform the check without writing a custom logic.
You must add the annotation @EnableMethodSecurity on the security configuration file "SecurityConfiguration.java".
@Configuration
@EnableWebSecurity
@EnableMethodSecurity
public class SecurityConfiguration {
    // The existing code configuration here...
}
Adding this annotation gives us annotations we can use at the controller level to perform role access control.
Protect the API routes for user and admin role
Open the file UserController.java and add the annotation for the following routes:
- "/users/me": @PreAuthorize("isAuthenticated()")
- "/users": @PreAuthorize("hasAnyRole('ADMIN', 'SUPER_ADMIN')")
Since the route "users/me" is accessible by all the roles, we can just check that the user is authenticated.
package com.tericcabrel.authapi.controllers;

import org.springframework.security.access.prepost.PreAuthorize;


@RequestMapping("/users")
@RestController
public class UserController {
    private final UserService userService;

    public UserController(UserService userService) {
        this.userService = userService;
    }

    @GetMapping("/me")
    @PreAuthorize("isAuthenticated()")
    public ResponseEntity<User> authenticatedUser() {
    	// Existing code here...
    }

    @GetMapping
    @PreAuthorize("hasAnyRole('ADMIN', 'SUPER_ADMIN')")
    public ResponseEntity<List<User>> allUsers() {
    	// Existing code here...
    }
}
That's it! Spring Security will handle the rest under the hood.
Protect the API route for the super admin role
The endpoint "/admins" creates a new admin in the system and is accessible only by a user having a super admin role.
Since the implementation doesn't exist, let's add it in the UserService.java:
package com.tericcabrel.authapi.services;

import com.tericcabrel.authapi.dtos.RegisterUserDto;
import com.tericcabrel.authapi.entities.Role;
import com.tericcabrel.authapi.entities.RoleEnum;
import com.tericcabrel.authapi.entities.User;
import com.tericcabrel.authapi.repositories.RoleRepository;
import com.tericcabrel.authapi.repositories.UserRepository;
import org.springframework.security.crypto.password.PasswordEncoder;
import org.springframework.stereotype.Service;

import java.util.ArrayList;
import java.util.List;
import java.util.Optional;

@Service
public class UserService {
    private final UserRepository userRepository;
    private final RoleRepository roleRepository;

    private final PasswordEncoder passwordEncoder;

    public UserService(UserRepository userRepository, RoleRepository roleRepository, PasswordEncoder passwordEncoder) {
        this.userRepository = userRepository;
        this.roleRepository = roleRepository;
        this.passwordEncoder = passwordEncoder;
    }

    public List<User> allUsers() {
        List<User> users = new ArrayList<>();

        userRepository.findAll().forEach(users::add);

        return users;
    }

    public User createAdministrator(RegisterUserDto input) {
        Optional<Role> optionalRole = roleRepository.findByName(RoleEnum.ADMIN);

        if (optionalRole.isEmpty()) {
            return null;
        }

        var user = new User()
                .setFullName(input.getFullName())
                .setEmail(input.getEmail())
                .setPassword(passwordEncoder.encode(input.getPassword()))
                .setRole(optionalRole.get());

        return userRepository.save(user);
    }
}
In the package "controllers", create a new file "AdminController.java" and add the code below:
package com.tericcabrel.authapi.controllers;

import com.tericcabrel.authapi.dtos.RegisterUserDto;
import com.tericcabrel.authapi.entities.User;
import com.tericcabrel.authapi.services.UserService;
import org.springframework.http.ResponseEntity;
import org.springframework.security.access.prepost.PreAuthorize;
import org.springframework.web.bind.annotation.PostMapping;
import org.springframework.web.bind.annotation.RequestBody;
import org.springframework.web.bind.annotation.RequestMapping;
import org.springframework.web.bind.annotation.RestController;

@RequestMapping("/admins")
@RestController
public class AdminController {
    private final UserService userService;

    public AdminController(UserService userService) {
        this.userService = userService;
    }

    @PostMapping
    @PreAuthorize("hasRole('SUPER_ADMIN')")
    public ResponseEntity<User> createAdministrator(@RequestBody RegisterUserDto registerUserDto) {
        User createdAdmin = userService.createAdministrator(registerUserDto);

        return ResponseEntity.ok(createdAdmin);
    }
}
We use the function hasRole() to enforce that the authenticated user must have the super admin role.
There is no endpoint to create a super admin, so we must create one at the application startup. In the package "bootstrap", create a file "AdminSeeder.java" and add the code below:
package com.tericcabrel.authapi.bootstrap;

import com.tericcabrel.authapi.dtos.RegisterUserDto;
import com.tericcabrel.authapi.entities.Role;
import com.tericcabrel.authapi.entities.RoleEnum;
import com.tericcabrel.authapi.entities.User;
import com.tericcabrel.authapi.repositories.RoleRepository;
import com.tericcabrel.authapi.repositories.UserRepository;
import org.springframework.context.ApplicationListener;
import org.springframework.context.event.ContextRefreshedEvent;
import org.springframework.security.crypto.password.PasswordEncoder;
import org.springframework.stereotype.Component;

import java.util.Optional;

@Component
public class AdminSeeder implements ApplicationListener<ContextRefreshedEvent> {
    private final RoleRepository roleRepository;
    private final UserRepository userRepository;

    private final PasswordEncoder passwordEncoder;


    public AdminSeeder(
        RoleRepository roleRepository,
        UserRepository  userRepository,
        PasswordEncoder passwordEncoder
    ) {
        this.roleRepository = roleRepository;
        this.userRepository = userRepository;
        this.passwordEncoder = passwordEncoder;
    }

    @Override
    public void onApplicationEvent(ContextRefreshedEvent contextRefreshedEvent) {
        this.createSuperAdministrator();
    }

    private void createSuperAdministrator() {
        RegisterUserDto userDto = new RegisterUserDto();
        userDto.setFullName("Super Admin").setEmail("super.admin@email.com").setPassword("123456");

        Optional<Role> optionalRole = roleRepository.findByName(RoleEnum.SUPER_ADMIN);
        Optional<User> optionalUser = userRepository.findByEmail(userDto.getEmail());

        if (optionalRole.isEmpty() || optionalUser.isPresent()) {
            return;
        }

        var user = new User()
            .setFullName(userDto.getFullName())
            .setEmail(userDto.getEmail())
            .setPassword(passwordEncoder.encode(userDto.getPassword()))
            .setRole(optionalRole.get());

        userRepository.save(user);
    }
}
Re-run the application and test the implementation:
Calling the API routes with super admin user.
Wrap up
In this post, we saw how to implement a Role Based Access Control in a Spring Boot application, and here are the main steps to remember:
- Create the role entity and data access layer.
- Associate the user entity with a role.
- Expose the user's role in the authentication context.
- Enable the method security Spring security.
- Protect the API route using the method security route
isAuthenticated(),hasRole()andhasAnyRole().
To learn more about the method security of Spring Security and other methods, you can such as hasAuthority(), check out the documentation link.
You can find the code source on the GitHub repository.
Follow me on Twitter or subscribe to my newsletter to avoid missing the upcoming posts and the tips and tricks I occasionally share.