
Translate texts in Node.js with Amazon Translate


Text translation is standard in our daily lives, whether personal or professional. Amazon provides a great to make translation easy for various cases, such as:
- Translating administrative documents.
- Resume translation for job applications.
- Translate website content to expand the market and reach more people.
- Blogging, book writing, or simply content creation.
This post will show how to use Amazon translate in a Node.js application using the AWS SDK client.
The use case
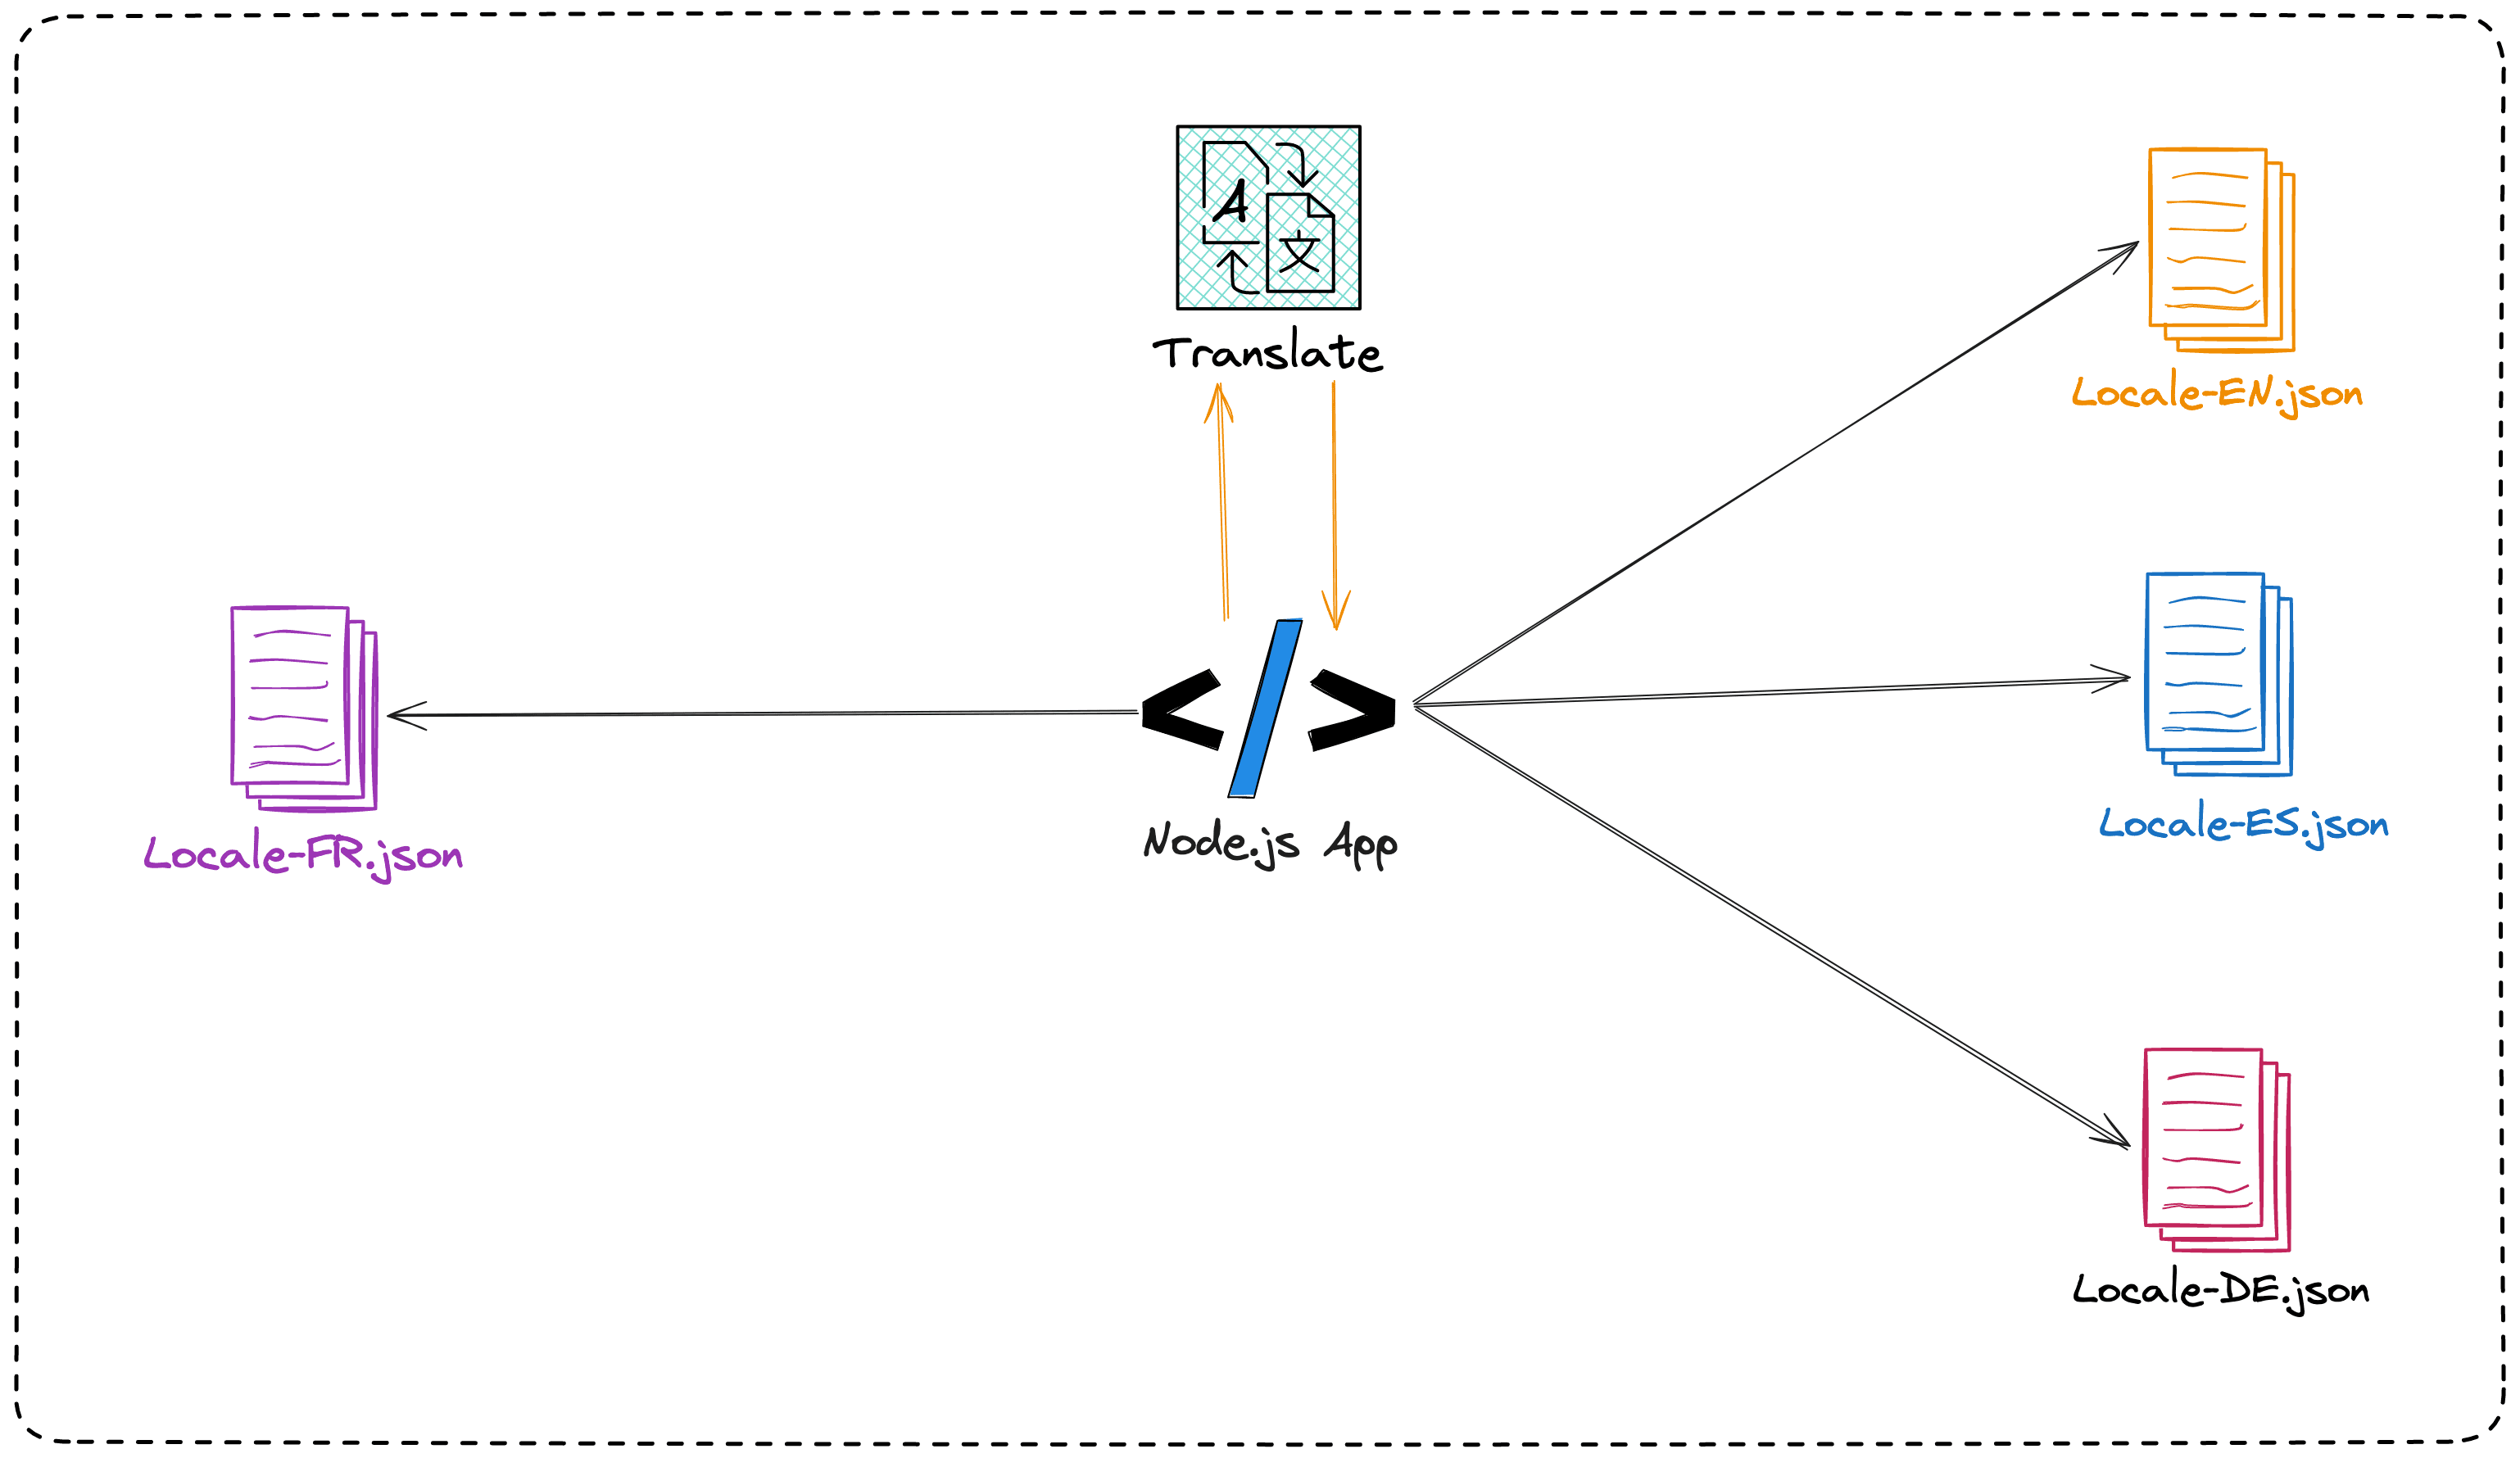
A French company is building a SaaS and they want to expand in the United Kingdom, Germany, and Spain. They must translate the website content into the language of these related countries to make it possible.
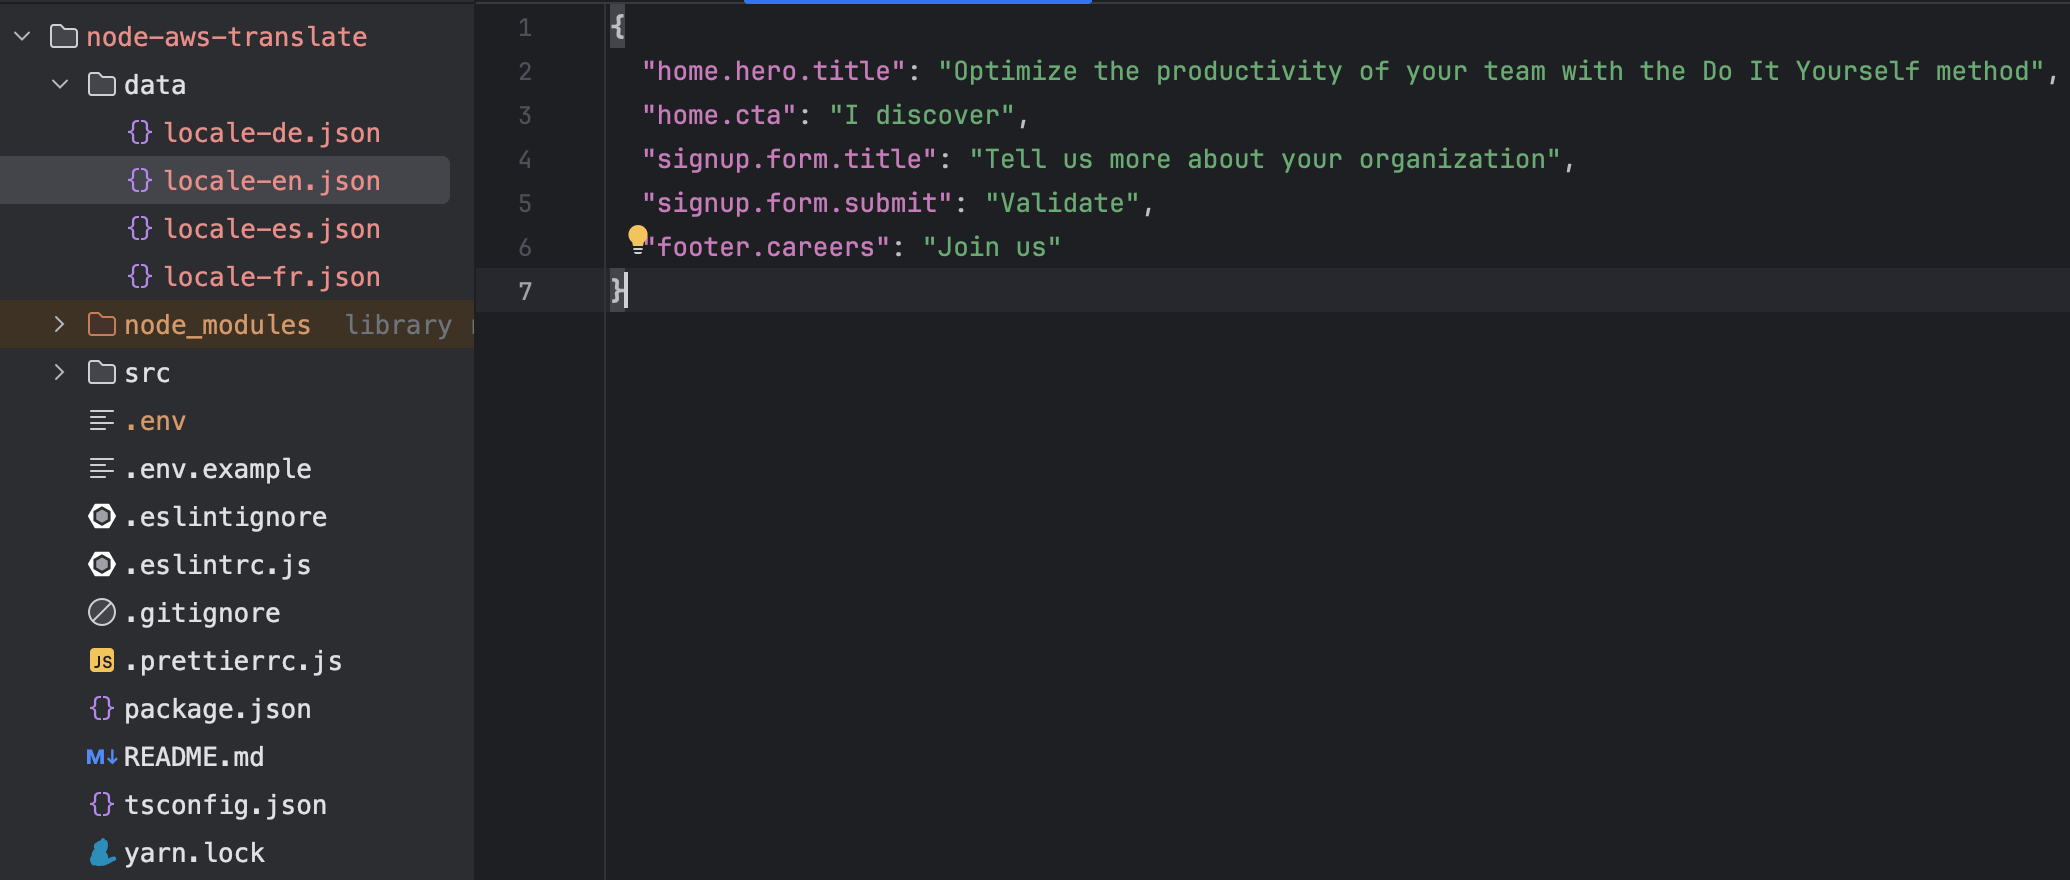
The website texts are in French in a JSON file to programmatically translate into the targeted languages and generate a JSON file.
As the diagram below illustrates, we will use Amazon Translate to achieve it.
Prerequisites
To follow this tutorial, make sure you have the following tools installed on your computer.
- An AWS account with a free tier; create an account here.
- Node.js 20.6.0 or higher and Yarn - Download link
- The AWS credentials to authenticate. Read my blog post to generate one.
Set up the project
As we will use TypeScript to build the project, let's set up a new project using the Node.js starter project we built in this tutorial.
Run the command below to set up the project:
git clone https://github.com/tericcabrel/node-ts-starter.git node-aws-translate

cd node-aws-translate

yarn install

yarn start
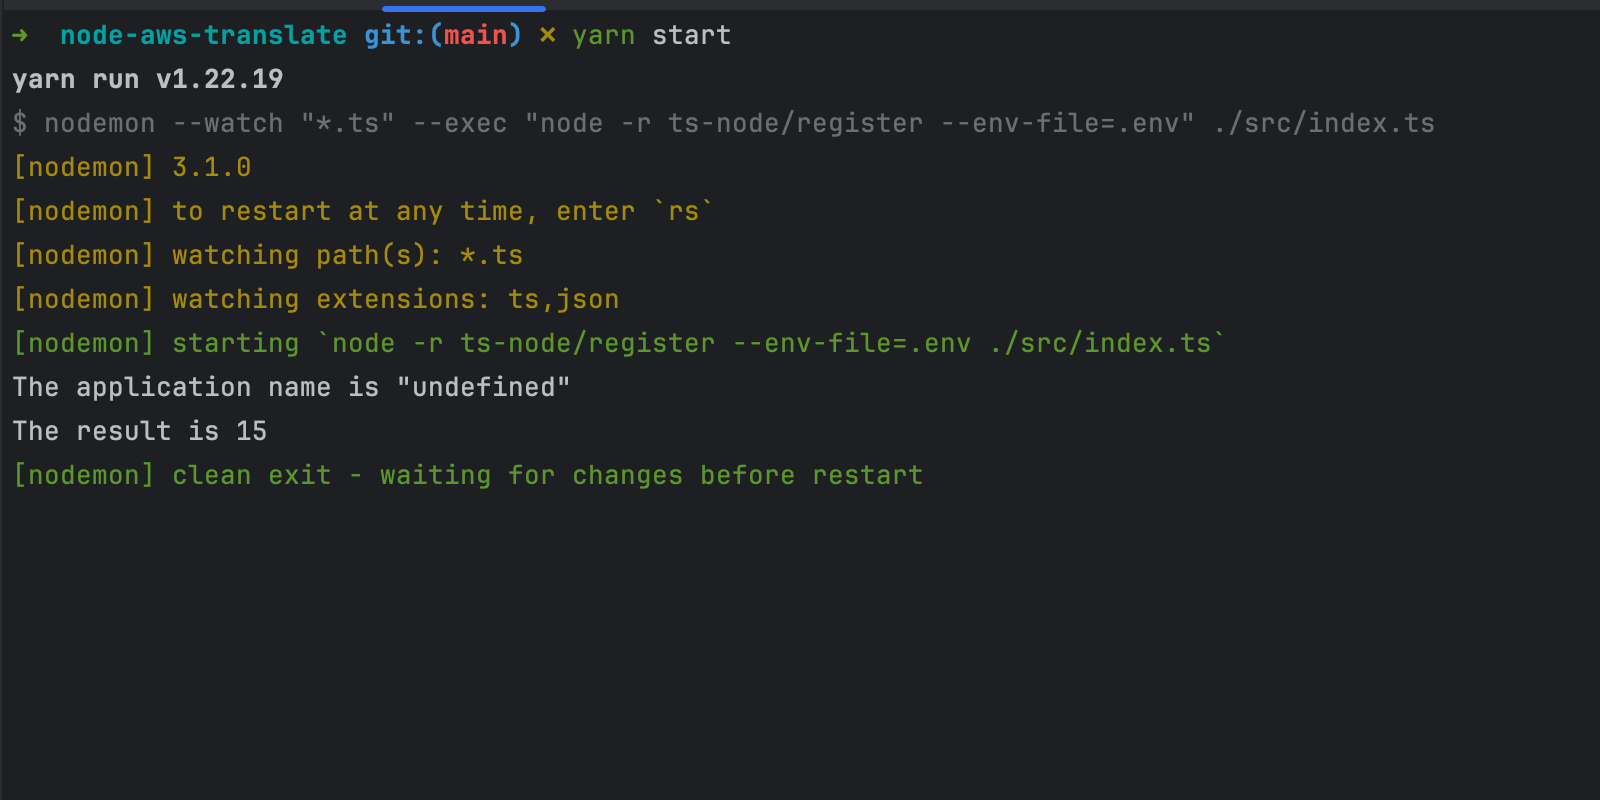
Running the last command below will start the project, and the output in the terminal is the following:
Install the AWS SDK for Amazon Translate
To programmatically interact with Amazon Translate from our Node.js application, we will install the SDK v3, so let's do it by running the command below:
yarn add @aws-sdk/client-translate
Installing the AWS SDK v3 can be tricky; I wrote a blog post showing you how to do that.

Define the AWS credentials
The AWS SDK v3 requires the AWS credentials to authenticate the caller on AWS. To load the credentials in the Node.js application, we must inject them into the environment variables at the application start-up.
In the project directory, create a file .env from the template .env.example and add the content below:
AWS_ACCESS_KEY_ID=<your_access_key_id>
AWS_SECRET_ACCESS_KEY=<your_secret_access_key>
Replace the keyword <your_access_key_id> and <your_secret_access_key> with the respective credentials. Follow this tutorial on how to generate one.
How to translate a text with Amazon Translate
Using the client SDK to translate a text from a source language to a target language is done in two steps:
- Instantiate the client SDK with AWS credentials.
- Create a command containing the translation, such as the source, target, and text.
- Call the function to translate from the client instance by passing the command object.
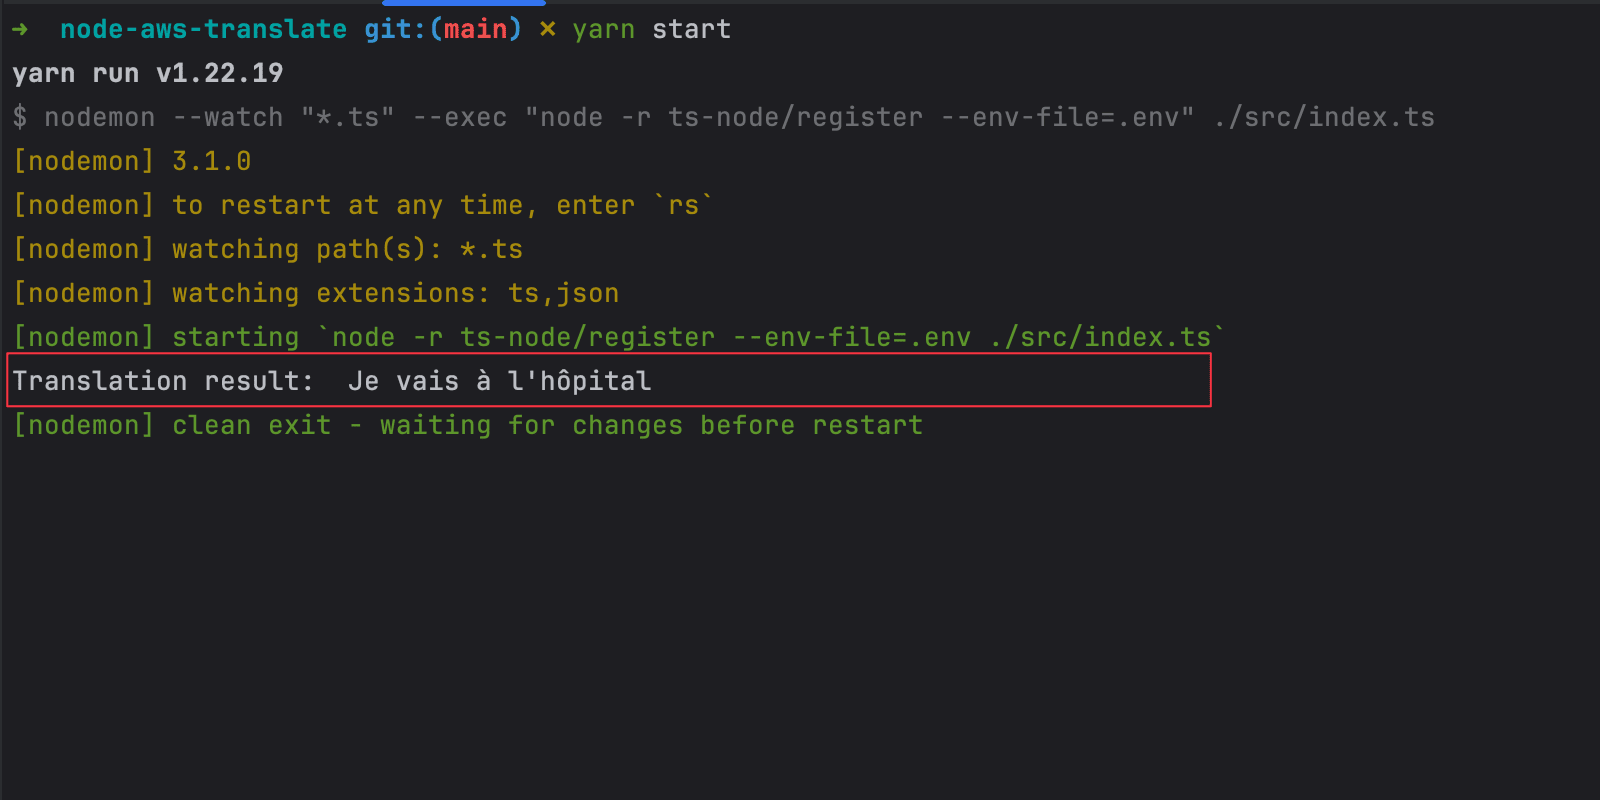
To translate the text "I'm going to the hospital" in French, open the "src/index.ts" and replace the content with the code below:
import { TranslateClient, TranslateTextCommand } from '@aws-sdk/client-translate';

const translateClient = new TranslateClient([
  {
    region: 'eu-west-3',
    credentials: {
      accessKeyId: process.env.AWS_ACCESS_KEY_ID,
      secretAccessKey: process.env.AWS_SECRET_ACCESS_KEY,
    },
  },
]);

const command = new TranslateTextCommand({
  SourceLanguageCode: 'en',
  Text: "I'm going to the hospital",
  TargetLanguageCode: 'fr',
});

(async () => {
  const result = await translateClient.send(command);

  console.log('Translation result: ', result.TranslatedText);
})();
Execute the project by running the command yarn start
Translate content from a file
Returning to our use case, we will read a JSON file, extract the content, translate each key inside, and save it into a file.
Download the following file and move it to the project under the folder "data".
Replace the content of the file "src/index.ts" with the code below:
import * as path from 'path';
import * as fs from 'fs';
import { TranslateClient, TranslateTextCommand } from '@aws-sdk/client-translate';
const SOURCE_LANGUAGE = 'fr';
const TARGET_LANGUAGES = ['en', 'es', 'de'];
const FRENCH_FILE_PATH = path.resolve(__dirname, '../data/locale-fr.json');
const OUTPUT_FOLDER_PATH = path.resolve(__dirname, '../data');
const translateClient = new TranslateClient([
{
region: 'eu-west-3',
credentials: {
accessKeyId: process.env.AWS_ACCESS_KEY_ID,
secretAccessKey: process.env.AWS_SECRET_ACCESS_KEY,
},
},
]);
(async () => {
const fileContent = fs.readFileSync(FRENCH_FILE_PATH, { encoding: 'utf-8' });
const data = JSON.parse(fileContent) as Record<string, string>;
const keys = Object.keys(data);
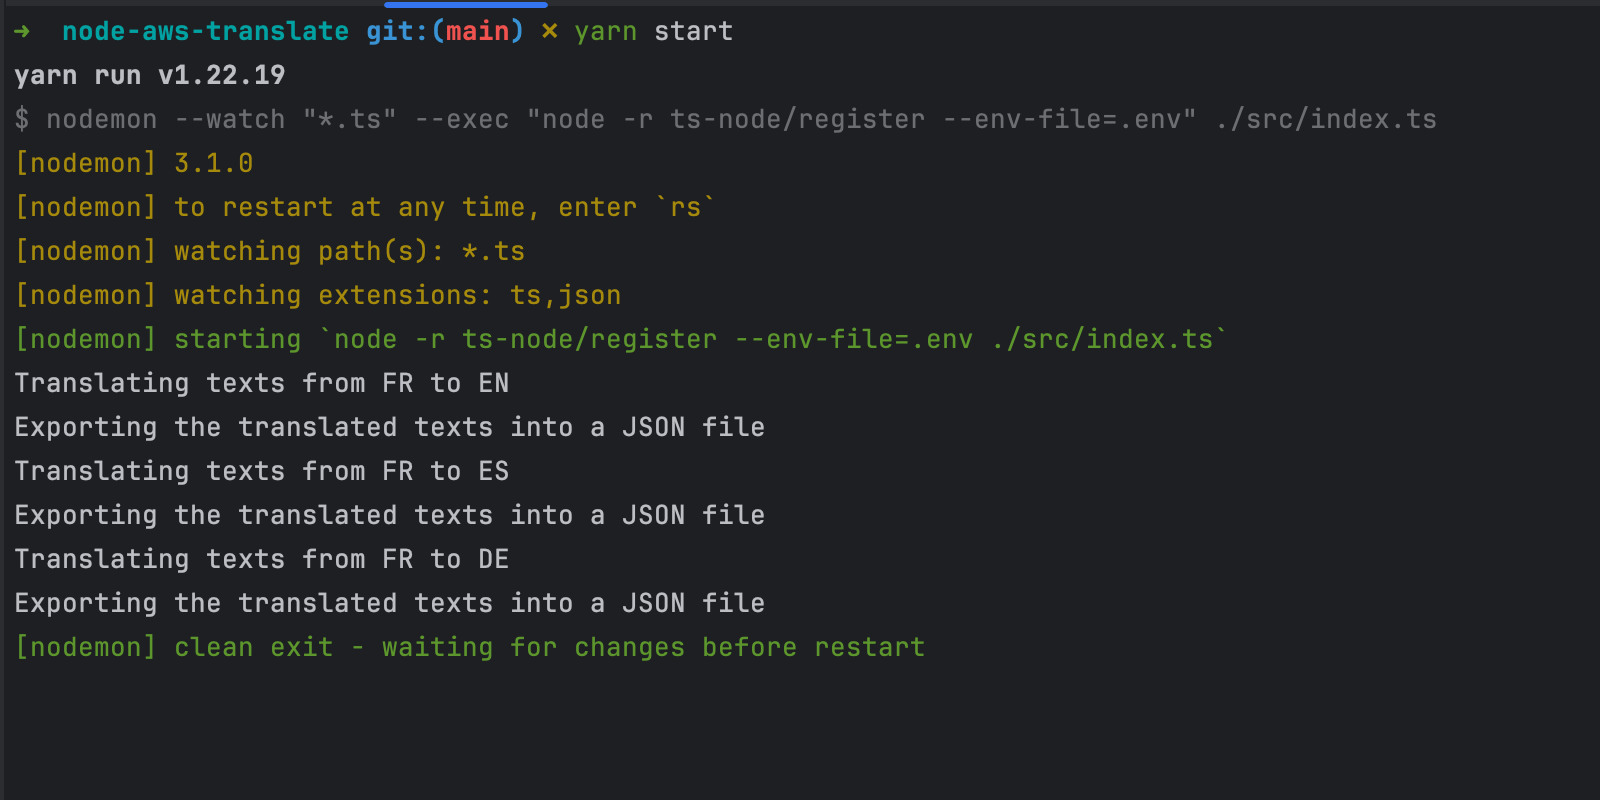
for (const language of TARGET_LANGUAGES) {
console.log(`Translating texts from ${SOURCE_LANGUAGE.toUpperCase()} to ${language.toUpperCase()}`);
const records = {};
for (const key of keys) {
const command = new TranslateTextCommand({
SourceLanguageCode: SOURCE_LANGUAGE,
Text: data[key],
TargetLanguageCode: language,
});
const result = await translateClient.send(command);
records[key] = result.TranslatedText;
}
const fileContent = JSON.stringify(records, null, 2);
console.log('Exporting the translated texts into a JSON file');
fs.writeFileSync(`${OUTPUT_FOLDER_PATH}/locale-${language}.json`, fileContent, { encoding: 'utf-8' });
}
})();
Run the command yarn start to execute the project, you get the following output:
If we look at the content of the "data" folder, we can see files for each language.
Customize translation output
Amazon offers settings to adjust the translation's output depending on your needs. The table below lists the settings available with the purpose.
| Setting | Purpose |
|---|---|
| Brevity | When enabled, Amazon Translate will try to shorter the sentences as much as possible while keeping the text meaning |
| Formality | When enabled, Amazon Translate will adjust the tone to be more formal or unformal. |
| Profanity | When enabled, it will detect (literally, not contextually) words and mask them using 5 characters word |
Let's say we want to enable these settings while translating texts:
The translation code in the "src/index.ts" file will look like this:
const command = new TranslateTextCommand({
  SourceLanguageCode: SOURCE_LANGUAGE,
  Text: data[key],
  TargetLanguageCode: language,
  Settings: {
    Brevity: 'ON',
    Formality: 'FORMAL',
    Profanity: 'MASK',
  },
});

const result = await translateClient.send(command);
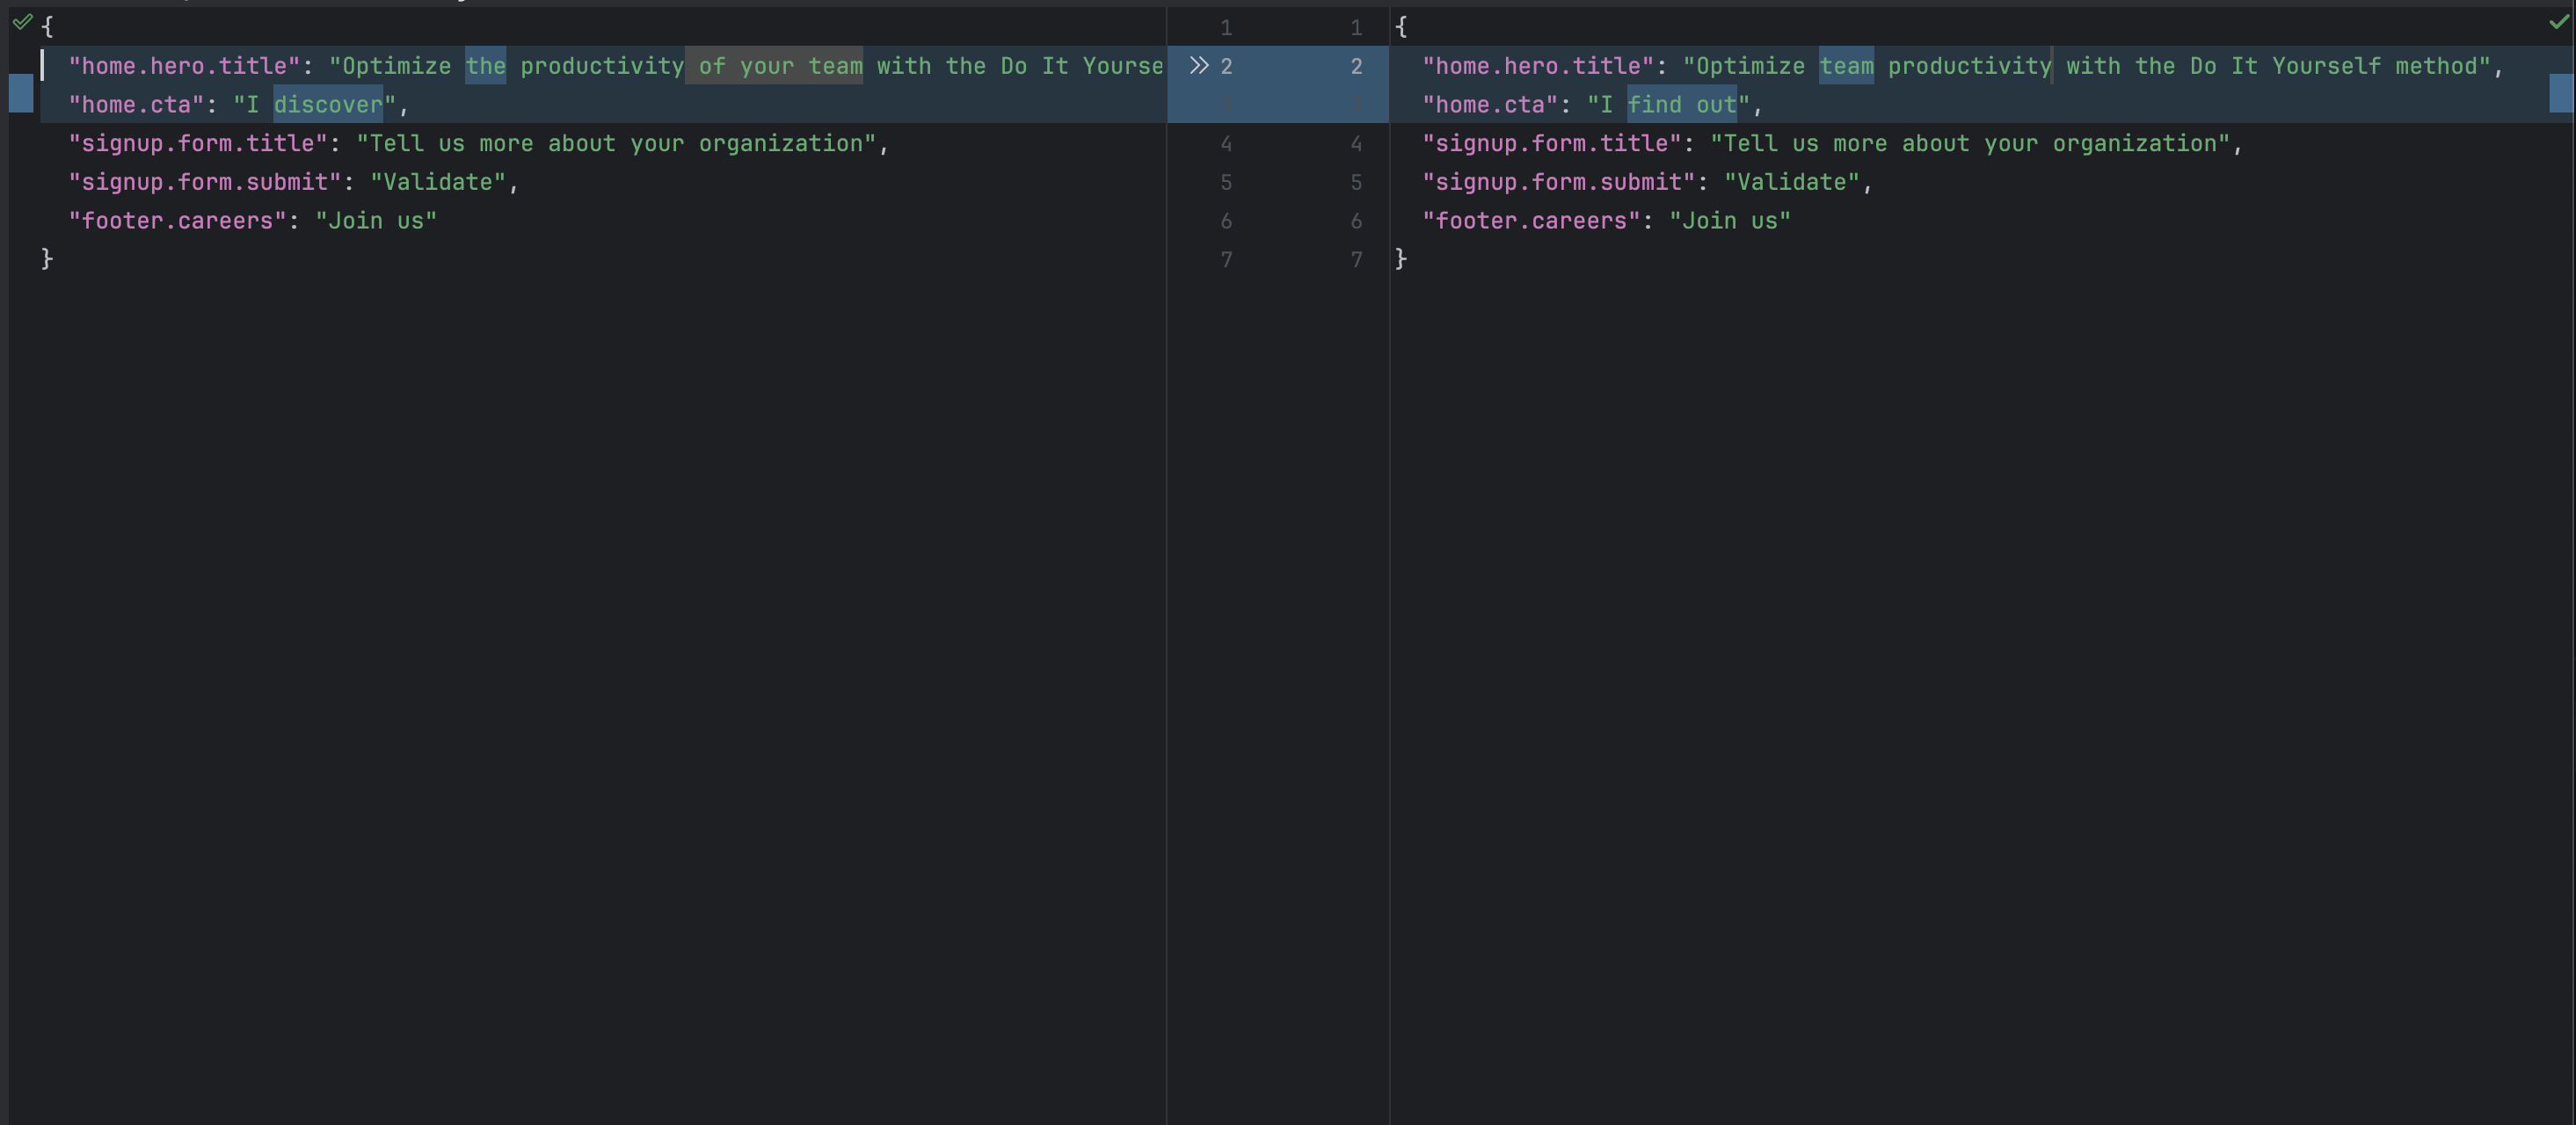
Re-run the code again and inspect the output:
Wrap up
Amazon Translate makes it easy to programmatically translate texts from one language to another. To use it in Node.js, you must install the Node.js SDK client for Amazon Translate and then use the AWS credentials to initialize the client.
You can customize the translation output by applying settings such as making sentence briefs, having a formal tone, or masking profane words.
To go further, check out the Amazon Translate documentation.
You can find the code source on the GitHub repository.
Follow me on Twitter or subscribe to my newsletter to avoid missing the upcoming posts and the tips and tricks I occasionally share.