
Build the Docker image of a Node.js application


To deploy a Node.js application in production, you can execute the code directly and use a process manager like PM2 to monitor your application. A better approach is to create a Docker image and start a container from that image.
With Docker, you can tag your image and revert to a previous working image when the current has a critical bug; developers can run the application without worrying about the Operating System and configuration settings.
This post shows how to build a Docker image of a Node.js application. I also wrote a post about running the application with PM2.

Prerequisites
You need these tools installed on your computer to follow this tutorial.
- Node.js 20+ - Download's link
- NPM or Yarn - I will use Yarn
- Docker - Download's link
Set up the project
We will use the Node.js REST API we built in the post below as an example of a Node.js application.

The source code of this Node.js REST API can be found in this GitHub repository; let's clone it locally using the Git sparse-checkout.
git clone --no-checkout https://github.com/tericcabrel/blog-tutorials.git

cd blog-tutorials

git sparse-checkout init --cone

git sparse-checkout set node-rest-api-swagger

git checkout @
The project is now available locally; let's make it work by running the following commands:
cd node-rest-api-swagger
docker run -d --rm -e MONGO_INITDB_ROOT_USERNAME=user -e MONGO_INITDB_ROOT_PASSWORD=secret -p 27017:27017 --name mongodb mongo:8.0
cp .env.example .env
yarn install
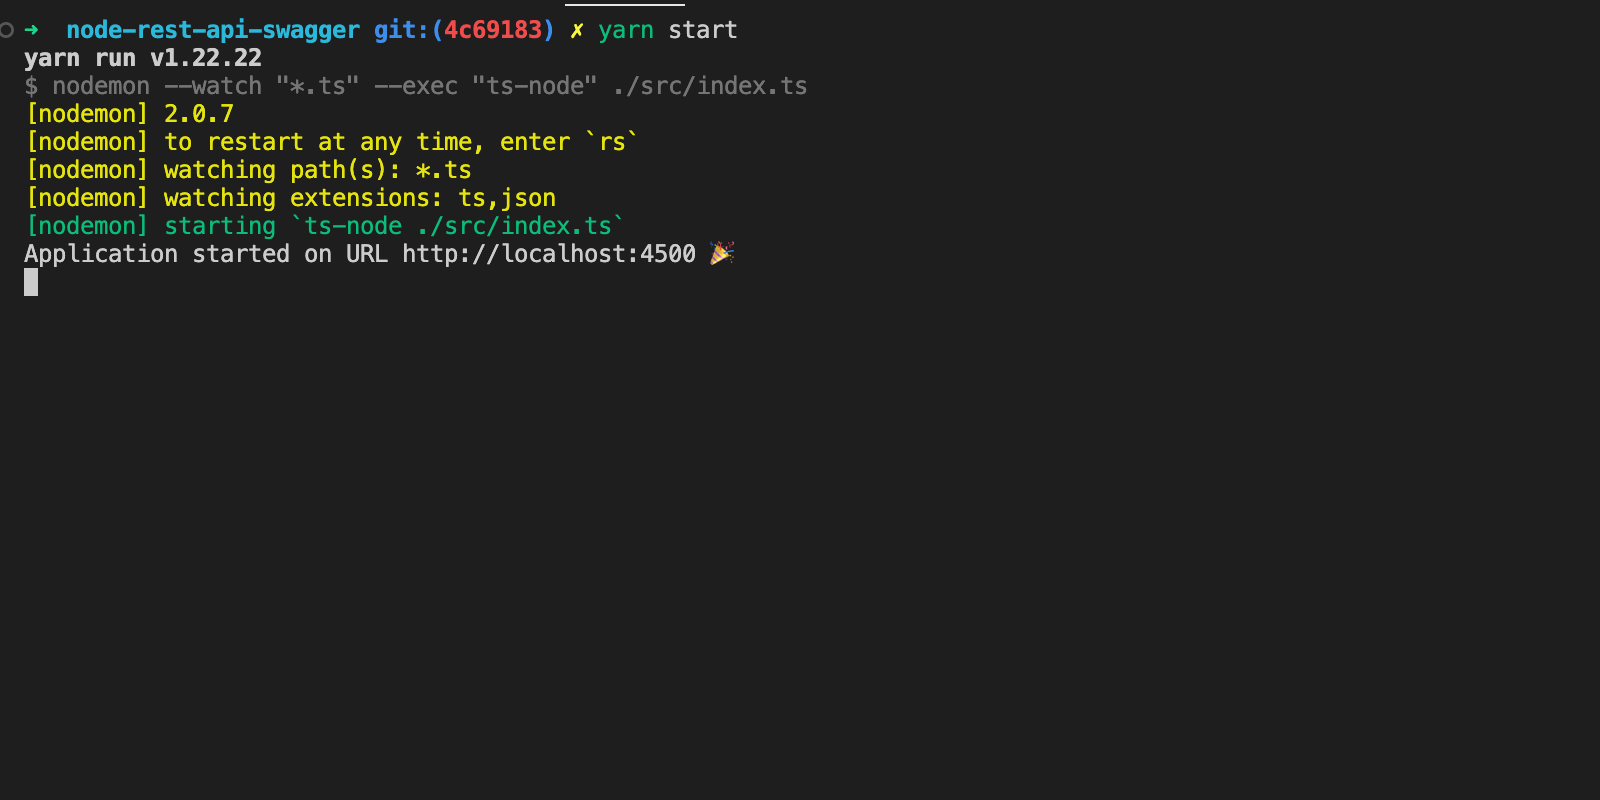
yarn start
The application will start on http://localhost:4500
Write the Dockerfile
We will use the Docker multi-stage to gain the following benefits:
- Make the image build agnostic from any operating system because we can build the project in a Docker build stage and then copy the build files from another build stage.
- Reduce the size of the Docker image buy copying only the output of a build stage.
At the root project directory, create a file called "Dockerfile" and add the code below:
FROM node:20-alpine AS builder

RUN mkdir -p /app

WORKDIR /app

COPY . .

RUN yarn install

RUN yarn tsc

FROM node:20-alpine AS app

ENV NODE_ENV=production

RUN mkdir -p /app

WORKDIR /app

COPY --chown=node:node --from=builder /app/package.json /app
COPY --chown=node:node --from=builder /app/build/ /app

RUN yarn install --frozen-lockfile --production

EXPOSE 4500

ENTRYPOINT ["node", "index.js"]
This file has two stages "builder" and "app" and use Node alpine 20 as the base image.
- In the first stage builder, we copy the project file from the host, install the dependencies, and transpile the files from Typescript to JavaScript.
- In the second stage app, we copy the package.json and the folder content generated by the project built in the previous stage.
We also set the ownership of the files to the usernode(automatically created in the Node Alpine image). Finally, we define the command to run when the container starts.
Run the command below to build the image:
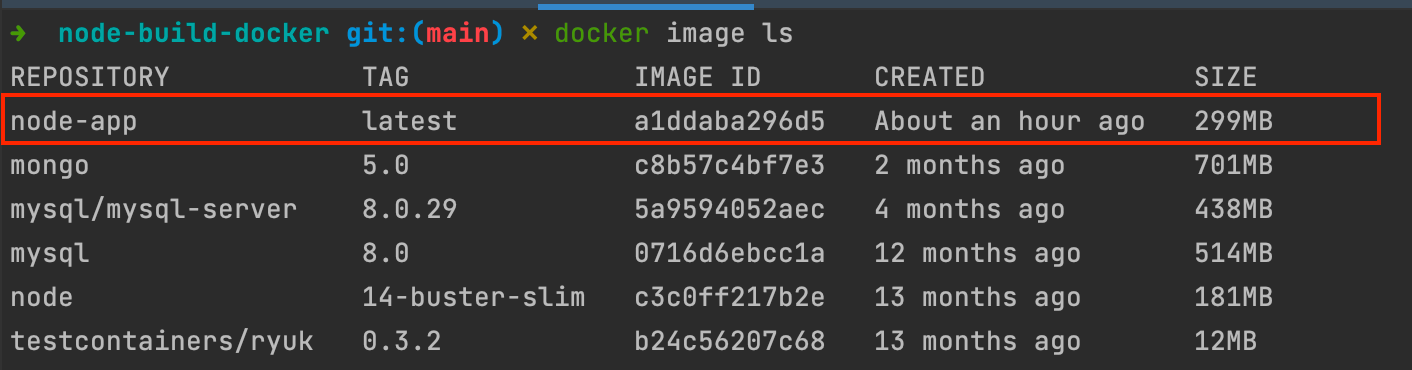
docker build -t node-app .
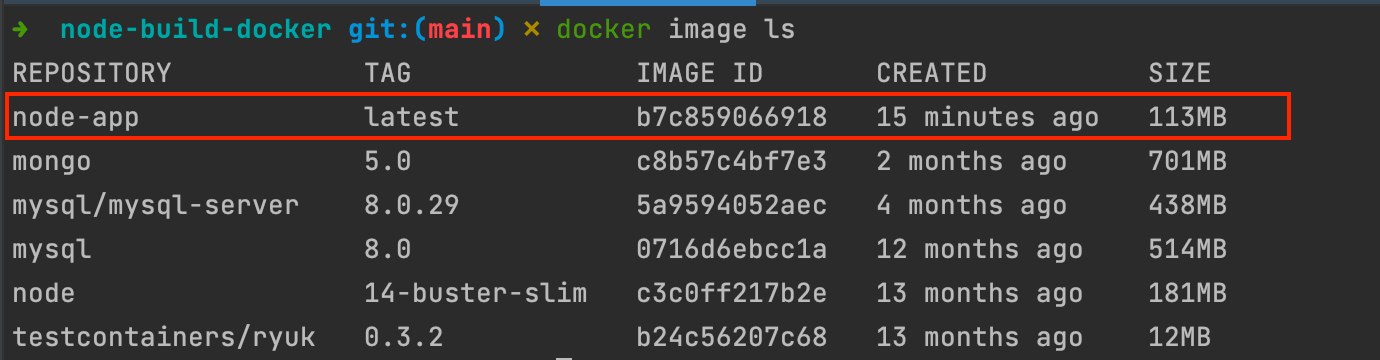
View the image detail by running the command: docker image ls.
Run the Docker image
To run the image and verify the application works as expected, we will create a Docker container from the image we build.
Since the Node project interacts with MongoDB, so we need to start a docker container for MongoDB with the command below:
docker network create node-app-network

docker run -d --network node-app-network -e MONGO_INITDB_ROOT_USERNAME=app_user -e MONGO_INITDB_ROOT_PASSWORD=app_password --name mongodb mongo:8.0
Update the environment variables file .env to set the database credentials; This file will be used to inject variables when starting a Docker container of our application image.
HOST=http://localhost
PORT=4500

DB_HOST=mongodb
DB_PORT=27017
DB_USER=app_user
DB_PASS=app_password
DB_NAME=admin
Run the command below to start the container of the project
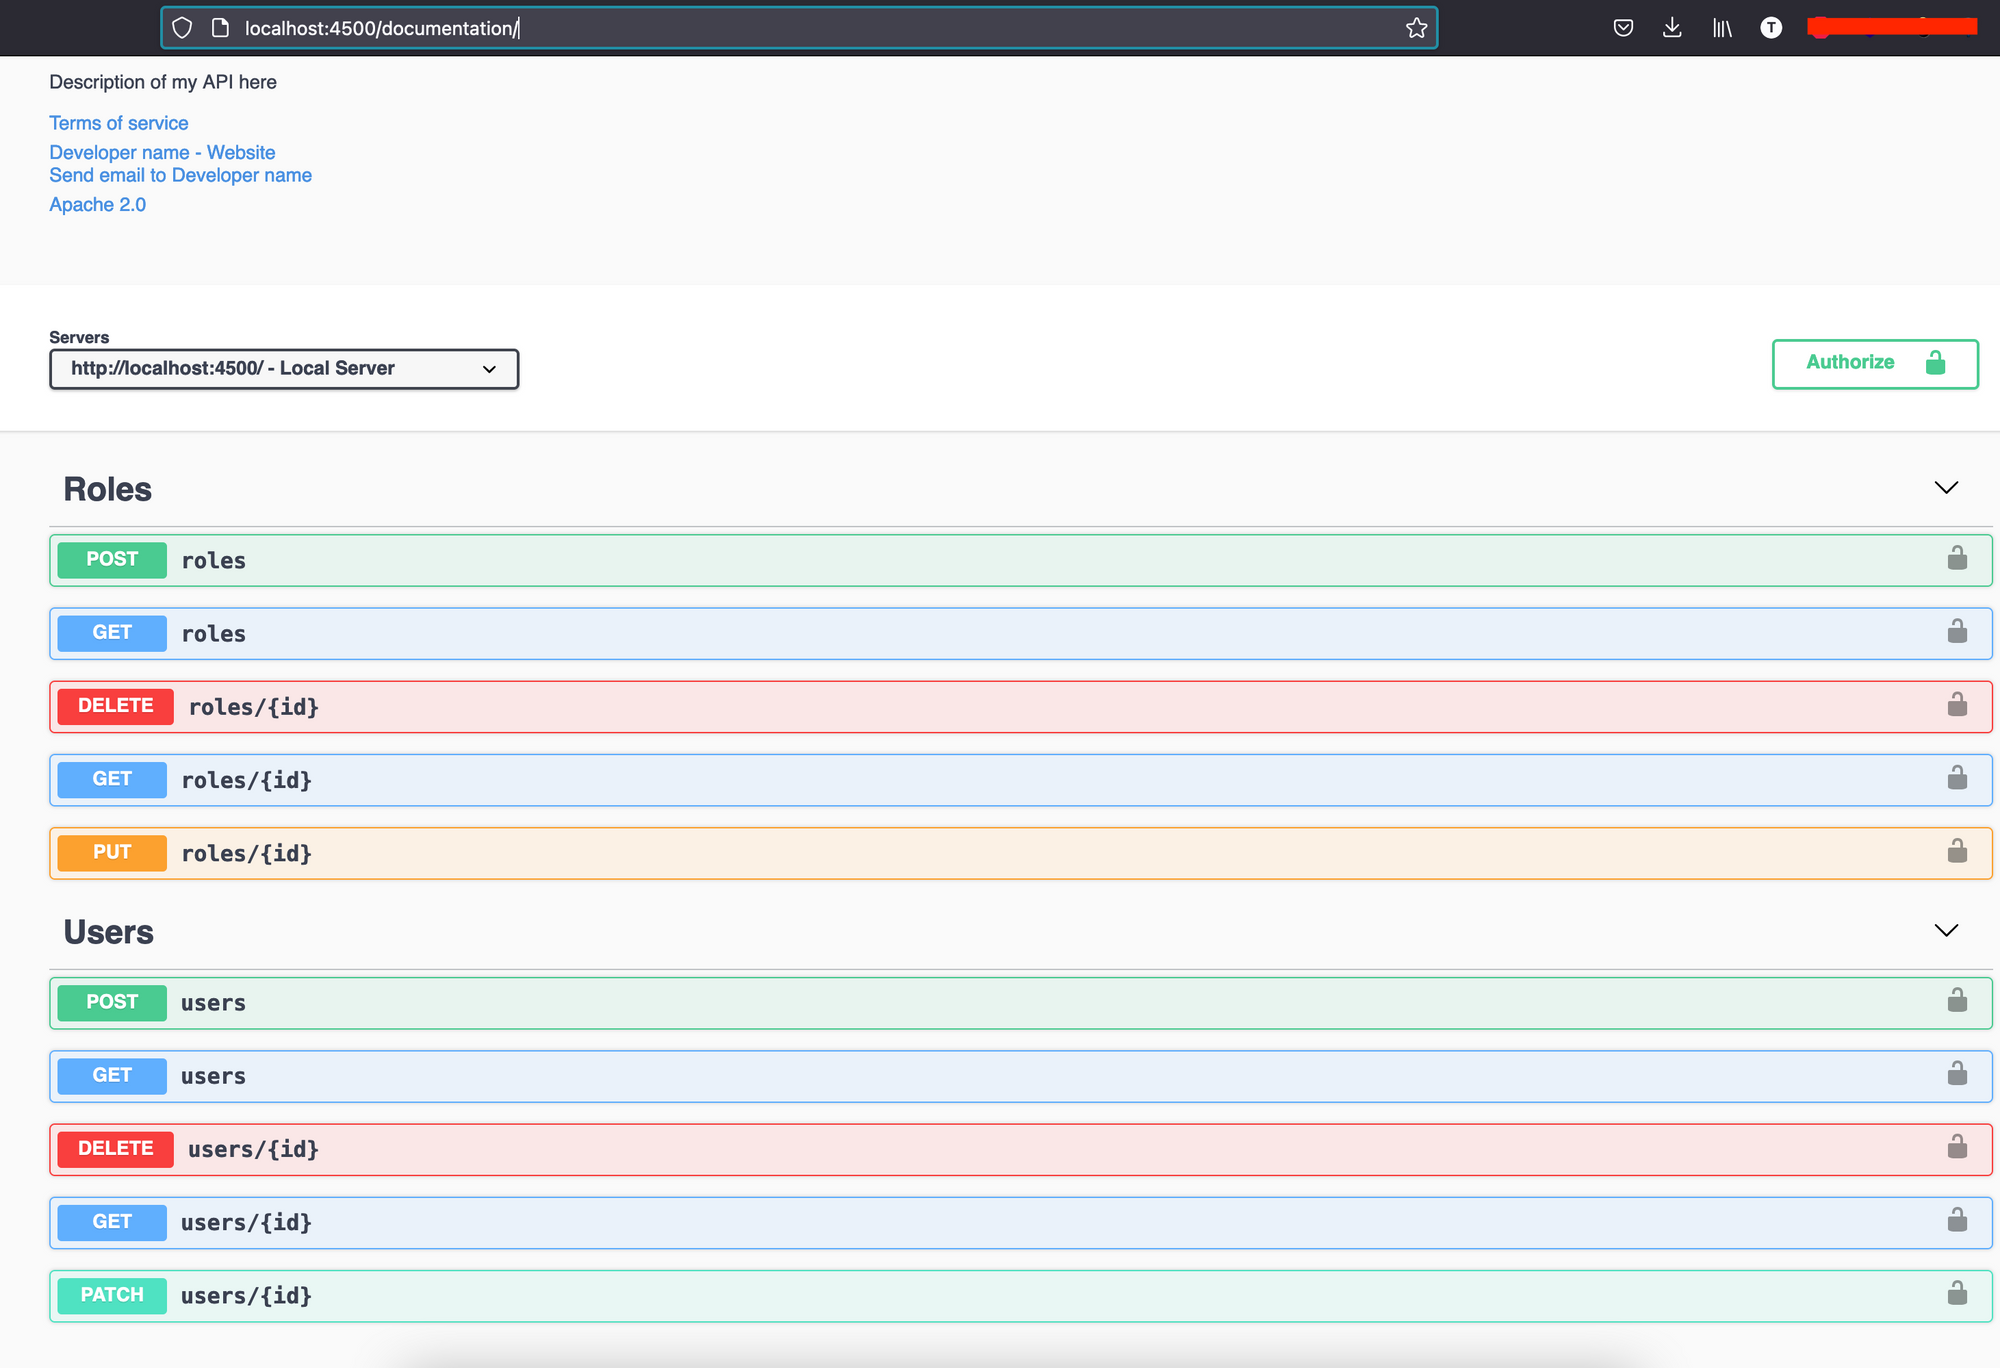
docker run -it -p 4500:4500 --network node-app-network --name node-rest-api --rm --env-file .env node-app:latest
Open your browser and navigate to http://localhost:4500/documentation
Reduce the size using Esbuild
After building the application, we still need the production dependencies to run the application, which is why the Docker image contains a node_modules folder.
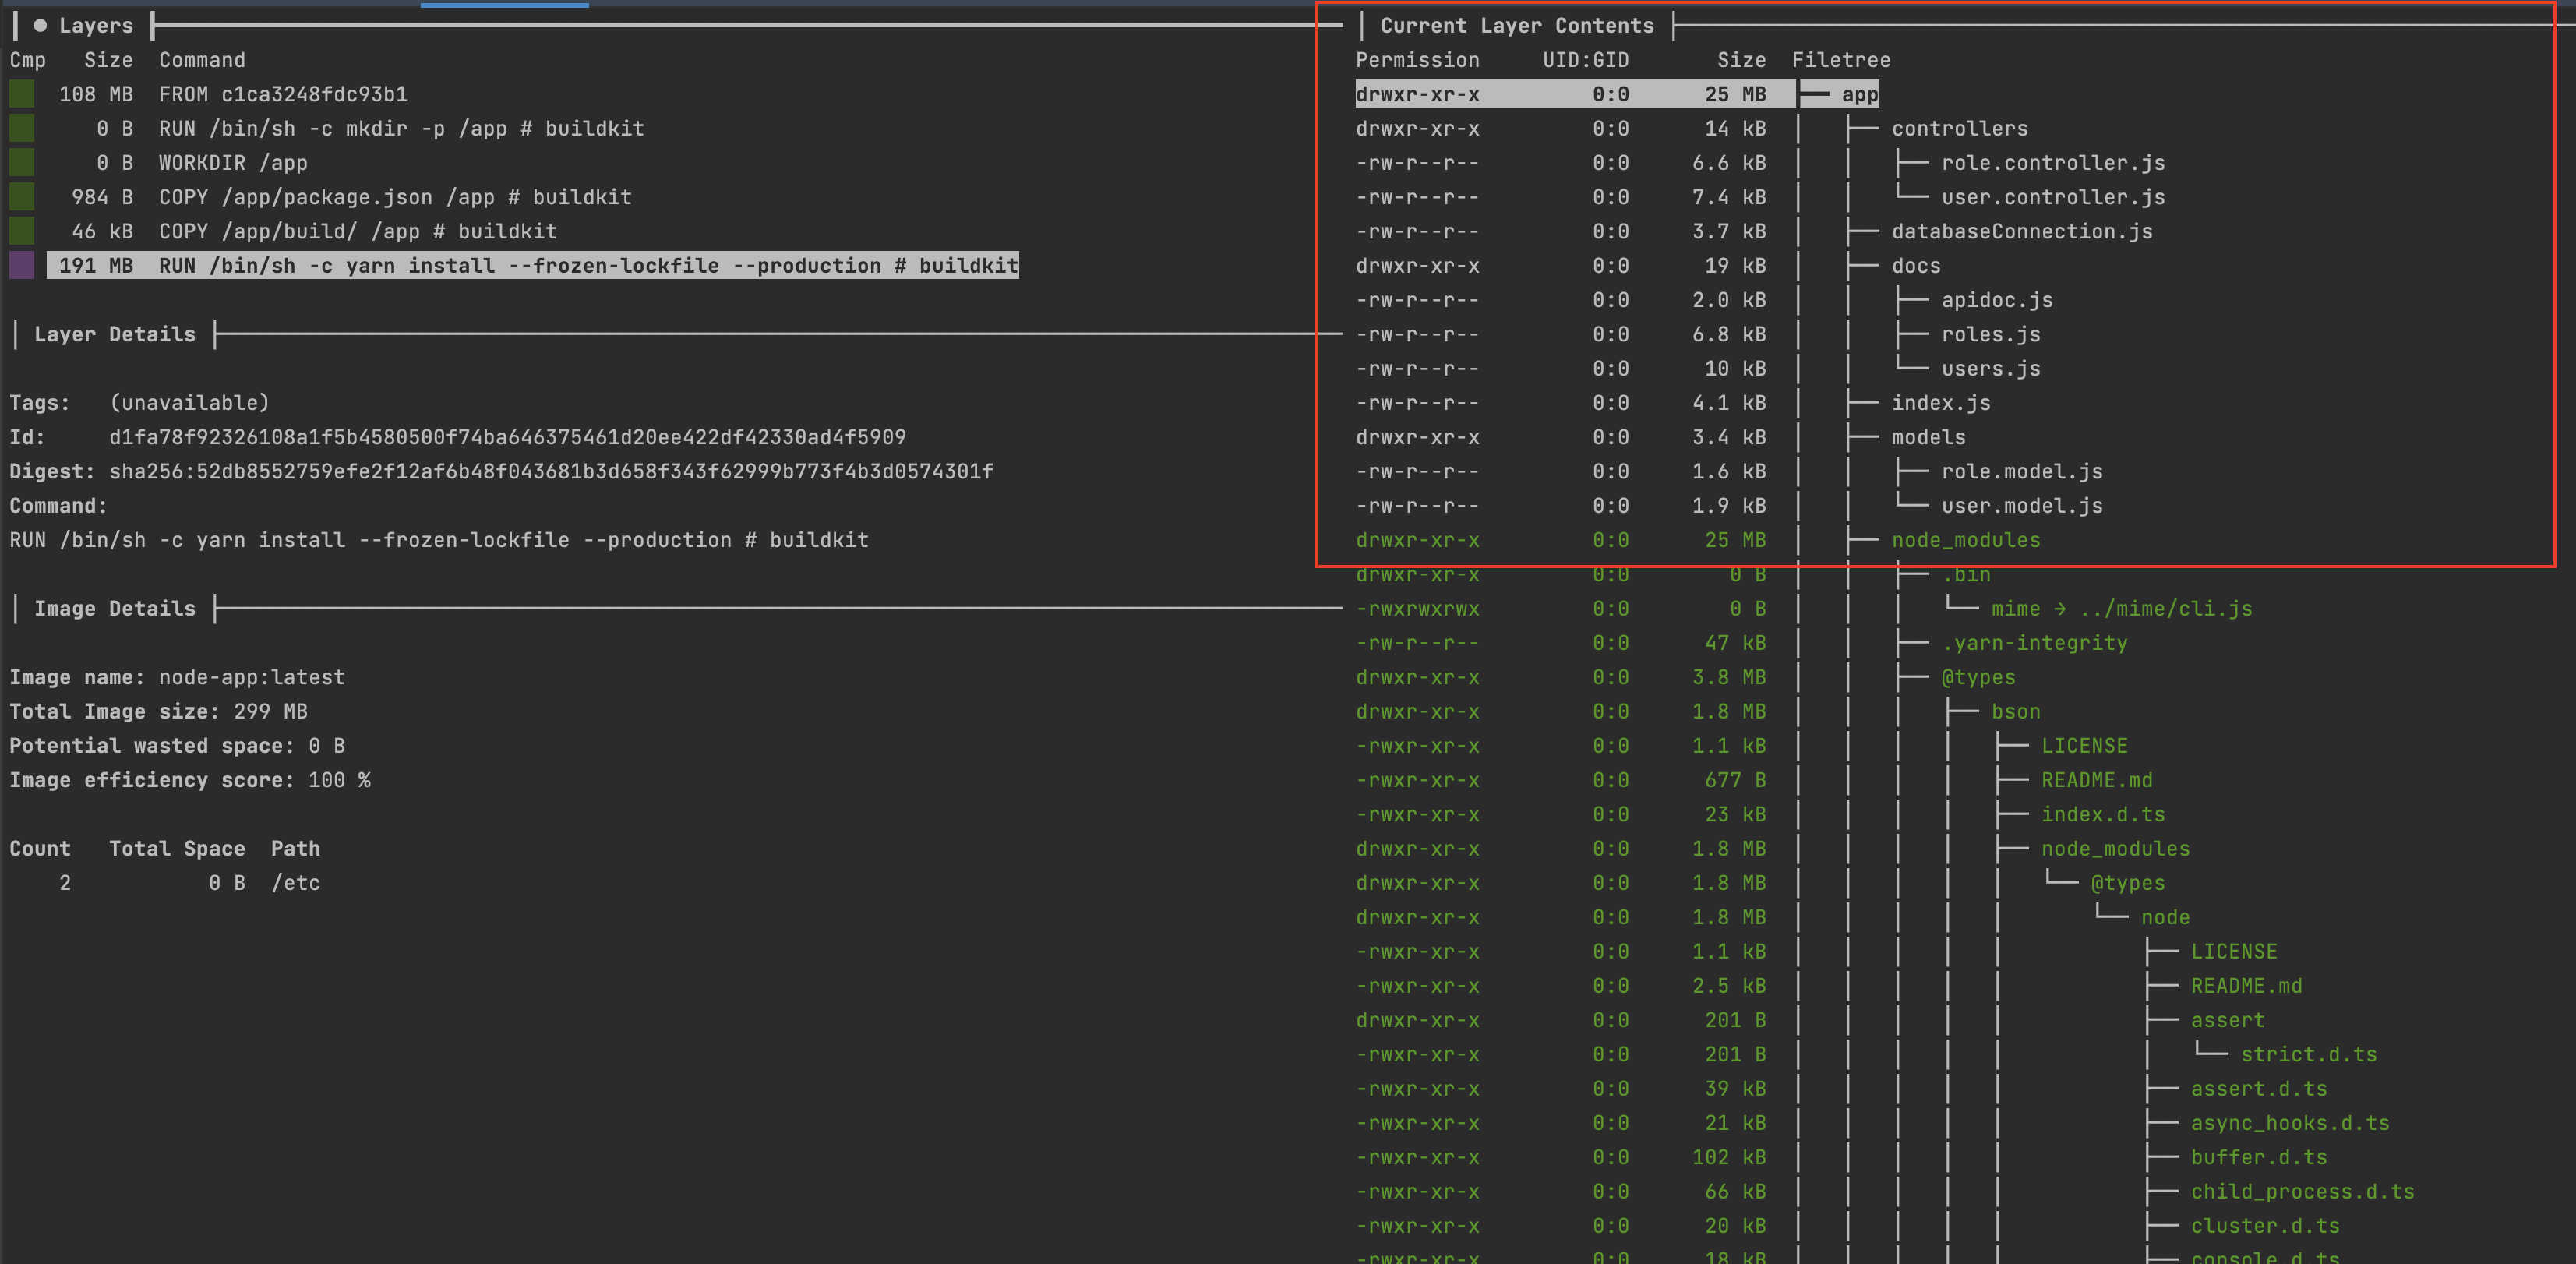
You can use a tool Dive to explore the content of a Docker image. We can see the node_modules folder takes 191MB of space.
We can reduce the size if we package the application into a single file using a Javascript bundler like ESbuild.
Here is what the Dockerfile now looks like:
FROM node:20-alpine AS builder

RUN mkdir -p /app

WORKDIR /app

COPY . .

RUN yarn install

RUN npx esbuild ./src/index.ts --bundle --platform=node --outfile=build/index.js

FROM node:20-alpine AS app

ENV NODE_ENV=production

RUN mkdir -p /app

WORKDIR /app

COPY --chown=node:node --from=builder /app/build/index.js /app

EXPOSE 4500

ENTRYPOINT ["node", "index.js"]
Run the following command to build a new Docker image:
docker build -t node-app.
Once done, view the Docker image size difference.
We alamost reduced the size by three times. Start the container again and make it work.
To fix that, you can generate source maps of the file and package them in the Docker image, but this solution is not recommended as it slows the application.
I will show the recommended approach to fixing this issue in an upcoming post.
Wrap up
When building a Docker image, take advantage of multi-stage builds and use Esbuild to package your application in a single file when the size is critical (running on an AWS Lambda Function).
Using a tool liker Dive to explore the content of the Docker image can help reduce the Docker image size.
Your Docker image is ready to be deployed in production; checkout the following posts I wrote to go further:
- Push your Docker image to the Docker Hub
- Push your Docker image Amazon Elastic Container Registry
- Deploy your application on VPS using Nginx as a reverse proxy.
You can find the code source on the GitHub repository.
Follow me on Twitter or subscribe to my newsletter to avoid missing the upcoming posts and the tips and tricks I occasionally share.