
Deploy a Static Website on AWS S3 and CloudFront with AWS CDK


In the previous post, we saw how to host a static website on AWS S3, and although we succeeded, we can see there are too many steps to do manually, and you must repeat the process every time you have a new website to deploy; let's not talk about updating the website.
The AWS Cloud Development Kit (CDK) is a tool to build and deploy your infrastructure as code (IaC). By leveraging it, you can create your infrastructure on AWS using your preferred programming languages (Java, TypeScript, Python, C#, and Go in Developer Preview), which make it easy to update, replicate, and use version control.
In this post, we will use the AWS CDKv2 to build the infrastructure for hosting a static website and then deploy it on AWS.

Prerequisites
To follow this tutorial, make sure you have the following tools installed on your computer.
- An AWS account with a free tier is enough.
- AWS CLI configured (read my post on how to configure the AWS CLI)
- Node.js 18 or higher - download link
Initialize a AWS CDK v2 project
Run the command below to install the latest version of the AWS CDK and ensure it works by checking the version.
npm install -g aws-cdk

cdk --version
Create a folder that will hold the source code of our project.
mkdir teco-website

cd teco-website
We will use TypeScript to define the infrastructure, so let's initialize a new TypeScript project by running the command below:
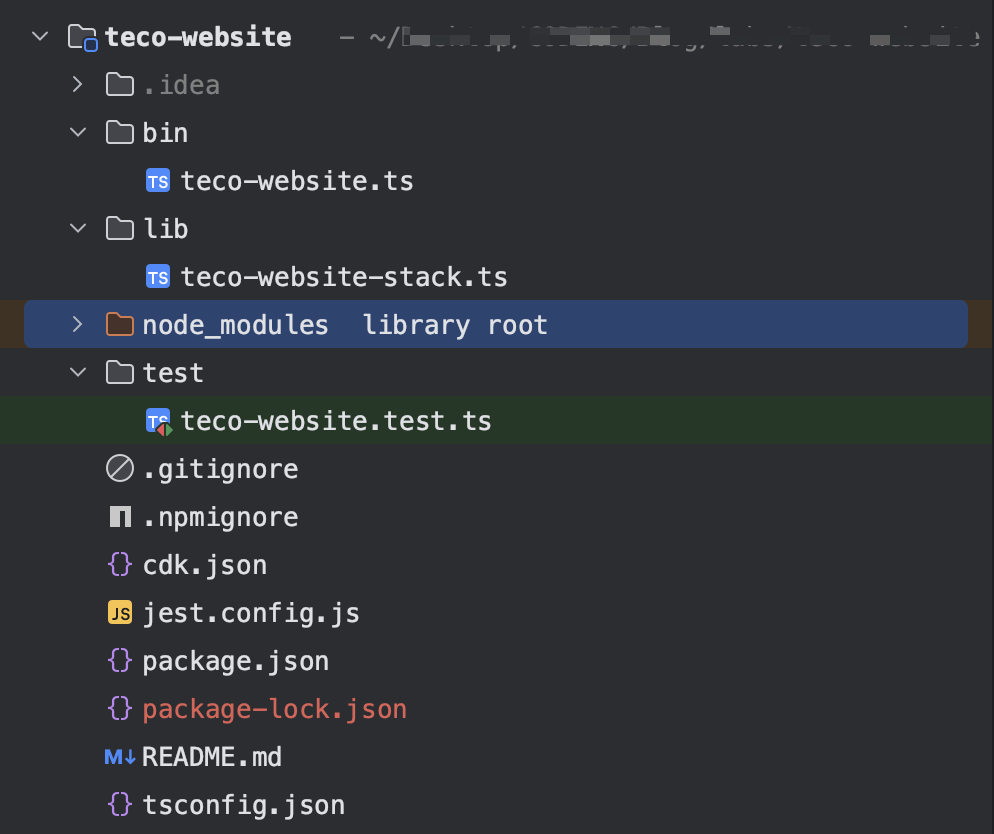
cdk init app --language typescript
The command creates the required files and folders and installs the Node.js modules. The folder structure looks like this one:
Set up a React project with Vite
To have an example of a static website to host, we will generate a new project using Vite and build it to generate the static files.
Run the command below to scaffold a new React project using the Vite CLI:
npm create vite@latest website --template react-ts
In the above command, "website" is the project's folder containing React files, so you can name it as you want.
Select "React" as the framework and "TypeScript" as the variant and validate the project creation.
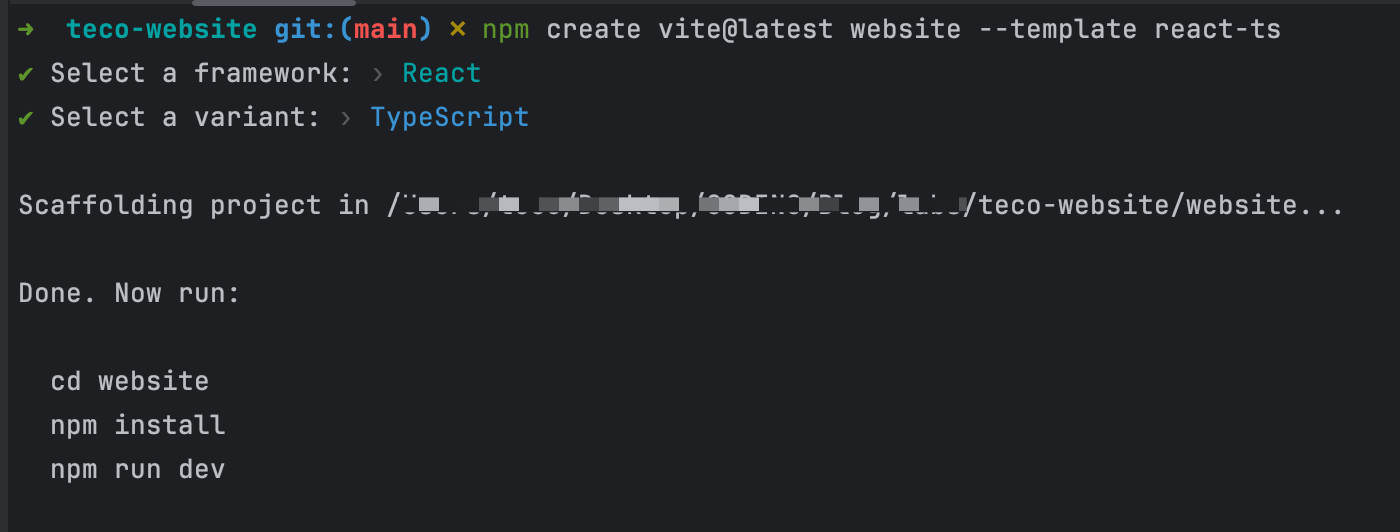
Run the commands below to install the dependencies and run the project.
cd website

npm install

npm run dev
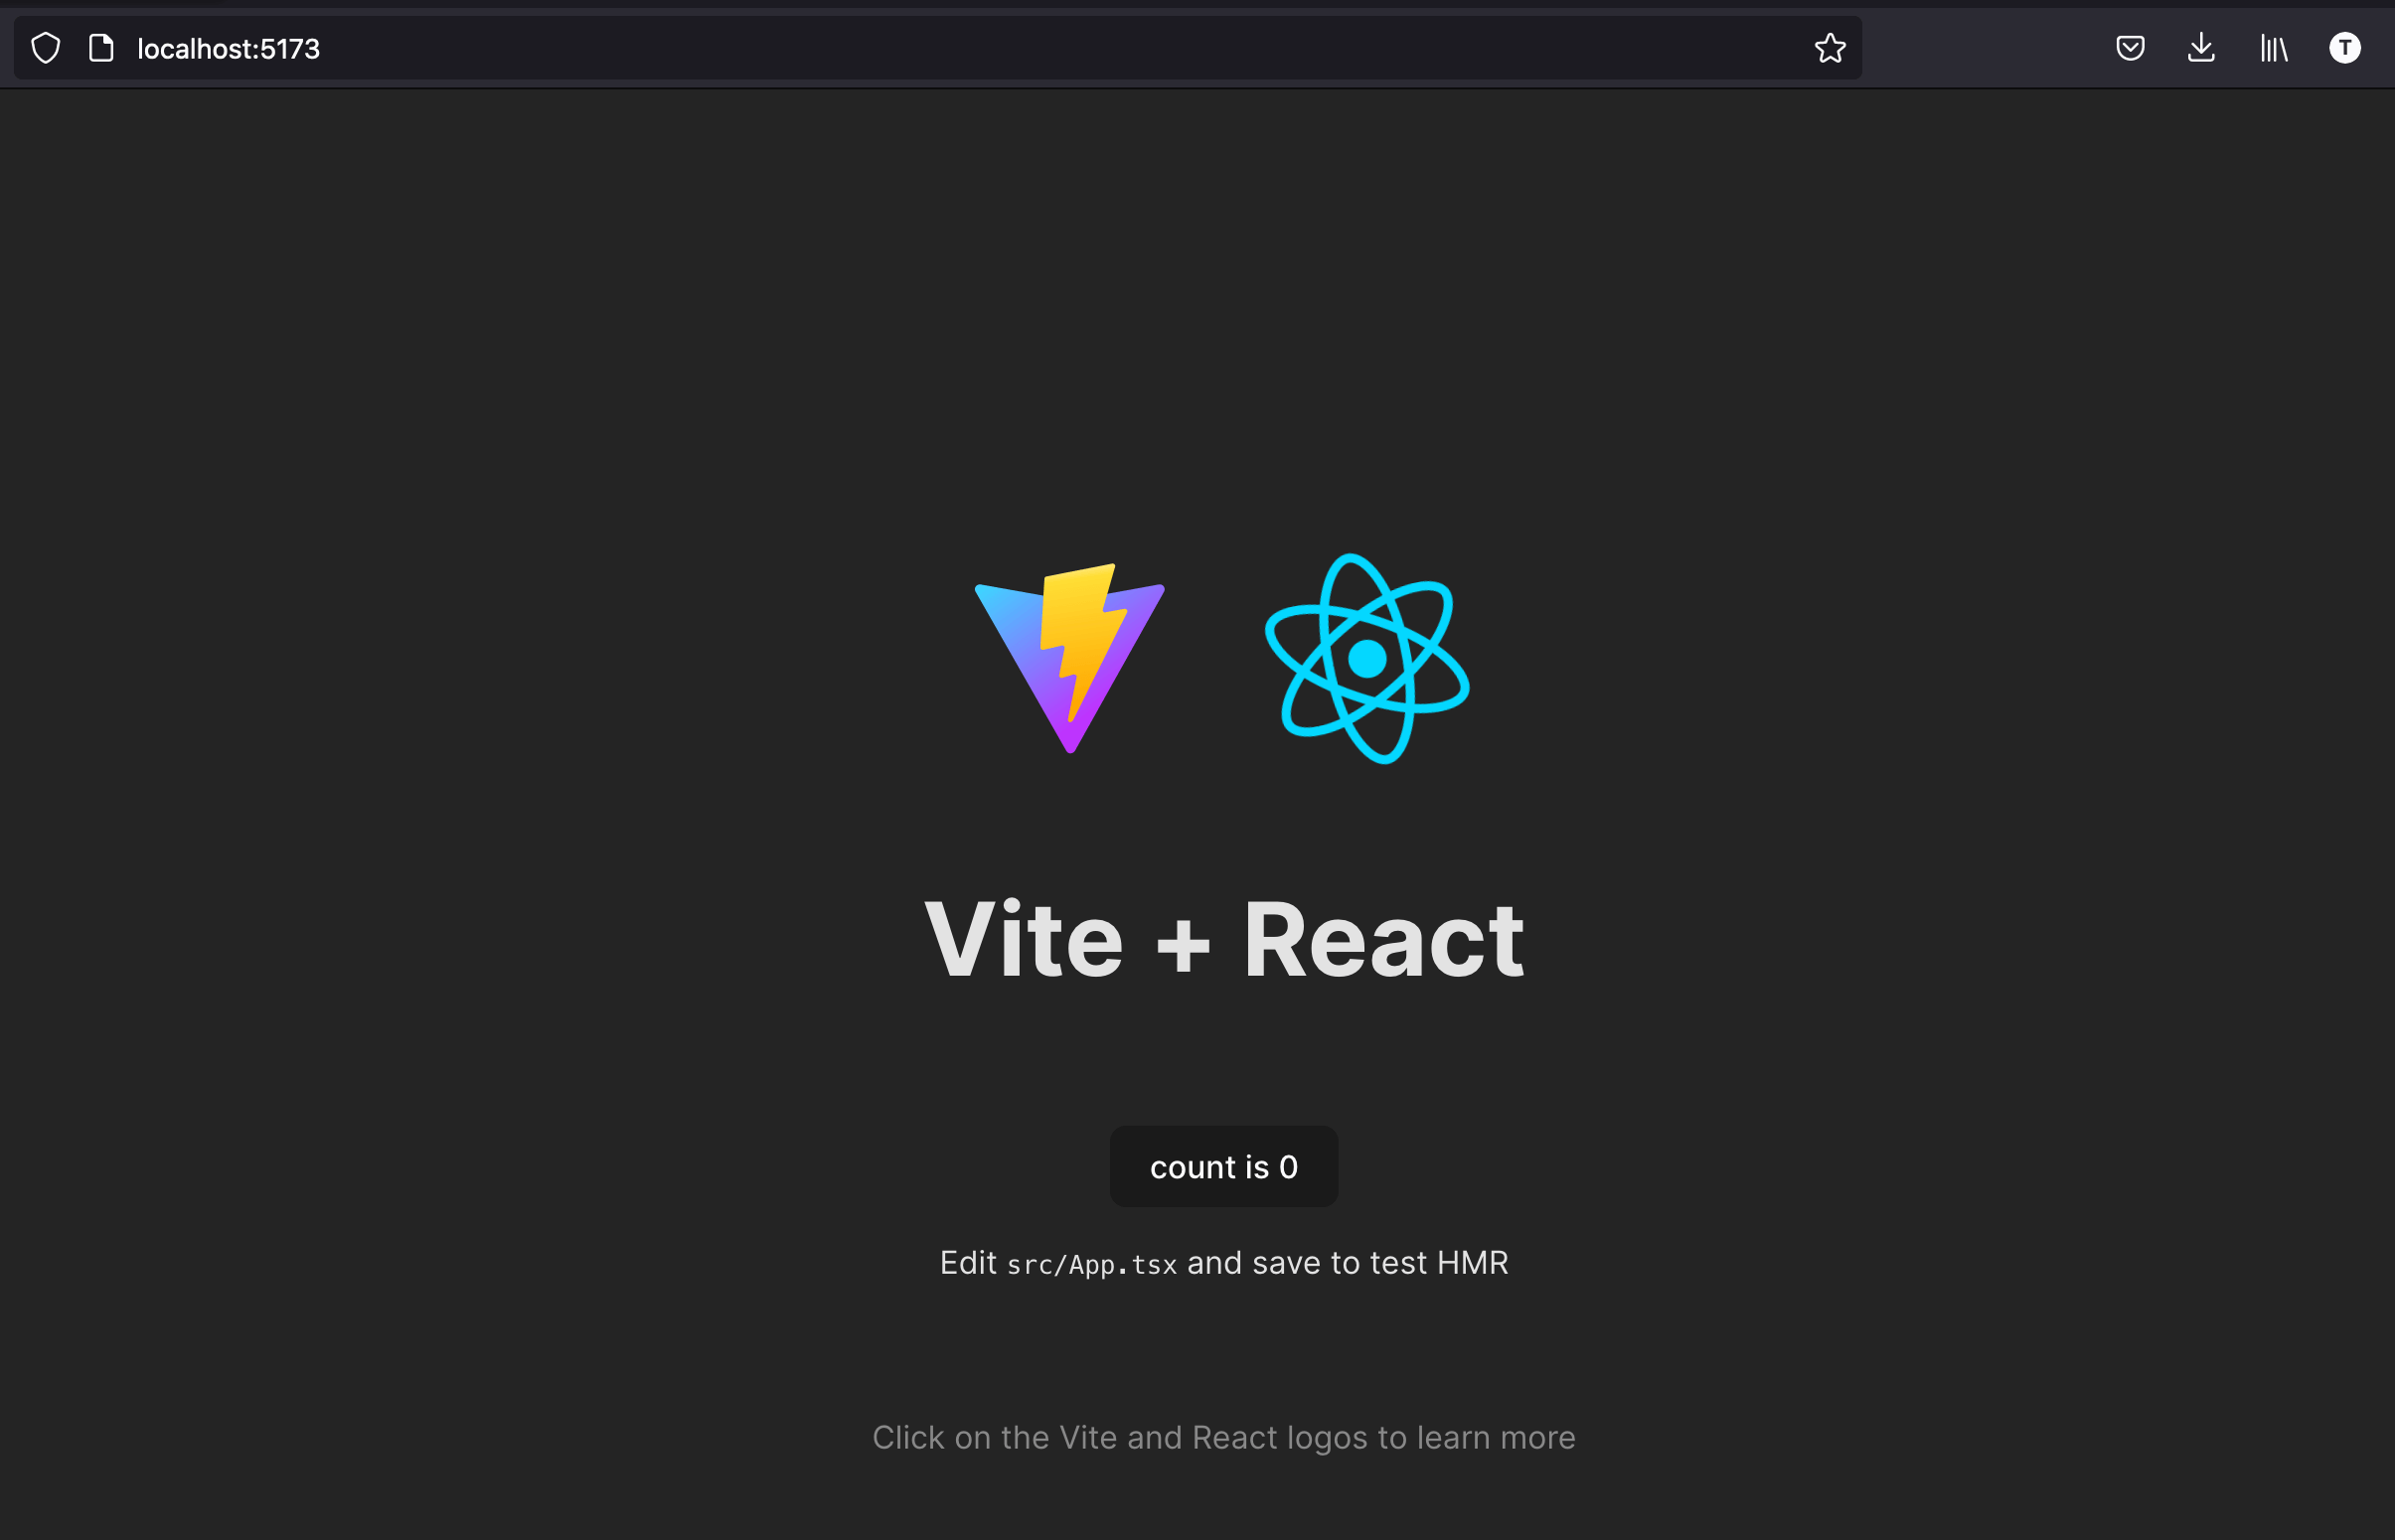
Navigate to http://localhost:5173/, and you will see the page below:
Generate the static bundle of the website
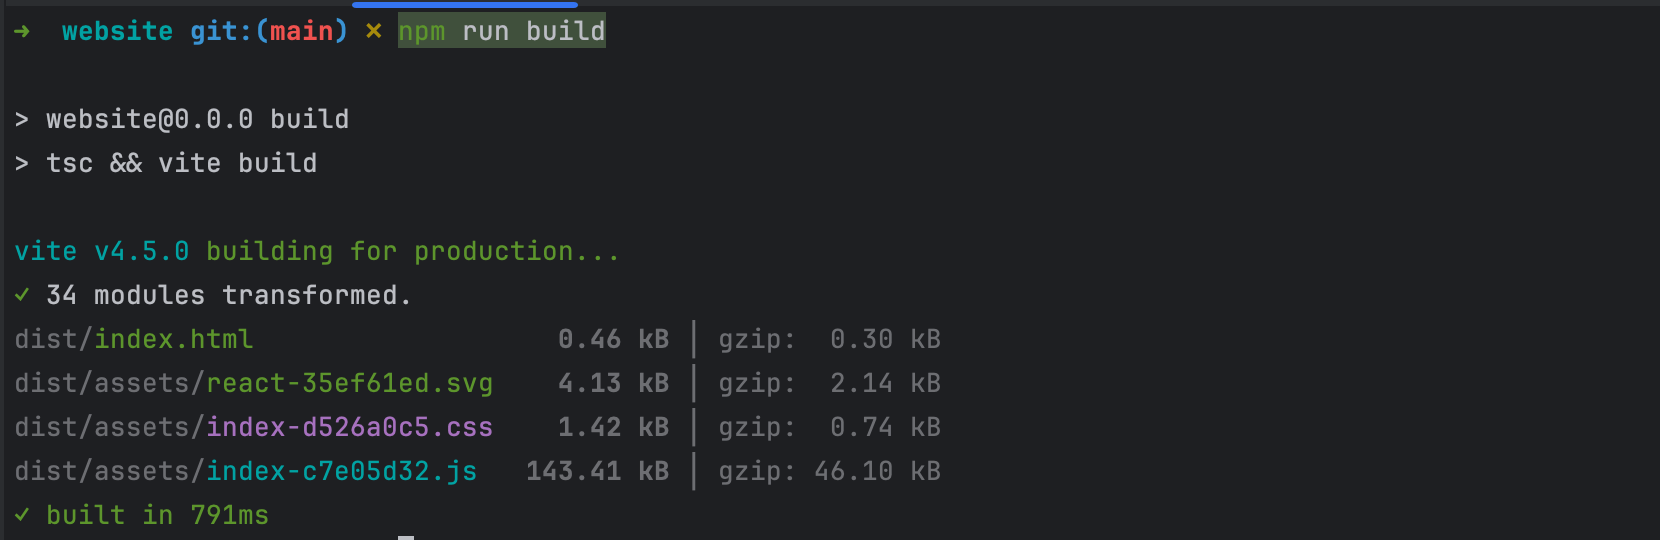
The project runs locally; let's generate the static files by running the command below:
npm run build
This command will generate a "dist" folder with all the static files.
We will now define the infrastructure to host and serve the website from the static files generated.
Create infrastructure to host the static website
Hosting a static website on AWS using S3 and CloudFront can be summarized in the following steps:
- Create the S3 bucket
- Enable static website hosting on the S3 bucket.
- Create the CloudFront distribution.
- Link the distribution to the S3 bucket.
- Allow the CloudFront distribution to access the S3 bucket.
- Copy the static website content into the S3 bucket.

The code below defines all the above points and outputs the CloudFront distribution ID and URL.
import * as cdk from 'aws-cdk-lib';
import * as cloudfront from "aws-cdk-lib/aws-cloudfront";
import * as cloudfrontOrigins from "aws-cdk-lib/aws-cloudfront-origins";
import * as s3 from "aws-cdk-lib/aws-s3";
import * as s3Deploy from "aws-cdk-lib/aws-s3-deployment";
import { Construct } from 'constructs';
import * as path from "path";

export class TecoWebsiteStack extends cdk.Stack {
  private cfnOutCloudFrontUrl: cdk.CfnOutput;

  private cfnOutDistributionId: cdk.CfnOutput;

  constructor(scope: Construct, id: string, props?: cdk.StackProps) {
    super(scope, id, props);

    const bucket = new s3.Bucket(this, "TecoWebsiteBucket", {
      bucketName:  'teco-website',
      blockPublicAccess: s3.BlockPublicAccess.BLOCK_ALL,
      publicReadAccess: false,
      removalPolicy: cdk.RemovalPolicy.DESTROY,
    });

    const distribution = new cloudfront.Distribution(this, "TecoWebsiteDistribution", {
      defaultBehavior: {
        allowedMethods: cloudfront.AllowedMethods.ALLOW_GET_HEAD_OPTIONS,
        compress: true,
        origin: new cloudfrontOrigins.S3Origin(bucket),
        viewerProtocolPolicy: cloudfront.ViewerProtocolPolicy.REDIRECT_TO_HTTPS,
      },
      defaultRootObject: "index.html",
      errorResponses: [
        {
          httpStatus: 403,
          responseHttpStatus: 403,
          responsePagePath: "/error.html",
          ttl: cdk.Duration.minutes(30),
        },
      ],
      minimumProtocolVersion: cloudfront.SecurityPolicyProtocol.TLS_V1_2_2019,
    });

    new s3Deploy.BucketDeployment(this, 'TecoWebsiteBucketDeployment', {
      sources: [
        s3Deploy.Source.asset(path.join(__dirname, '../website/dist')),
      ],
      destinationBucket: bucket
    });

    this.cfnOutCloudFrontUrl = new cdk.CfnOutput(this, "CfnOutCloudFrontUrl", {
      value: `https://${distribution.distributionDomainName}`,
      description: "The CloudFront URL",
    });

    this.cfnOutDistributionId = new cdk.CfnOutput(this, "CfnOutDistributionId", {
      value: distribution.distributionId,
      description: "CloudFront Distribution Id",
    });
  }
}
Deploy the stack on AWS
The prerequisites to deploy the infrastructure on AWS are the following:
- Bootstrap the CDK environment on AWS by creating the resources needed to handle the infrastructure creation.
- Synthesize the CDK code to generate the CloudFormation template; all the errors found in your CDK code will be printed.
The code below performs these two prerequisites:
cdk bootstrap

cdk synth
If there is no error, we can run the command below to deploy the infrastructure:
cdk deploy
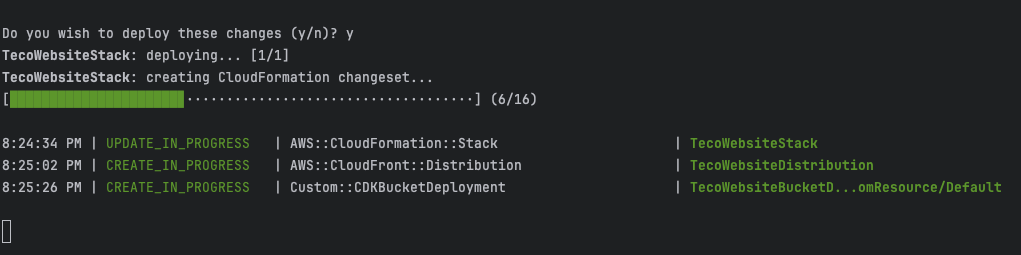
The deployment to AWS can take time, depending on the number of resources to create. The AWS CDK will show the deployment state in the console, as you can see in the picture below:
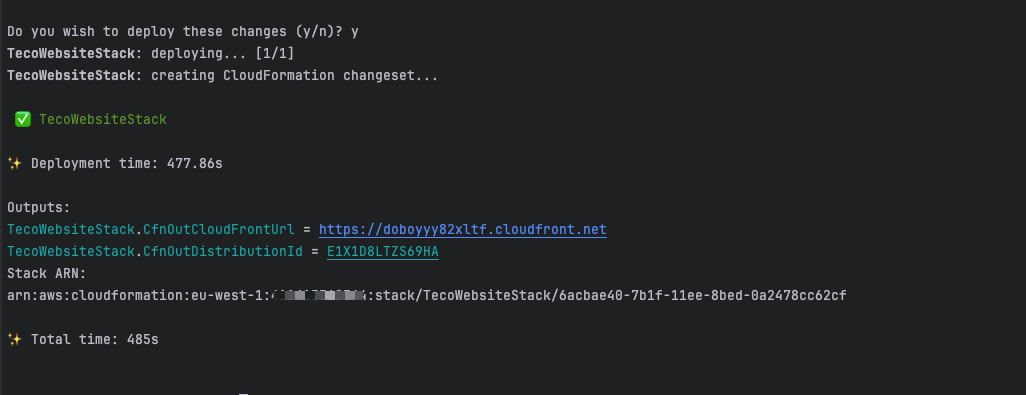
The command will output the CloudFront distribution ID and URL, as you can see in the picture below:
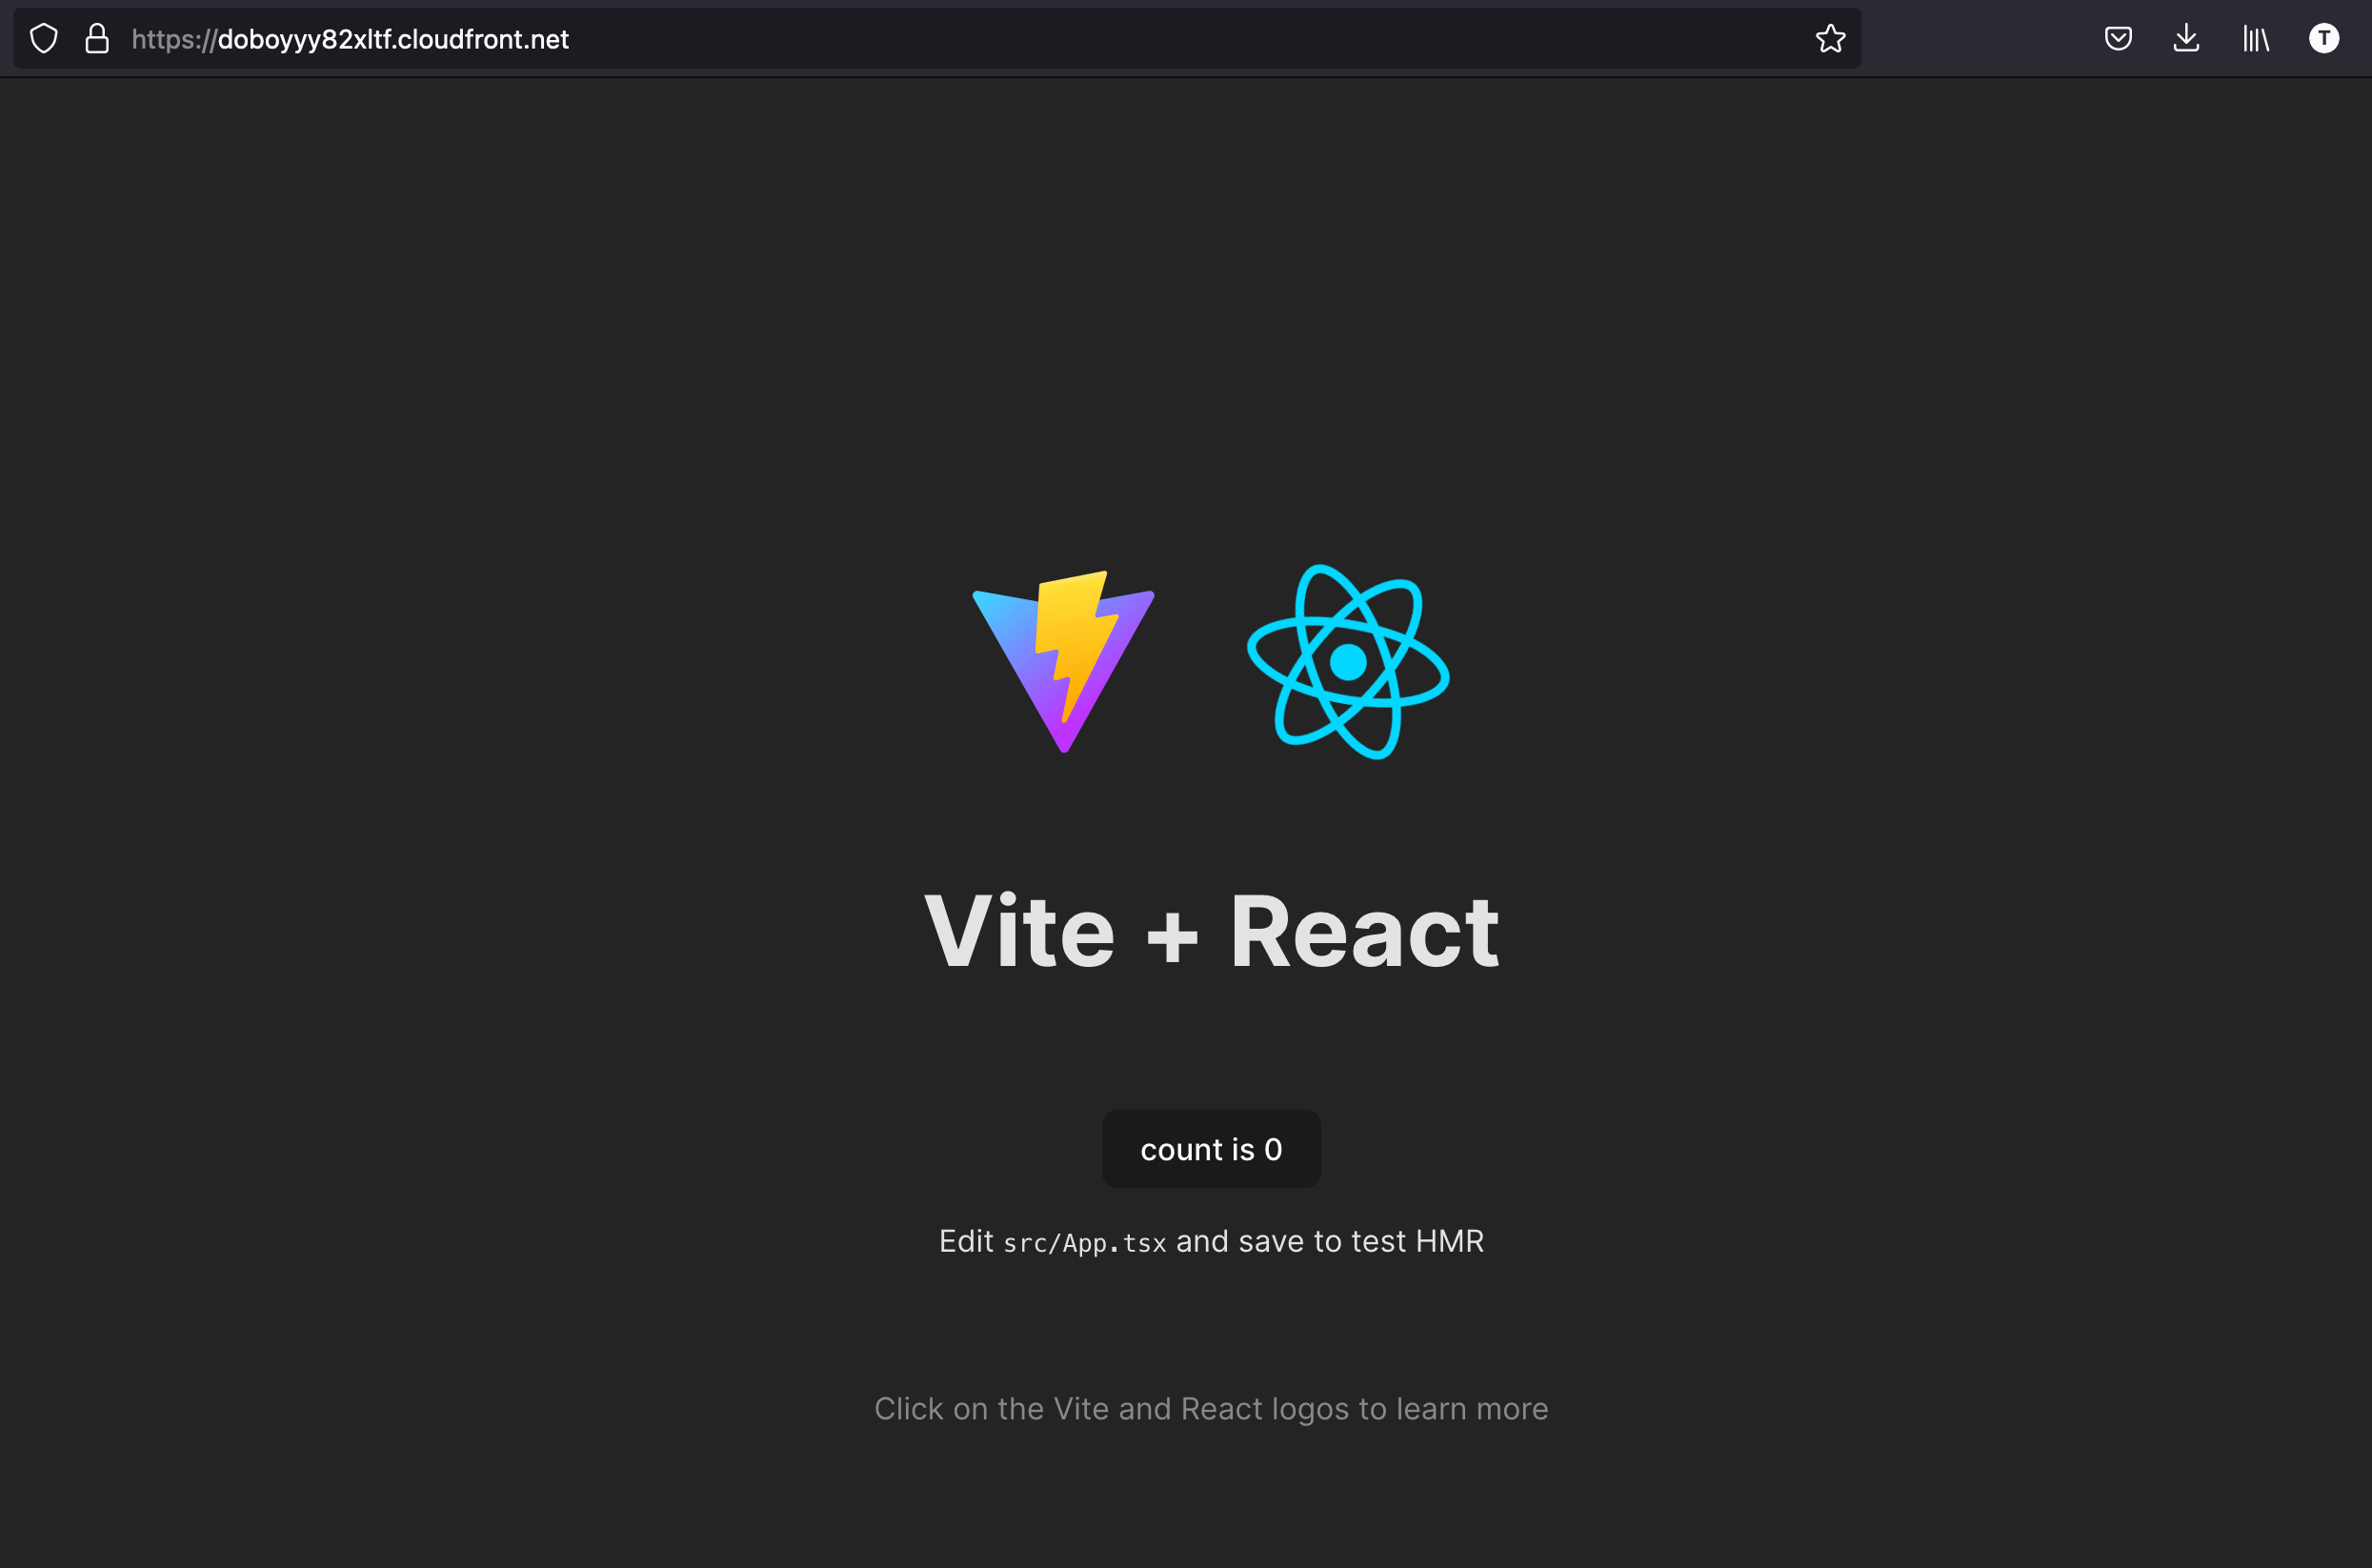
Copy the CloudFront URL and paste it into your browser; you will see the webpage.
Update website content in the S3 bucket
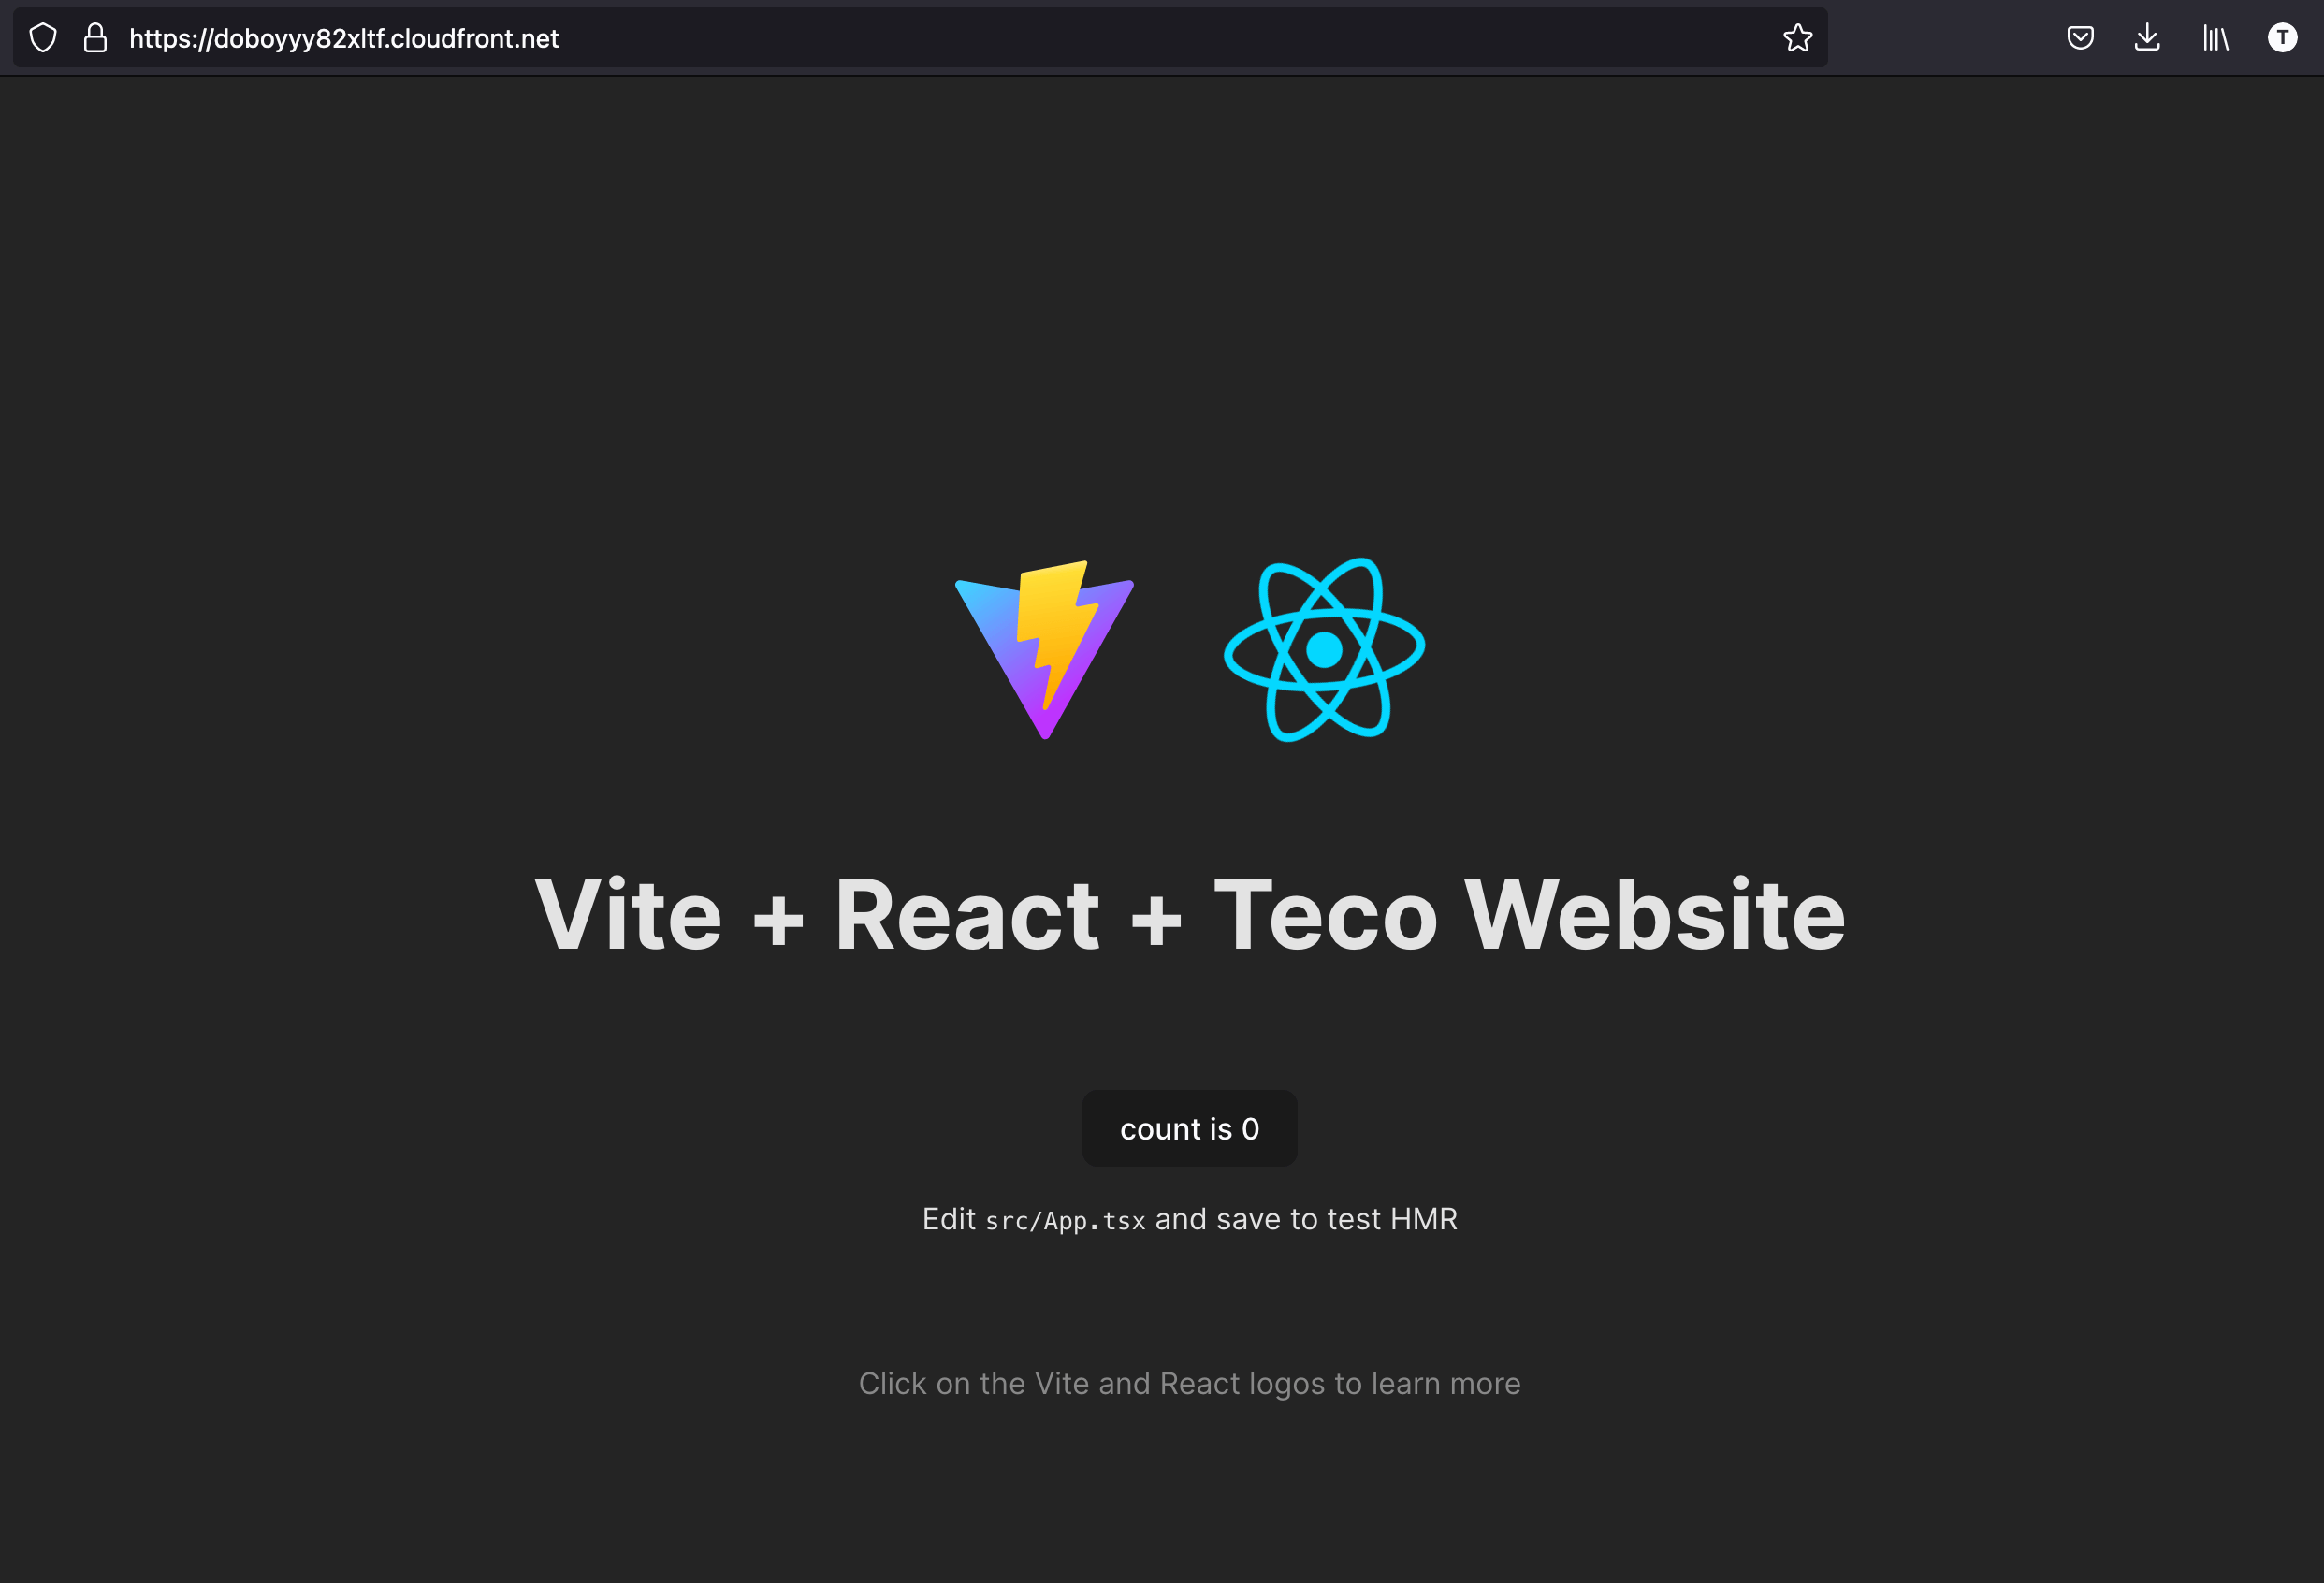
Let's make minor changes in the project by editing the file "website/src/App.tsx" to replace <h1>Vite + React</h1> by <h1>Vite + React + Teco Website</h1> and generate the new static file by running the command
npm run build
To copy the new files in the S3 bucket, let's run the command cdk deploy again:
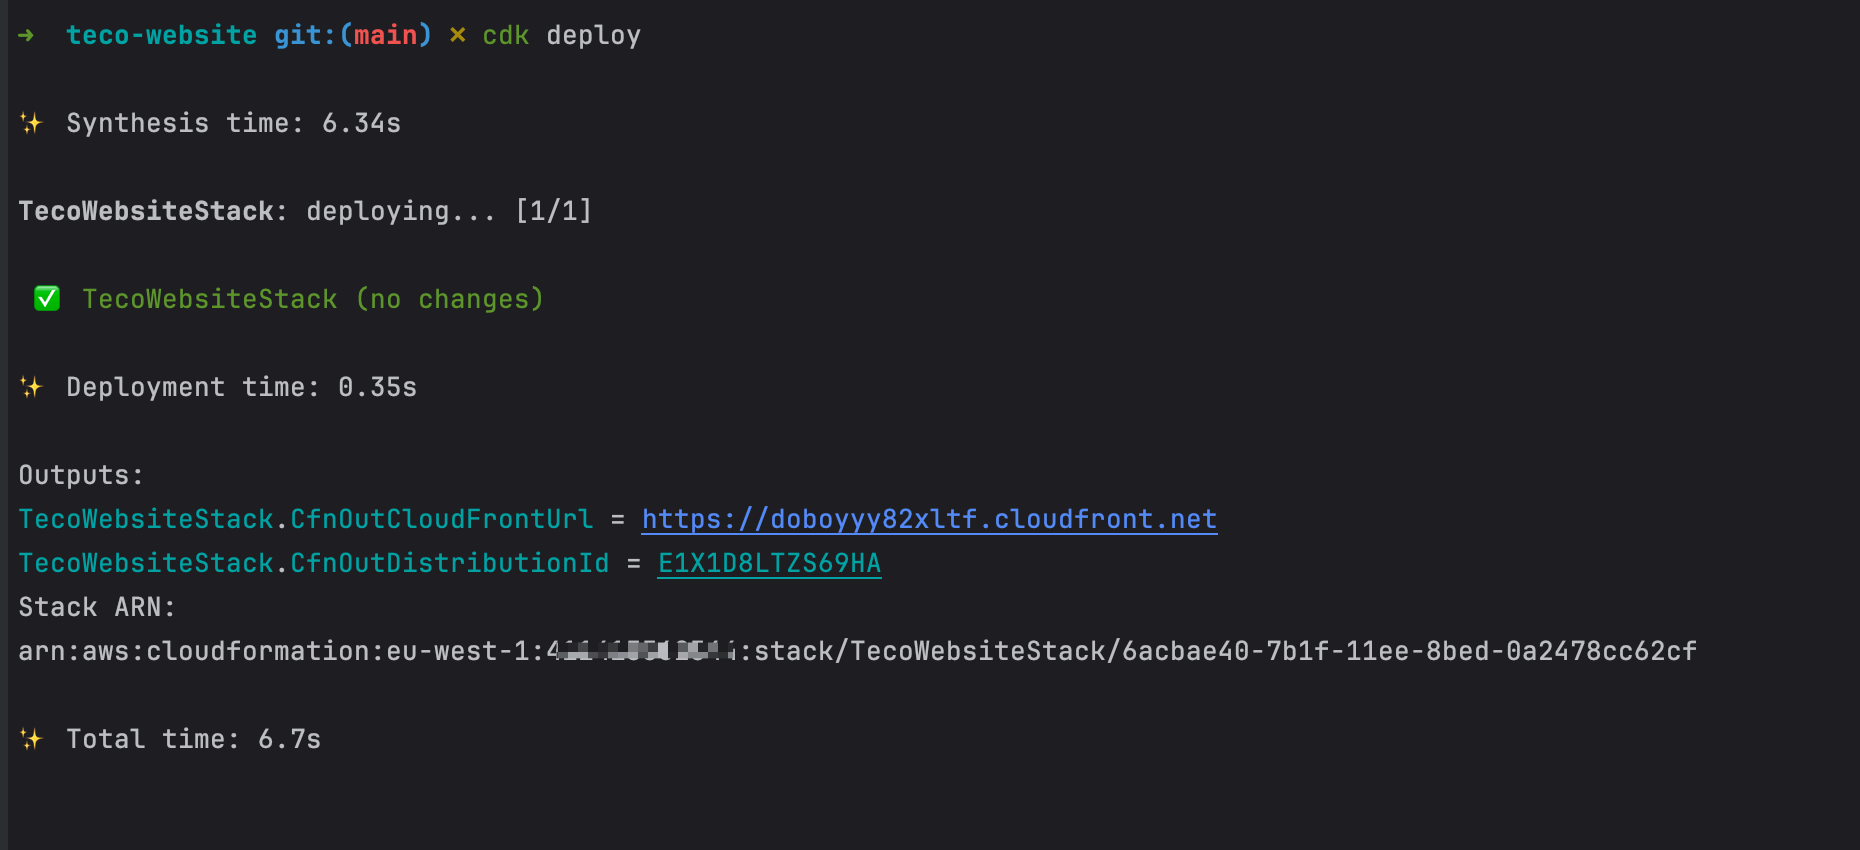
The CDK found no changes, and no resource is updated on AWS. This is because the CDK only watches the changes on the AWS resources configuration and not the static files.
A workaround is to update the S3 deployment bucket ID.
// Rename
new s3Deploy.BucketDeployment(this, 'TecoWebsiteBucketDeployment', {});

// To
new s3Deploy.BucketDeployment(this, 'TecoWebsiteBucketDeploymentV1', {});
Run cdk deploy again, and you will see your infrastructure deployed.
Although it works, it is not recommended, and updating the files in the S3 bucket must be done from a separate process using the AWS CLI. Run the command below to upload the website static files to the S3 bucket.
aws s3 cp ./website/dist s3://teco-website --recursive
Now, try reaccessing the website; the webpage doesn't have our changes.
This is because, although we updated the static files in the S3 bucket, the CloudFront distribution we access our website from has cached the static files and served the cached pages.
The thing to do is to invalidate the cache on the CloudFront distribution every time you update the static files in the S3 bucket. The command is the following:
aws cloudfront create-invalidation --distribution-id $DISTRIBUTION_ID --paths "/*"
Replace the "$DISTRIBUTION_ID" with the CloudFront distribution ID printed in the console after the cdk deployment, or you can find it in the CloudFront distribution page from the AWS console.
In our case, the command is the following:
aws s3 cp ./website/dist s3://teco-website --recursive

aws cloudfront create-invalidation --distribution-id $DISTRIBUTION_ID --paths "/*"
This process can be automated using a CI/CD pipeline that automatically updates the website content when there is a change in the website source code.
Navigate to the CloudFront distribution URL in the browser, and now you will see the content!!!
Destroy the AWS infrastructure stack
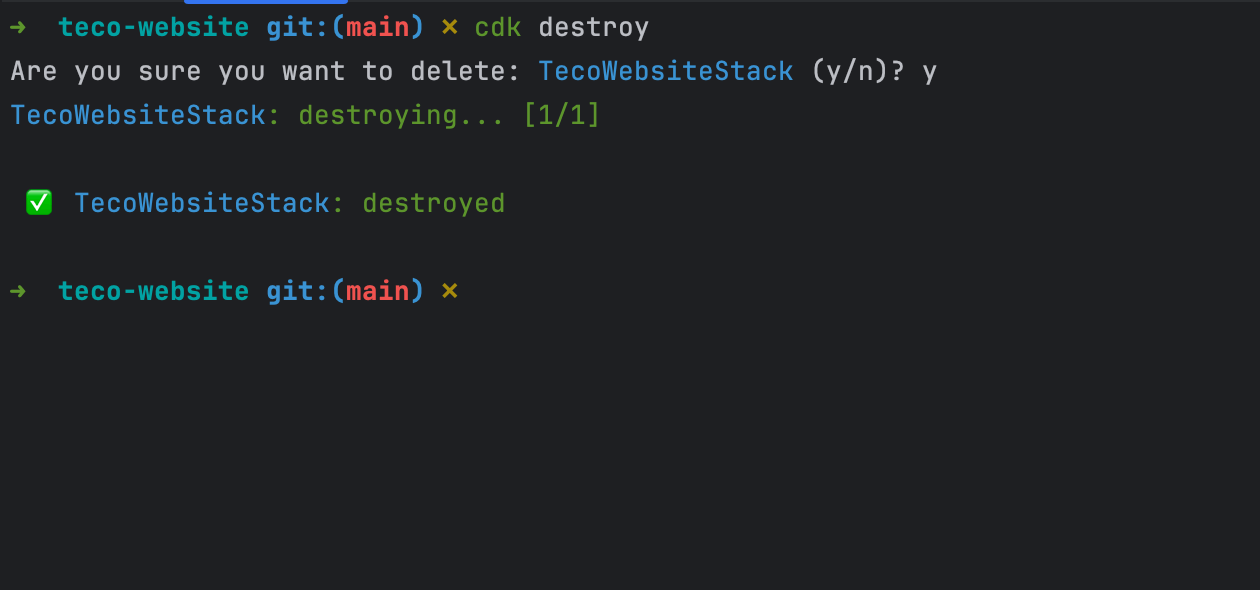
You now know how to deploy a static website on AWS S3 and CloudFront. If your goal is achieved, happy coding. For those who might need to delete everything on AWS, the AWS CDK has a single command for that:
cdk destroy
Confirm the deletion and wait for the CDK to complete the job.
Wrap up
By using the Infrastructure as Code with the AWS CDK, deploying a static website on AWS S3 and CloudFront is automated, is repeatable, the infrastructure changes are versioned, and we avoid doing boring manual steps.
With the combination of the AWS CLI and CI/CD pipeline automation, we can easily update the website content.
You can find the code source on the GitHub repository.
Follow me on Twitter or subscribe to my newsletter to avoid missing the upcoming posts and the tips and tricks I occasionally share.