
Perform Web scraping in Node.js using a scraping browser


Scraping a website can be helpful for various reasons, such as:
- Perform data analysis on the data retrieved to make business decisions.
- Do market research about the competition.
- Automate some tasks depending on the data update of the website page.
- Retrieve data that aren't exposed through a public API.
- Etc...
It can also extract information that is not easily accessible or available through other means.
However, it is essential to be aware of the legal and ethical implications of scraping, especially when it comes to scraping protected websites.
Scrape protected website
To protect websites from harmful attacks such as DDoS, bot spamming, inaccurate solicitation of websites, etc...
The rise of building websites as Single Page Applications (SPA) using technologies such as React, Angular, Vue.js, Svelte, SolidJS, etc... makes a website highly dependent on running on a browser supporting JavaScript.
The consequence is people using Web scraping moderately or for the right reason have difficulty trying to scrape websites that fall into these categories.
Having a better scraper tool that can simulate a real browser, solve captcha validation, and change IP address per scraping session, etc... is paramount to providing a better experience to developers.
The Bright Data Scraping Browser is the right tool for this job, and in this post, we will see how to use it to bypass website protection preventing developers from scraping websites data.

Create an account
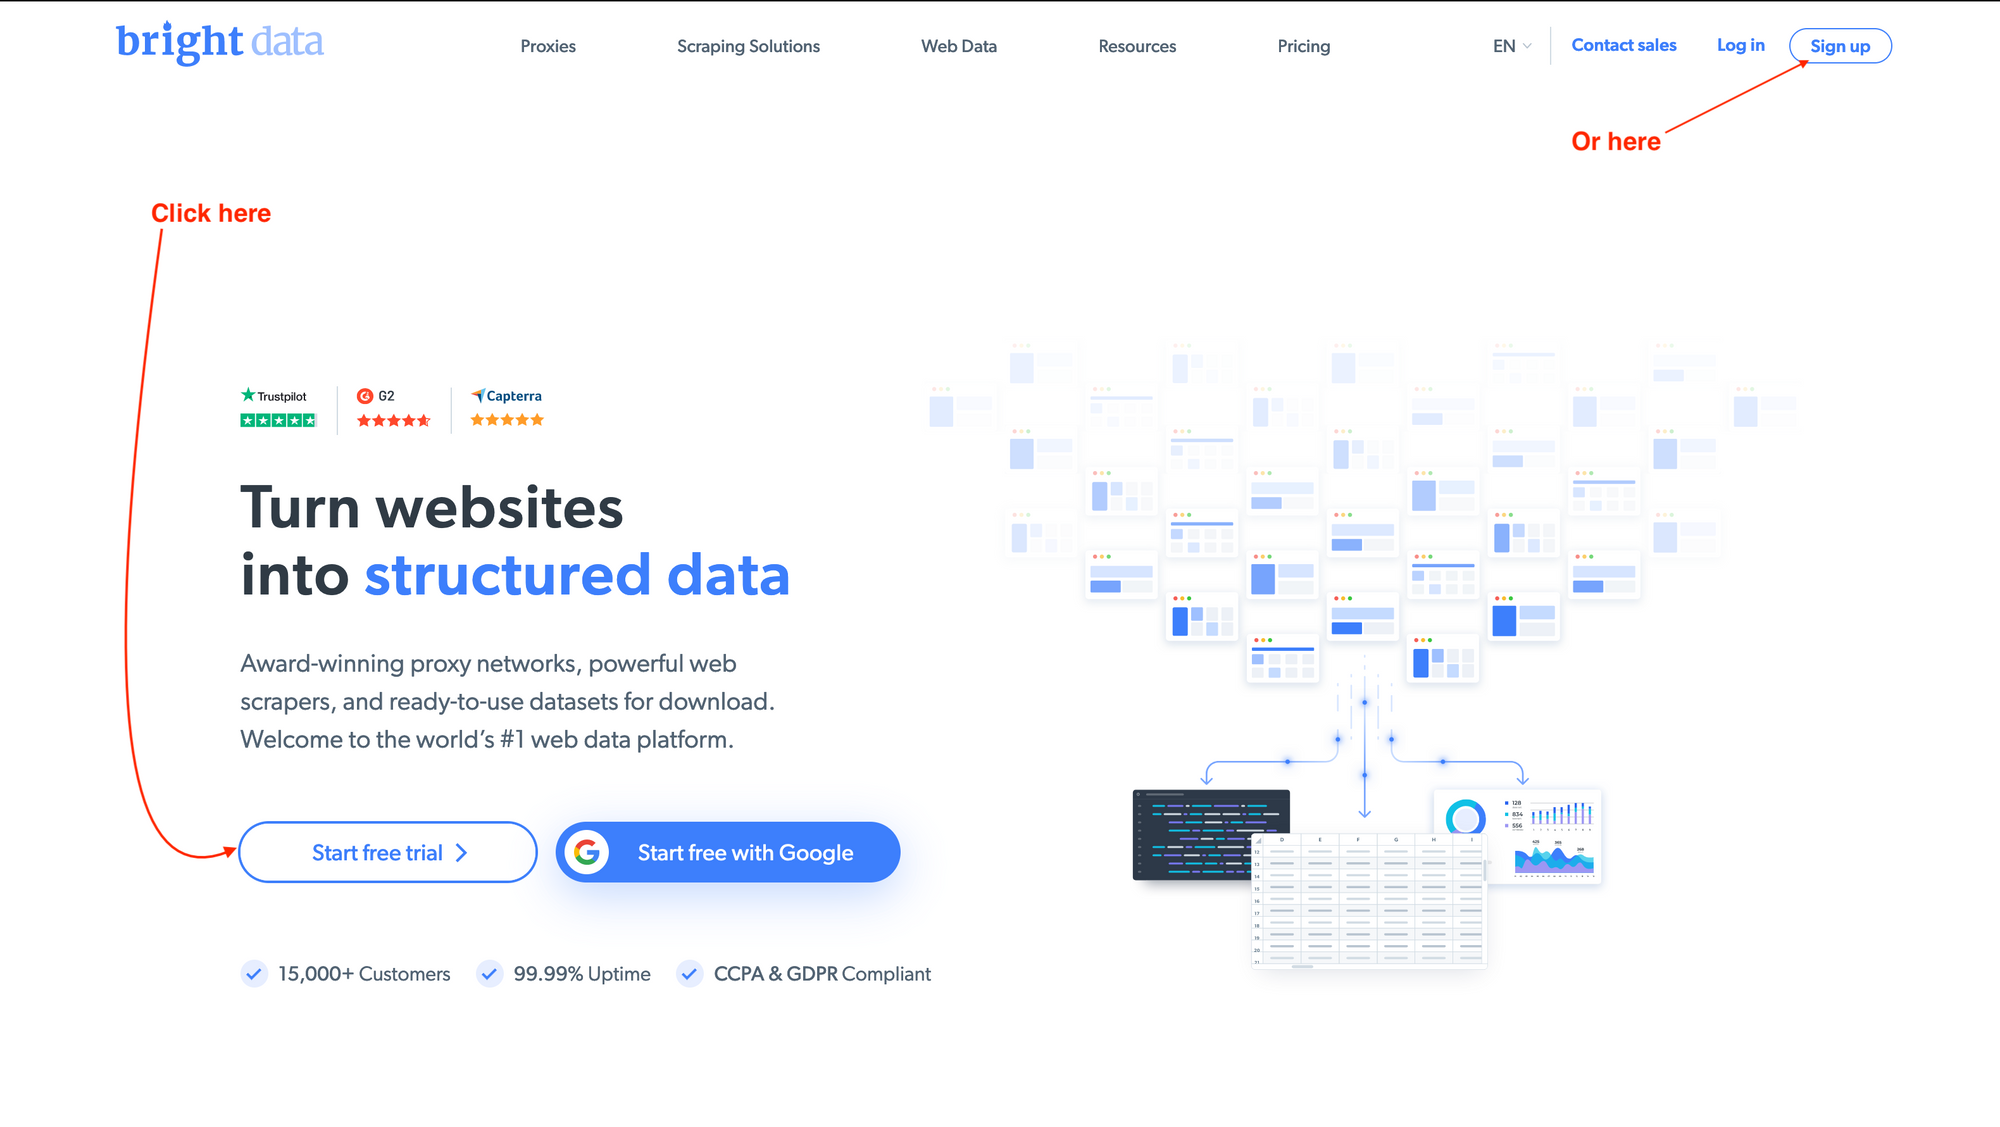
The first step is creating an account on https://brightdata.com; select the preferred registration method.
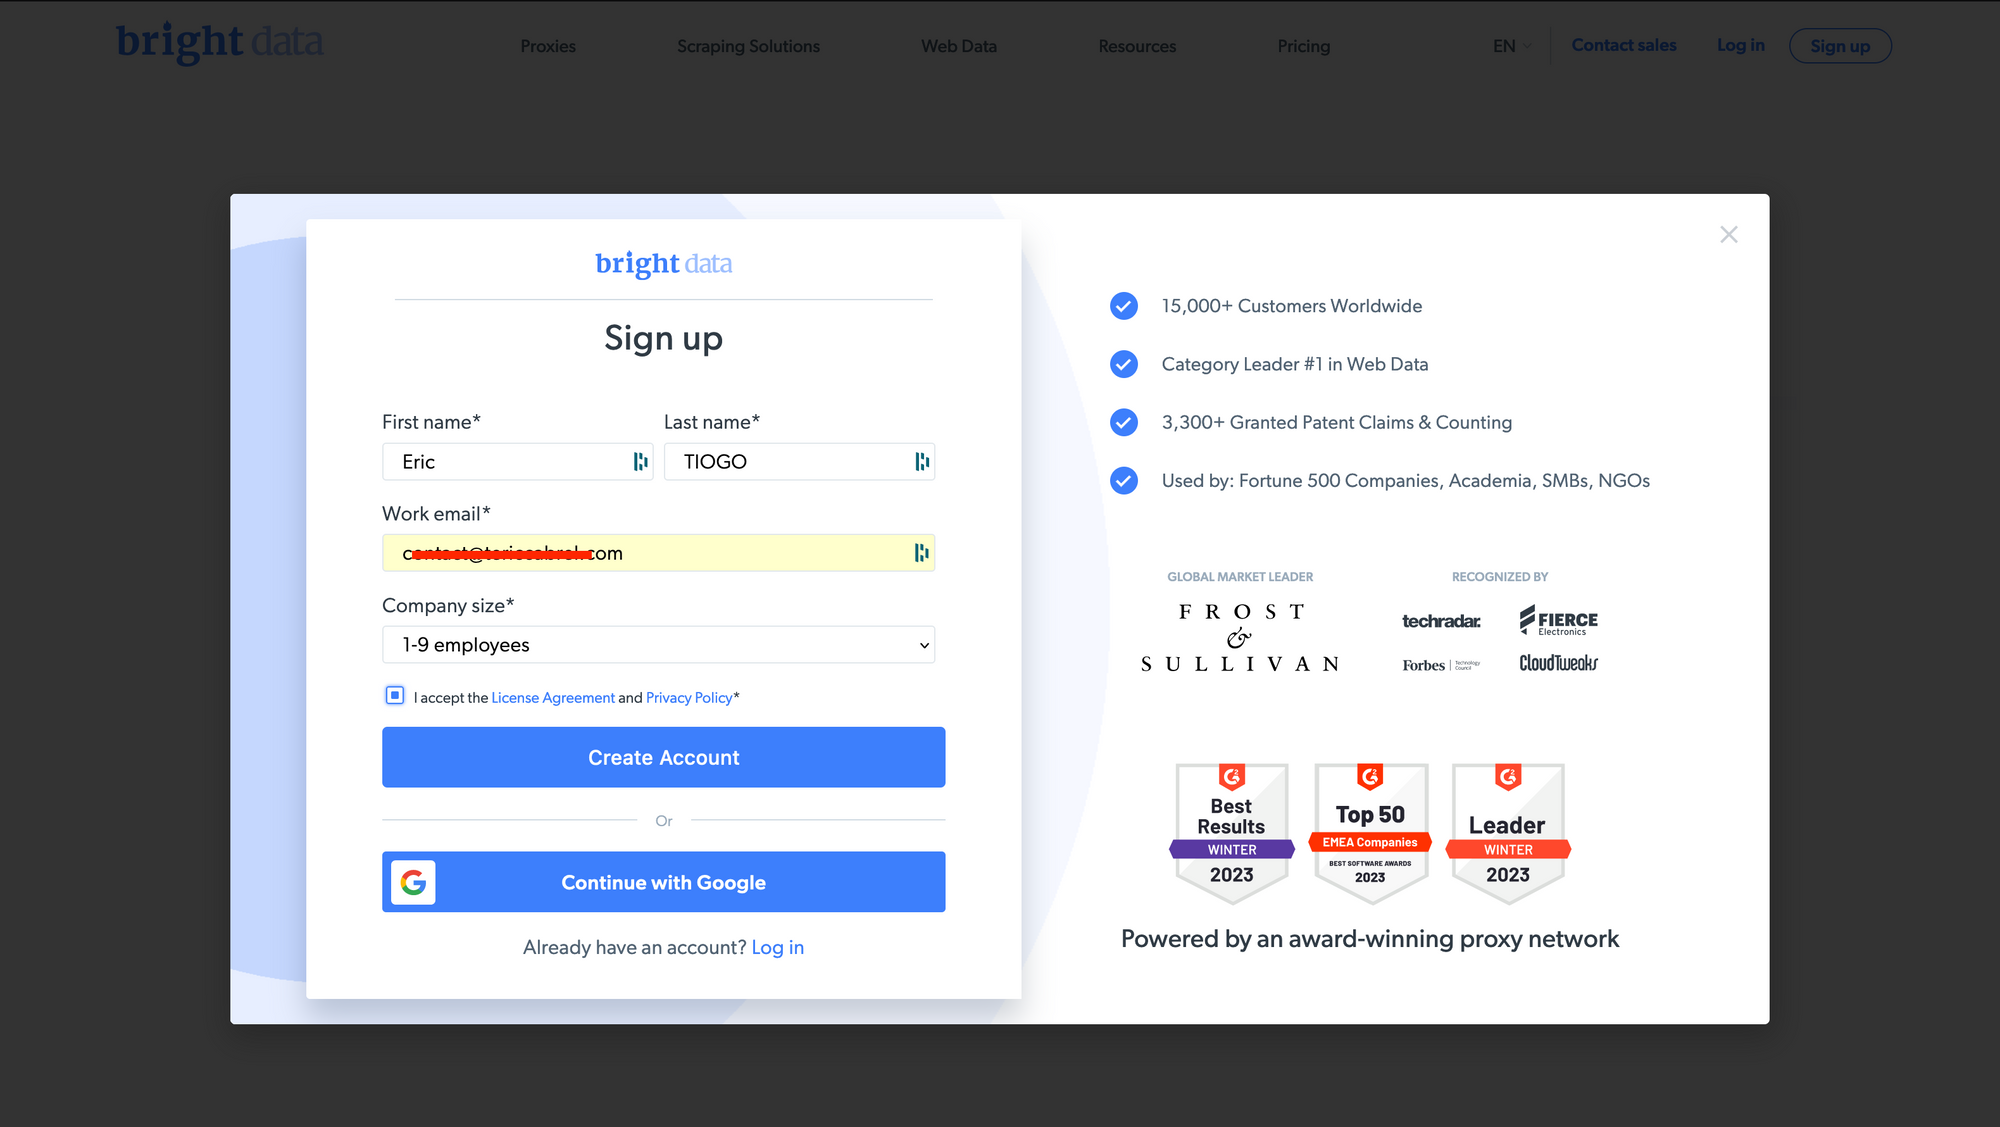
On the next page, signup with Google or with a professional email address by filling out the registration form and clicking on the "Create Account" button.
On the next page, set a password and click the "Sign up" button.

You will receive an email to verify your account; check out your spam if it isn't in your inbox. Click on the link, and you will be redirected to the dashboard user page.
The registration is successful, and you are on a free trial subscription. A pay-as-you plan allows you to pay only for what you use.
Create a Scraping browser proxy
To use the Scraping browser, we must create a proxy which is the URL to the browser instance that will be used to perform Web scraping.
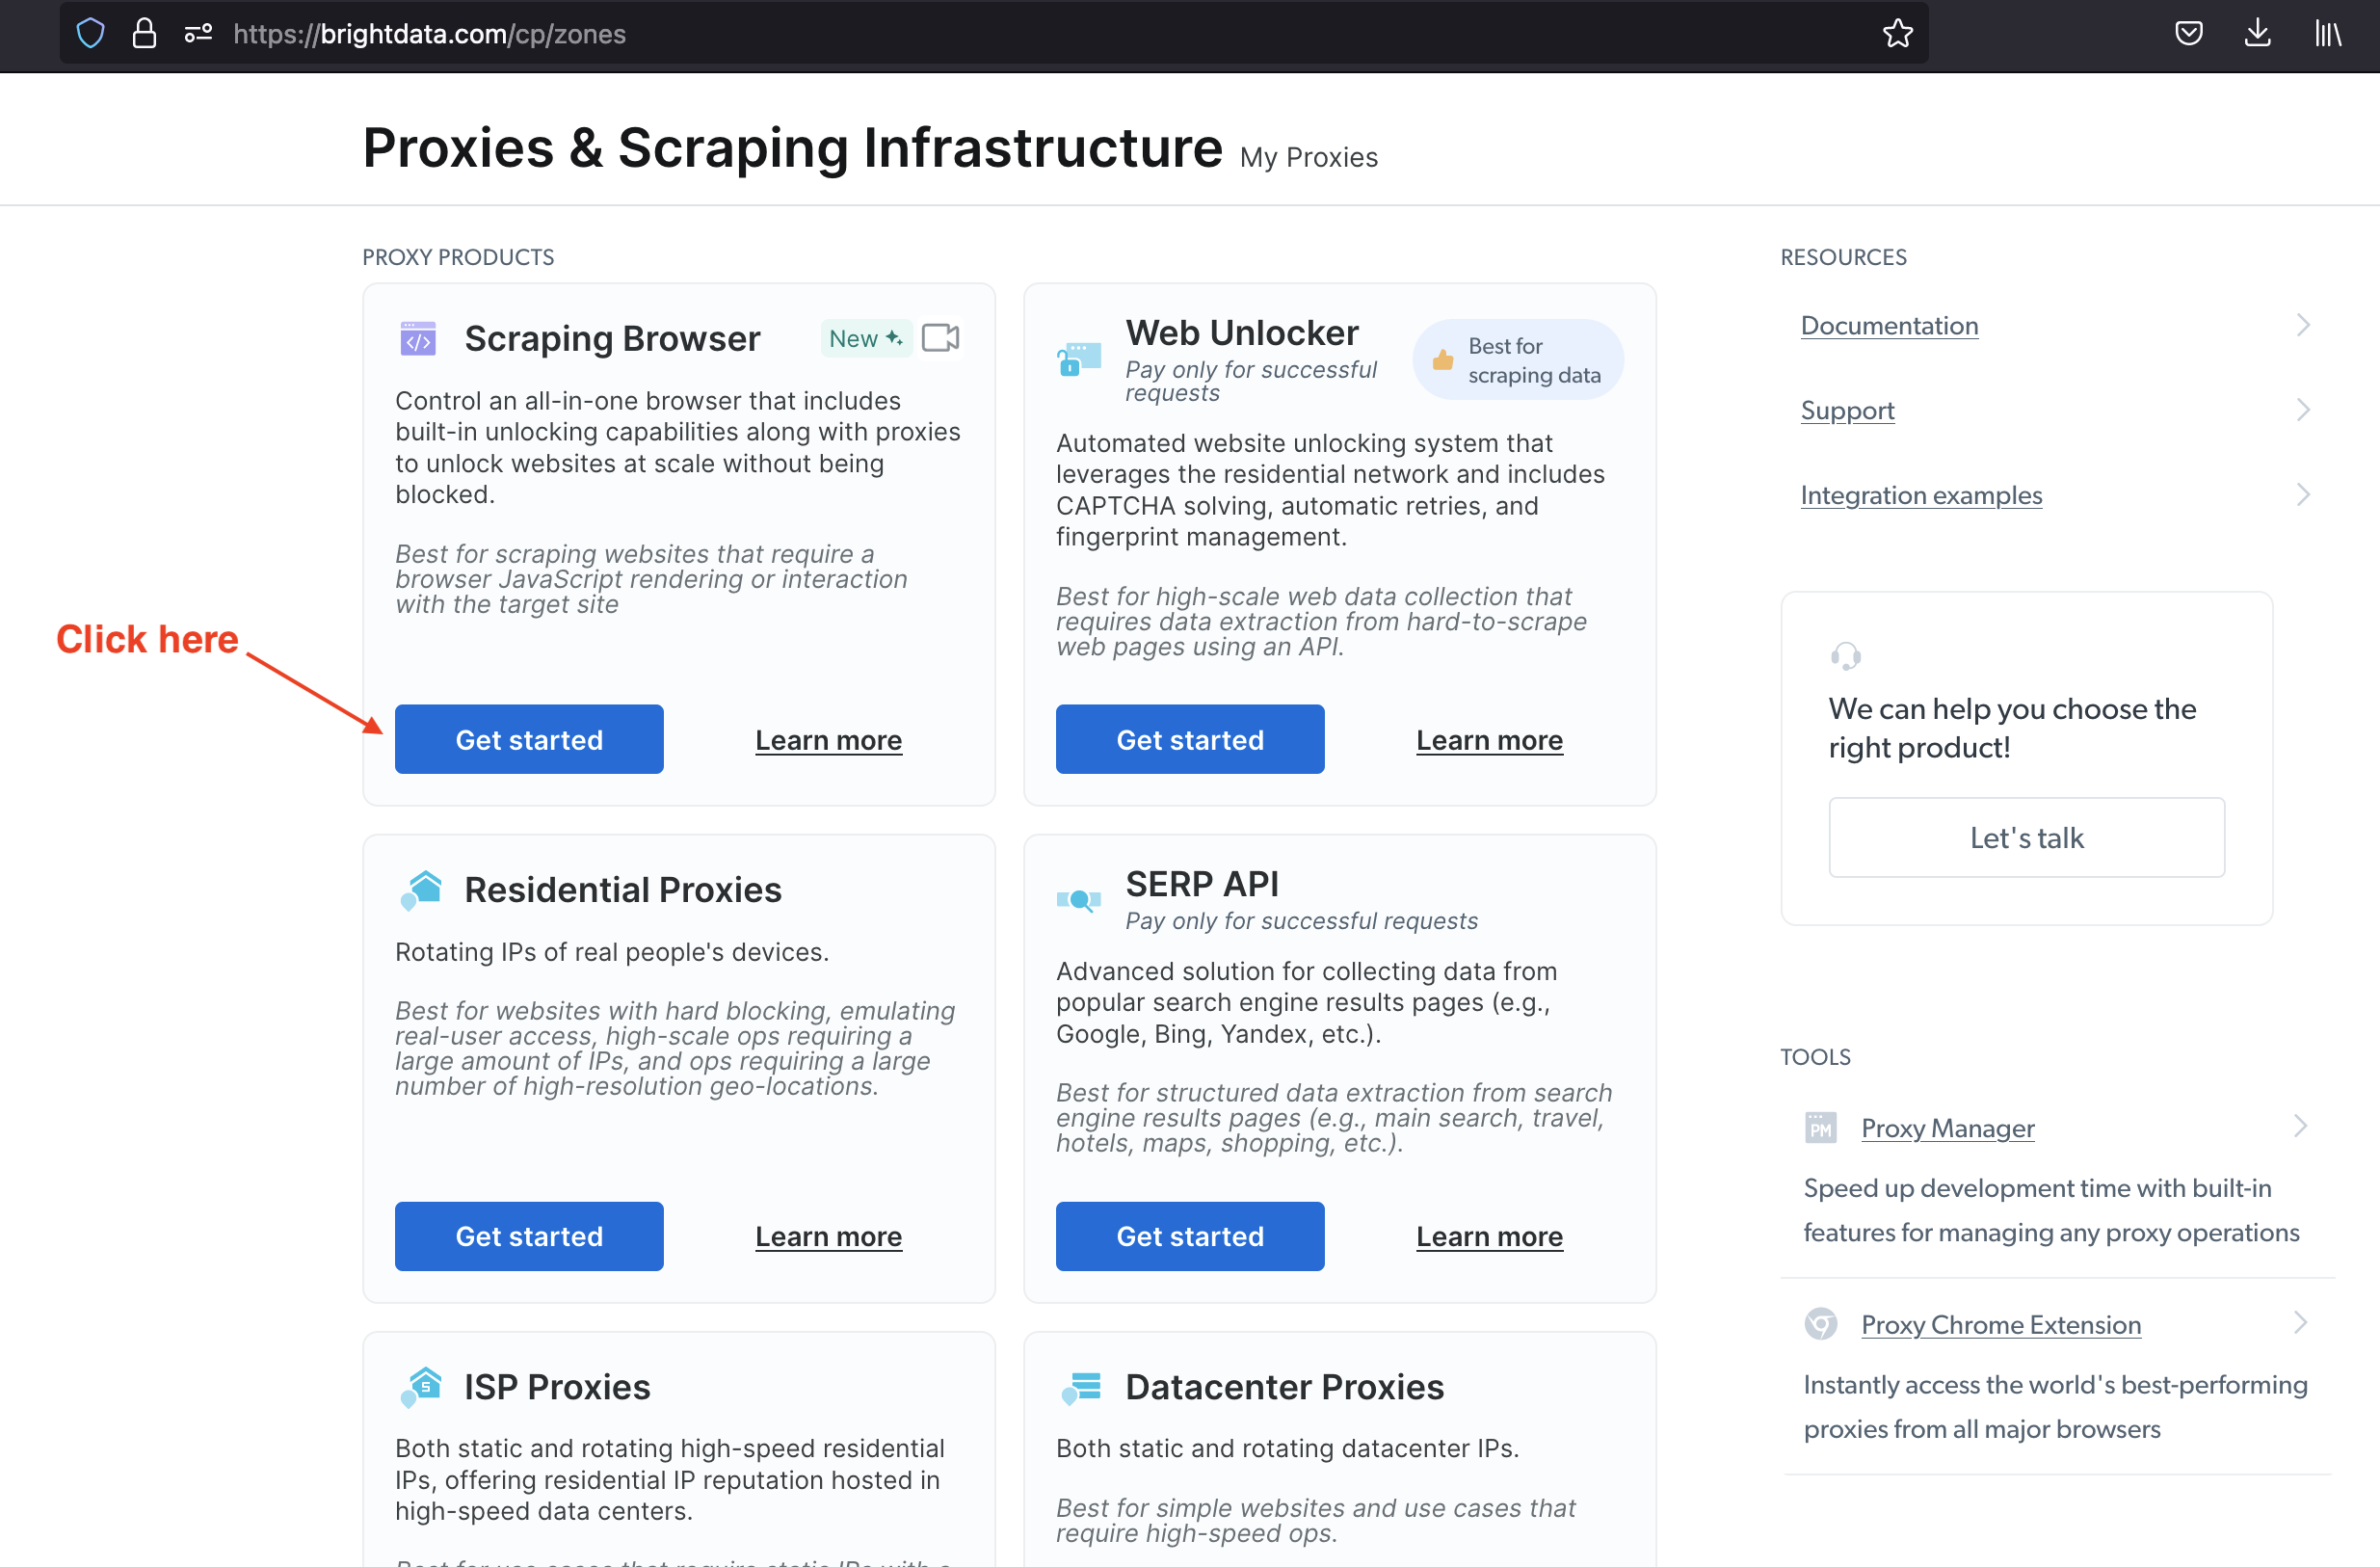
From the Bright Data user dashboard page, go to the page related to Web scraping products: https://brightdata.com/cp/zones. Scroll to the "Proxy Products" section. Locate the Scraping Browser and click on the "Get Started" button.
On the next page, provide a proxy name and validate;
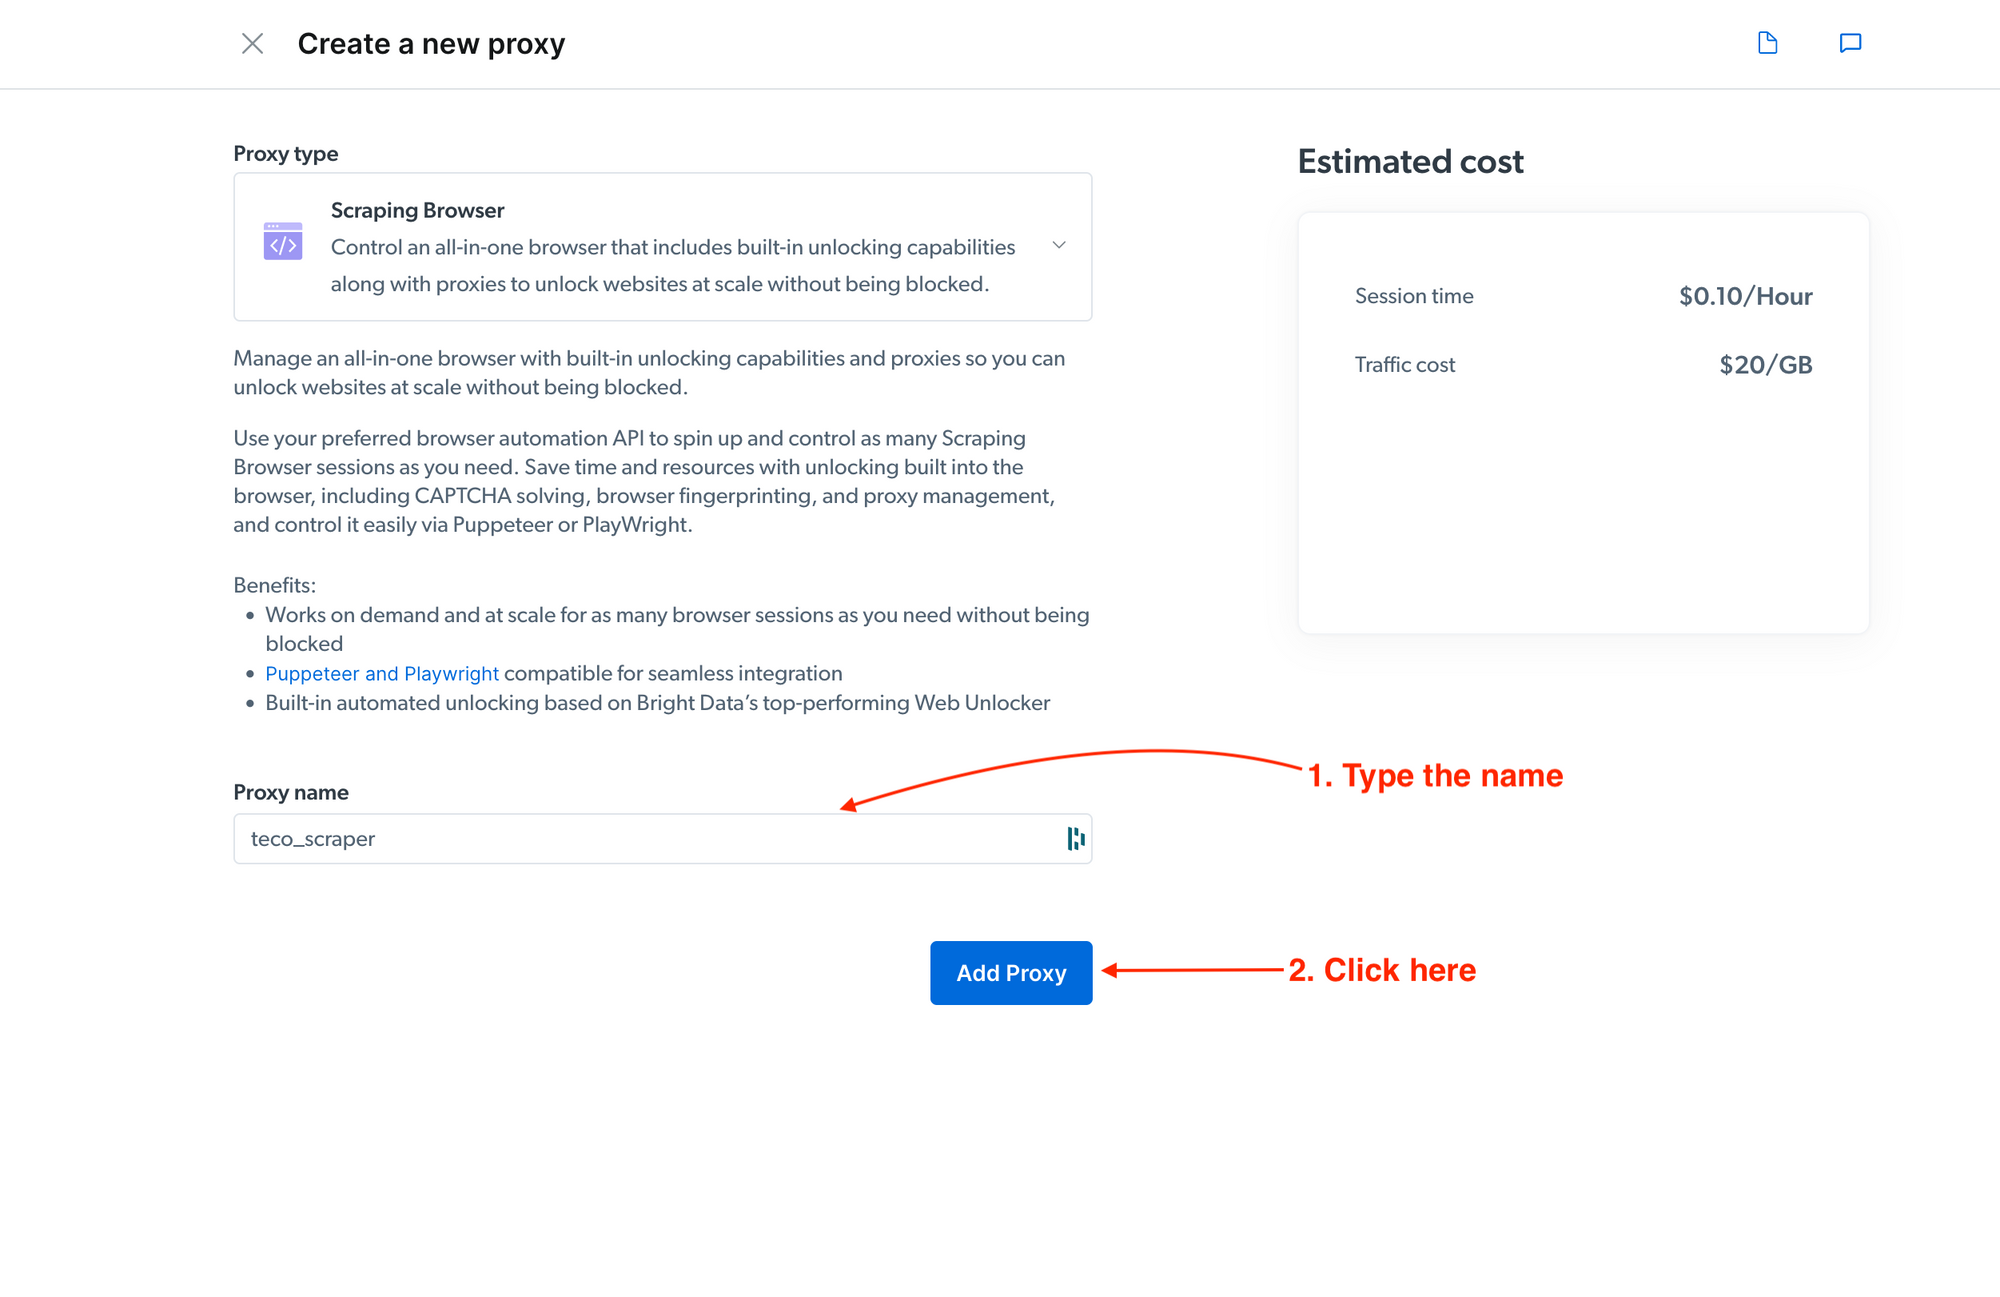
A modal will request the proxy creation confirmation; click "Yes" to confirm. You will be redirected to the proxy page view.
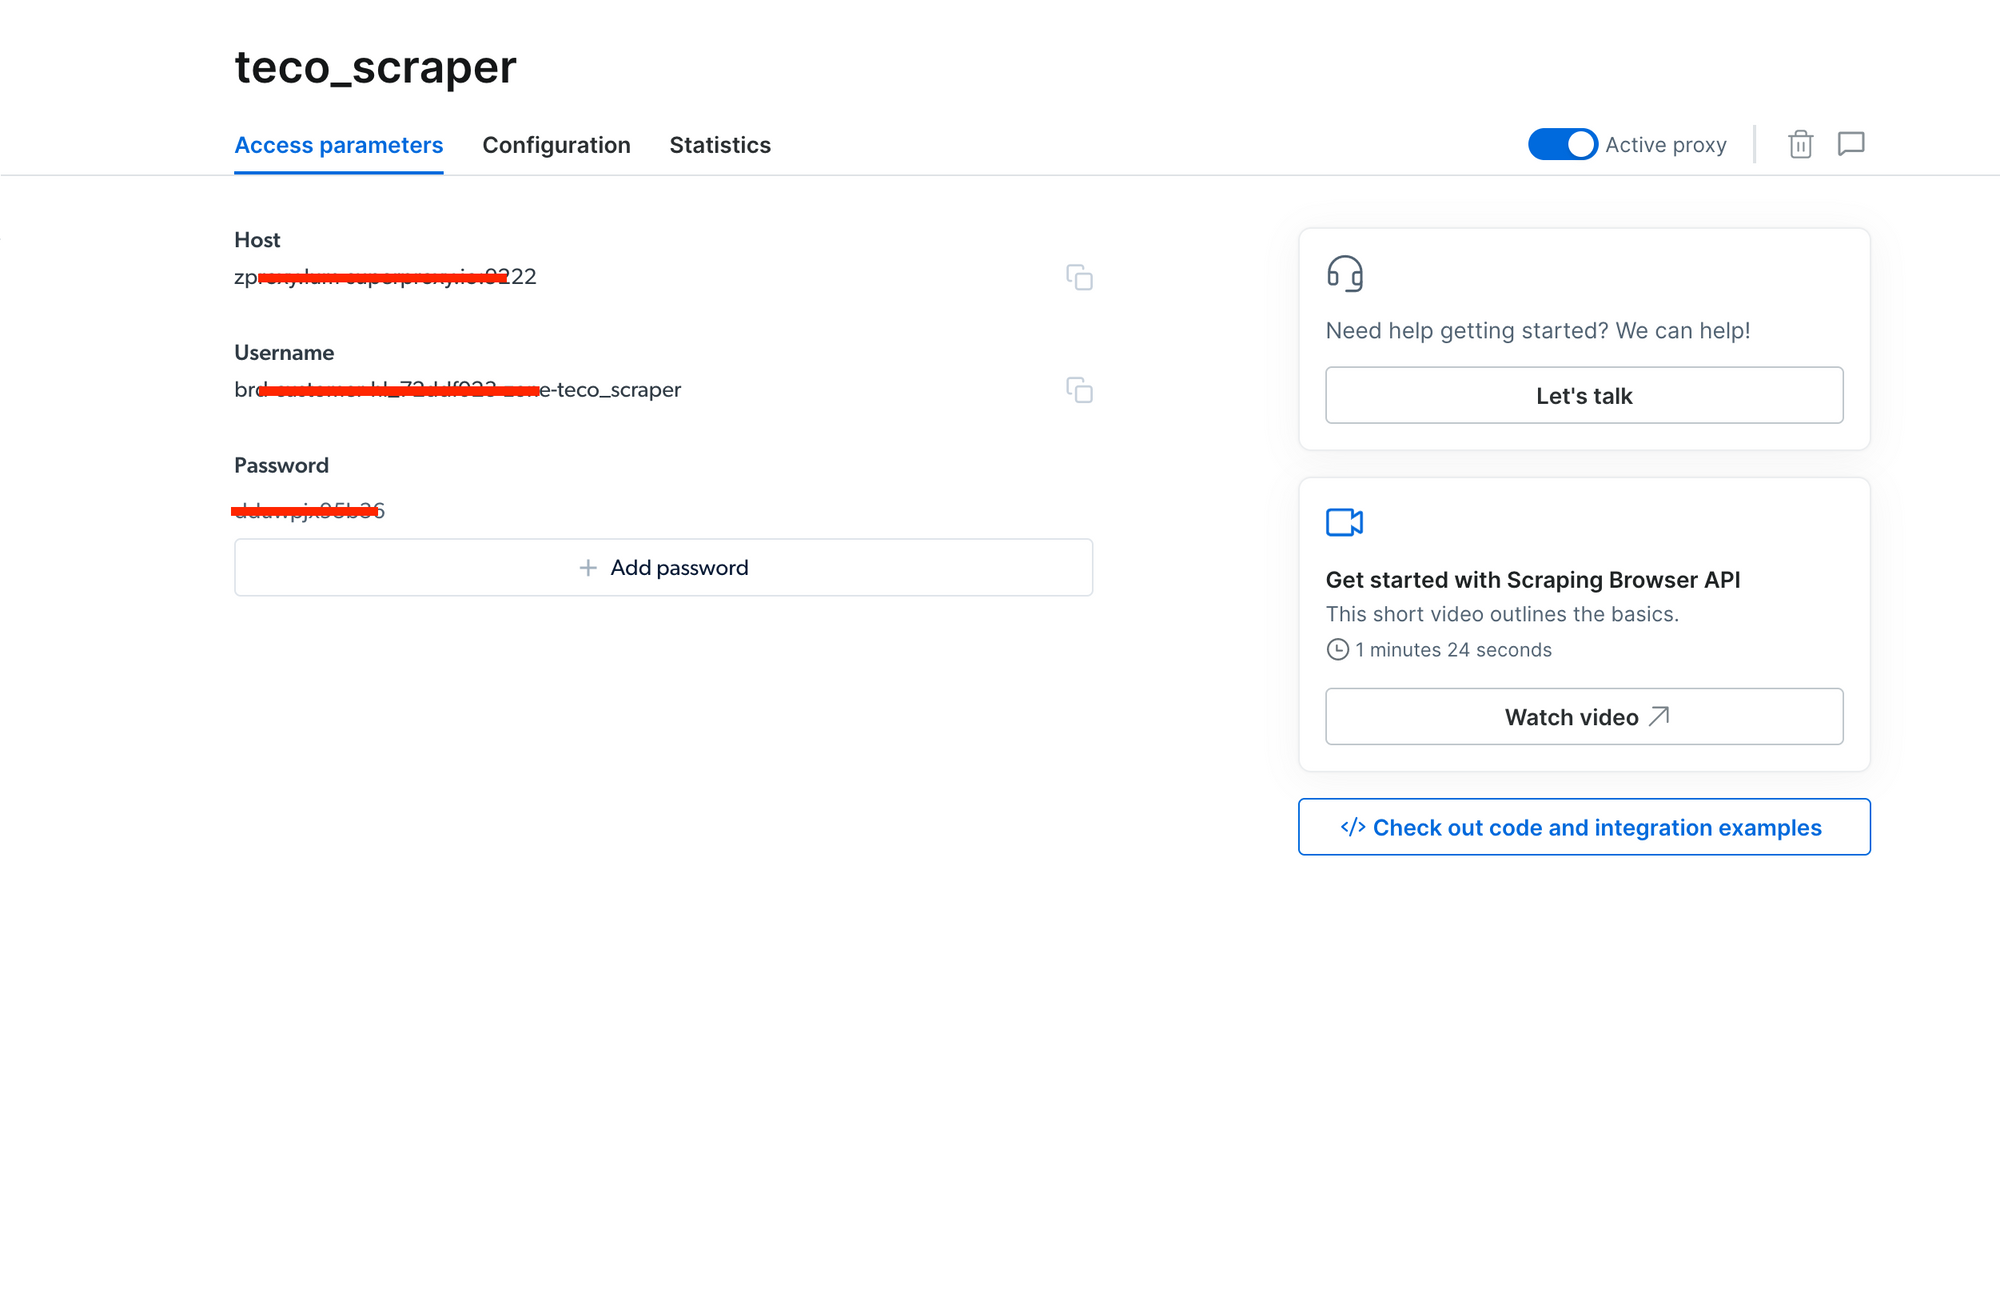
On this page, you can see the proxy host, the username, and the password. We will use this information later in the Node.js project.
Set up the Node.js project
To set up the project with Node.js and TypeScript, we will use the starter project we built in this tutorial.
Run the command below to clone the project on GitHub and run it locally.
git clone https://github.com/tericcabrel/node-ts-starter.git node-scraping-browser
cd node-scraping-browser
yarn install
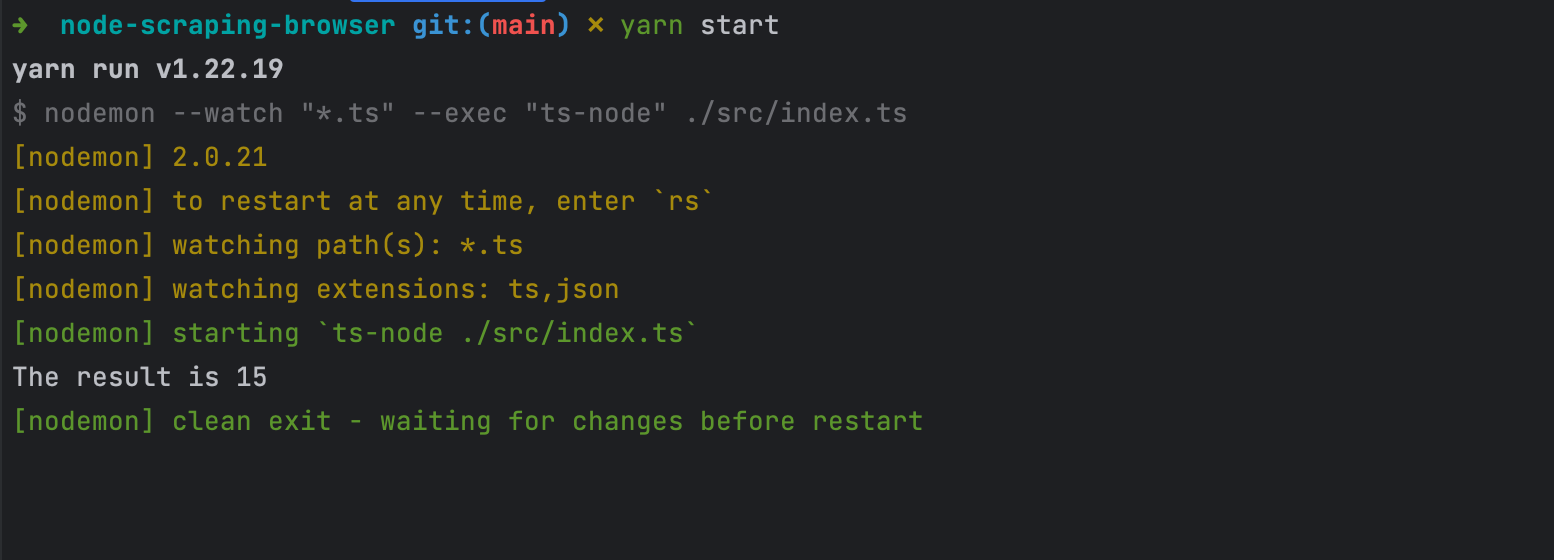
yarn start
You will get the following output:
Install HTTP Node.js library
To perform Web scraping, we need an HTTP client library to retrieve the content page. Axios is among the most popular; run the command below to install it:
yarn add axios
We are ready to scrape data from our Node.js project.
Scrape a website requiring JavaScript enabled
SoundCloud is an audio distribution platform used by millions of users. Each month they release 50 of the most streamed music in the world.
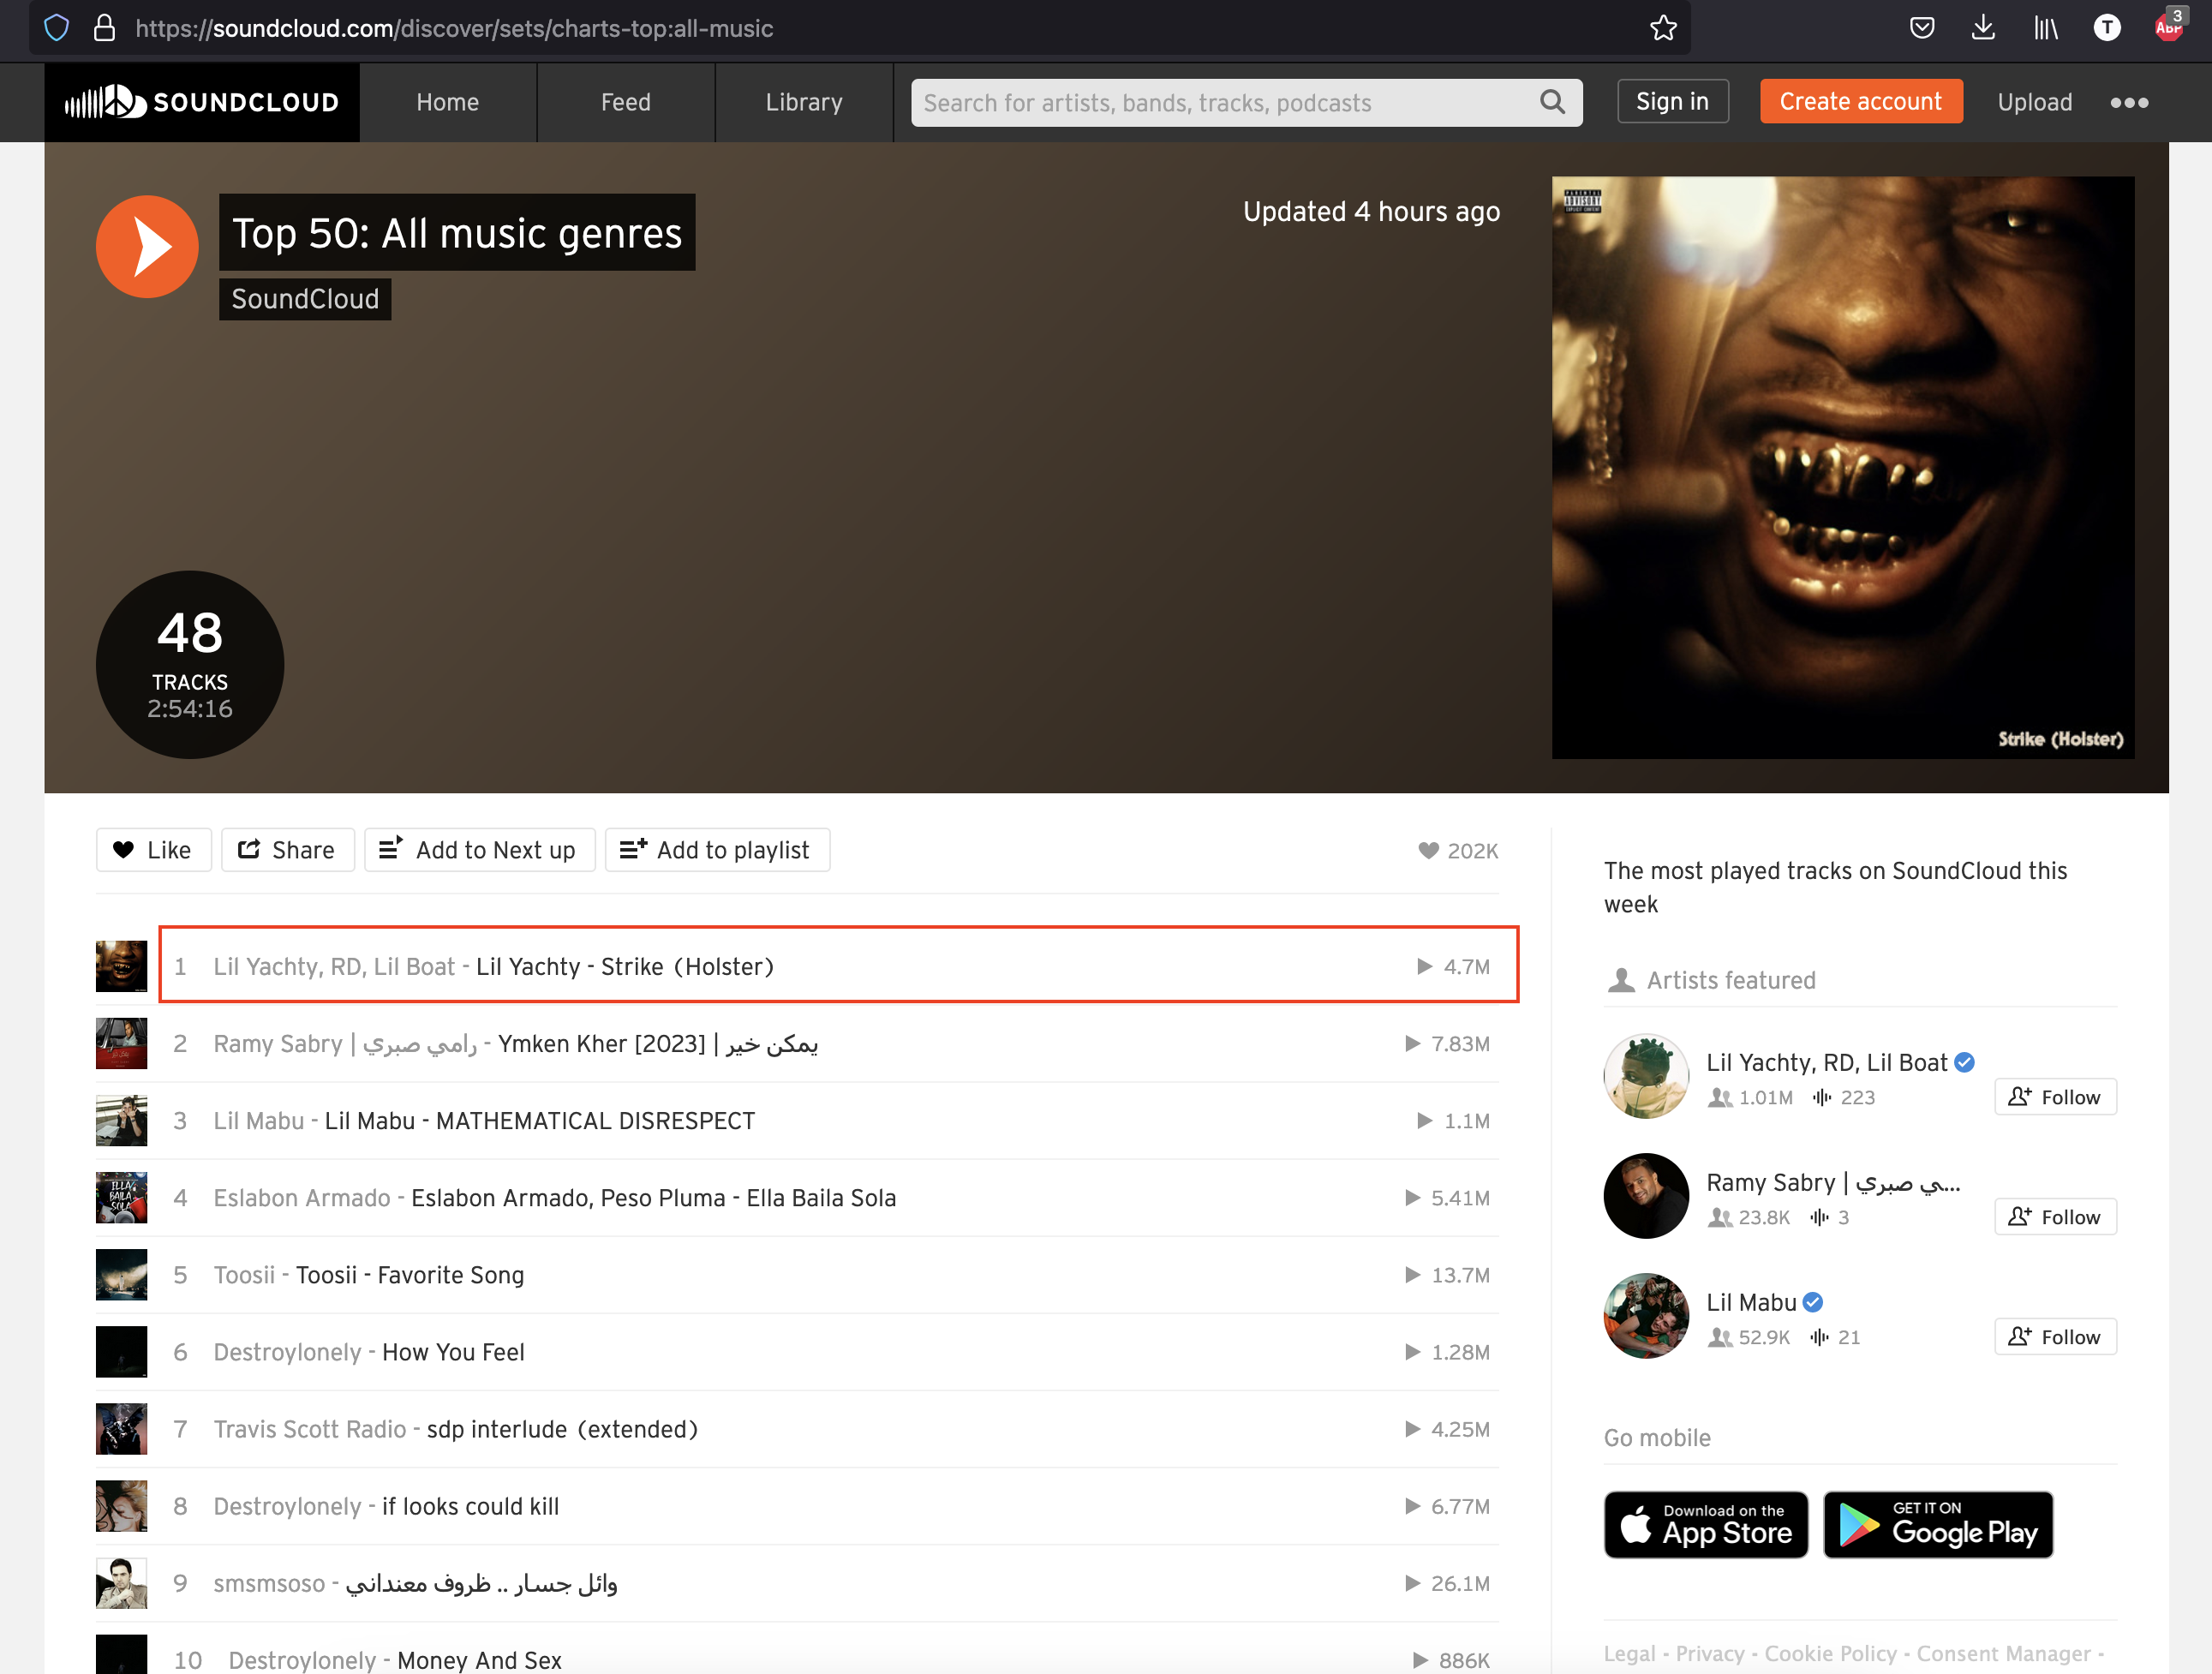
On this page, we want to scrape the data about every song on the list. Create a file ./src/scrape-soundclound.ts and add the code below:
import axios from 'axios';

(async () => {
  const url = 'https://soundcloud.com/discover/sets/charts-top:all-music';

  const response = await axios.get(url);

  console.log(response.data);

  console.log('Scraping done!');
})();
We use Axios to retrieve the page content and print it in the console; run the command below to run the file:
yarn ts-node ./src/scrape-soundclound.ts
If we look at the output, we see a message indicating JavaScript is disabled.
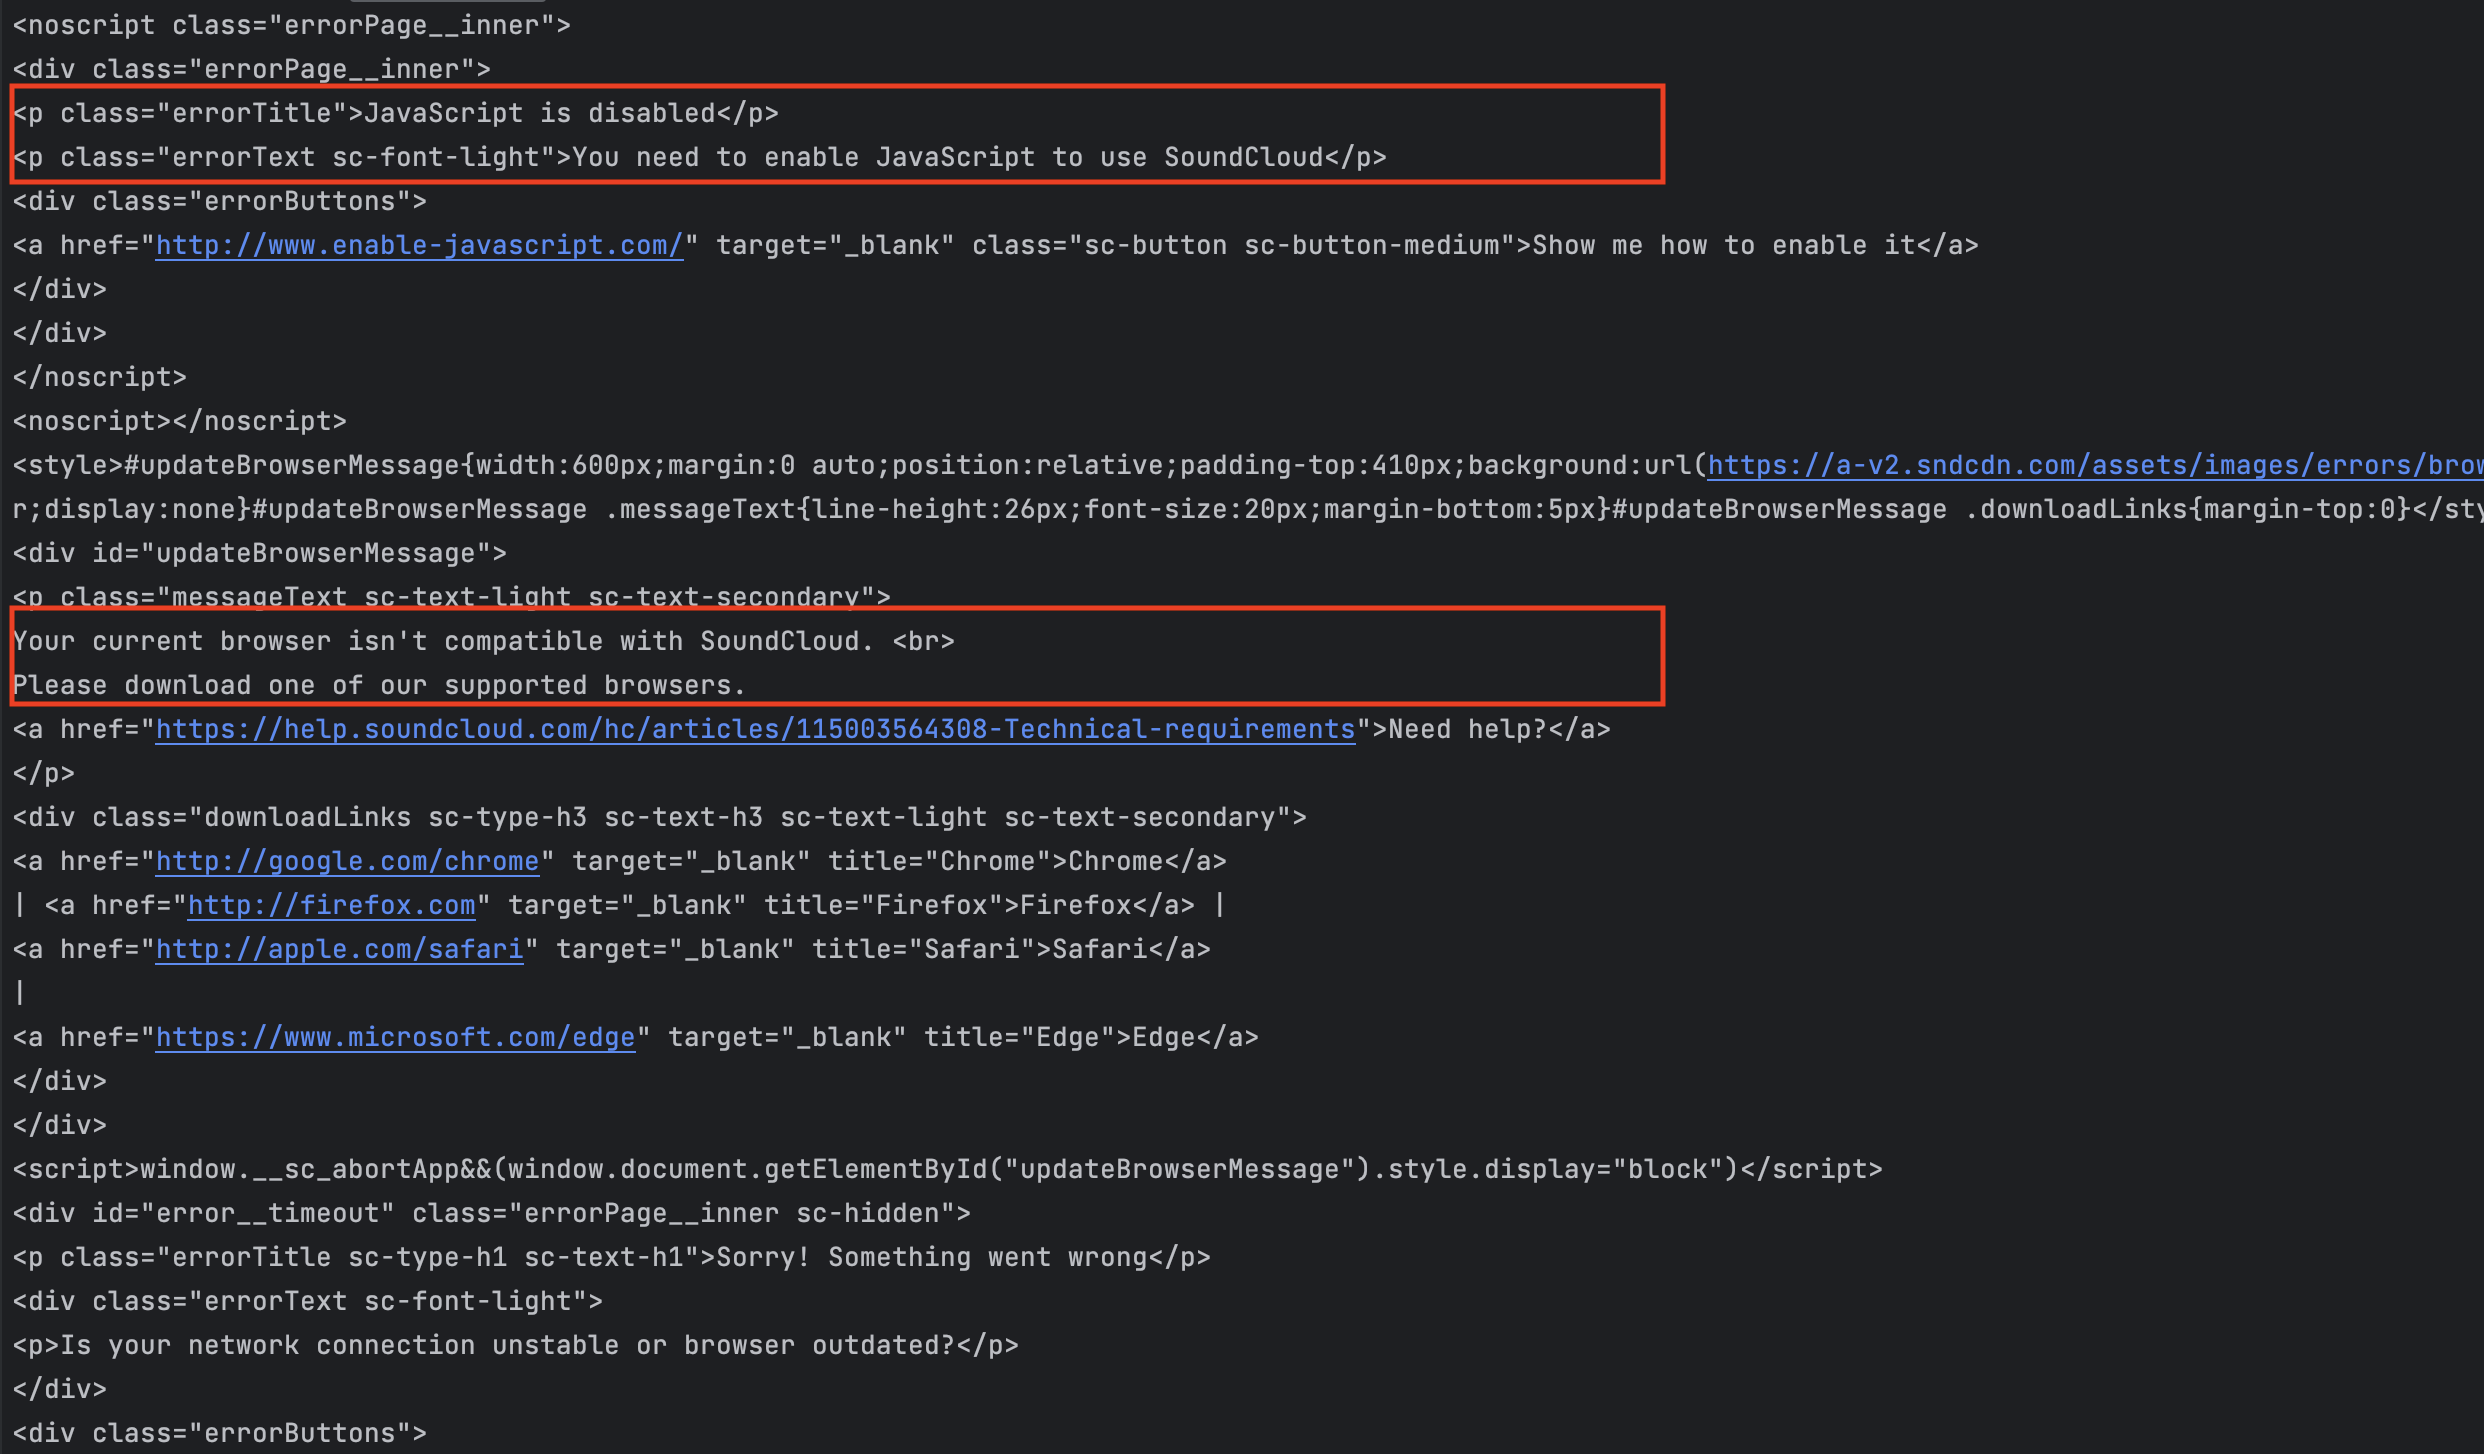
To fix this issue, we must use a tool that simulates a real browser so that the JavaScript detection on SoundCloud will pass.
We will use the Scraping Browser proxy we created earlier. It integrates perfectly with the Puppeteer core library, providing a feature to connect to a remote browser so it will not download a Chromium instance as Puppeteer.
Playwright is another great tool for this task, read how to use Playwright with Node.js if you are interested.
We will use Puppeteer in this tutorial so let's install the core package:
yarn add puppeteer-core
Load the scraping browser credentials in the application
To connect to our remote Scraping Browser created earlier in the dashboard, we need the following information: The hostname, the port, the username, and the password. This sensitive information should not be hardcoded in the application but instead loaded from an environment configuration file.
The package Dotenv helps us manage it easily; let's install it:
yarn add dotenv
Create a file name .env and add the content below:
PROXY_HOST=<your_scraping_browser_host>
PROXY_PORT=<your_scraping_browser_port>
PROXY_USERNAME=<your_scraping_browser_username>
PROXY_PASSWORD=<your_scraping_browser_password>
Don't forget to add this file name in the .gitignore file to exclude it from the version control.
Scrape SoundCloud using the Scraping browser
Replace the content of the file ./src/scrape-soundclound.ts with the code below:
import dotenv from 'dotenv';
import puppeteer from 'puppeteer-core';

dotenv.config();

(async () => {
  const auth = `${process.env.PROXY_USERNAME}:${process.env.PROXY_PASSWORD}`;
  const browserURL = `wss://${auth}@${process.env.PROXY_HOST}:${process.env.PROXY_PORT}`;

  let browser;

  try {
    browser = await puppeteer.connect({ browserWSEndpoint: browserURL });
    const page = await browser.newPage();

    page.setDefaultNavigationTimeout(2 * 60 * 1000);

    await page.goto('https://soundcloud.com/discover/sets/charts-top:all-music');

    await page.waitForSelector('.trackItem__numberWrapper', { visible: true });

    const html = await page.content();

    console.log(html);
  } catch (e) {
    console.error('run failed', e);
  } finally {
    await browser?.close();
  }
})();
Execute the file with the command yarn ts-node ./src/scrape-soundclound.ts, and this time we get the content of the page as the screenshot below shows:

One line of code I want to highlight is the following:
await page.waitForSelector('.trackItem__numberWrapper', { visible: true });
This tells us to wait until the component with the class name trackItem__numberWrapper is visible before returning the page content. This is useful for SPA pages where there is a time gap between the first content loaded and the content the user can interact with.
You can now use an HTML parser library such as Cheerio to extract the content; I show how to do that in the blog post below.

Scrape a website with a ReCaptcha login
Zillow is a popular online real estate marketplace that provides information about homes for sale, apartments for rent, and home values. One of the most visited pages is the one showing homes for sale.

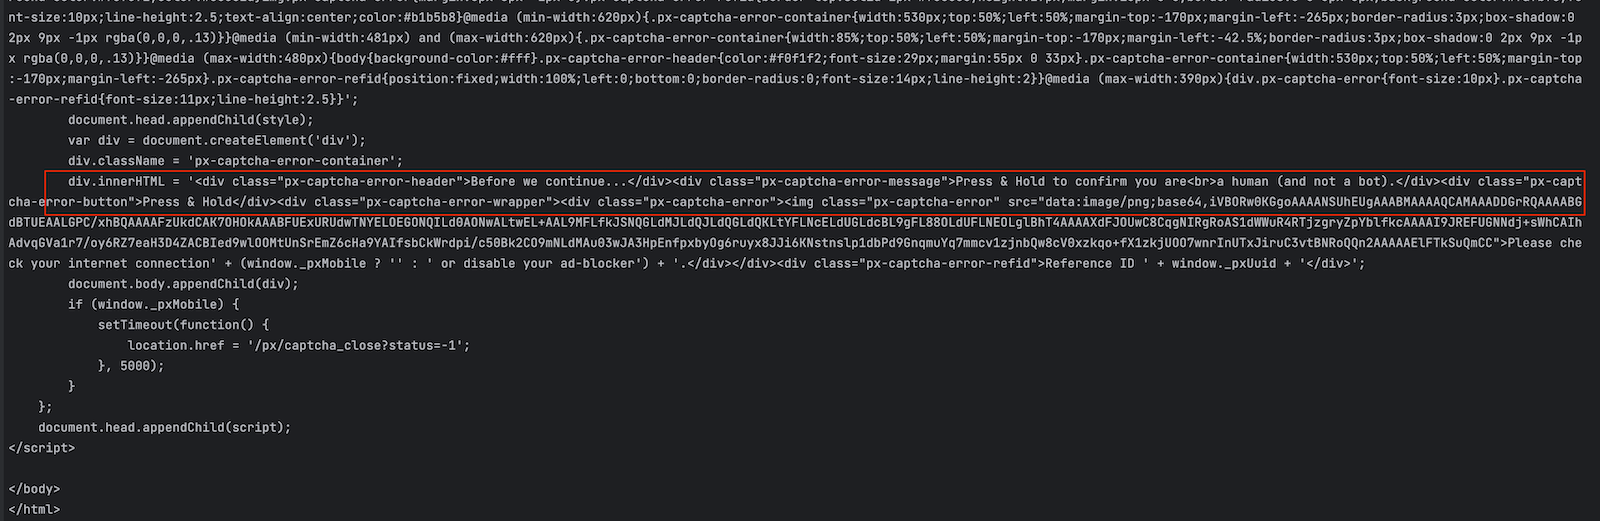
If we try to scrape this page with Axios using the code below:
import axios from 'axios';

(async () => {
  const response = await axios.get('https://www.zillow.com/homes/for_sale');

  console.log(response.data);
})();
We get the following output where we can see the website is asking to verify we aren't a Bot by validating a ReCaptcha.
Let's create a new file called scrape-zillow.ts in the folder src and add the code below that uses our Scraping browser proxy:
import dotenv from 'dotenv';
import puppeteer from 'puppeteer-core';
dotenv.config();
(async () => {
const auth = `${process.env.PROXY_USERNAME}:${process.env.PROXY_PASSWORD}`;
const browserURL = `wss://${auth}@${process.env.PROXY_HOST}:${process.env.PROXY_PORT}`;
let browser;
try {
browser = await puppeteer.connect({ browserWSEndpoint: browserURL });
const page = await browser.newPage();
page.setDefaultNavigationTimeout(2 * 60 * 1000);
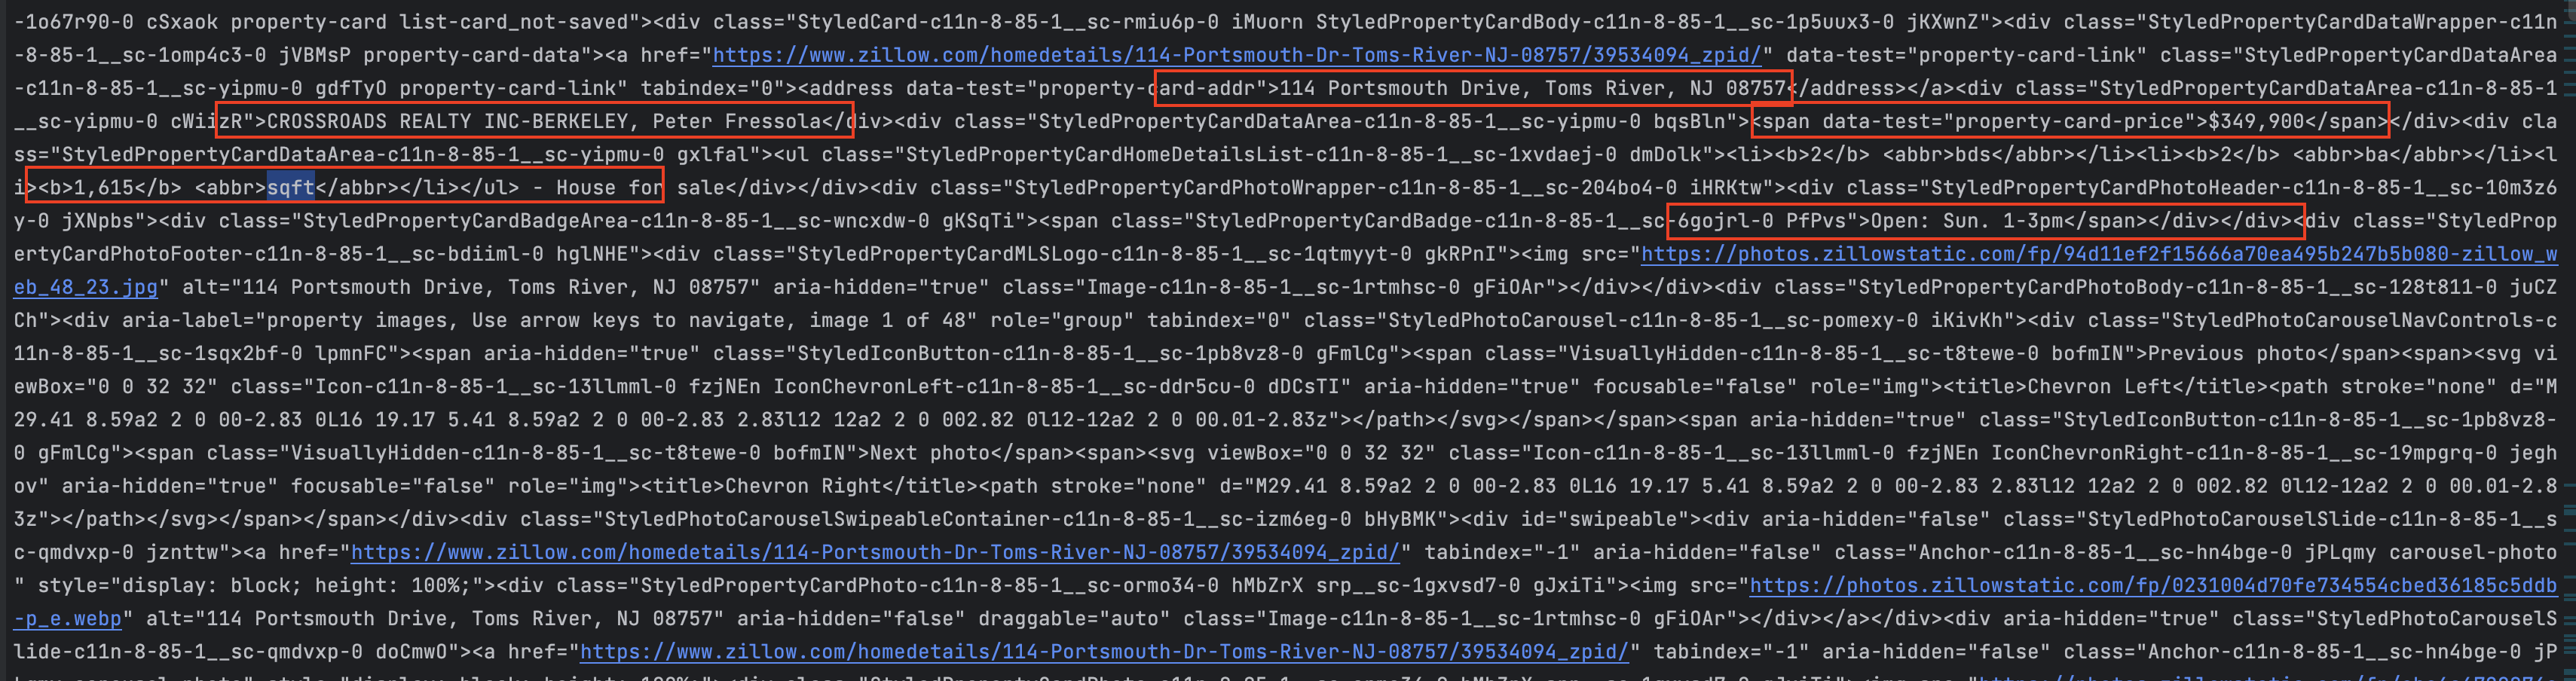
await page.goto('https://www.zillow.com/homes/for_sale');
const html = await page.content();
console.log(html);
} catch (e) {
console.error('run failed', e);
} finally {
await browser?.close();
}
})();
Run the file with the following command: yarn ts-node ./src/scrape-soundclound.ts.
We can see the page's content is now retrieved successfully, meaning the Scraper browser doesn't just simulate a real browser but also perform ReCaptcha validation for us.
Wrap up
The Scraping Browser product from Bright Data is a great tool to perform Web scraping on websites with advanced protection such as Bot detection, ReCaptcha verification, DDoS protection using CDN, etc...
You can create an instance of a real browser and then connect to it using the Puppeteer core library to perform web Scraping. You can create many instances and use them simultaneously.
The Scraping browser handles for you the ReCaptcha validation, the IP rotation, the SPA page loading, and so much more.
The Pricing plan allows you to pay only for what you use, which is good for cost efficiency and optimization.
You can find the code source on the GitHub repository.
Follow me on Twitter or subscribe to my newsletter to avoid missing the upcoming posts and the tips and tricks I occasionally share.